|
Welcome,
Guest
|
TOPIC: 1959 Cutter Jet Deville
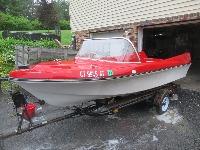
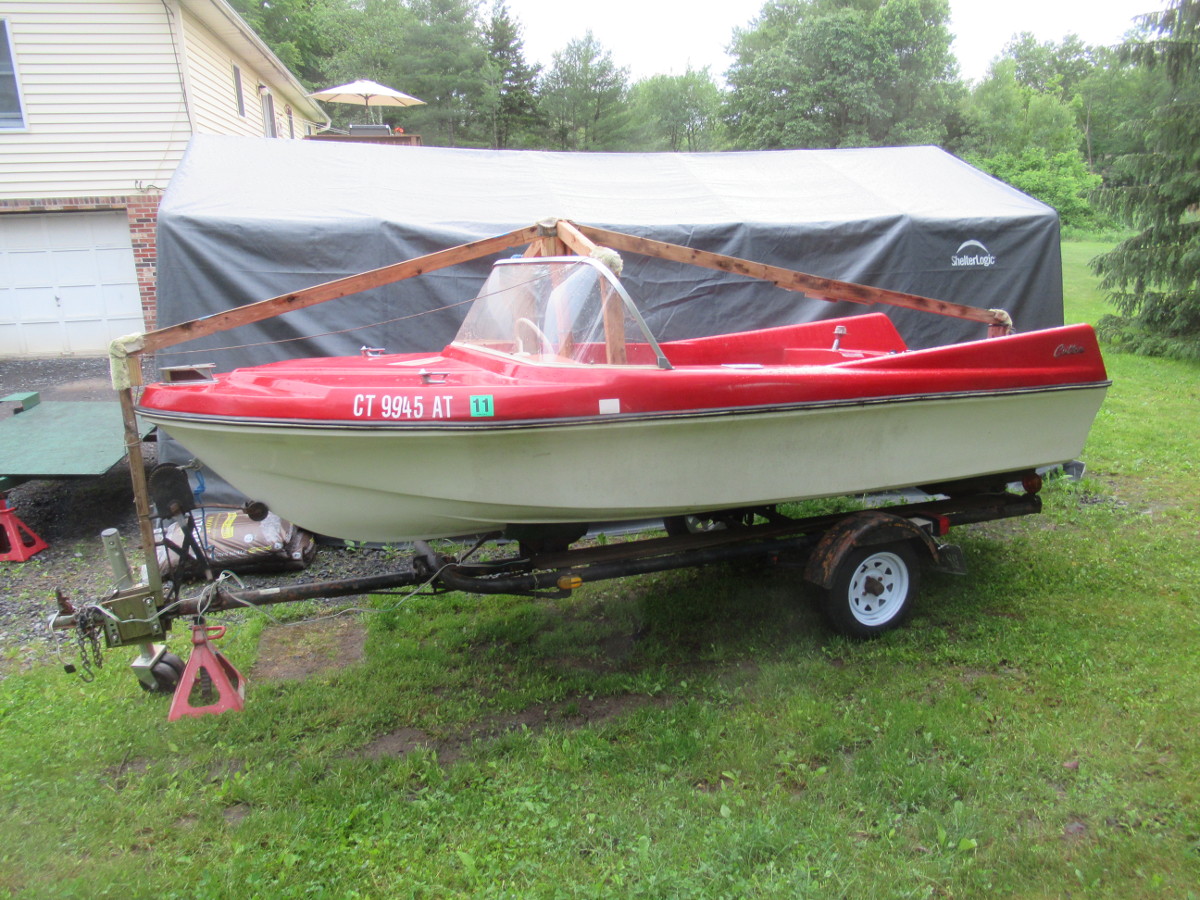
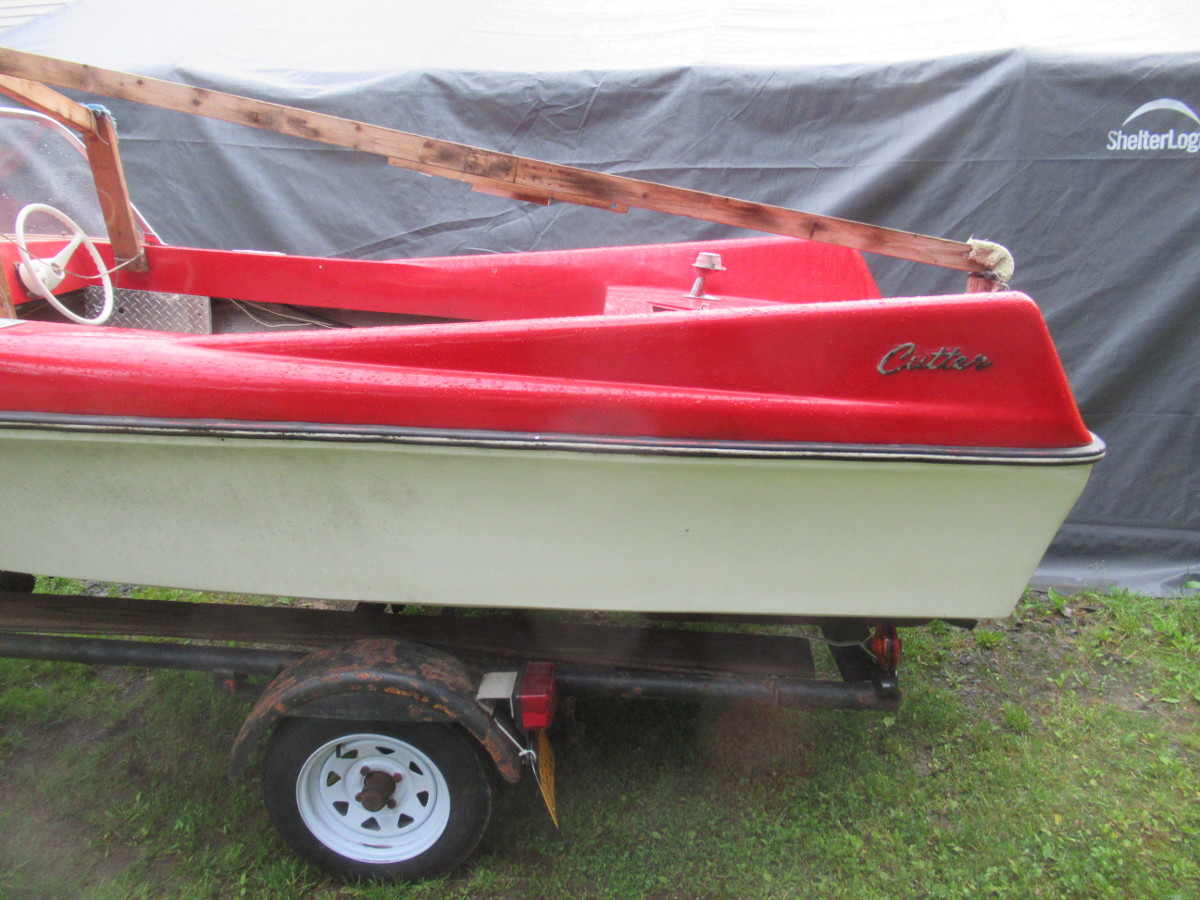
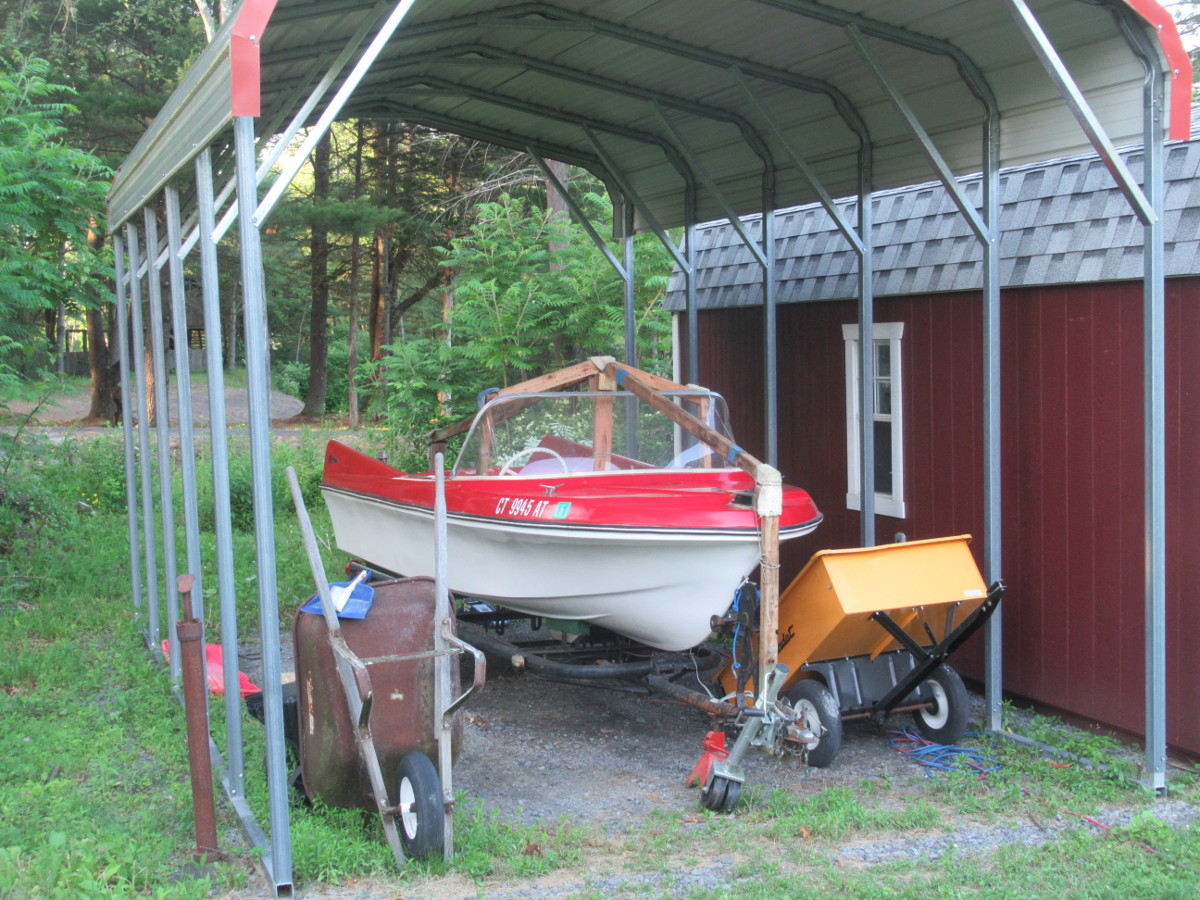
1959 Cutter Jet Deville 6 years 11 months ago #139888
|
|
Please Log in or Create an account to join the conversation. |
1959 Cutter Jet Deville 6 years 11 months ago #139900
|
Please Log in or Create an account to join the conversation.
Dr.Go!
|

1959 Cutter Jet Deville 6 years 11 months ago #139902
|
|
Please Log in or Create an account to join the conversation. |
1959 Cutter Jet Deville 6 years 11 months ago #139903
|
|
Please Log in or Create an account to join the conversation. |

1959 Cutter Jet Deville 6 years 11 months ago #139904
|
|
Please Log in or Create an account to join the conversation. |
1959 Cutter Jet Deville 6 years 11 months ago #139909
|
Please Log in or Create an account to join the conversation.
Dr.Go!
|
1959 Cutter Jet Deville 6 years 11 months ago #139911
|
|
Please Log in or Create an account to join the conversation. |

1959 Cutter Jet Deville 6 years 11 months ago #139916
|
|
Please Log in or Create an account to join the conversation. |
1959 Cutter Jet Deville 6 years 11 months ago #139917
|
|
Please Log in or Create an account to join the conversation. |

1959 Cutter Jet Deville 6 years 11 months ago #139920
|
|
Please Log in or Create an account to join the conversation. |
1959 Cutter Jet Deville 6 years 11 months ago #139927
|
|
Please Log in or Create an account to join the conversation. |
1959 Cutter Jet Deville 6 years 11 months ago #139928
|
|
Please Log in or Create an account to join the conversation. |
1959 Cutter Jet Deville 6 years 11 months ago #139940
|
|
Please Log in or Create an account to join the conversation. |

1959 Cutter Jet Deville 6 years 11 months ago #139946
|
|
Please Log in or Create an account to join the conversation. |
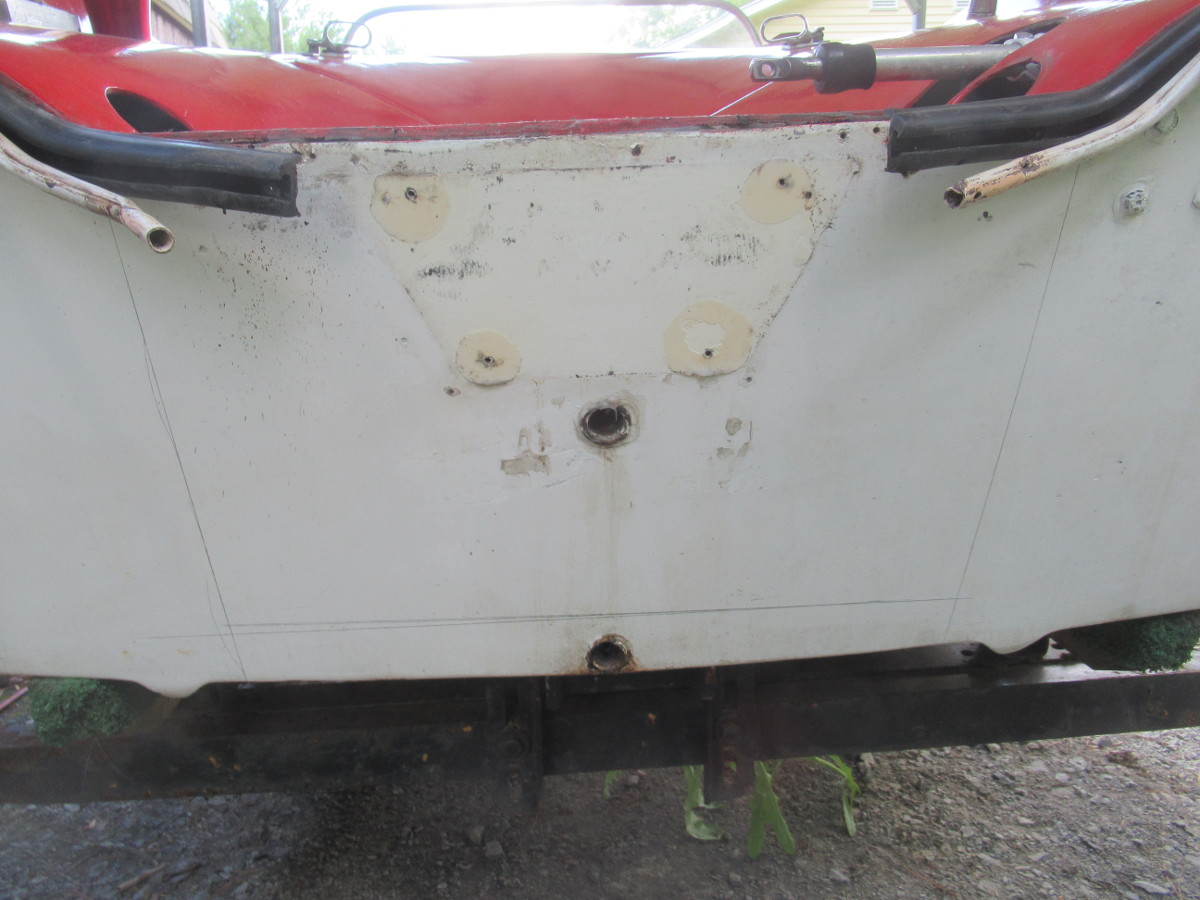
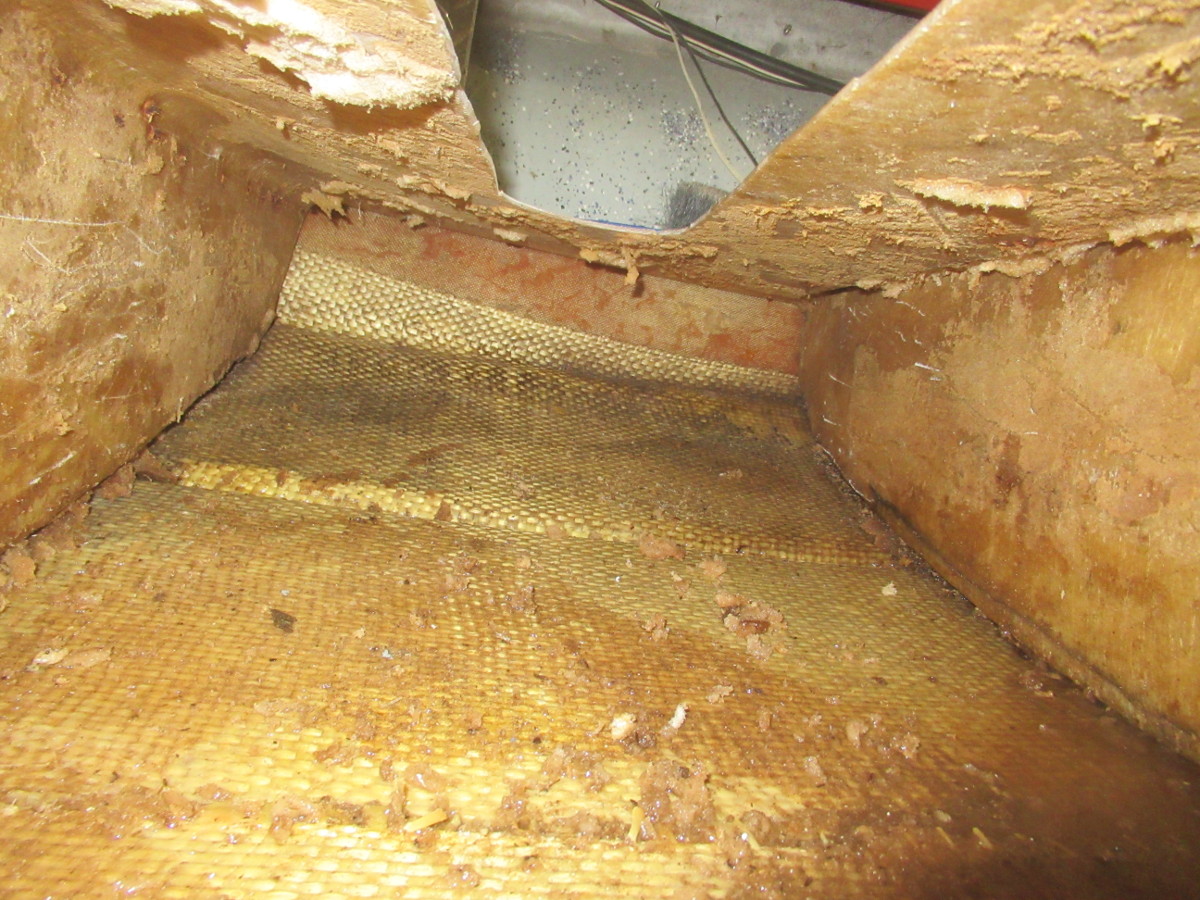
Started on the transom 6 years 11 months ago #139982
|
|
Please Log in or Create an account to join the conversation. |


1959 Cutter Jet Deville 6 years 11 months ago #140023
|
|
Please Log in or Create an account to join the conversation. |

1959 Cutter Jet Deville 6 years 11 months ago #140024
|
|
Please Log in or Create an account to join the conversation. |
1959 Cutter Jet Deville 6 years 11 months ago #140030
|
|
Please Log in or Create an account to join the conversation. |
1959 Cutter Jet Deville 6 years 11 months ago #140039
|
|
Please Log in or Create an account to join the conversation. |
1959 Cutter Jet Deville 6 years 11 months ago #140061
|
|
Please Log in or Create an account to join the conversation. |
1959 Cutter Jet Deville 6 years 11 months ago #140083
|
|
Please Log in or Create an account to join the conversation. |
1959 Cutter Jet Deville 6 years 11 months ago #140084
|
Please Log in or Create an account to join the conversation.
Dr.Go!
|
1959 Cutter Jet Deville 6 years 11 months ago #140086
|
|
Please Log in or Create an account to join the conversation. |
1959 Cutter Jet Deville 6 years 11 months ago #140089
|
|
Please Log in or Create an account to join the conversation. |
1959 Cutter Jet Deville 6 years 11 months ago #140090
|
Please Log in or Create an account to join the conversation.
Dr.Go!
|
1959 Cutter Jet Deville 6 years 11 months ago #140092
|
|
Please Log in or Create an account to join the conversation. |
1959 Cutter Jet Deville 6 years 11 months ago #140093
|
Please Log in or Create an account to join the conversation.
Dr.Go!
|
1959 Cutter Jet Deville 6 years 11 months ago #140096
|
|
Please Log in or Create an account to join the conversation. |
1959 Cutter Jet Deville 6 years 11 months ago #140101
|
|
Please Log in or Create an account to join the conversation. |
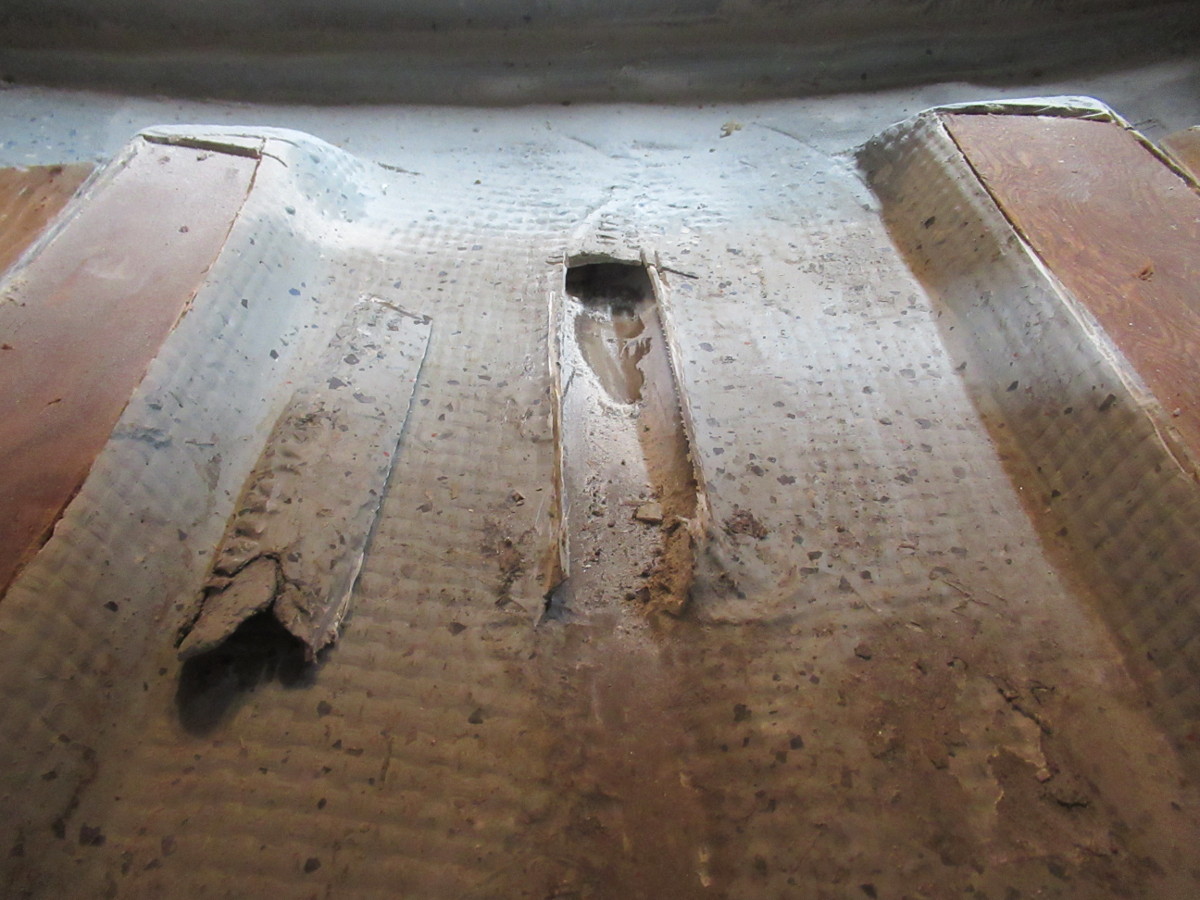
1959 Cutter Jet Deville - luan #2 6 years 11 months ago #140102
|
|
Please Log in or Create an account to join the conversation. |
1959 Cutter Jet Deville 6 years 11 months ago #140105
|
Please Log in or Create an account to join the conversation.
Dr.Go!
|
1959 Cutter Jet Deville 6 years 11 months ago #140108
|
|
Please Log in or Create an account to join the conversation. |
1959 Cutter Jet Deville 6 years 11 months ago #140113
|
Please Log in or Create an account to join the conversation. |
1959 Cutter Jet Deville 6 years 11 months ago #140114
|
|
Please Log in or Create an account to join the conversation. |
1959 Cutter Jet Deville 6 years 11 months ago #140119
|
Please Log in or Create an account to join the conversation. |
1959 Cutter Jet Deville 6 years 11 months ago #140120
|
|
Please Log in or Create an account to join the conversation. |
1959 Cutter Jet Deville 6 years 11 months ago #140123
|
Please Log in or Create an account to join the conversation. |
1959 Cutter Jet Deville 6 years 11 months ago #140126
|
|
Please Log in or Create an account to join the conversation. |
1959 Cutter Jet Deville 6 years 11 months ago #140140
|
|
Please Log in or Create an account to join the conversation. |
1959 Cutter Jet Deville 6 years 11 months ago #140143
|
Please Log in or Create an account to join the conversation. |
Donate
Please consider supporting our efforts.
Glassified Ads
1959 Perormer Sportsman |


17' Fiber Form Bowrider Bailrider I-O Boat & EZ Load Trailer( / Boats)


Family Owned 1961 Glasspar Seafair Sunliner 18’( / Boats)


FG Login

FiberGoogle
Who's Online
We have 8292 guests and no members online