|
Welcome,
Guest
|
TOPIC: Progress on my Power Cat 14T
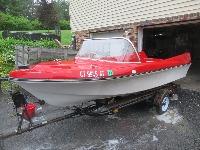
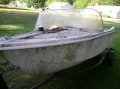
Progress on my Power Cat 14T 15 years 11 months ago #1333
|
|
Please Log in or Create an account to join the conversation. |


Re:Progress on my 14T 15 years 11 months ago #1357
|
Please Log in or Create an account to join the conversation.
Mark
|
Re:Progress on my 14T 15 years 11 months ago #1360
|
|
Please Log in or Create an account to join the conversation. |
Re:Progress on my 14T 15 years 11 months ago #1423
|
Please Log in or Create an account to join the conversation. |

Re:Progress on my 14T 15 years 11 months ago #1427
|
|
Please Log in or Create an account to join the conversation. |
Compulsive behavior 15 years 11 months ago #1476
|
|
Please Log in or Create an account to join the conversation. |


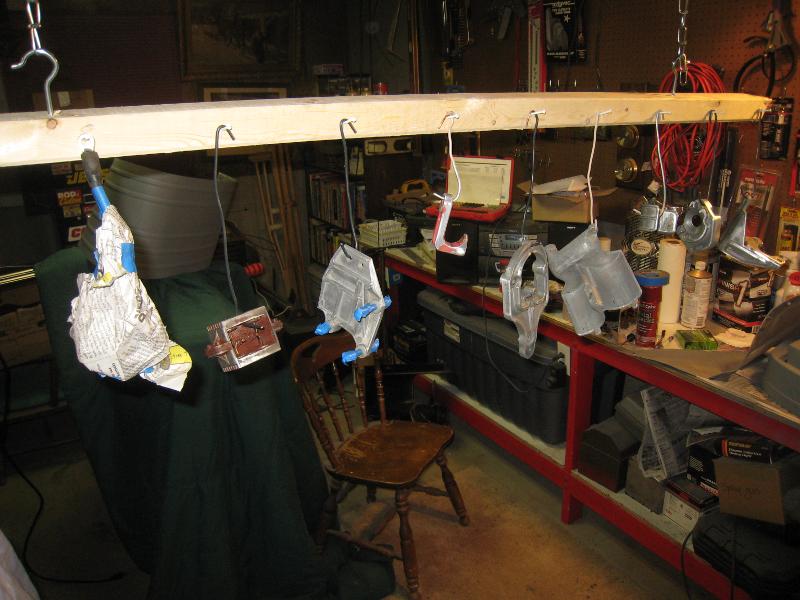
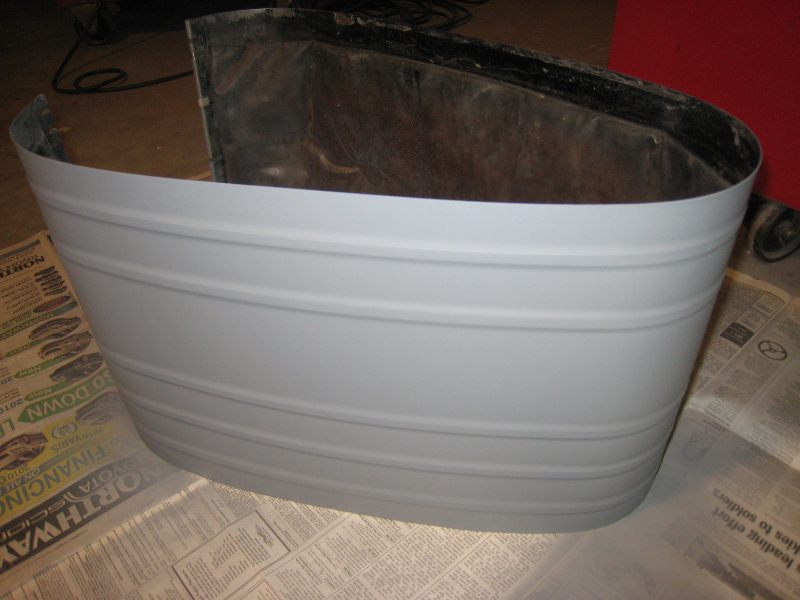
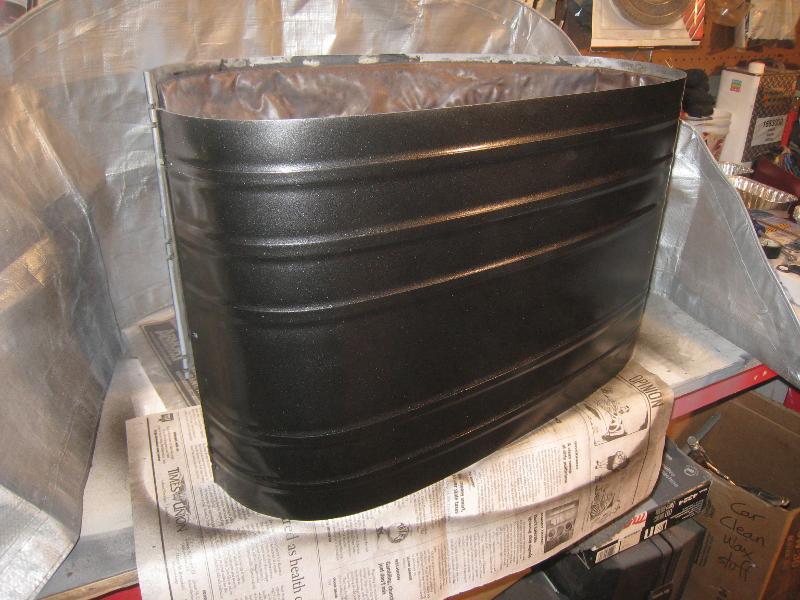
First finish coat wrap-around cowl 15 years 11 months ago #1502
|
|
Please Log in or Create an account to join the conversation. |


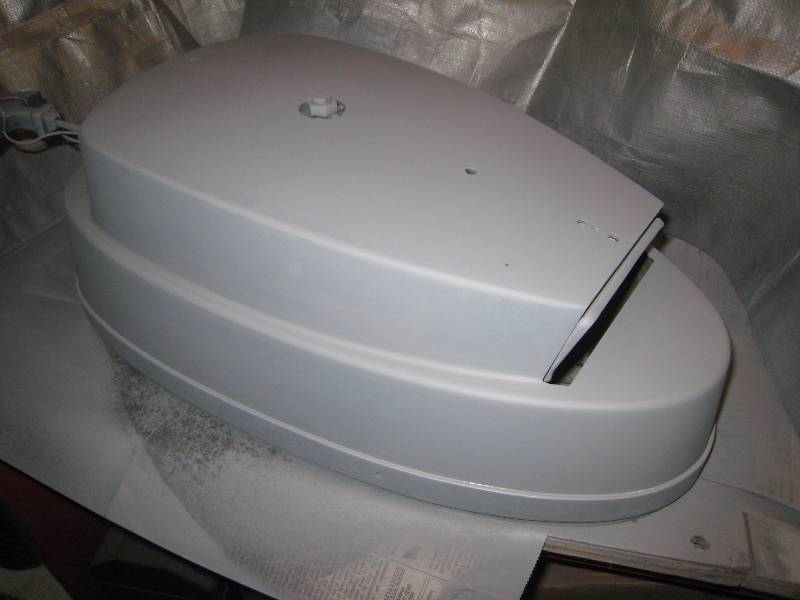
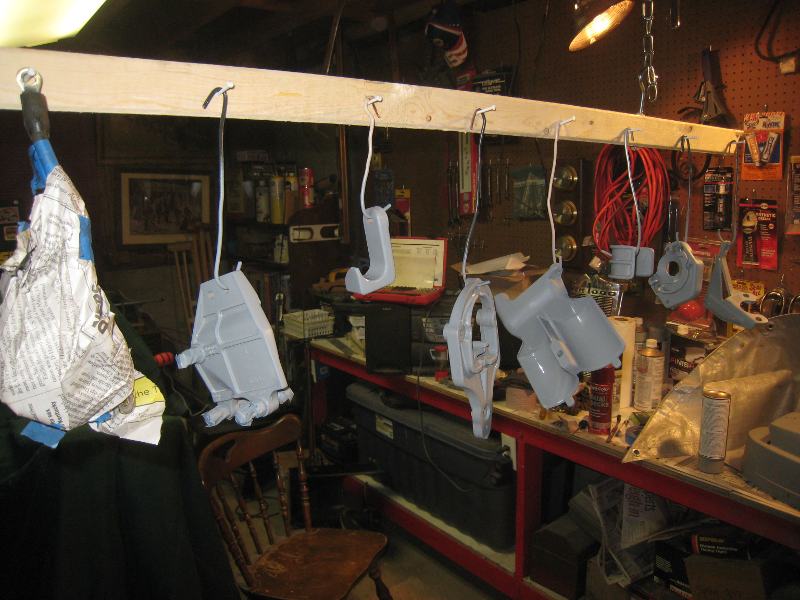
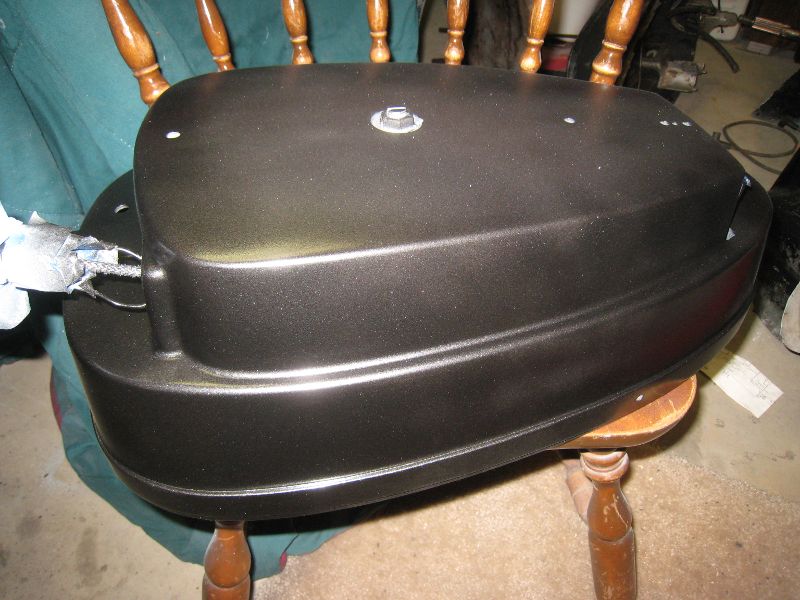
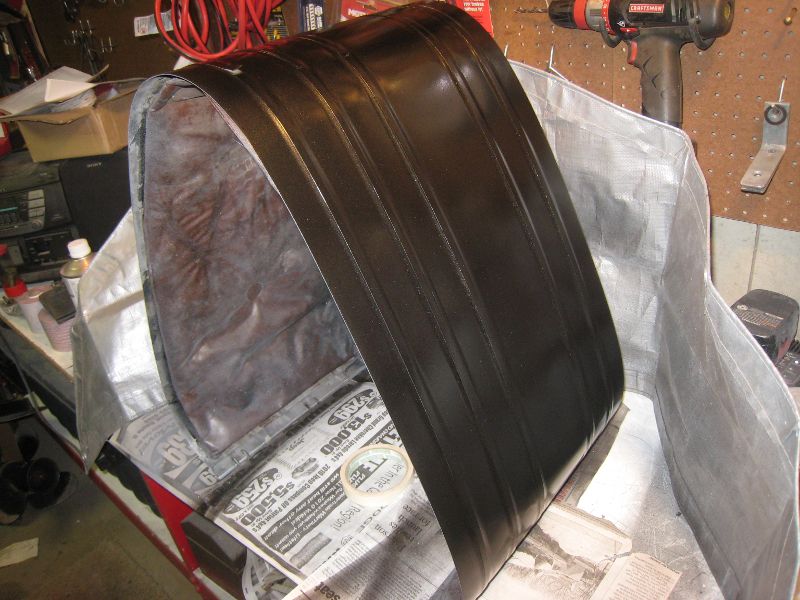
2nd finish coat on cowl, 1st on bonnet 15 years 11 months ago #1550
|
|
Please Log in or Create an account to join the conversation. |


Re:Progress on my 14T 15 years 11 months ago #1551
|
Please Log in or Create an account to join the conversation.
Mark
|
Re:Progress on my 14T 15 years 11 months ago #1552
|
|
Please Log in or Create an account to join the conversation. |


Re:Progress on my 14T 15 years 11 months ago #1578
|
Please Log in or Create an account to join the conversation. |
Re:Progress on my 14T 15 years 11 months ago #1579
|
Please Log in or Create an account to join the conversation.
Mark
|
Re:Progress on my 14T 15 years 11 months ago #1580
|
Please Log in or Create an account to join the conversation. |

Re: Decals 15 years 11 months ago #1583
|
|
Please Log in or Create an account to join the conversation. |
More color 15 years 11 months ago #1611
|
|
Please Log in or Create an account to join the conversation. |


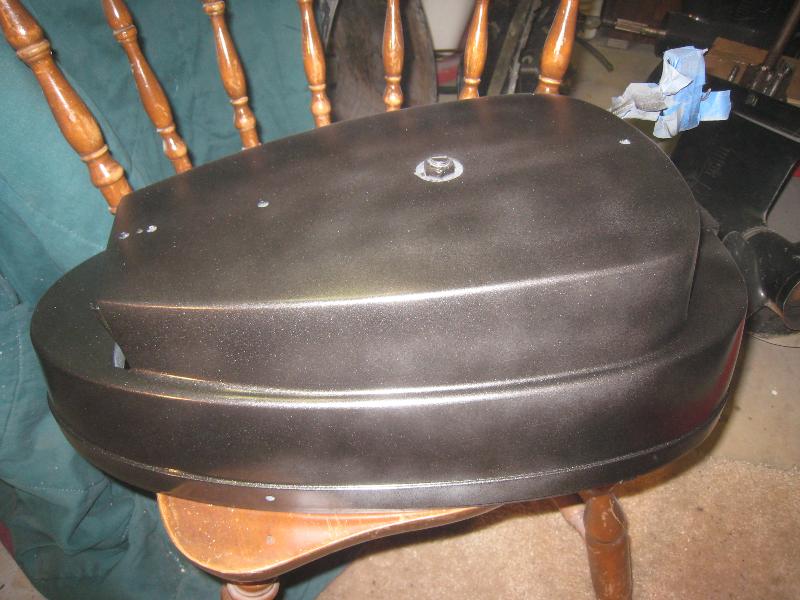
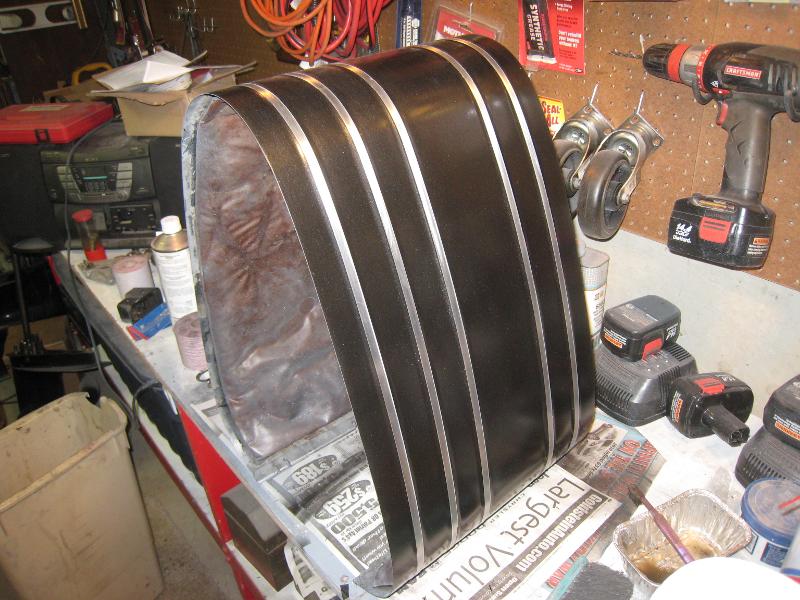
Cowl done 15 years 11 months ago #1640
|
|
Please Log in or Create an account to join the conversation. |


Re: Cowl done 15 years 11 months ago #1642
|
Please Log in or Create an account to join the conversation.
Hello, World!!
|
Re:Progress on my 14T 15 years 11 months ago #1647
|
|
Please Log in or Create an account to join the conversation. |
Re:Progress on my 14T 15 years 11 months ago #1648
|
Please Log in or Create an account to join the conversation.
Hello, World!!
|
Re:Progress on my 14T 15 years 11 months ago #1651
|
|
Please Log in or Create an account to join the conversation.
Some people are like slinkies... Not much good for anything, but they sure are fun to push down the stairs.
|

Re:Progress on my 14T 15 years 11 months ago #1669
|
|
Please Log in or Create an account to join the conversation. |
Re:Progress on my 14T 15 years 11 months ago #1670
|
|
Please Log in or Create an account to join the conversation.
Some people are like slinkies... Not much good for anything, but they sure are fun to push down the stairs.
|
Re:Progress on my 14T 15 years 11 months ago #1673
|
|
Please Log in or Create an account to join the conversation. |
Re:Progress on my 14T 15 years 11 months ago #1694
|
|
Please Log in or Create an account to join the conversation.
Some people are like slinkies... Not much good for anything, but they sure are fun to push down the stairs.
|
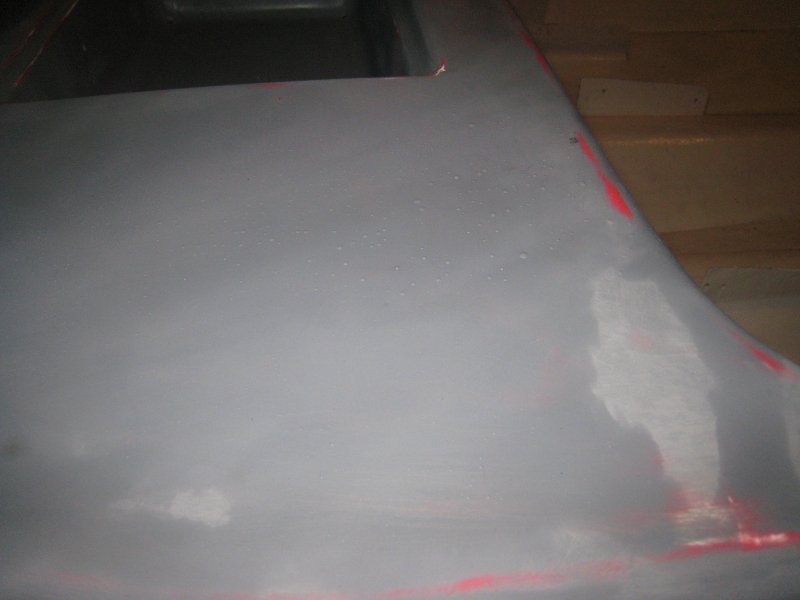
All dressed up for primer 15 years 11 months ago #1704
|
|
Please Log in or Create an account to join the conversation. |


Re:Progress on my 14T 15 years 11 months ago #1899
|
Please Log in or Create an account to join the conversation.
Mark
|
Re:Progress on my 14T 15 years 11 months ago #1902
|
|
Please Log in or Create an account to join the conversation. |
Re:Progress on my 14T 15 years 11 months ago #1927
|
Please Log in or Create an account to join the conversation.
Mark
|
Re:Progress on my 14T 15 years 11 months ago #1934
|
|
Please Log in or Create an account to join the conversation. |
Re:Progress on my 14T 15 years 11 months ago #1945
|
Please Log in or Create an account to join the conversation.
Mark
|
Re:Progress on my 14T 15 years 11 months ago #1949
|
|
Please Log in or Create an account to join the conversation. |
Paln for my Power Cat 14T 15 years 11 months ago #2525
|
|
Please Log in or Create an account to join the conversation. |
Re:Progress on my Power Cat 14T 15 years 11 months ago #2526
|
Please Log in or Create an account to join the conversation.
Mark
|
Re:Progress on my Power Cat 14T 15 years 11 months ago #2527
|
|
Please Log in or Create an account to join the conversation. |


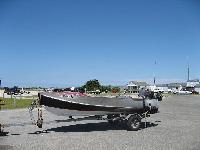
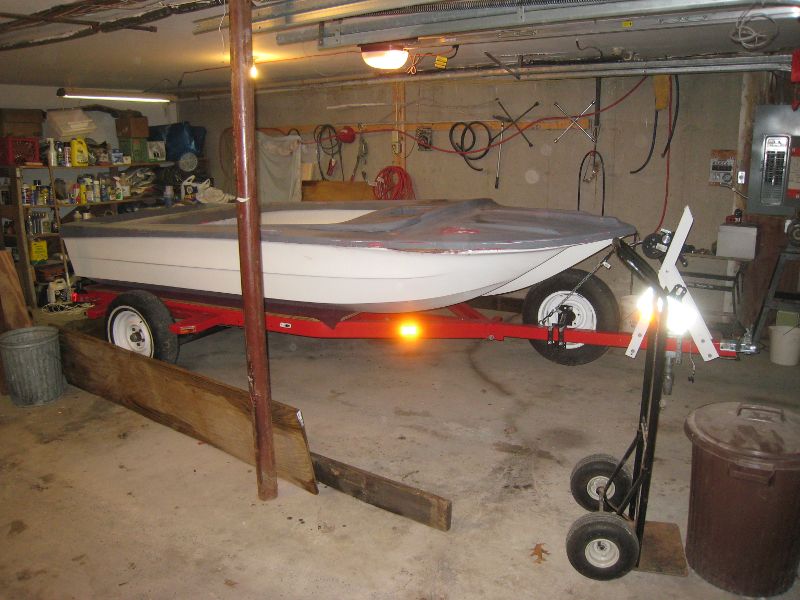
Got my work cut out for me! 15 years 10 months ago #3648
|
|
Please Log in or Create an account to join the conversation. |


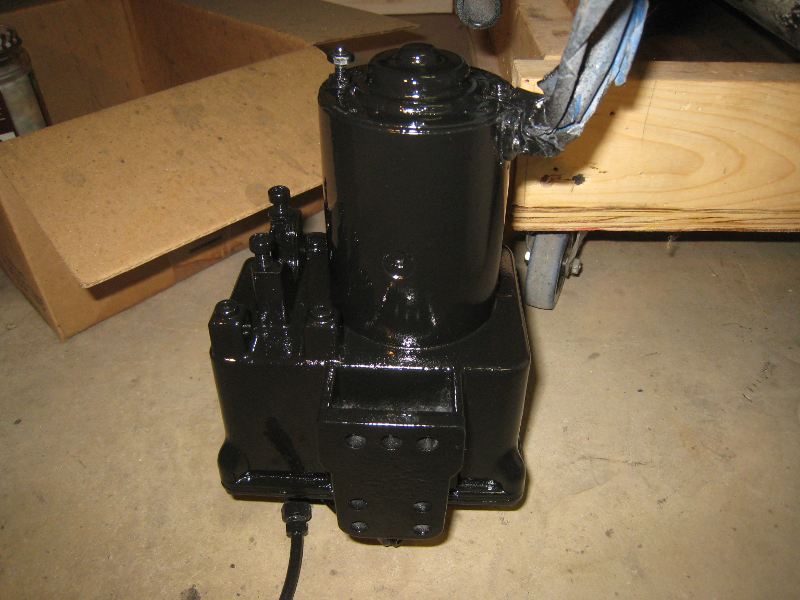
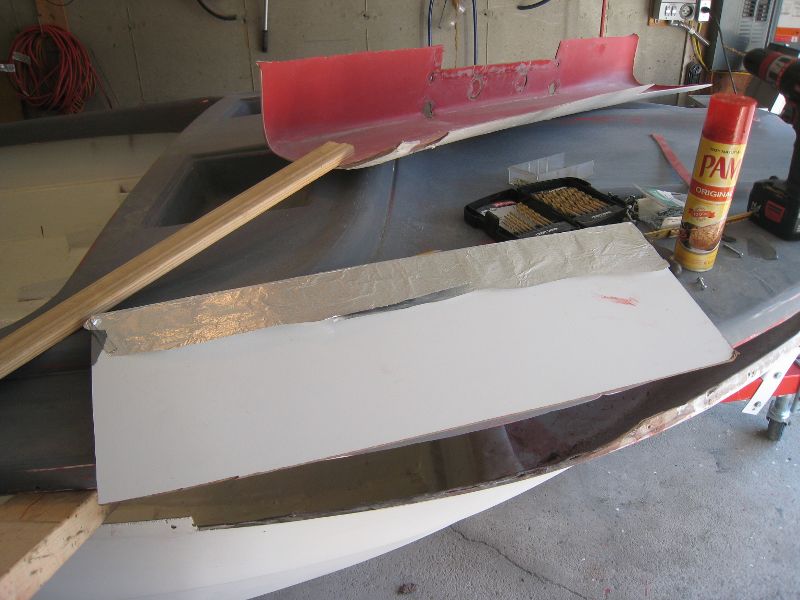
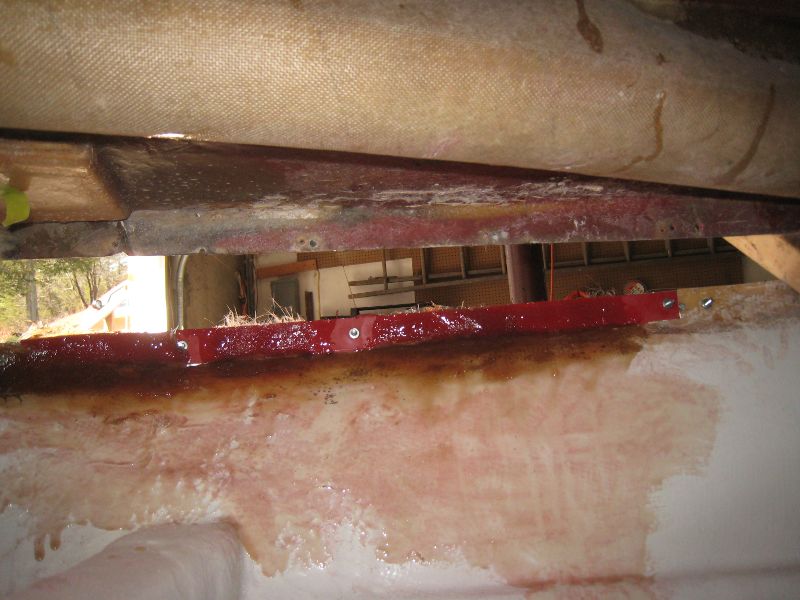
Rebuilding hull lip 15 years 10 months ago #3677
|
|
Please Log in or Create an account to join the conversation. |


Re:Progress on my Power Cat 14T 15 years 10 months ago #3684
|
|
Please Log in or Create an account to join the conversation. |
Re:Progress on my Power Cat 14T 15 years 10 months ago #3687
|
Please Log in or Create an account to join the conversation. |


Re:Progress on my Power Cat 14T 15 years 10 months ago #3695
|
|
Please Log in or Create an account to join the conversation. |
Re:Progress on my Power Cat 14T 15 years 10 months ago #3697
|
Please Log in or Create an account to join the conversation.
Mark
|
Donate
Please consider supporting our efforts.
Glassified Ads
1959 Bowman with its 1959 Mercury Mark 58A Fully Restored |

I am a private money lender( / Wanted)


New/Used:Kids/Adults Go-Kart,Golf Cart,Snowmobiles/Jet Ski,( / Boats)


FG Login

FiberGoogle
Who's Online
We have 7941 guests and no members online