Fiberglass Repair
by Glass Clown Boats
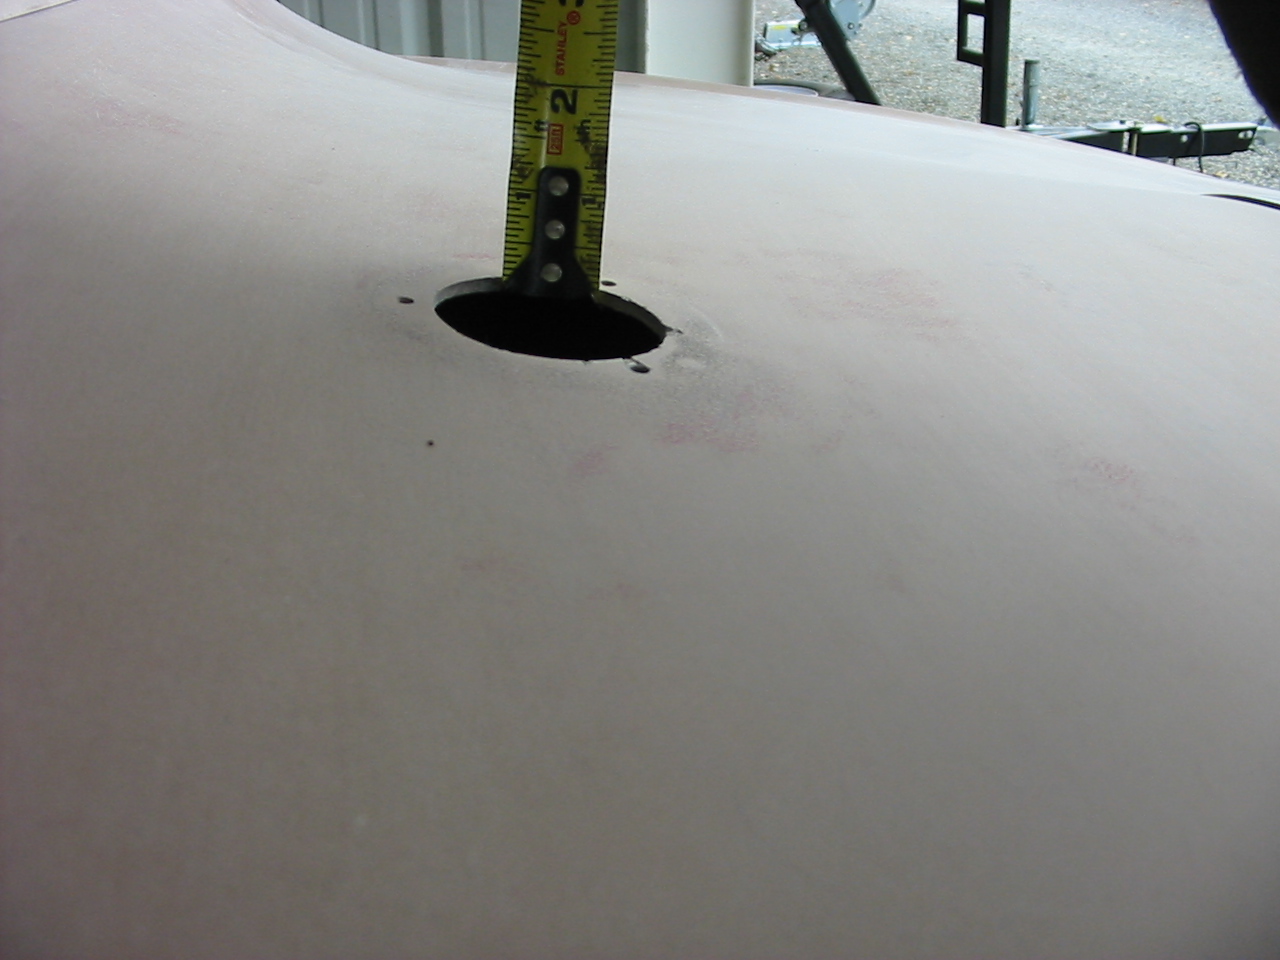
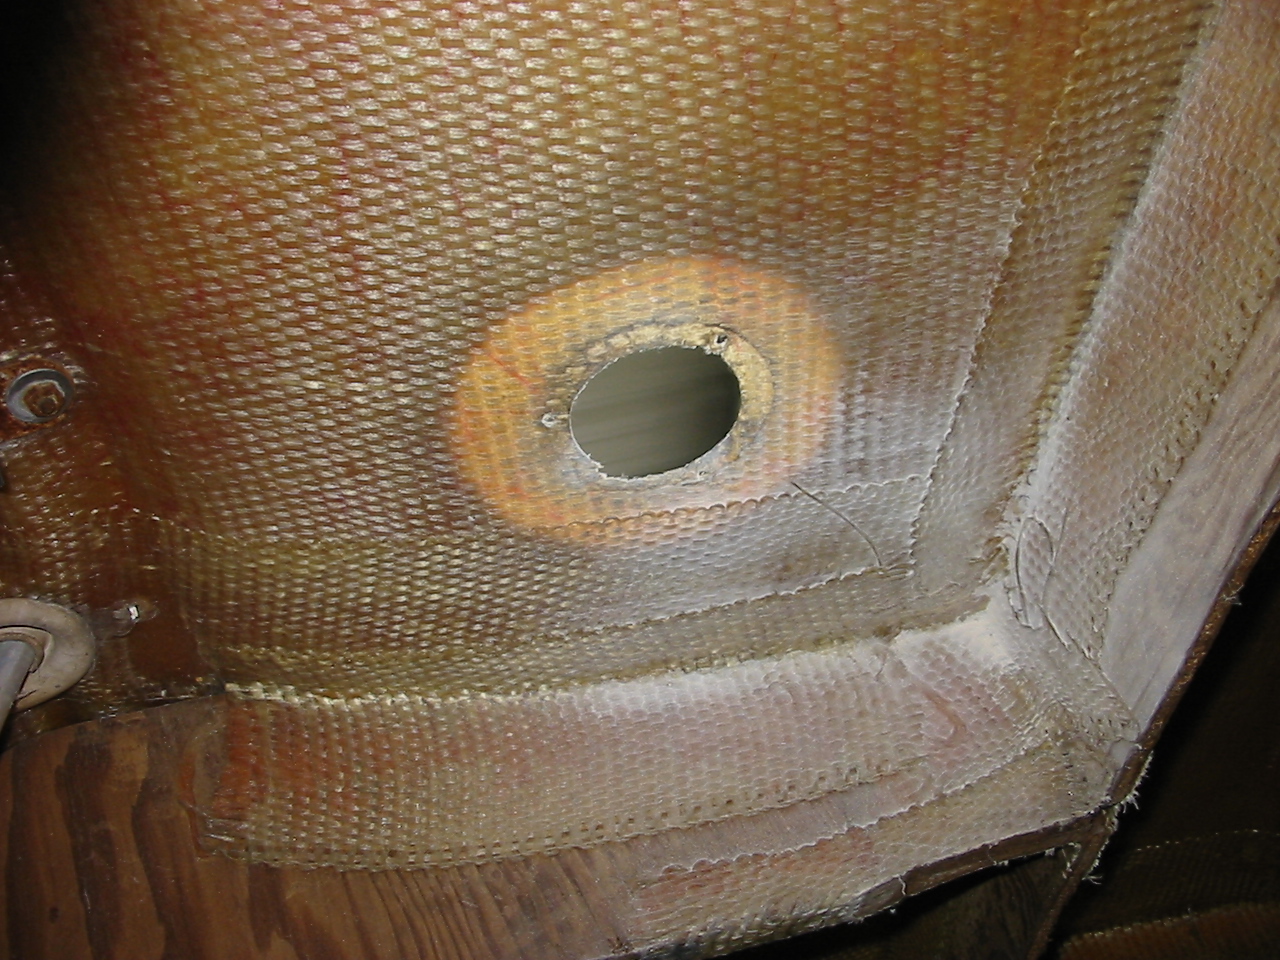
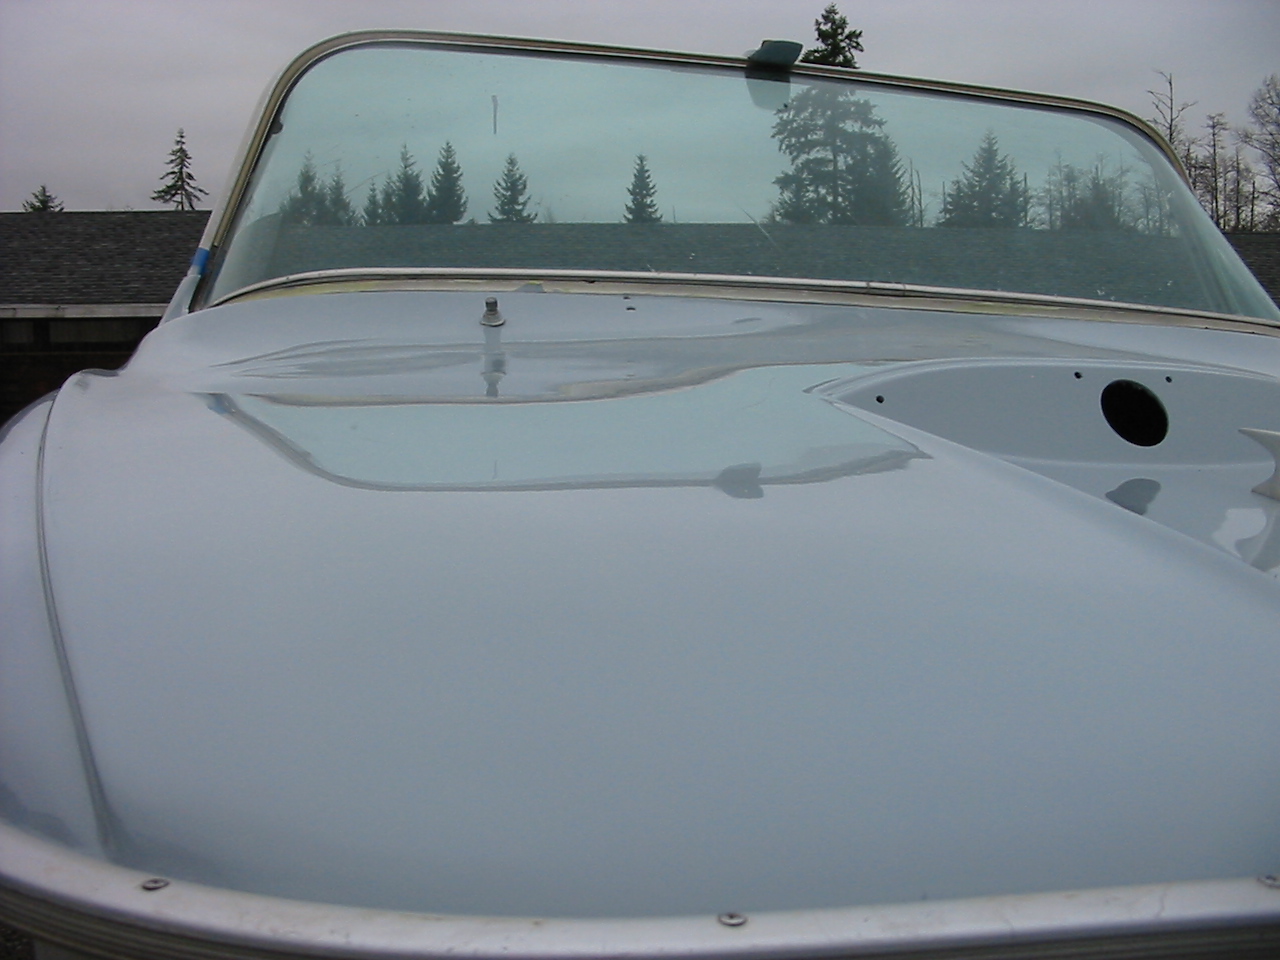
This is an old hole for a fuel fill. In the prep for paint, the owner asked us to make it disappear. This pictorial shows the process from start to finish.
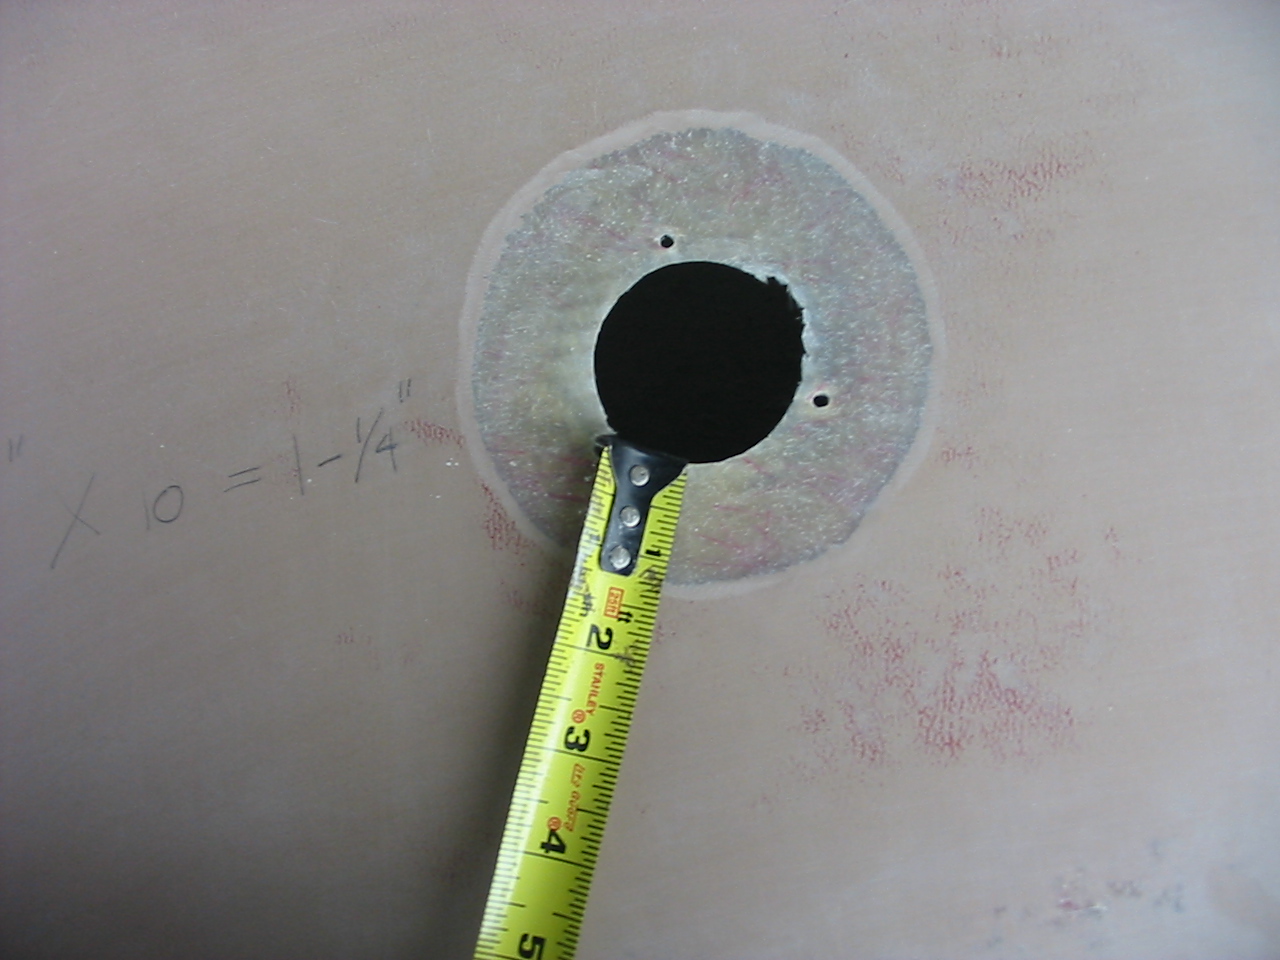
1. Measure the thickness of the fiberglass. In this case, it's 1/8" thick.
2. Then multiply that number by 10. (1/8" x 10 = 10/8" or 1-1/4")
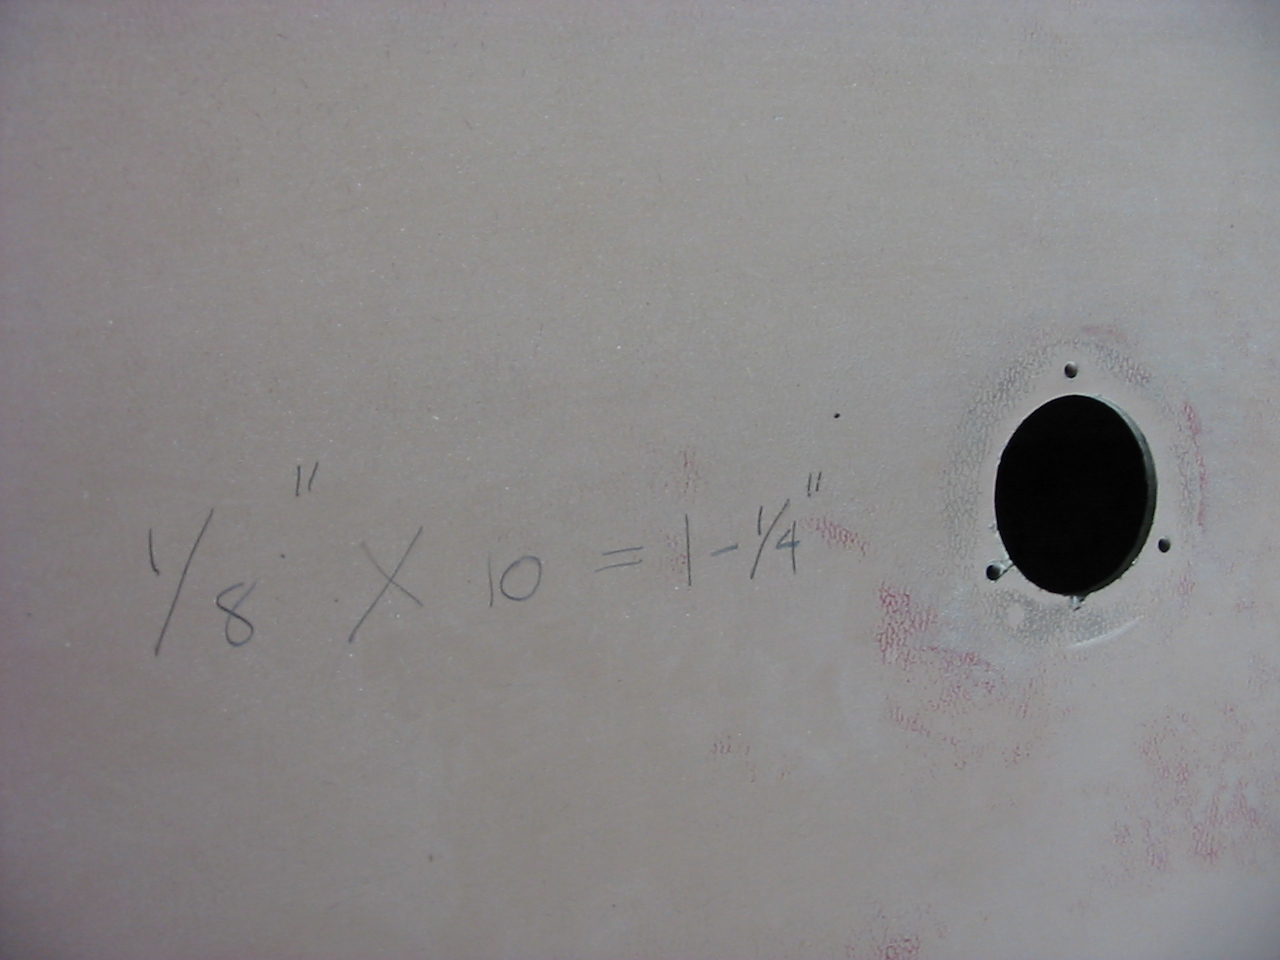
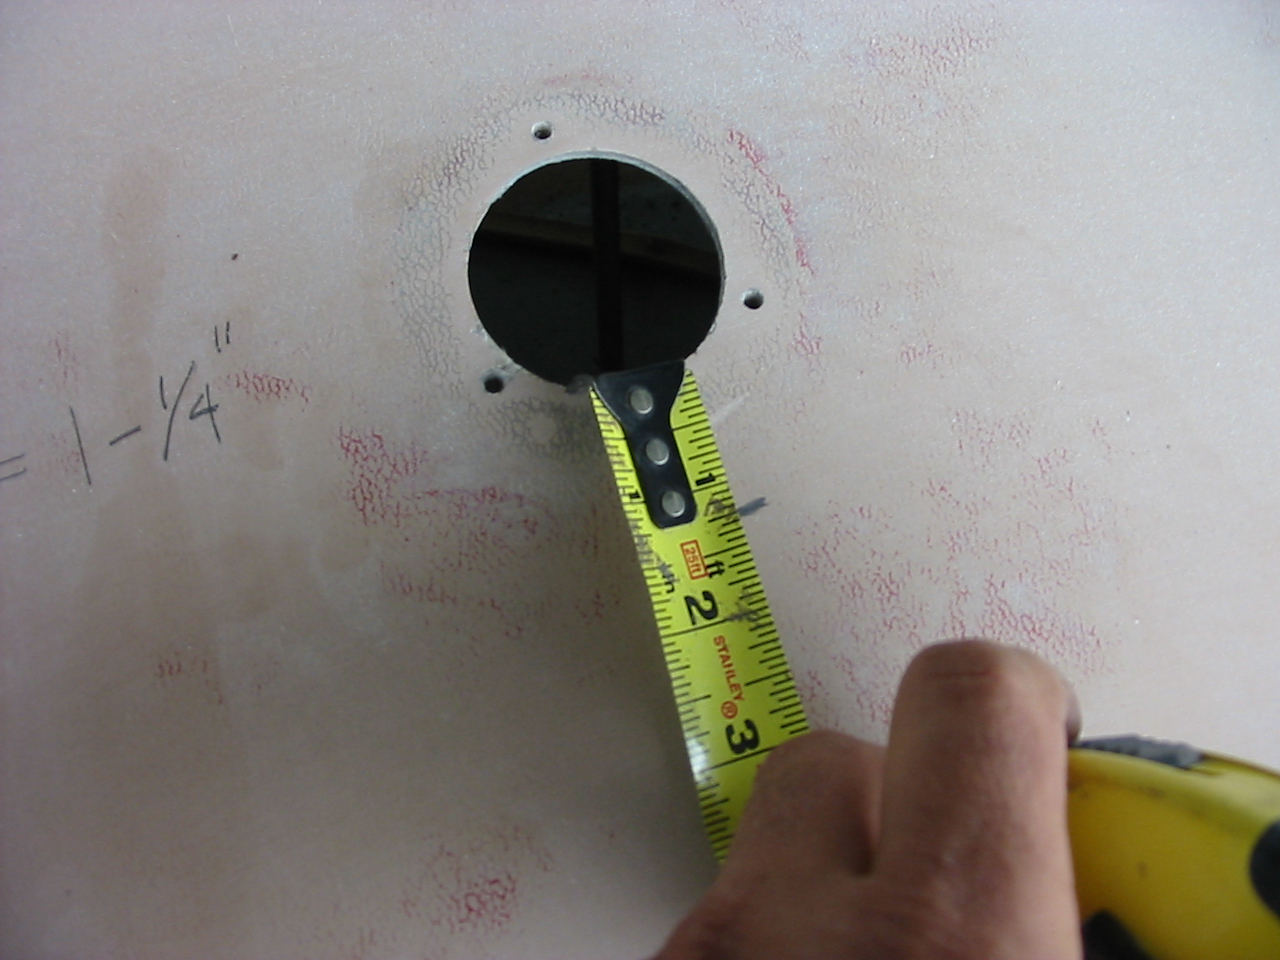
3. Now mark that distance around the perimeter of of the repair area.
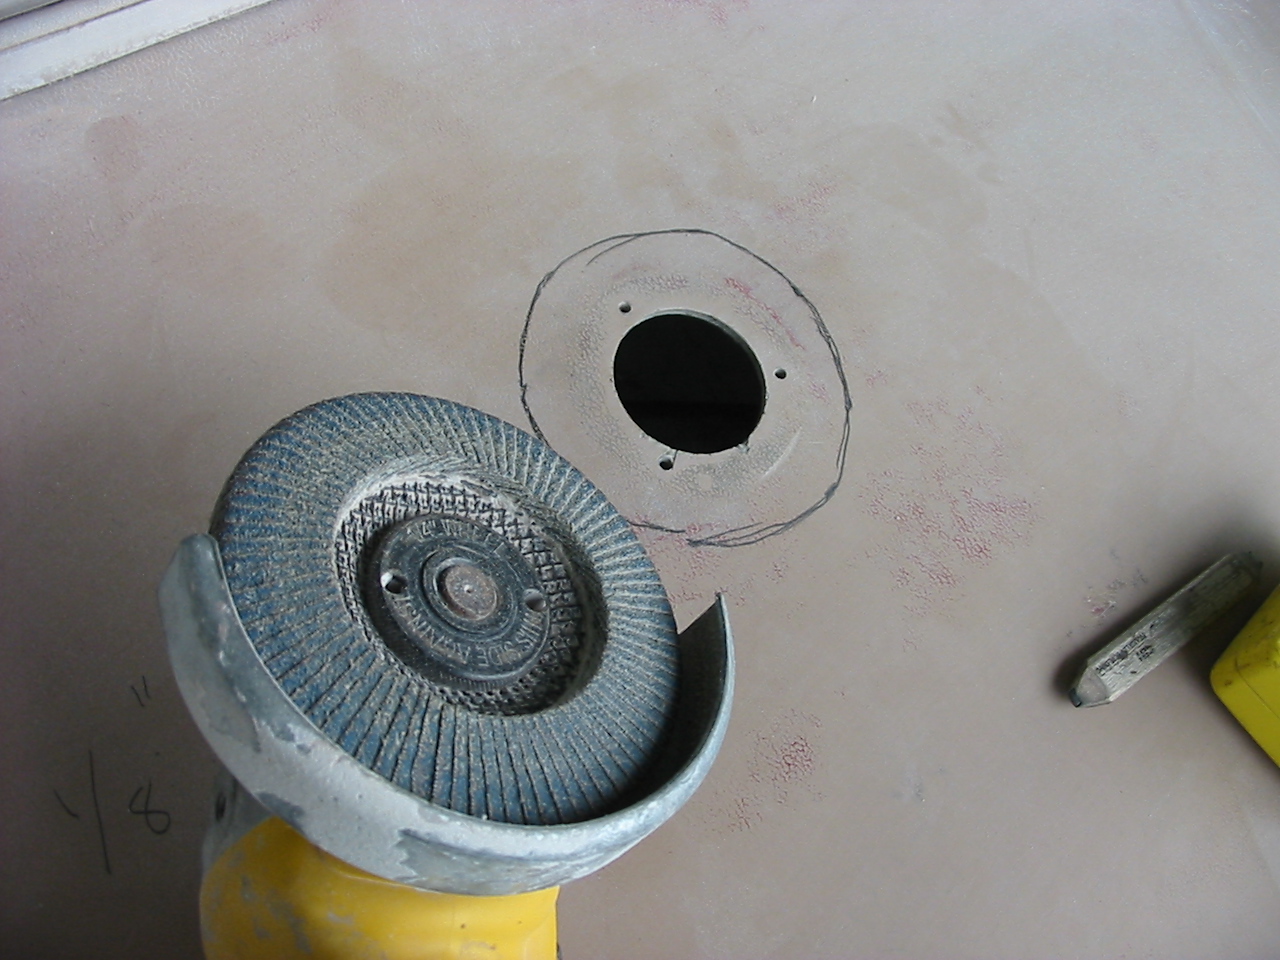
4. Connecting the hash marks

5. A grinder with an 80 grit flap wheel will give me a nice smooth taper
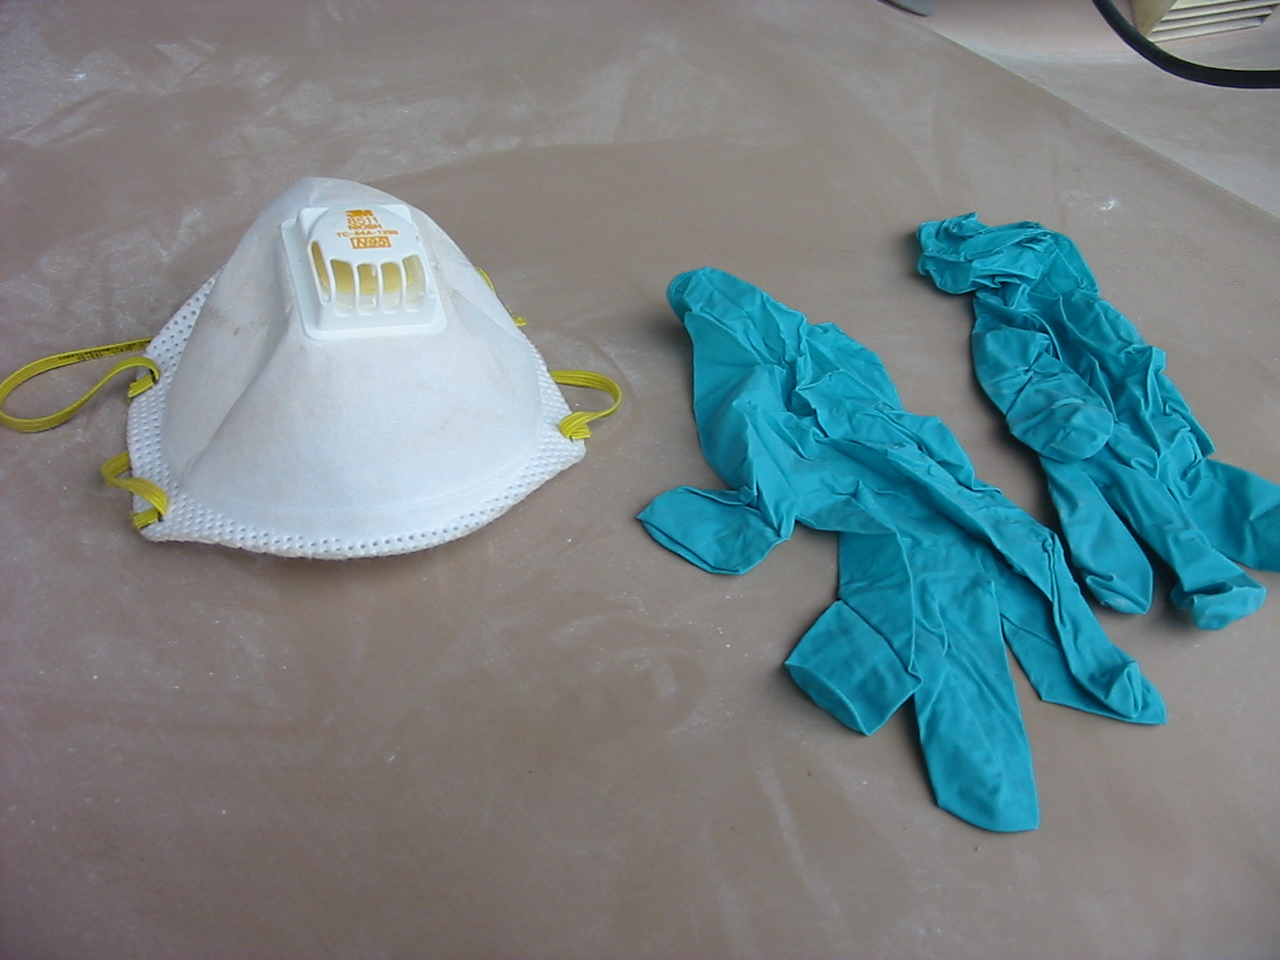
6. As always, protect yourself (safety glasses too)
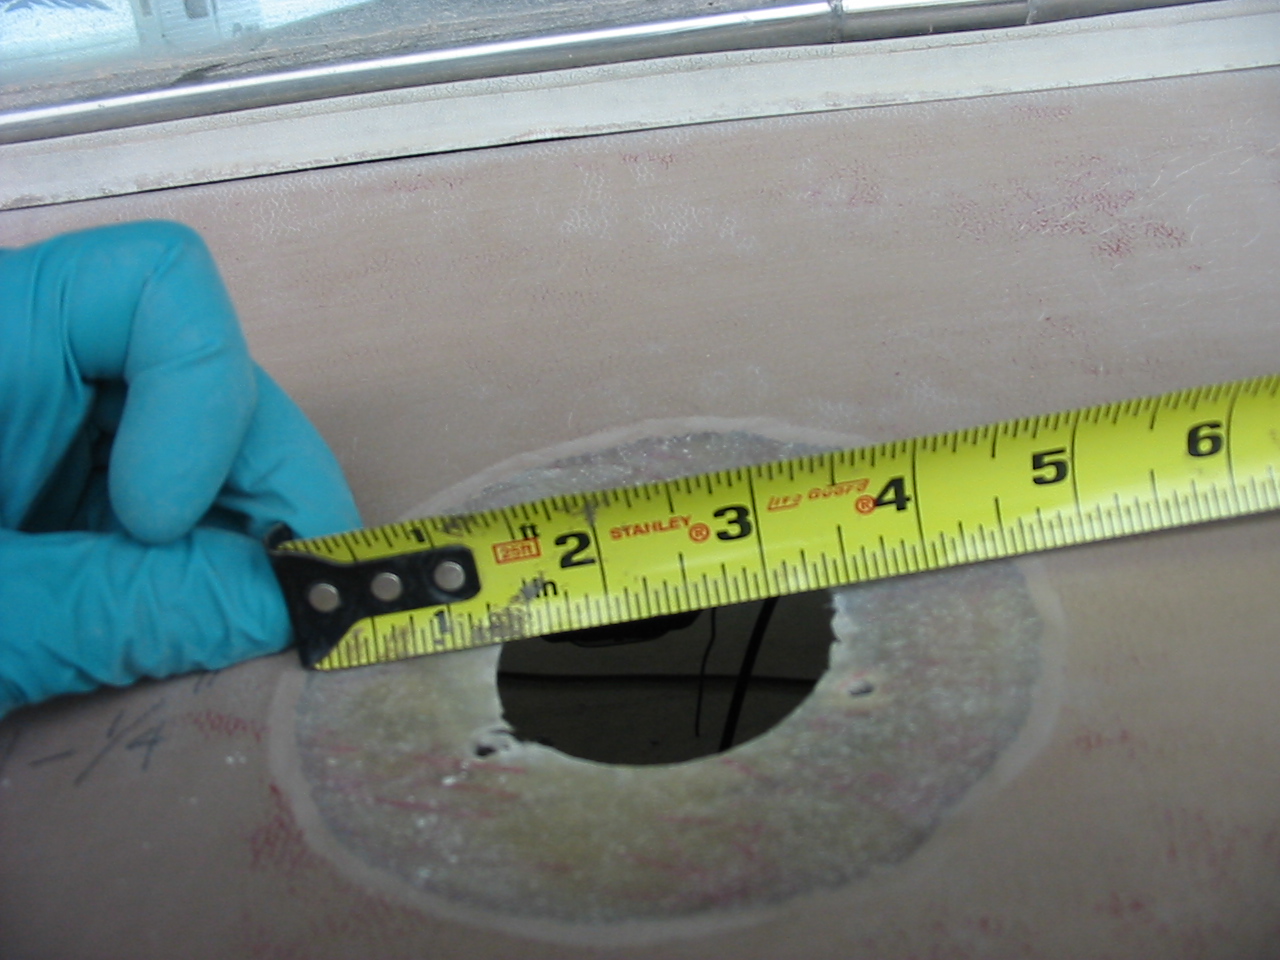
7. The repair area tapered back at a 10:1 ratio
8. Which makes the total repair 4-1/2" in diameter
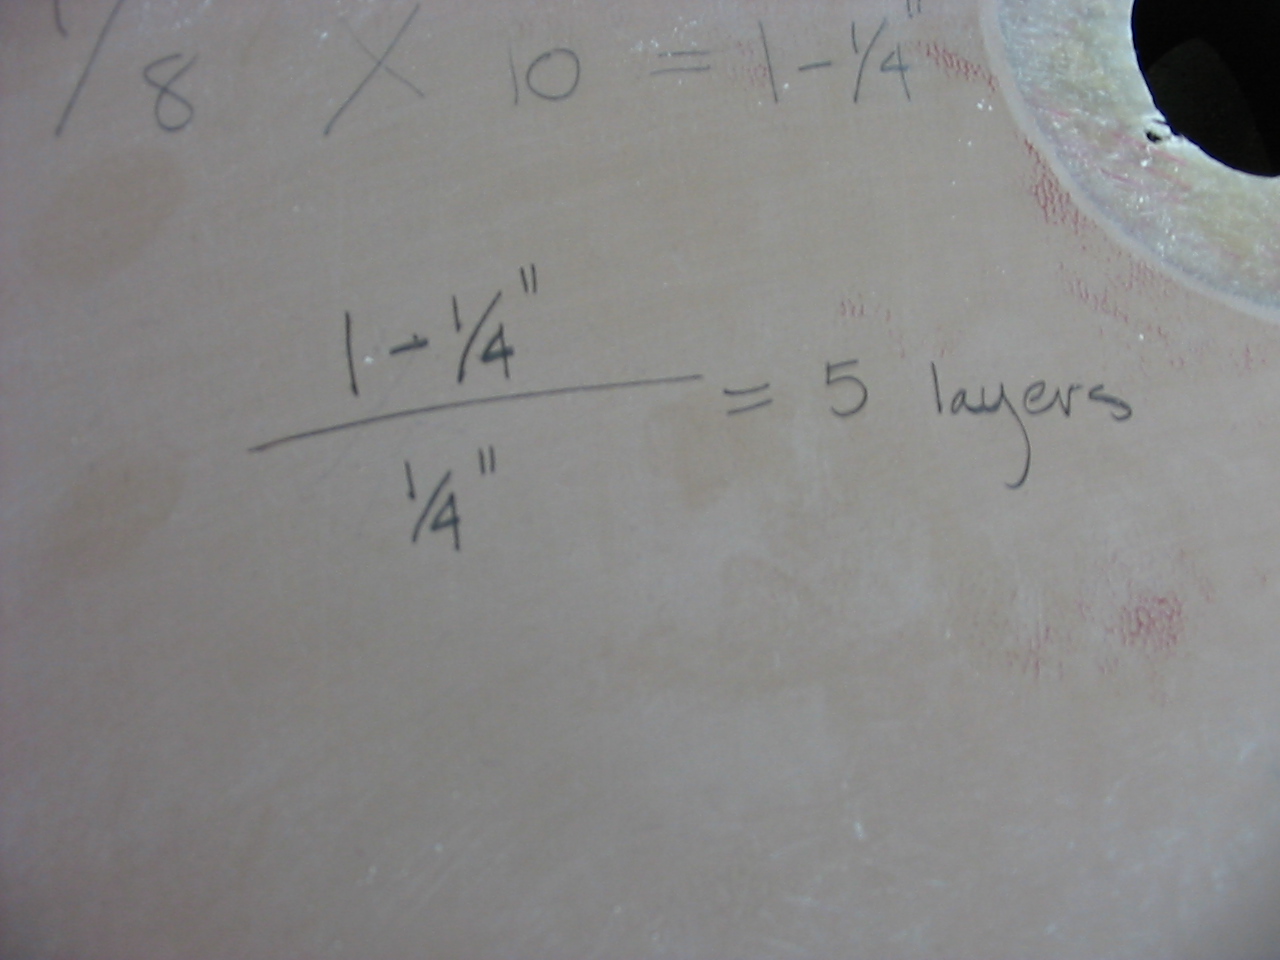
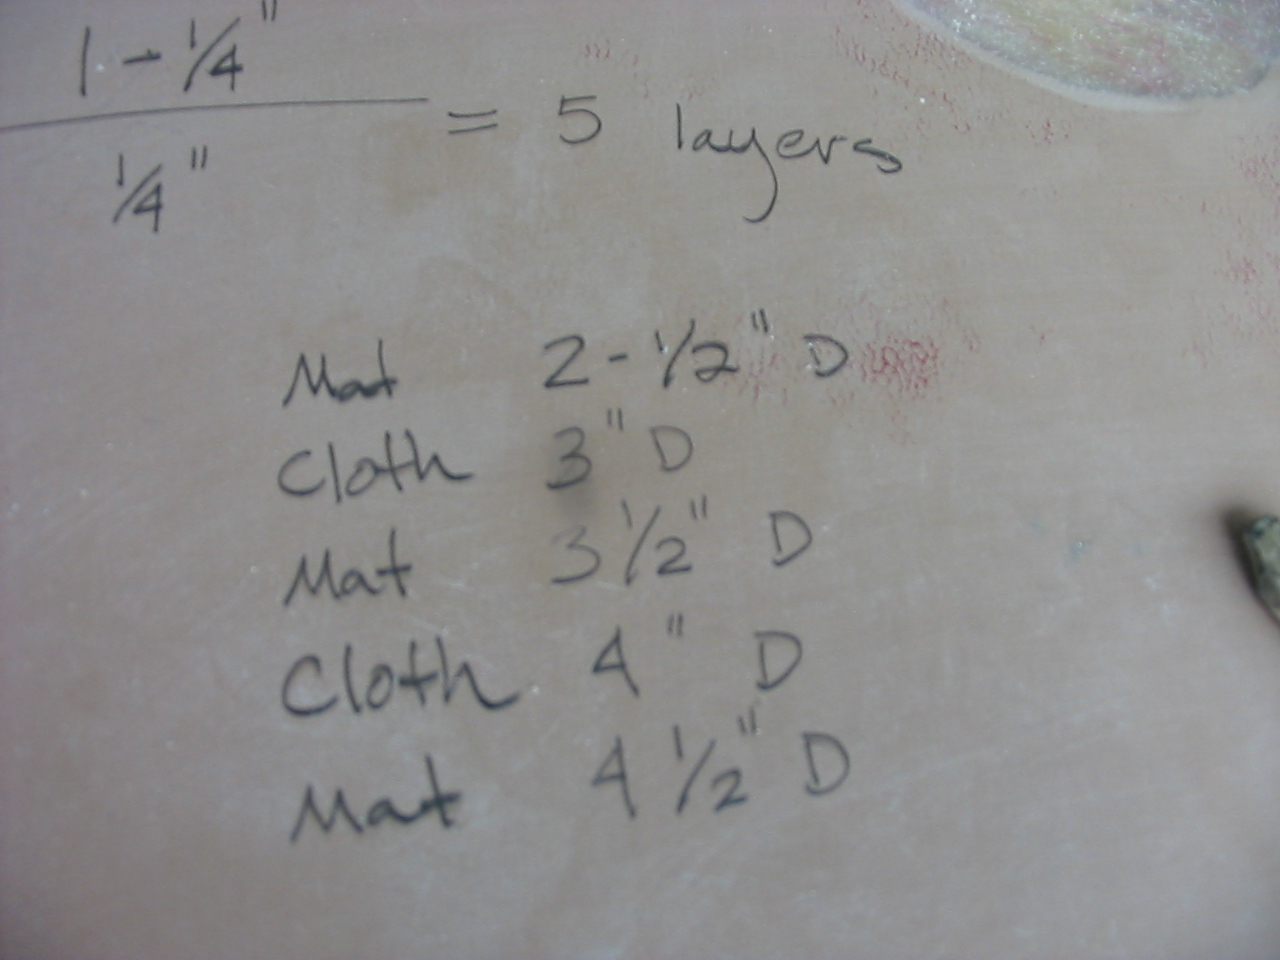
9. Each layer of fiberglass should extend 1/4" beyond the previous layer
10. My fiberglass lay up schedule. Always alternate with layers of mat. Always finish with a layer of mat.
11. The fiberglass cut to a measured square.
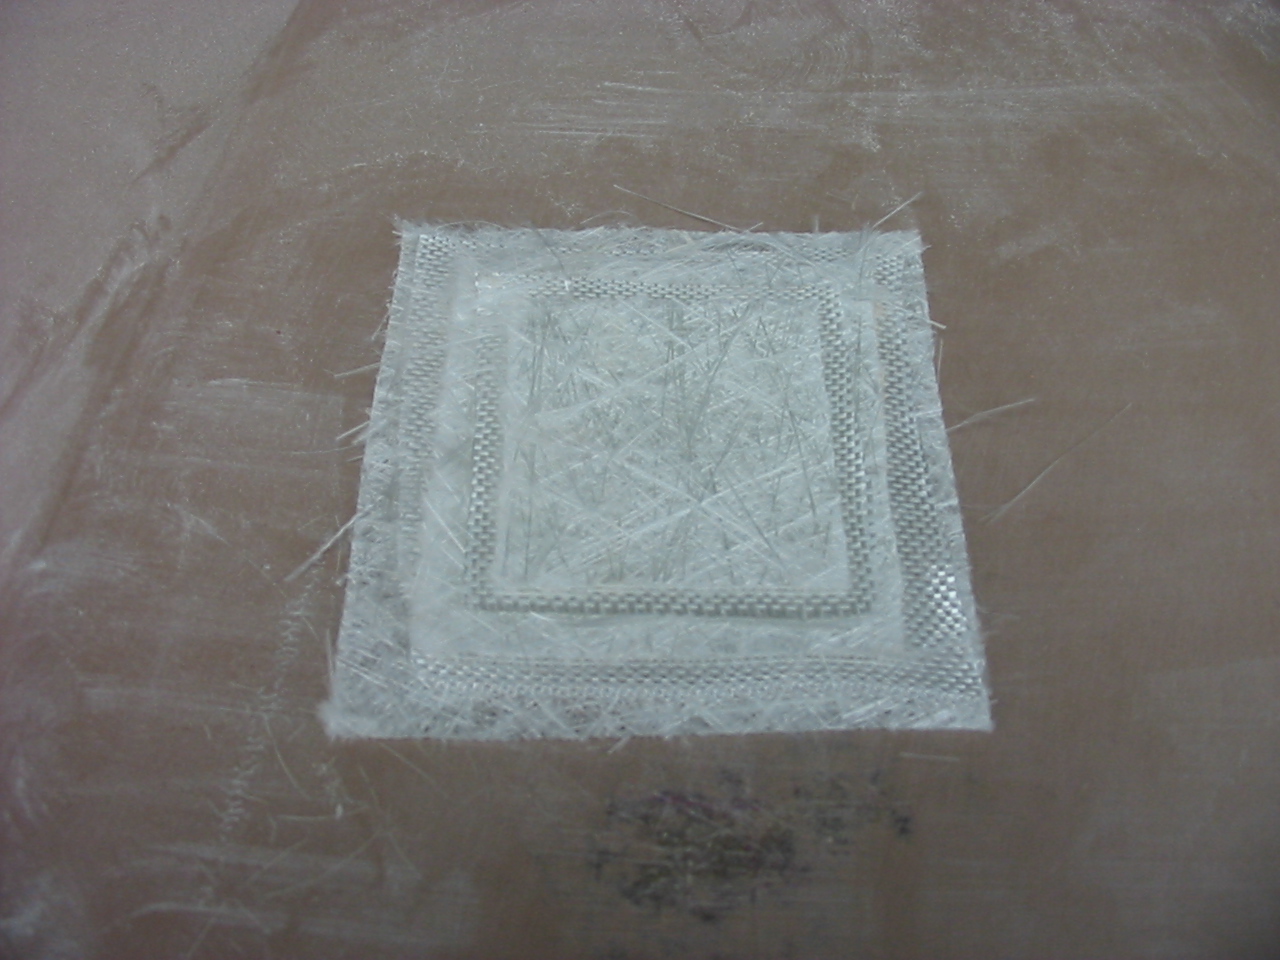
12. Then round off the corners

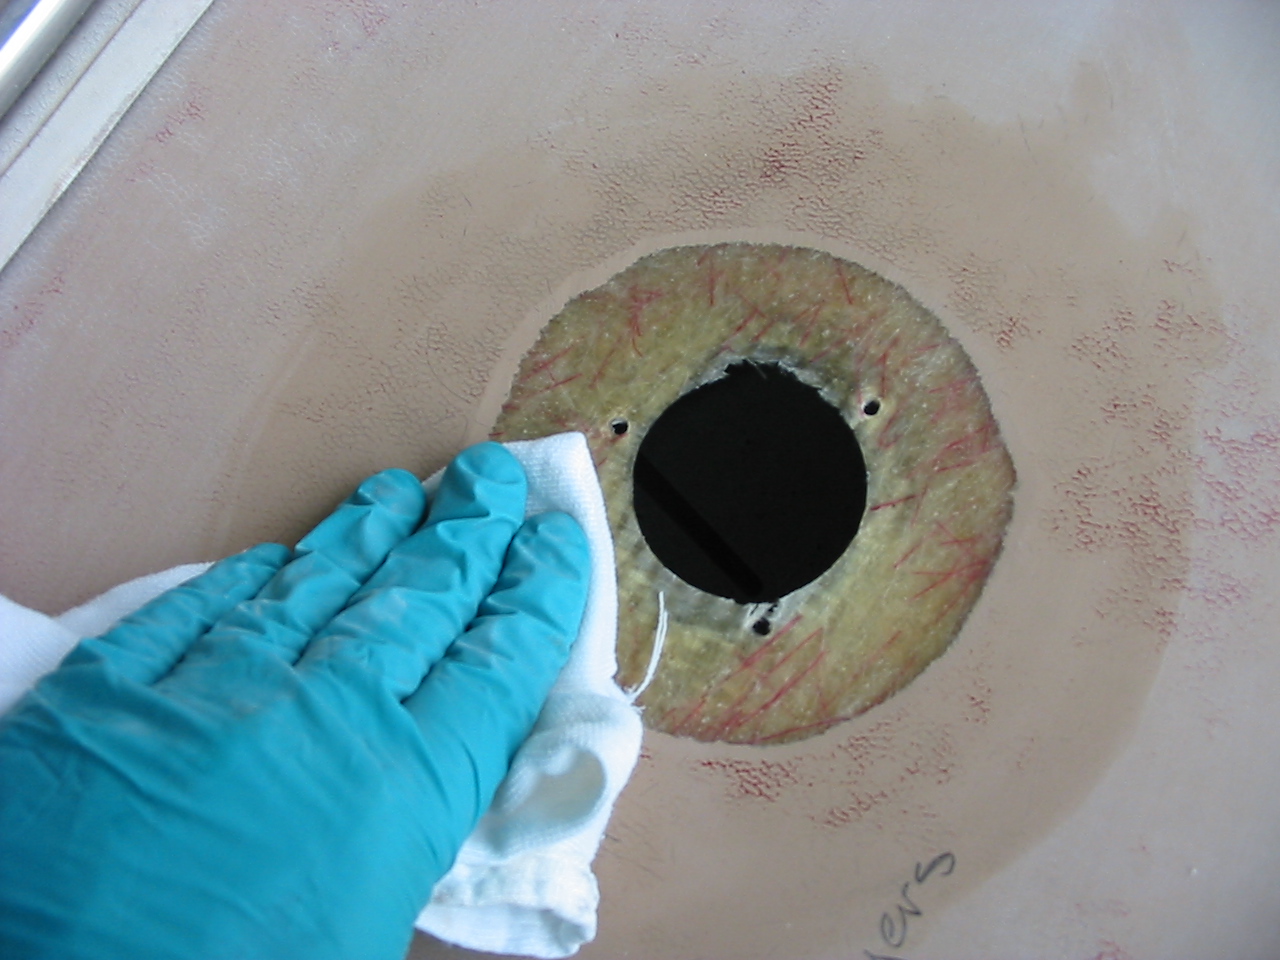
13. Denatured alcohol is used...

14. ...to clean the repair area.
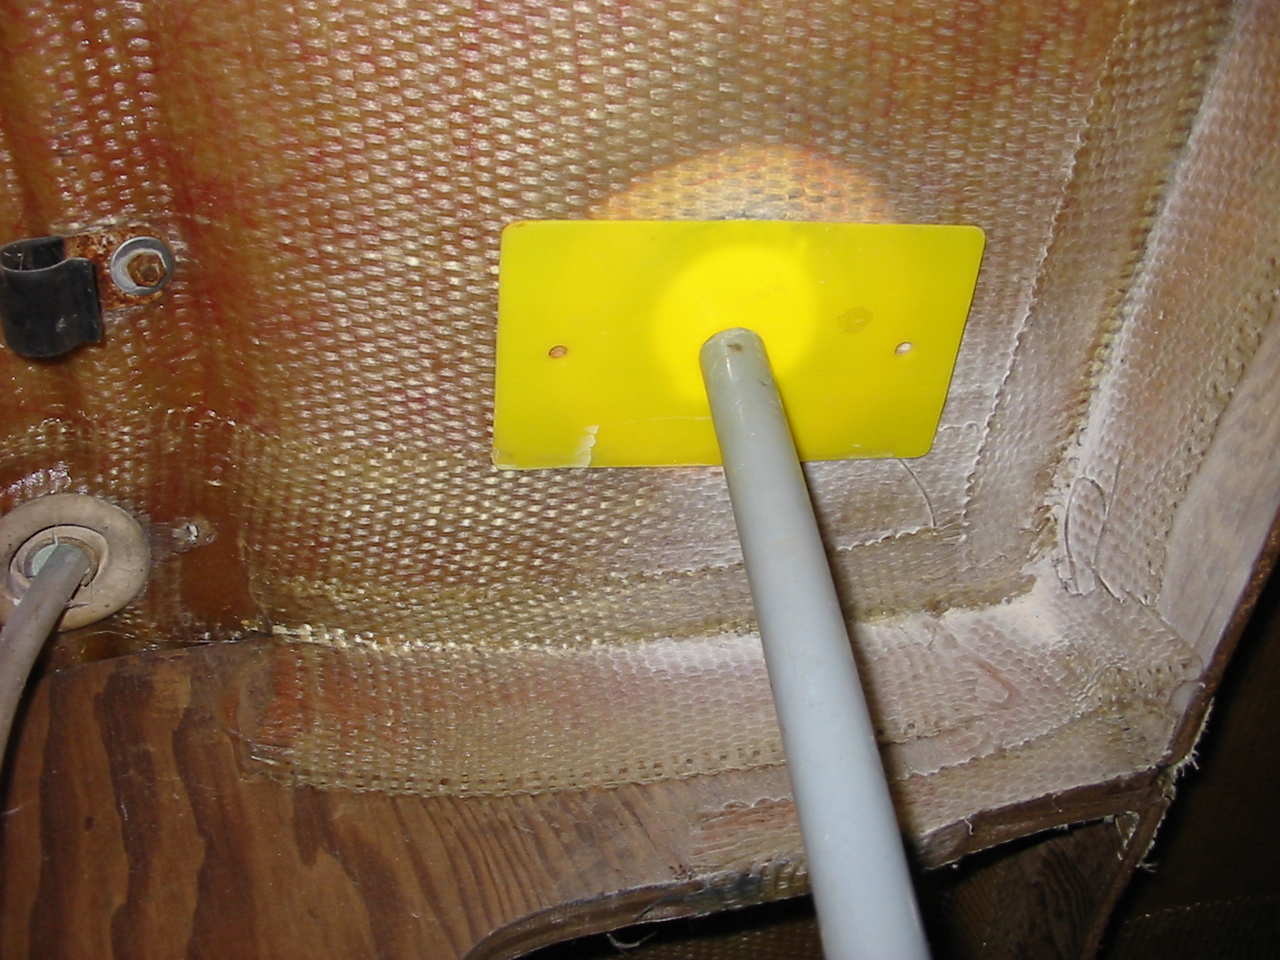
15. The repair must be supported from below to properly compress the layers of fiberglass.
16. A plastic spreader and a scrap piece of pipe does the trick nicely
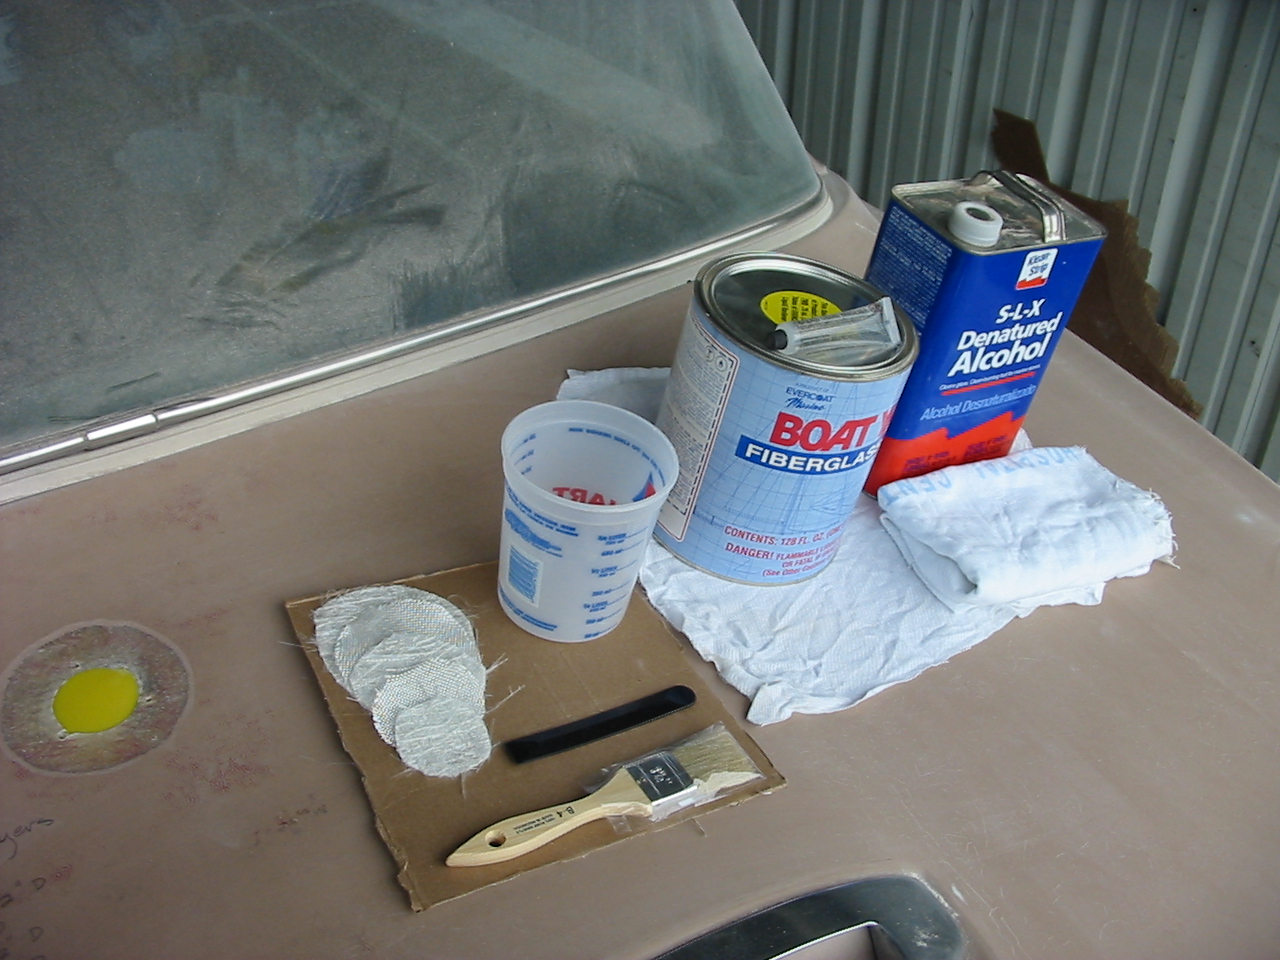
17. The materials. Notice the extra rags and alcohol for clean up.
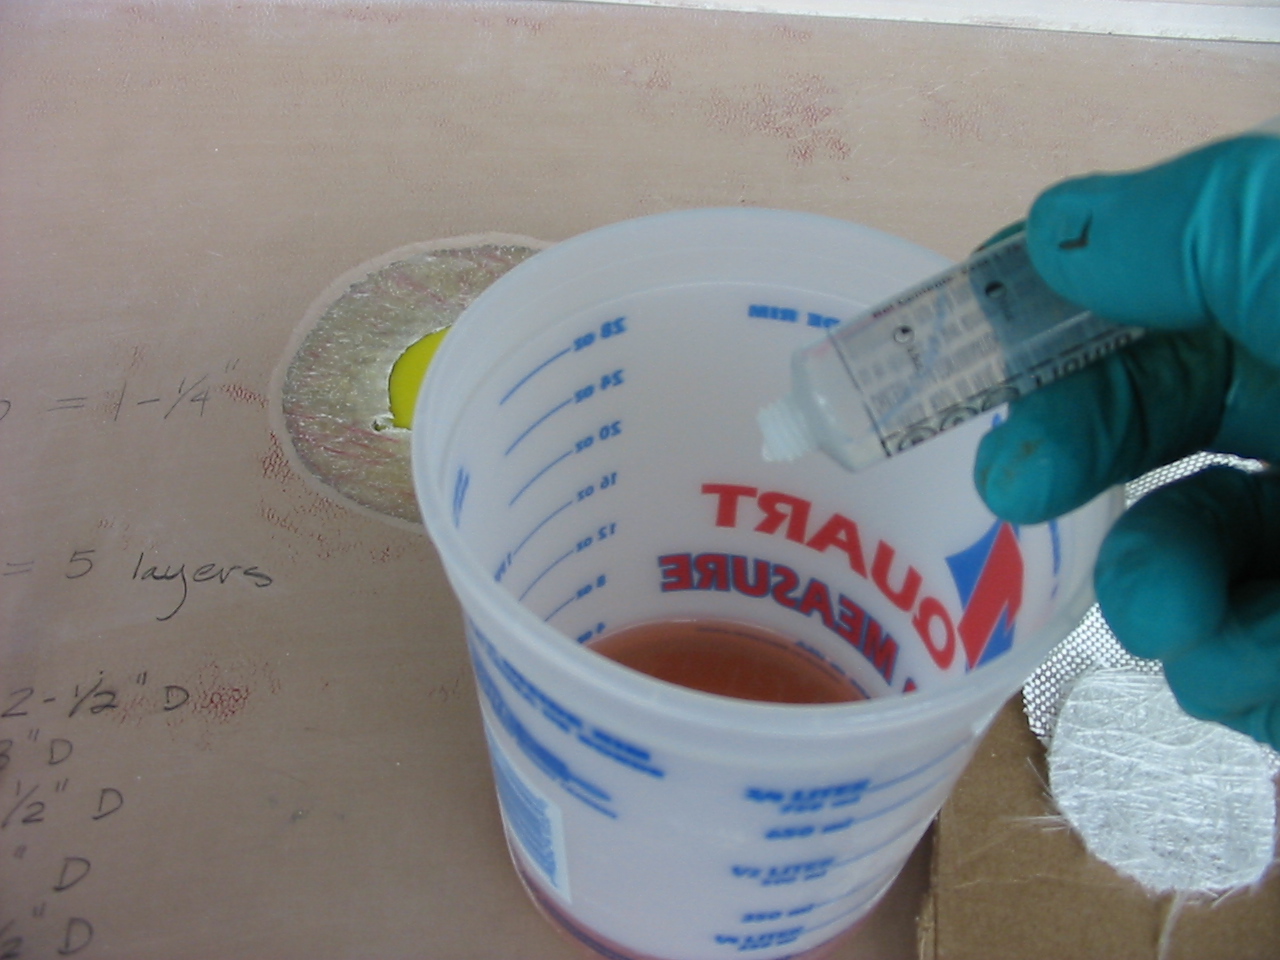
18. Resin is poured, then catalyzed with MEKP at 2% by volume
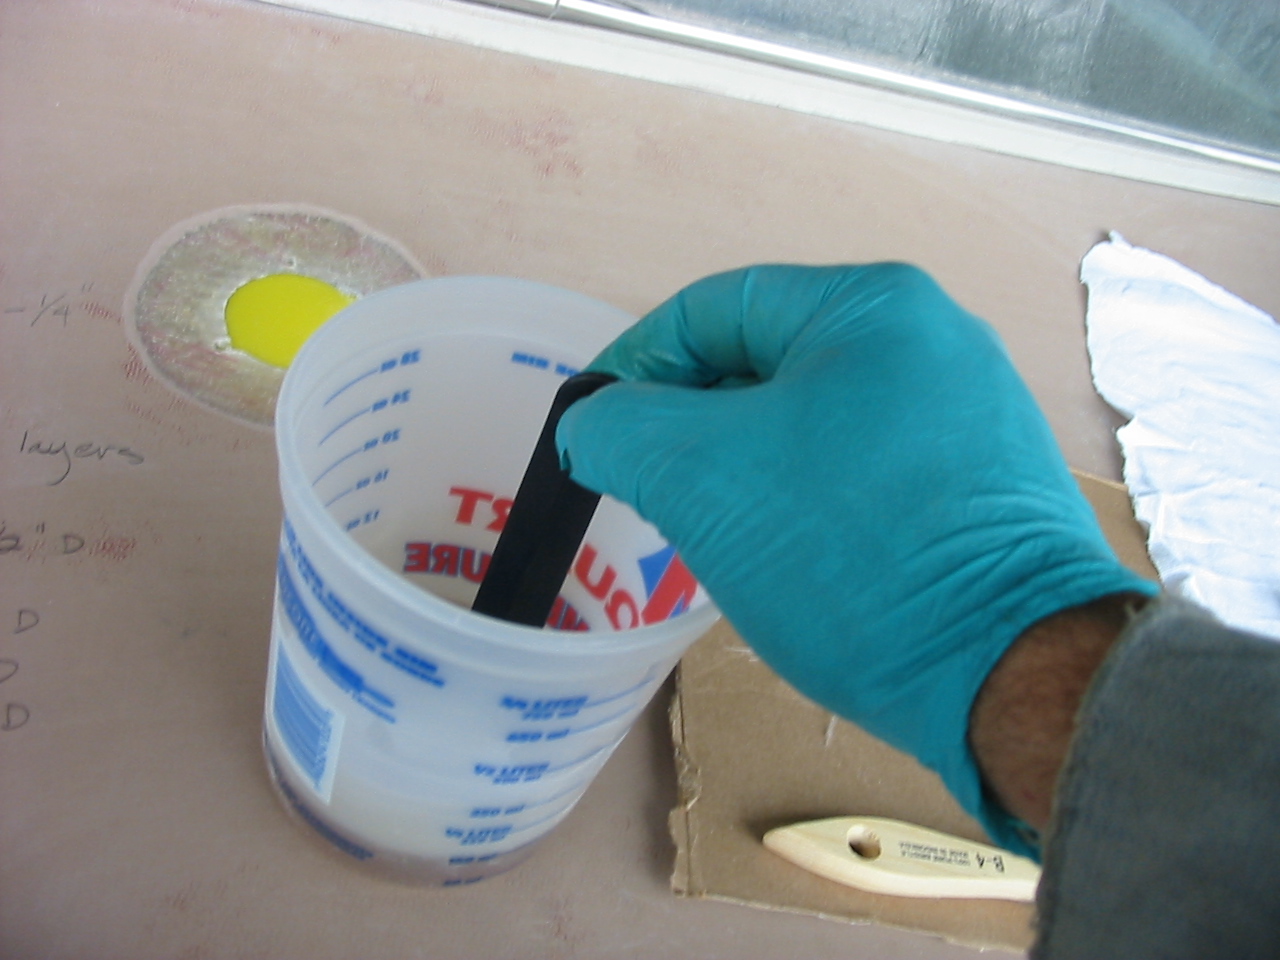
19. Mix the catalyzed resin thoroughly
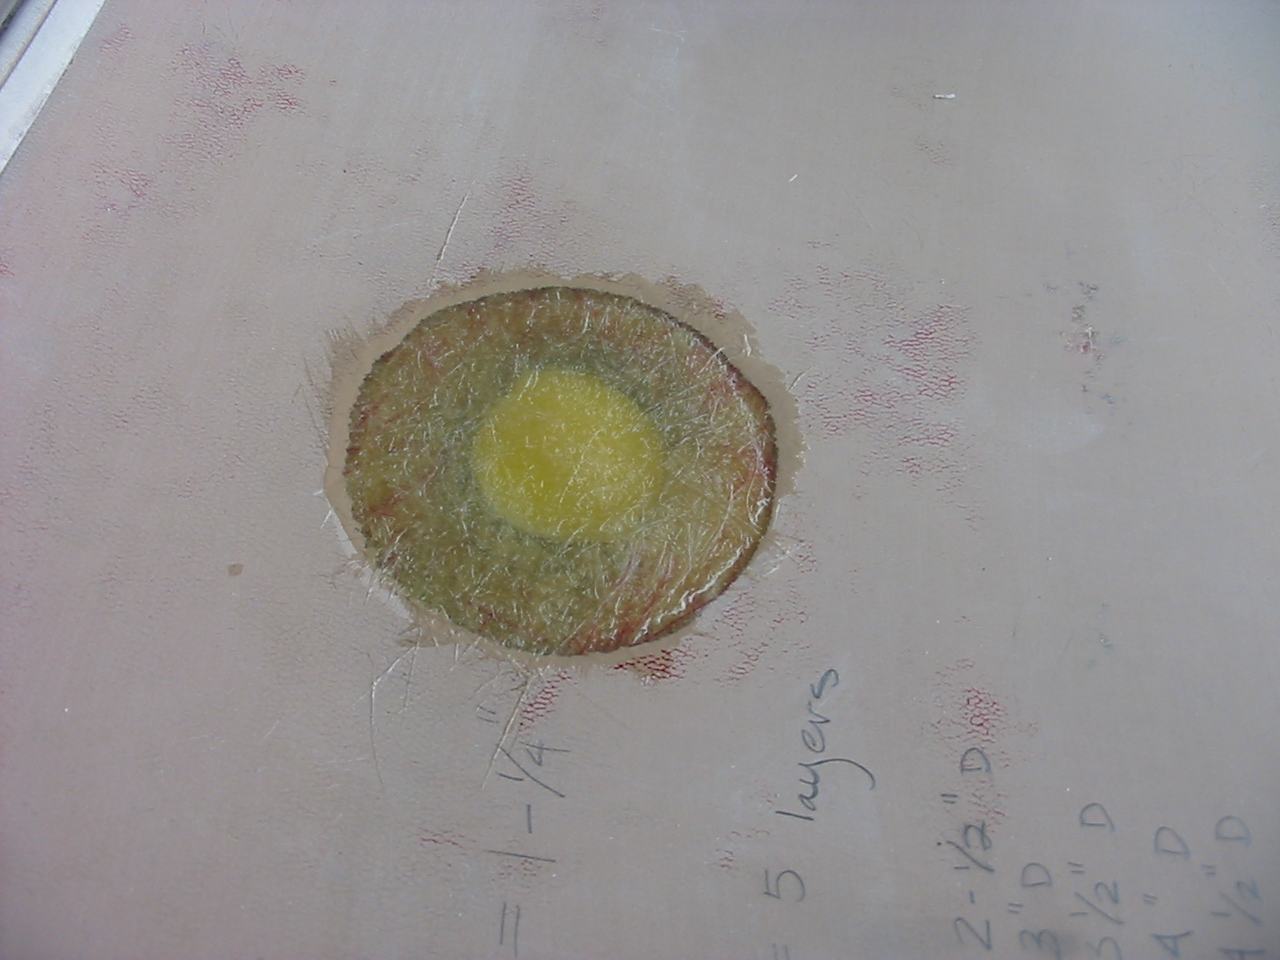
20. Wet the surface area with resin.
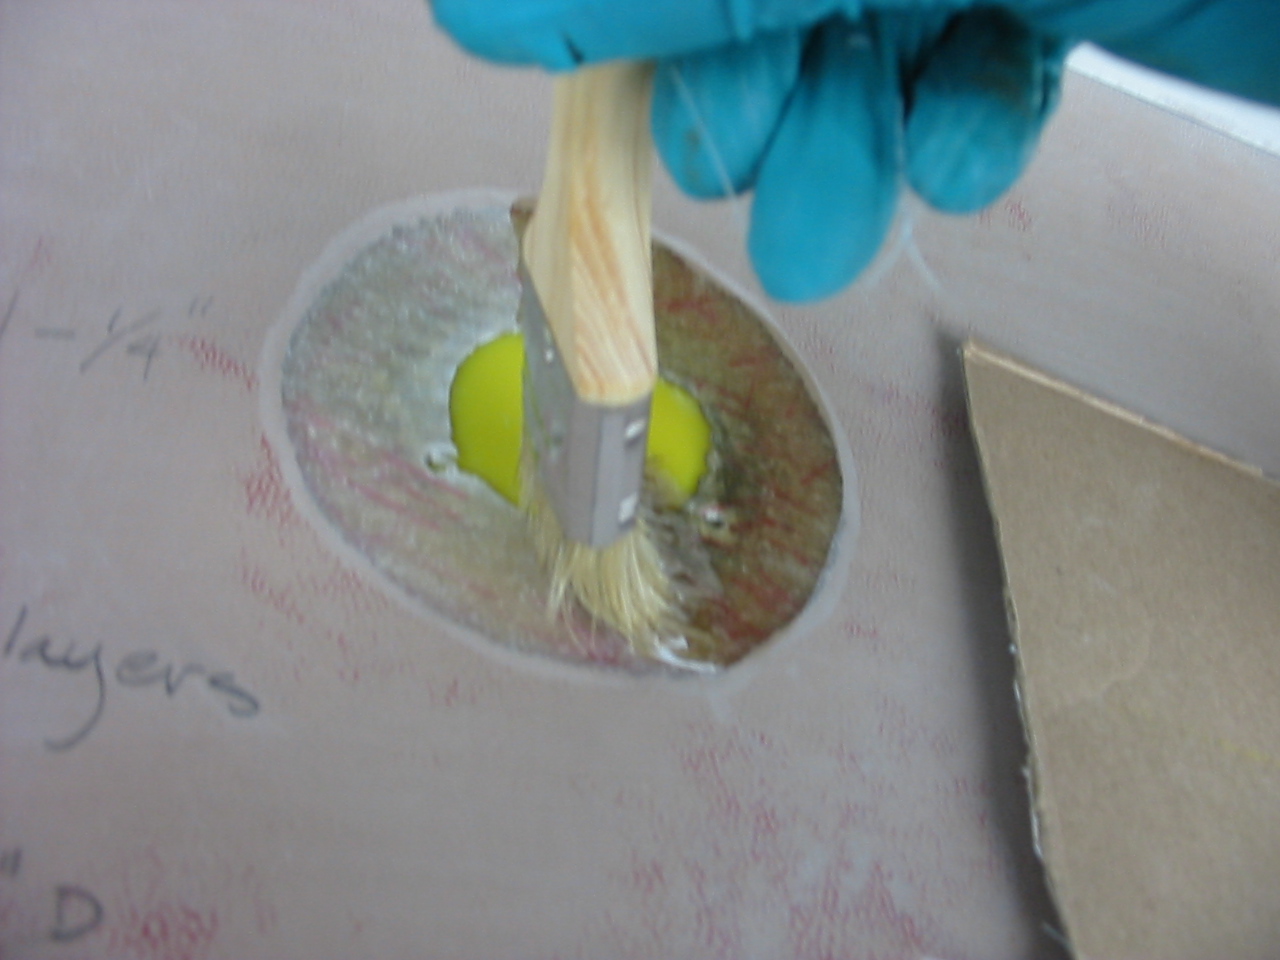
21. Then wet out and add each layer to the repair. Compress the layers with a resin roller or by stipling with a brush.
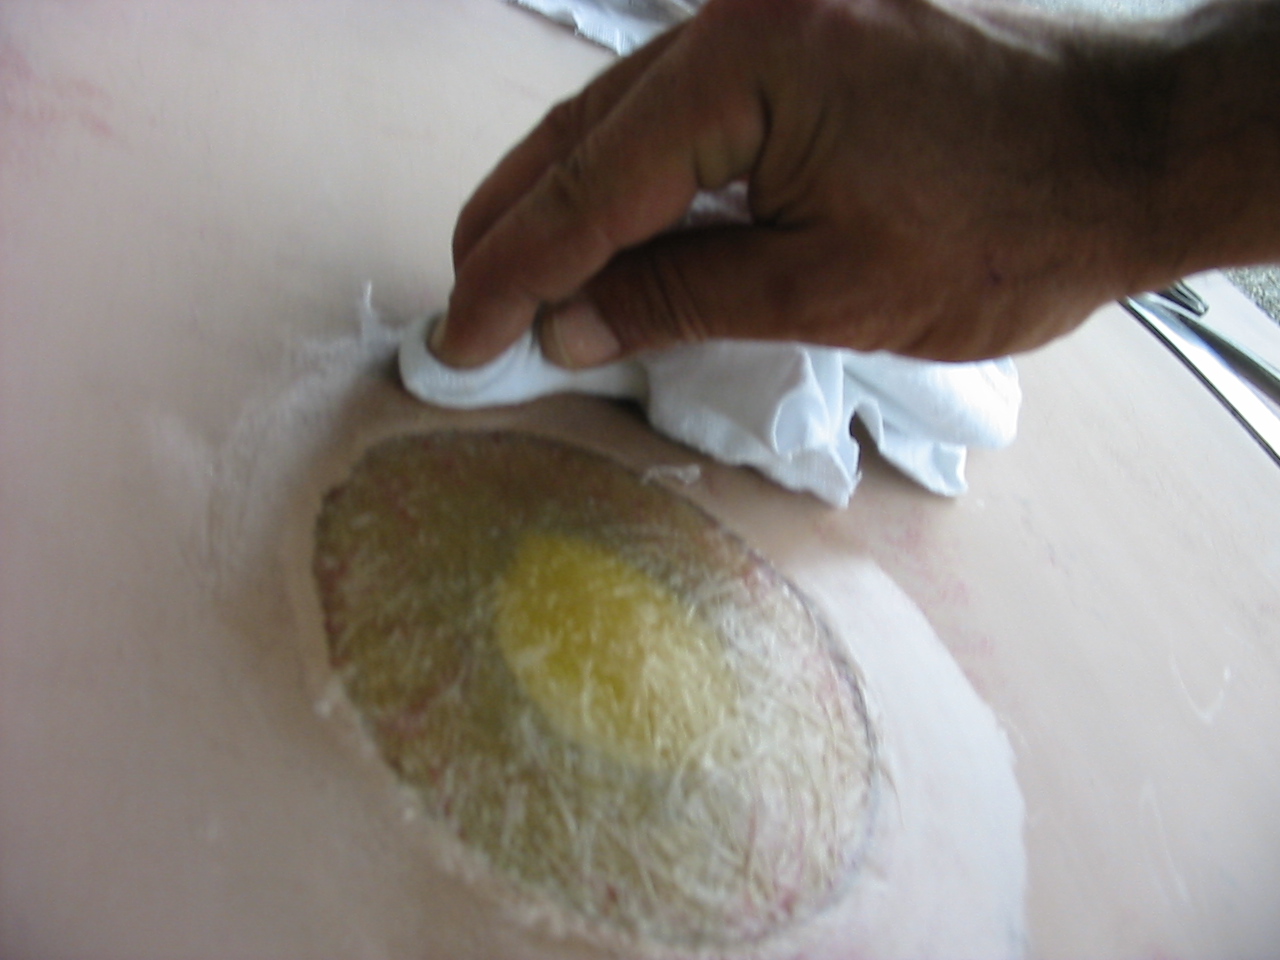
22. Excess resin can be cleaned up with alcohol or acetone. Always wear gloves with acetone
23. Once the fiberglass has kicked, cover surface imperfections with fairing filler
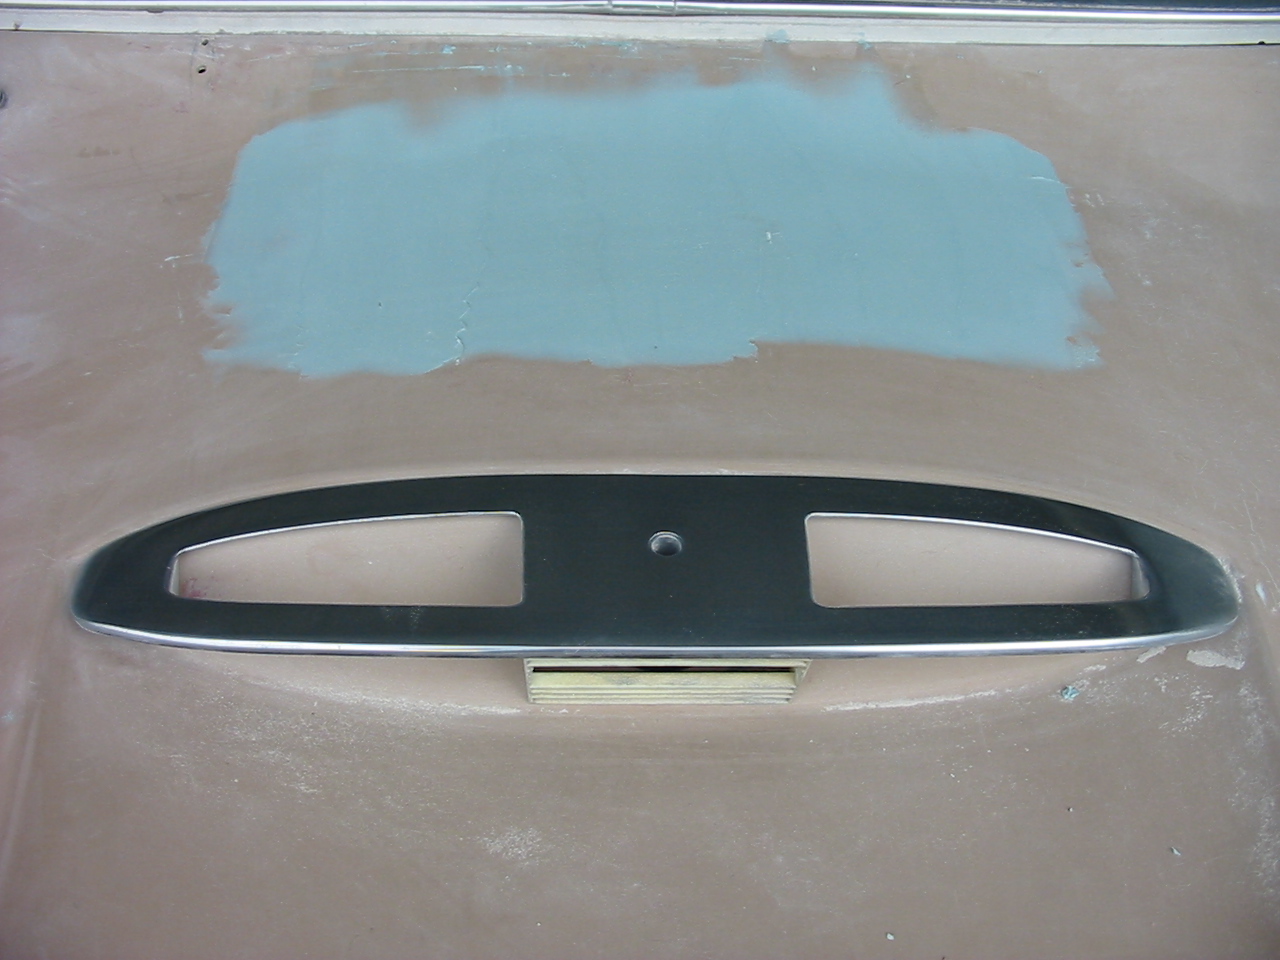
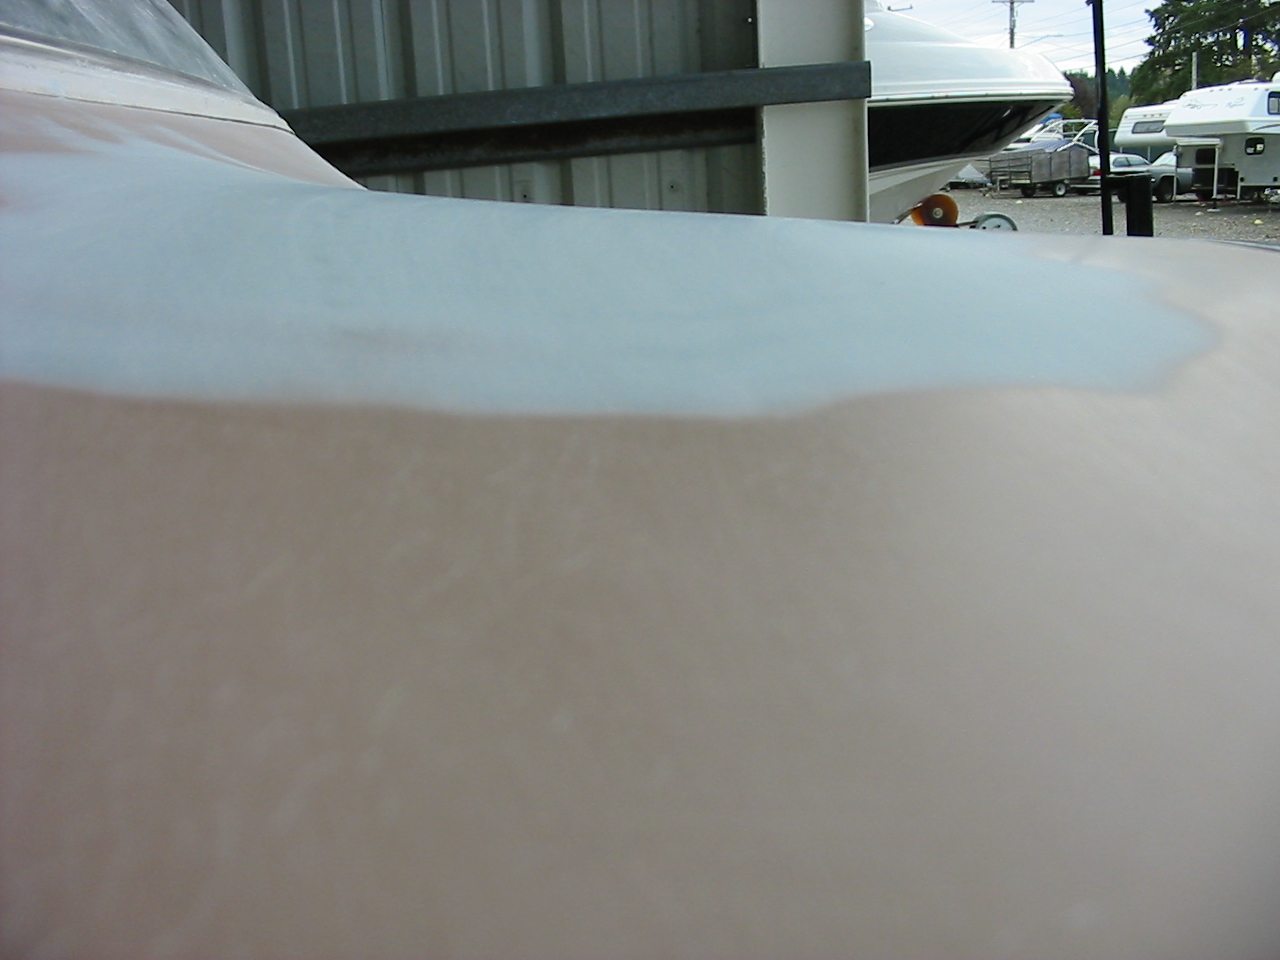
24. Sand it flush and fair. Voila! No more hole.
4. Connecting the hash marks
5. A grinder with an 80 grit flap wheel will give me a nice smooth taper
6. As always, protect yourself (safety glasses too)
7. The repair area tapered back at a 10:1 ratio
8. Which makes the total repair 4-1/2" in diameter
9. Each layer of fiberglass should extend 1/4" beyond the previous layer
10. My fiberglass lay up schedule. Always alternate with layers of mat. Always finish with a layer of mat.
11. The fiberglass cut to a measured square.
12. Then round off the corners
13. Denatured alcohol is used...
14. ...to clean the repair area.
15. The repair must be supported from below to properly compress the layers of fiberglass.
16. A plastic spreader and a scrap piece of pipe does the trick nicely
17. The materials. Notice the extra rags and alcohol for clean up.
18. Resin is poured, then catalyzed with MEKP at 2% by volume
19. Mix the catalyzed resin thoroughly
20. Wet the surface area with resin.
21. Then wet out and add each layer to the repair. Compress the layers with a resin roller or by stipling with a brush.
22. Excess resin can be cleaned up with alcohol or acetone. Always wear gloves with acetone
23. Once the fiberglass has kicked, cover surface imperfections with fairing filler
24. Sand it flush and fair. Voila! No more hole.
Discuss this article
Log in to commentDonate
Please consider supporting our efforts.
Glassified Ads
mercury outboard 35 hp runs needs lower unit bearing w/contr |

Looking for Vollrath Stern Handles( / Parts / Miscellaneous)

03-23-2026
Vintage 1940 set of 2 Dinbec double jointed boat seat hinges( / Parts / Miscellaneous)
03-16-2026


FG Login

Who's Online
We have 4800 guests and no members online