|
Welcome,
Guest
|
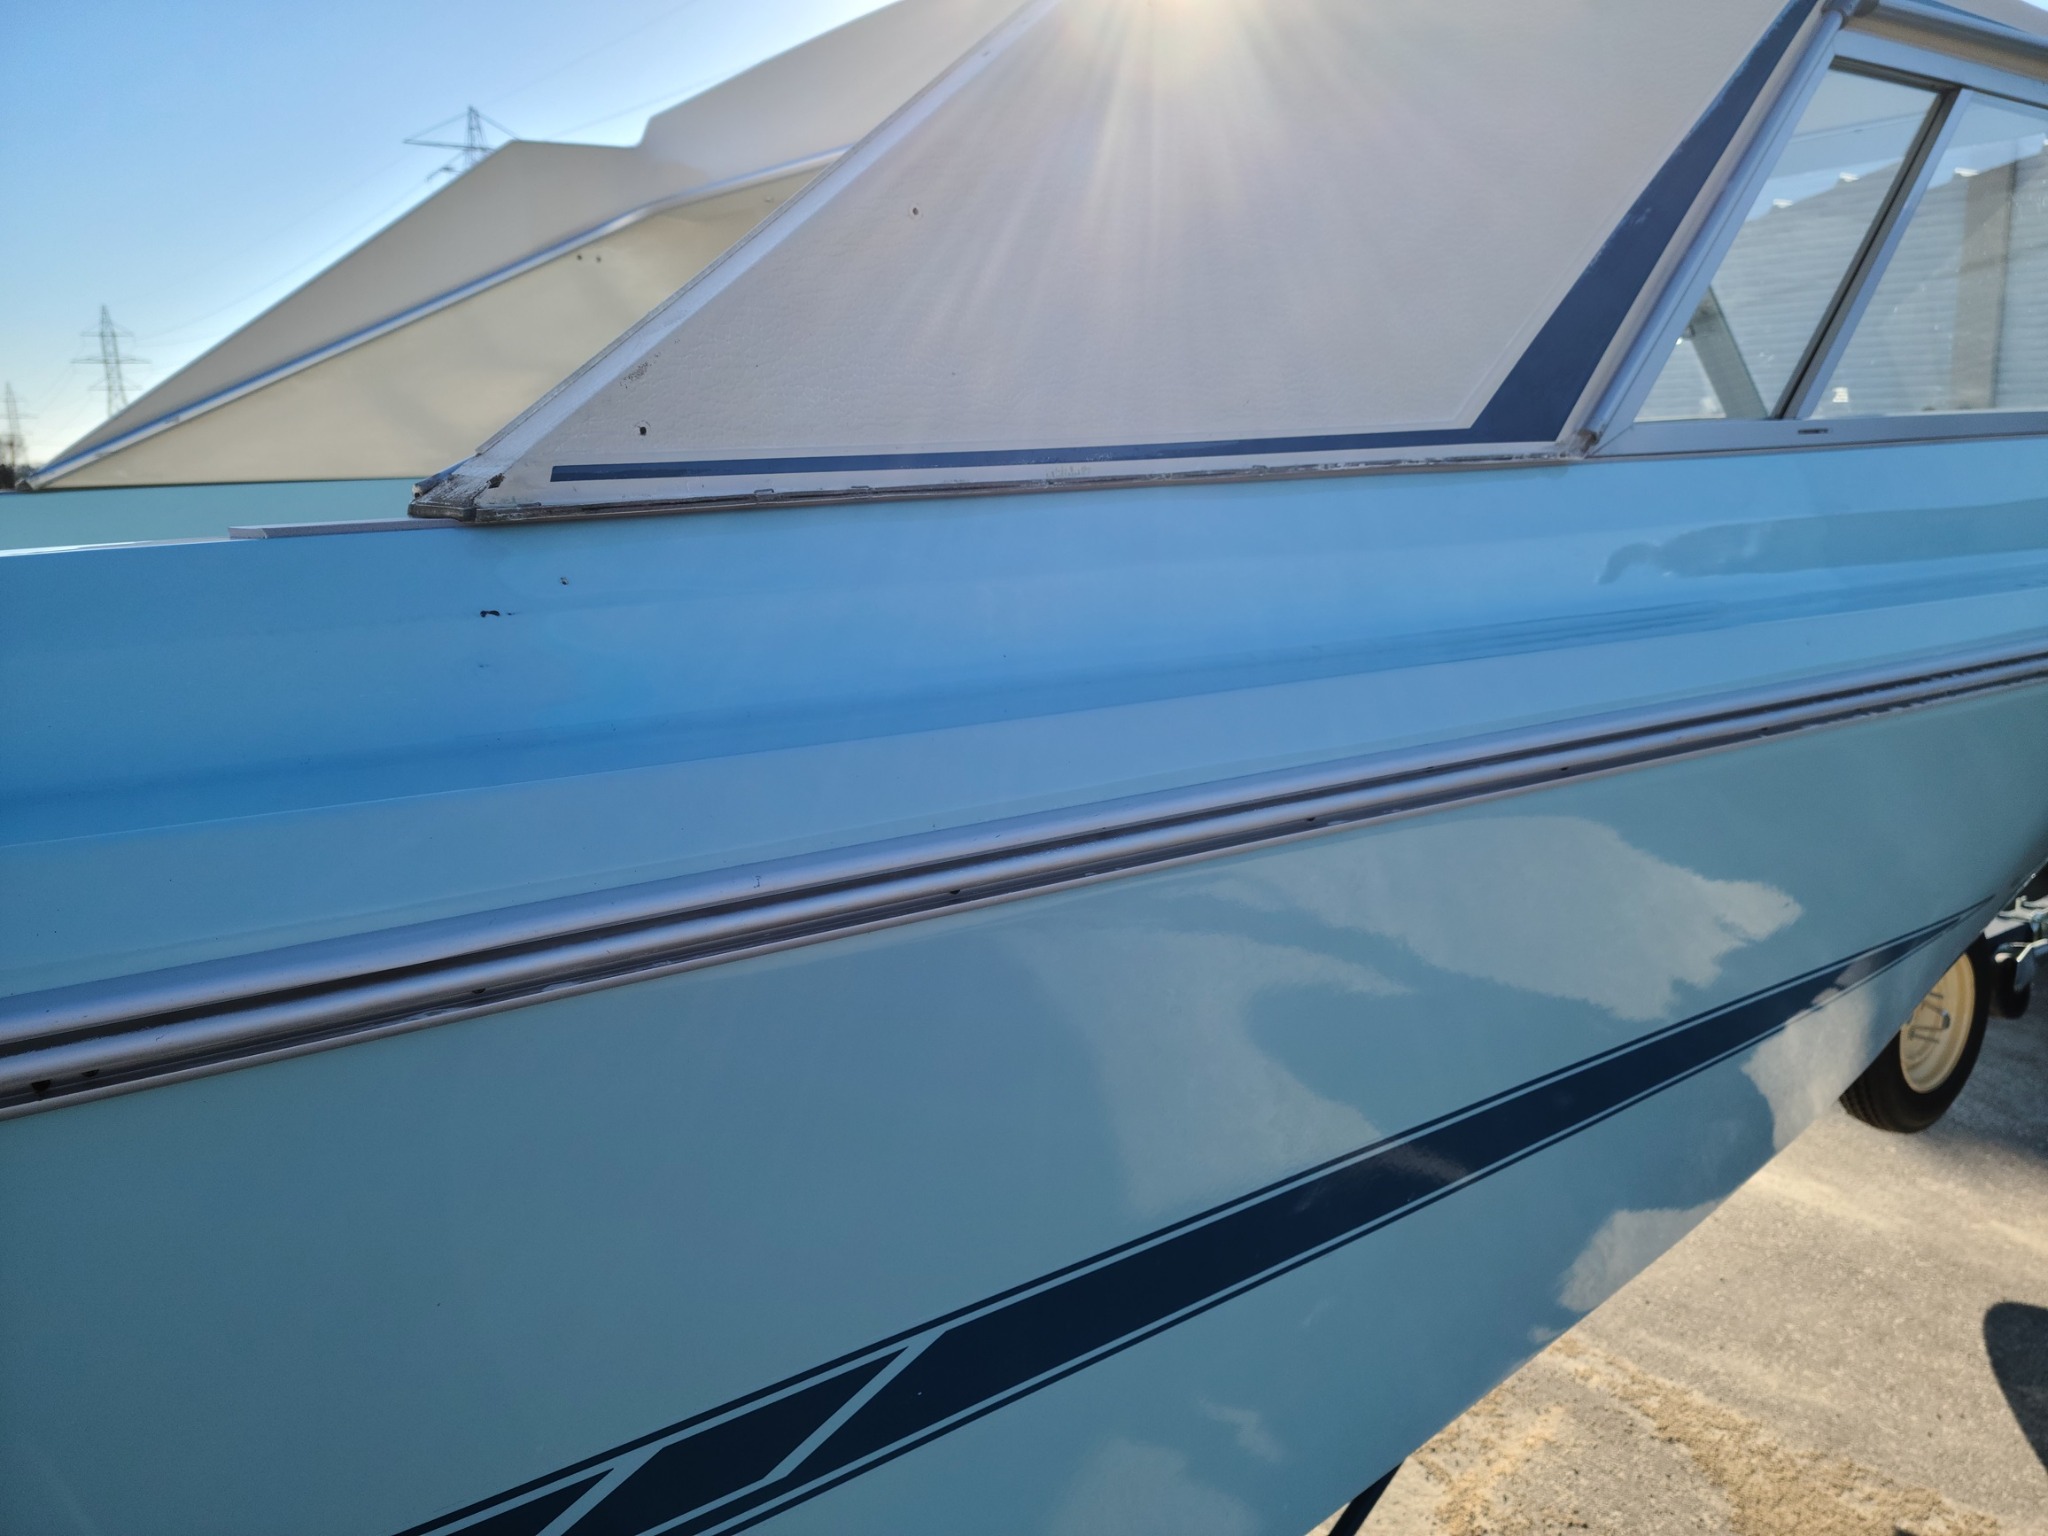
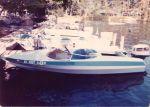
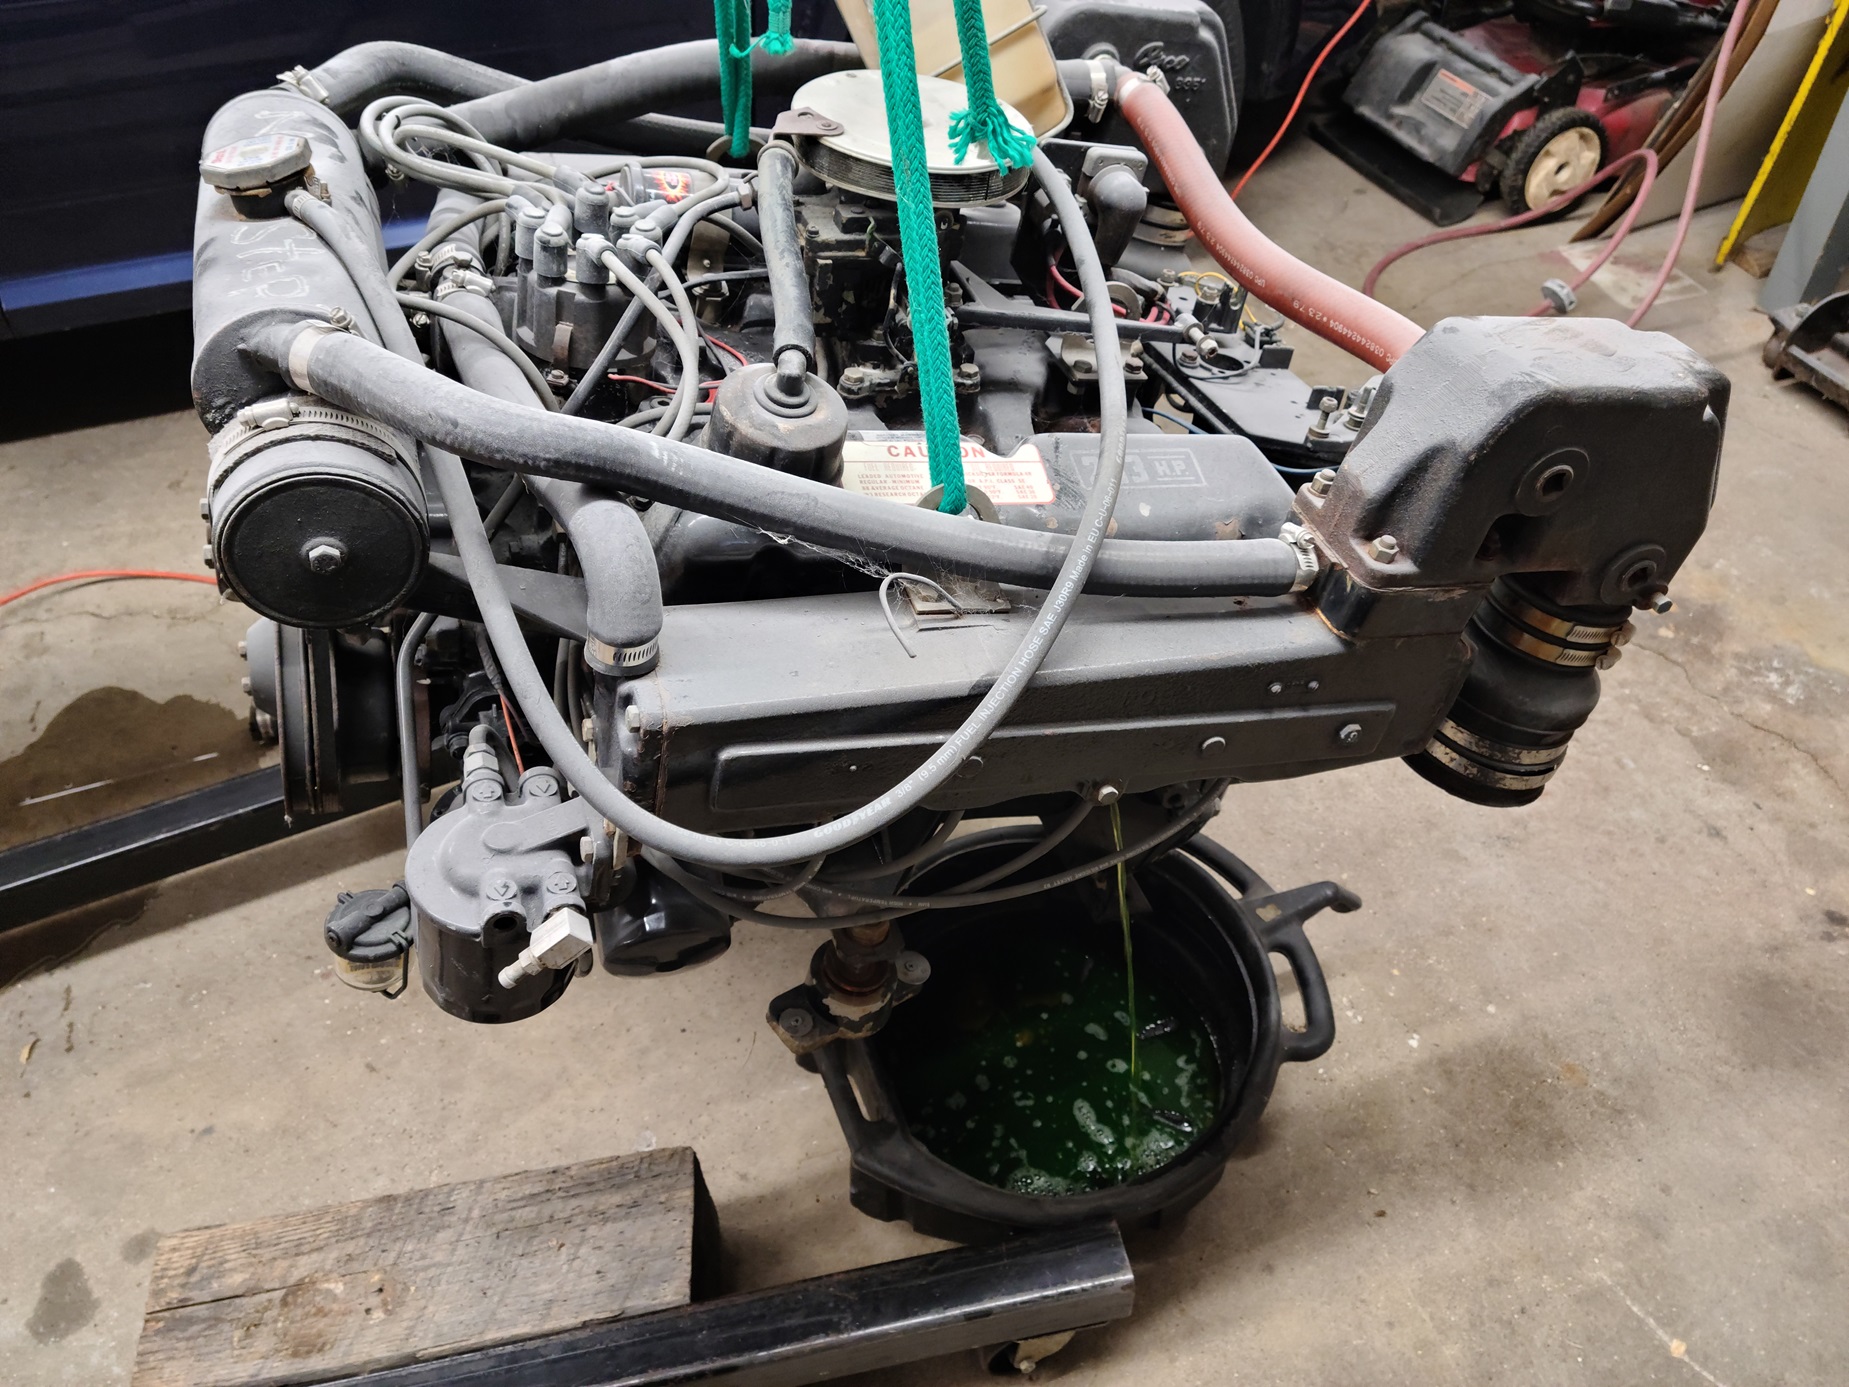
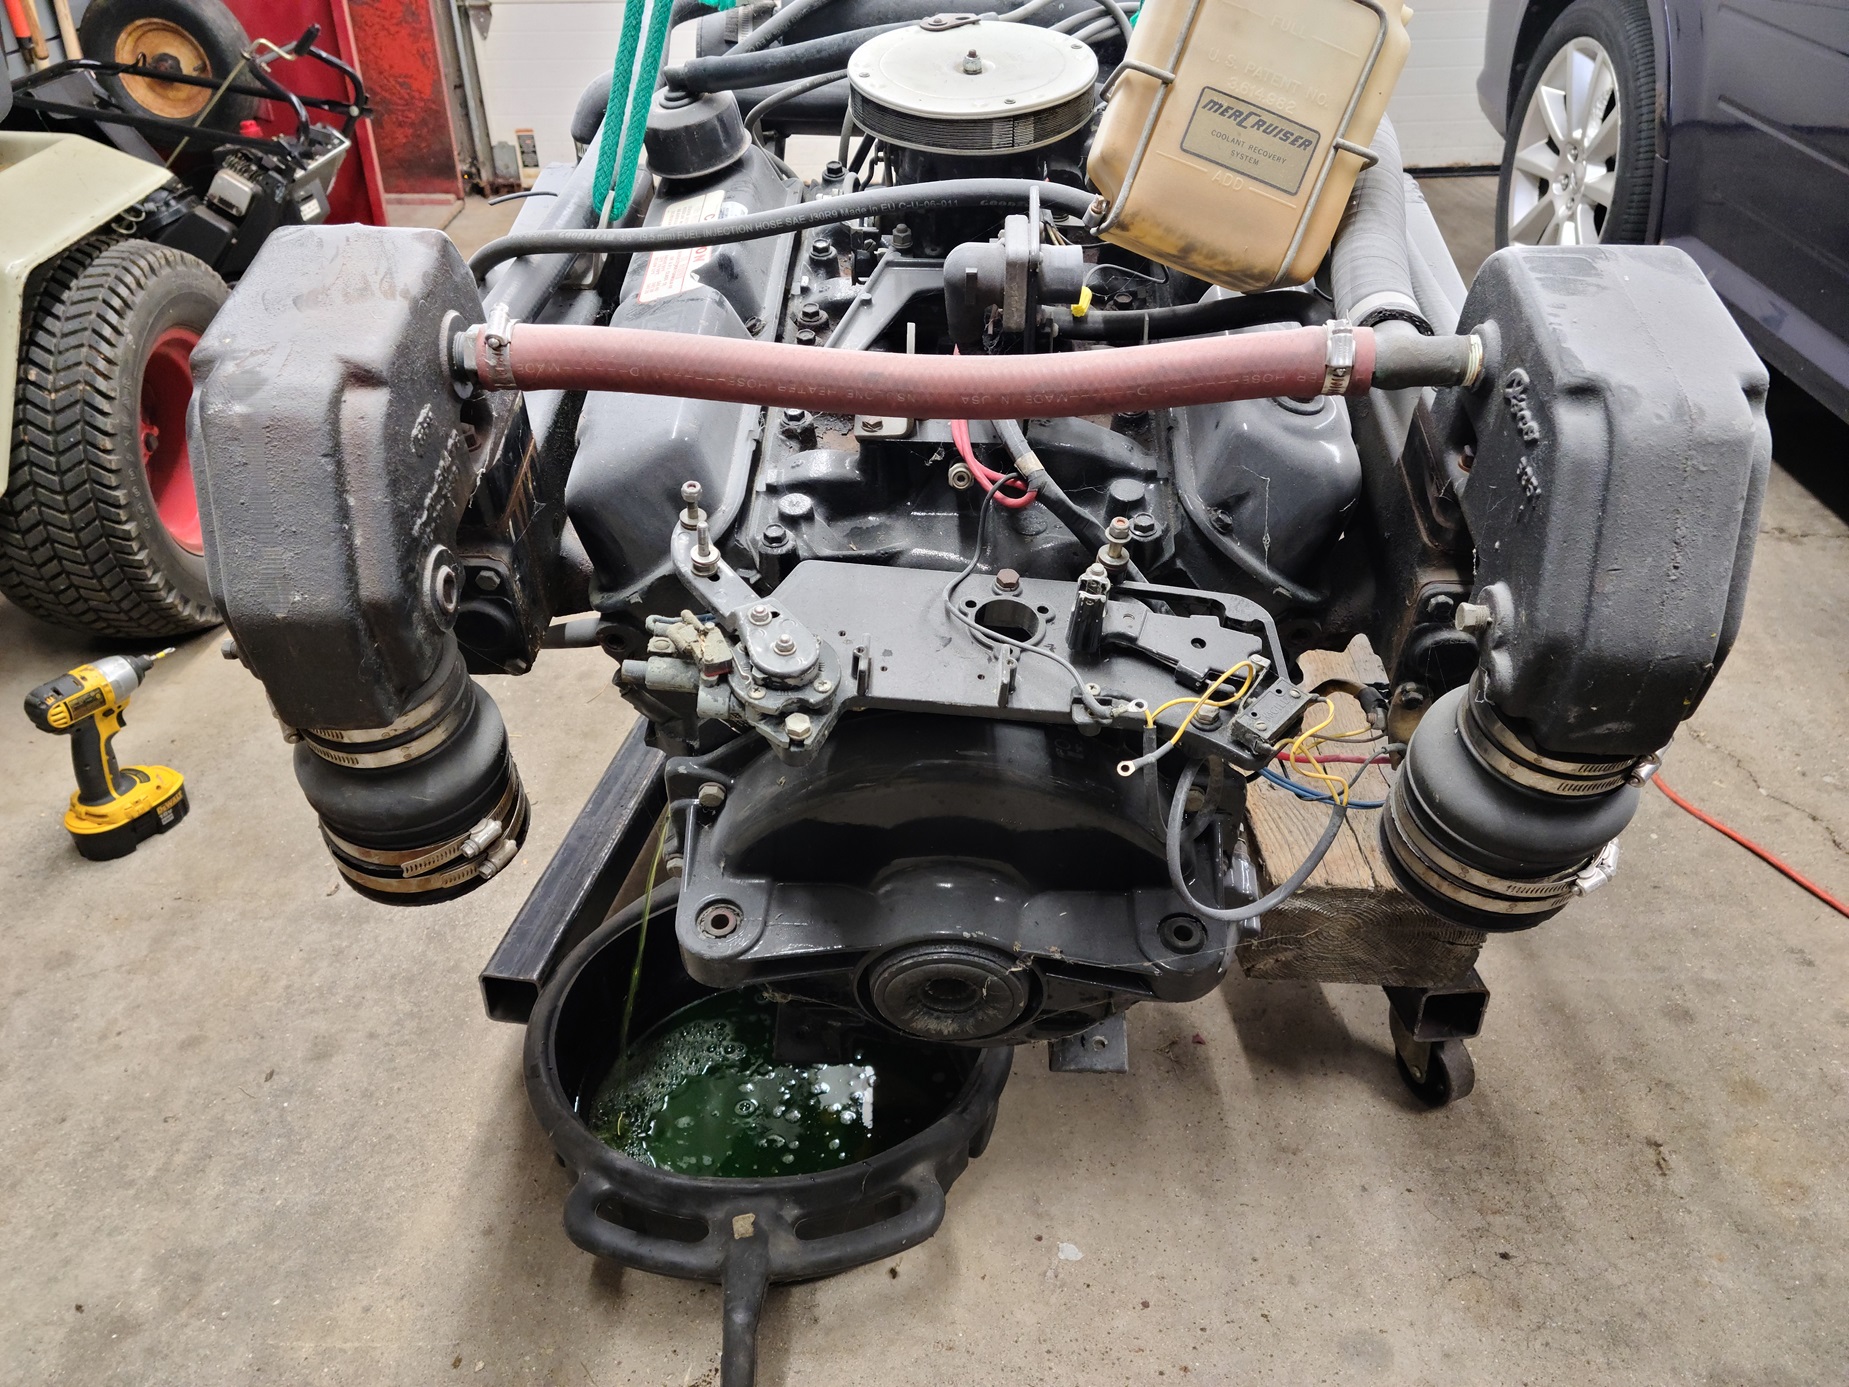
TOPIC: 1971 Glasspar Newport Cruiser - Rejuvenation
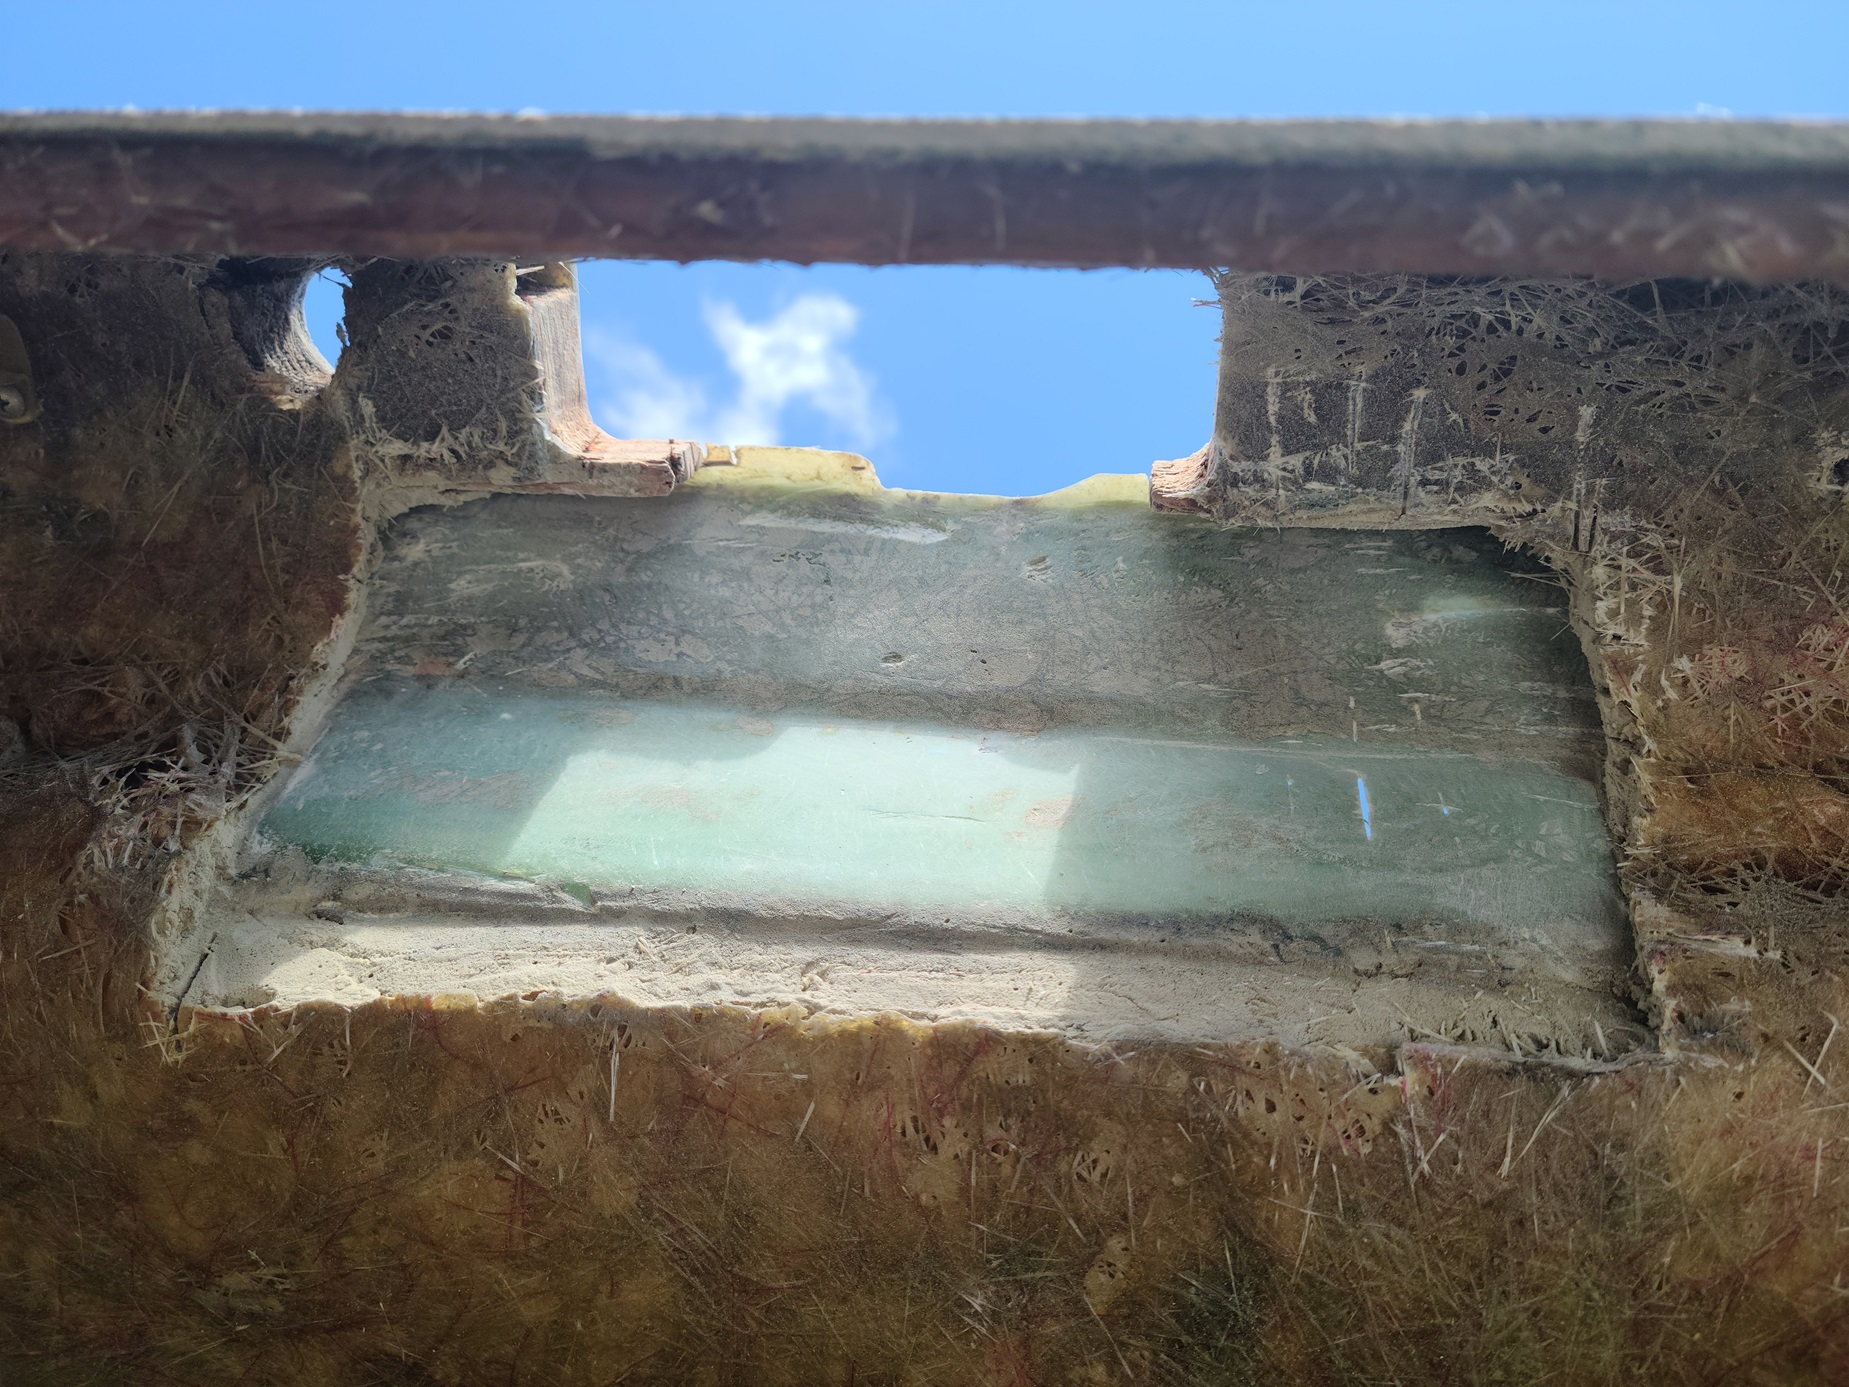
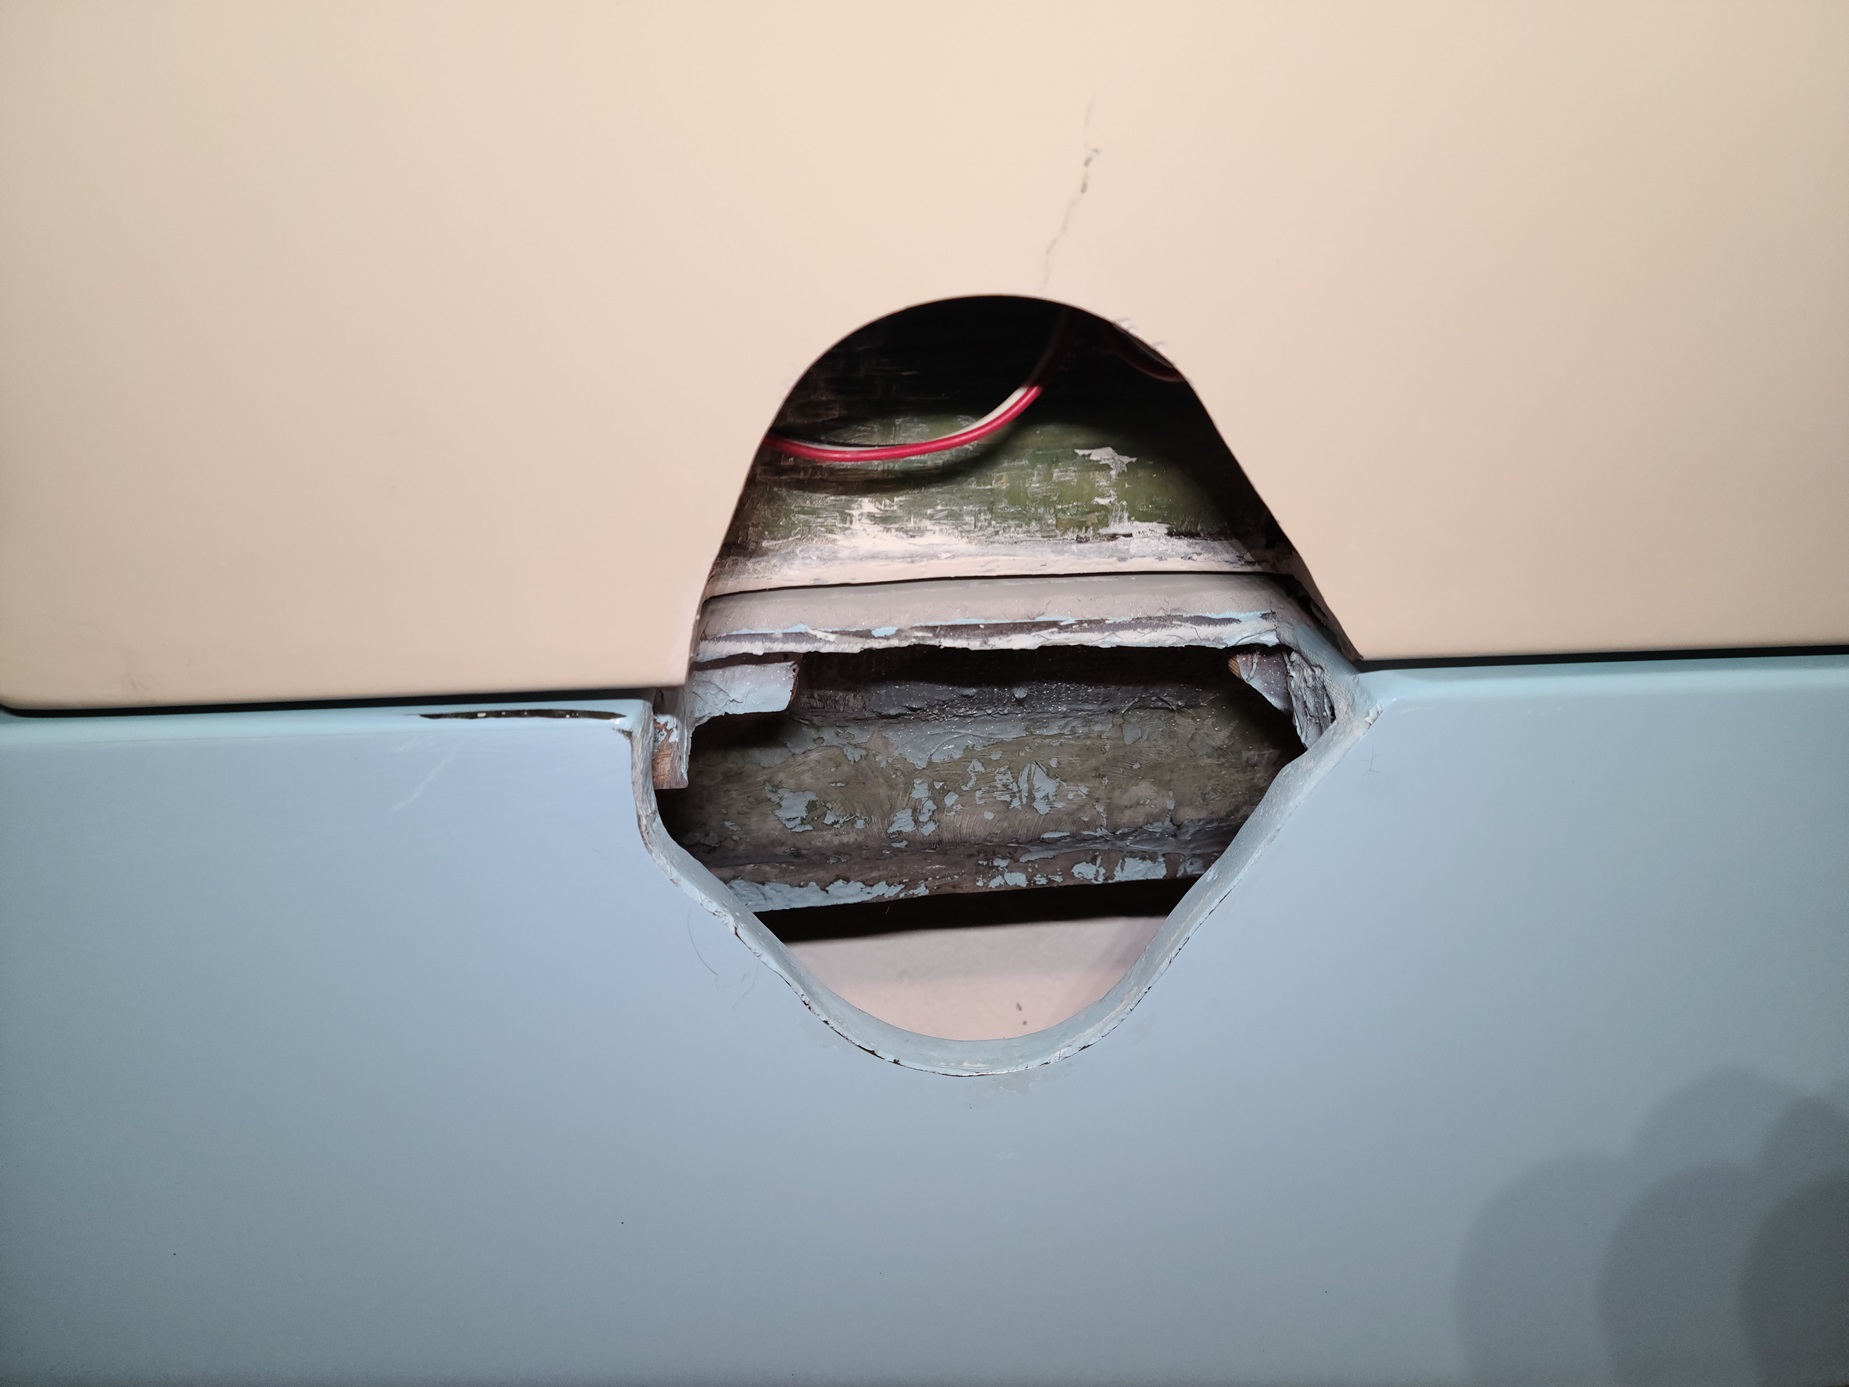
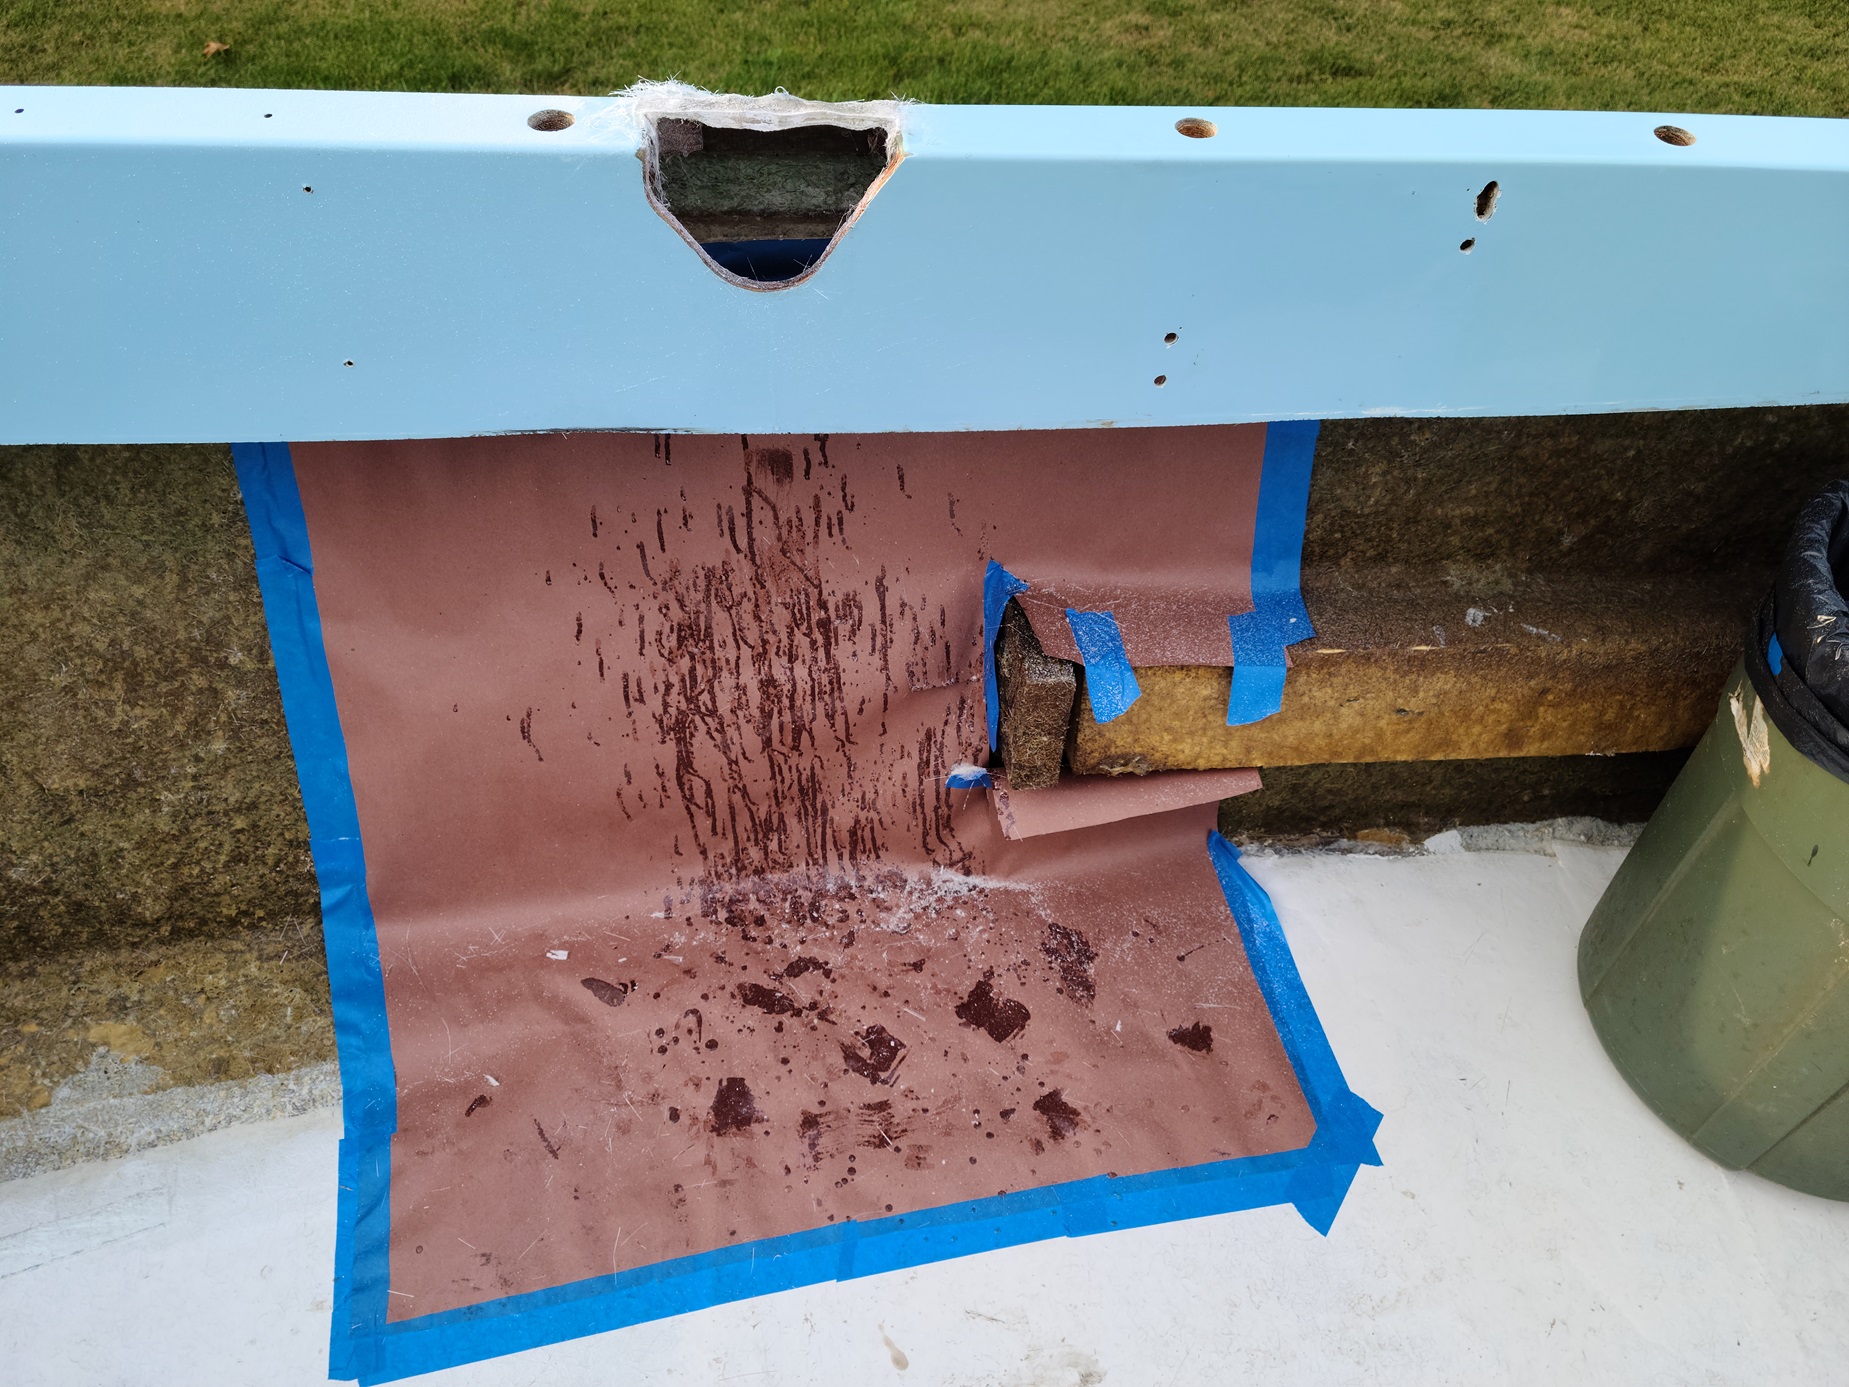
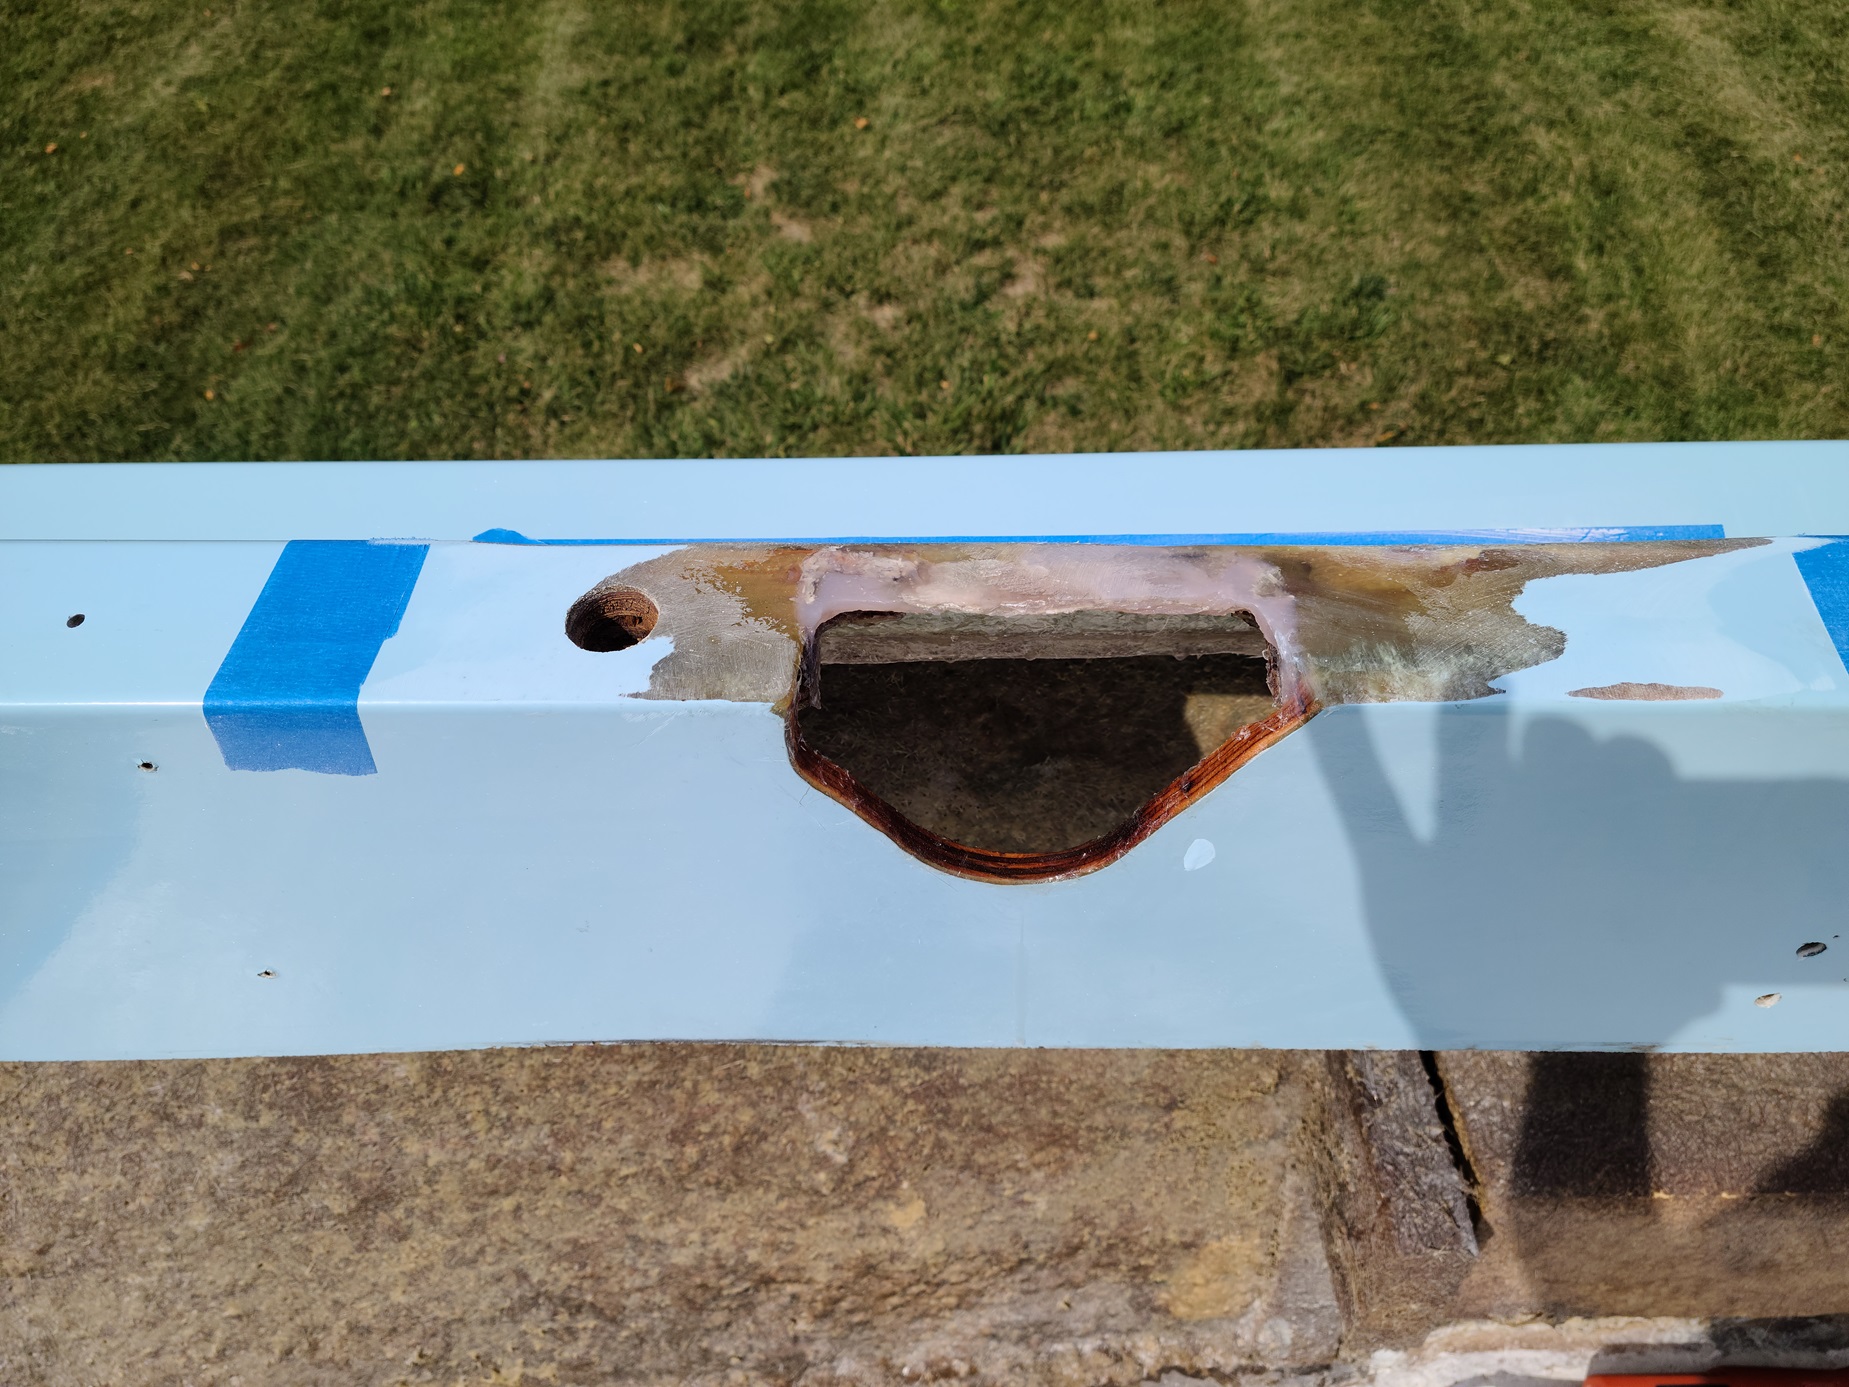
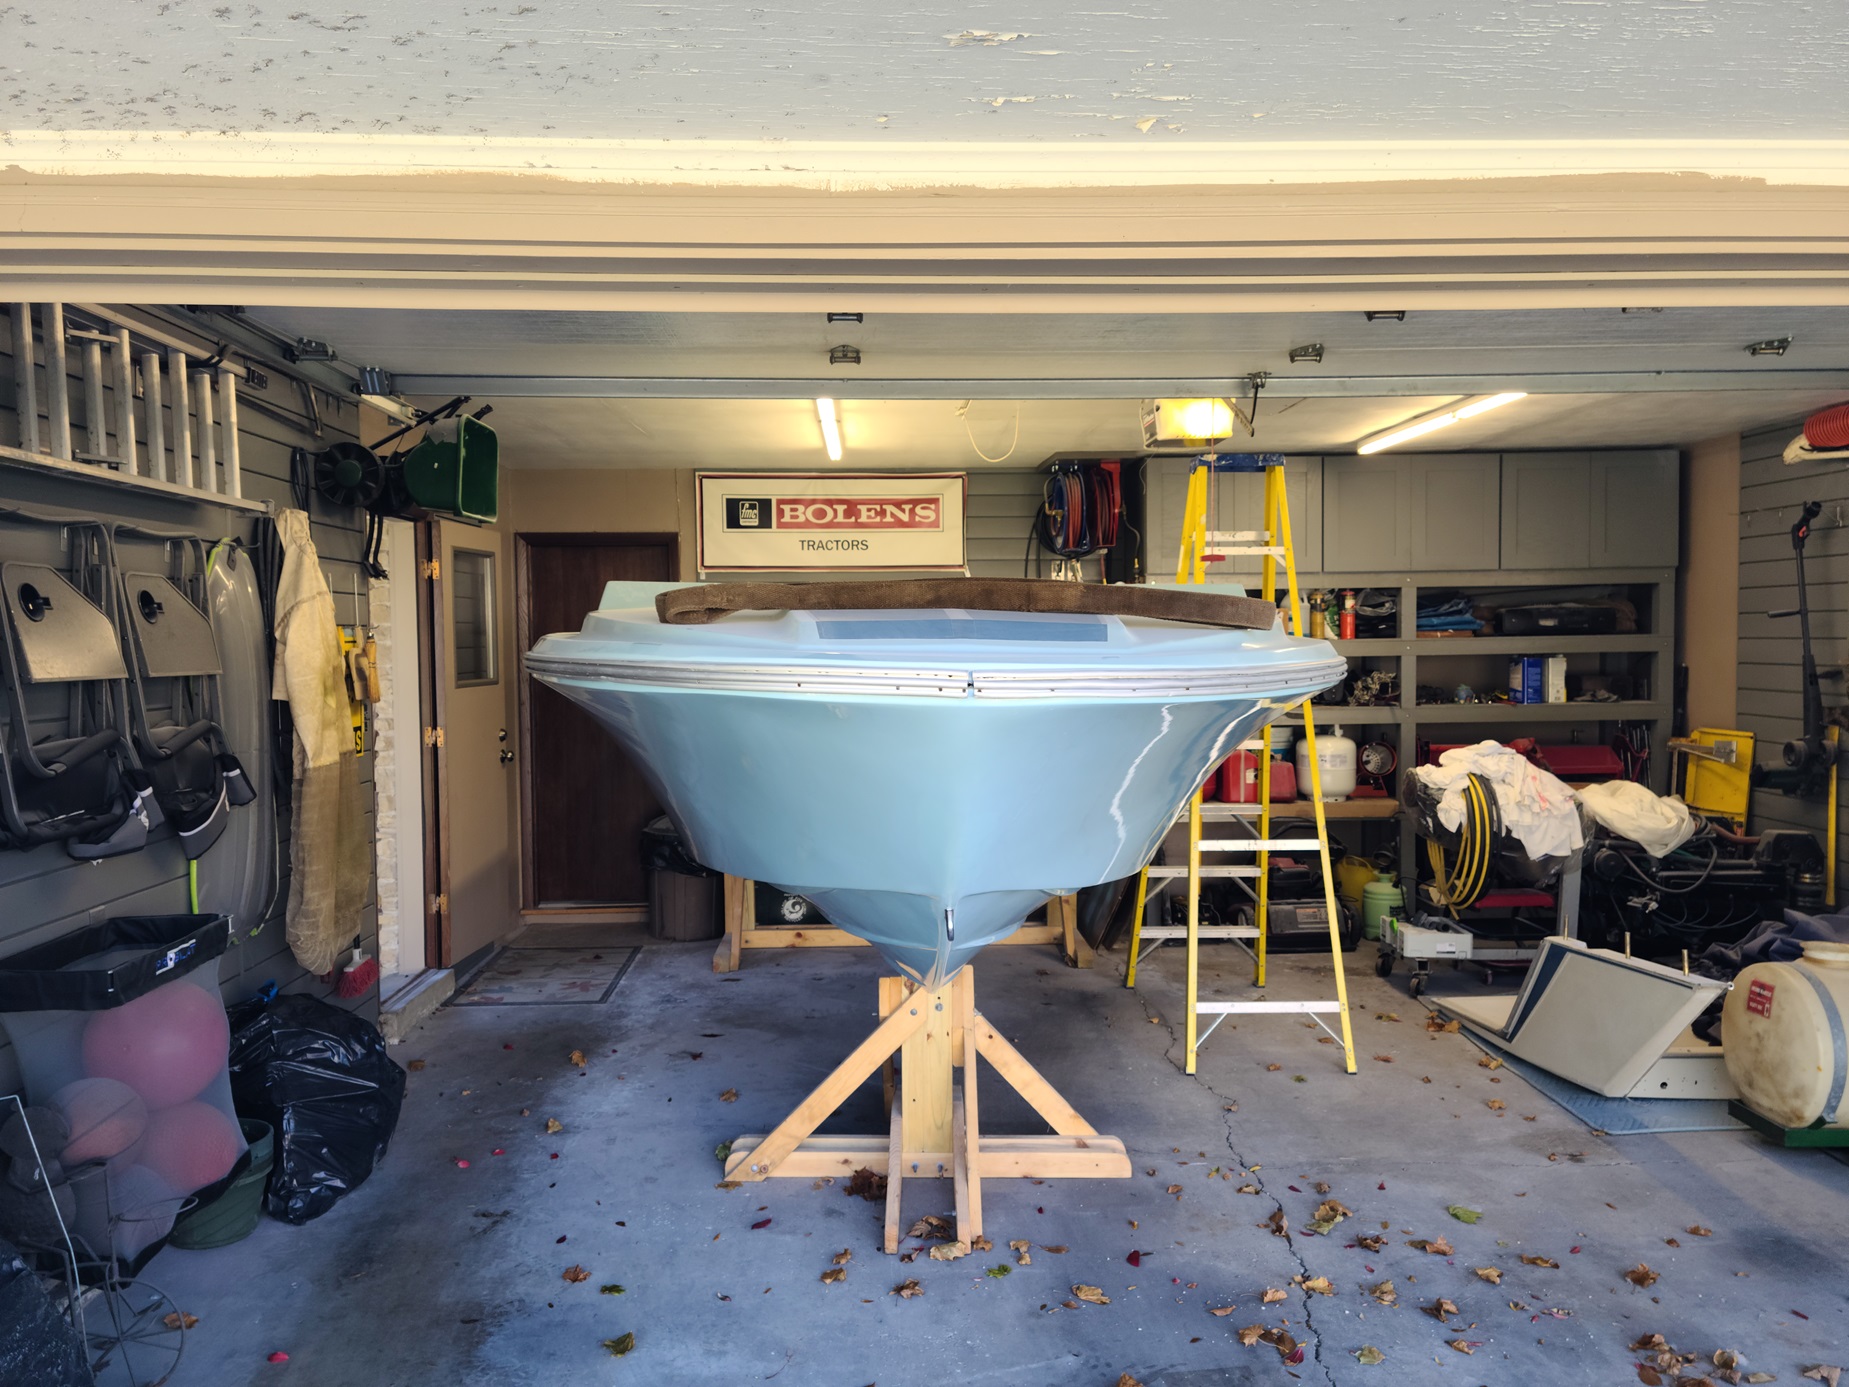
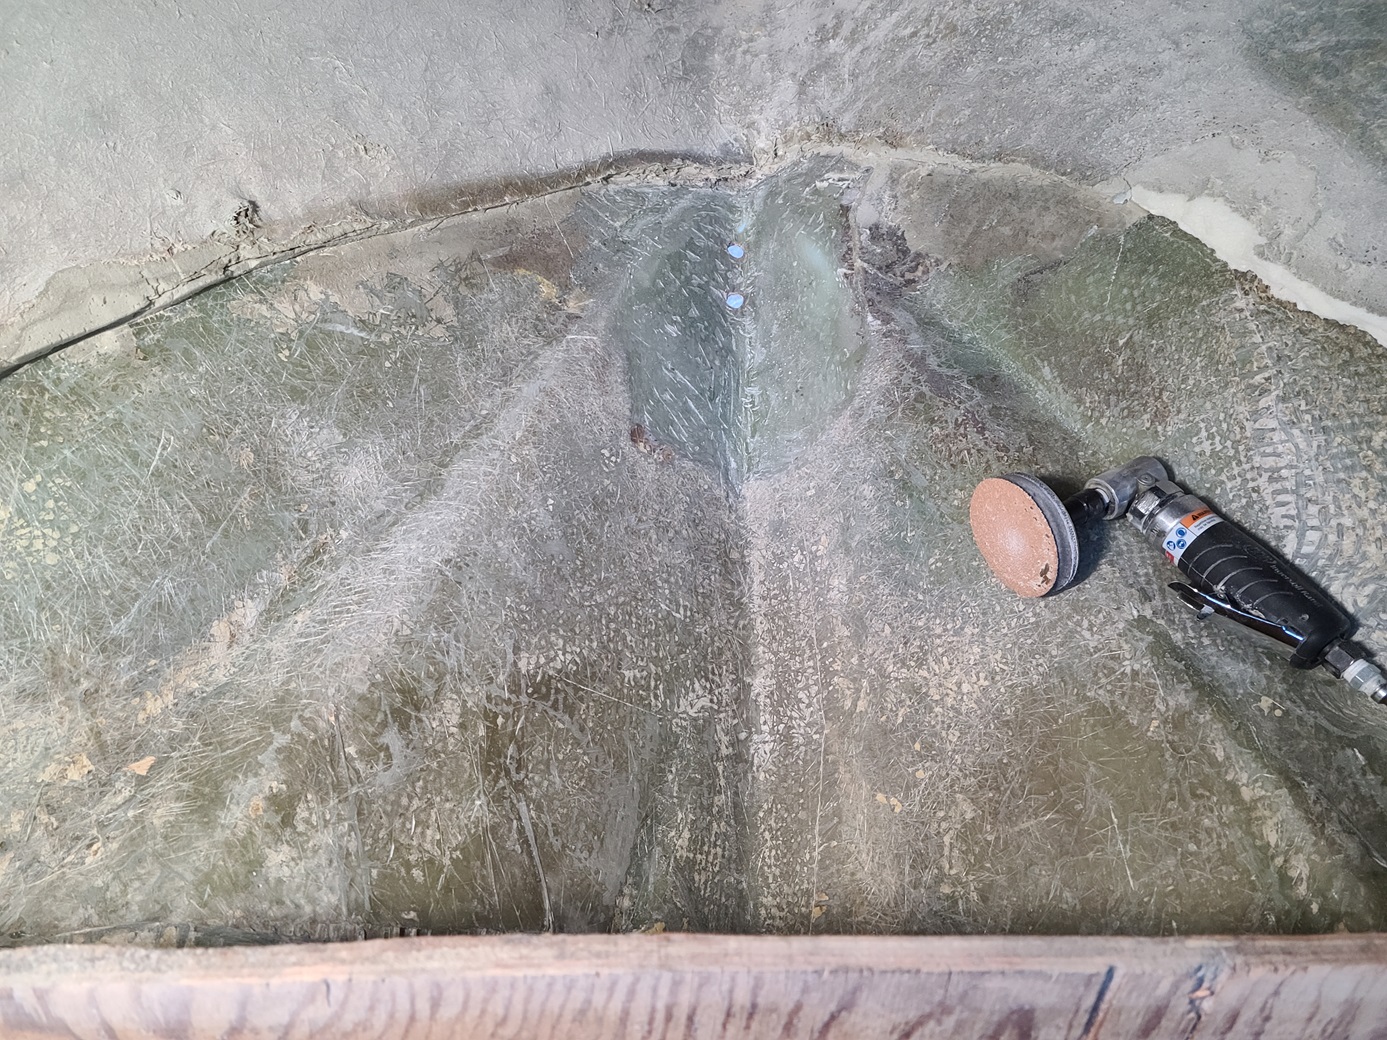
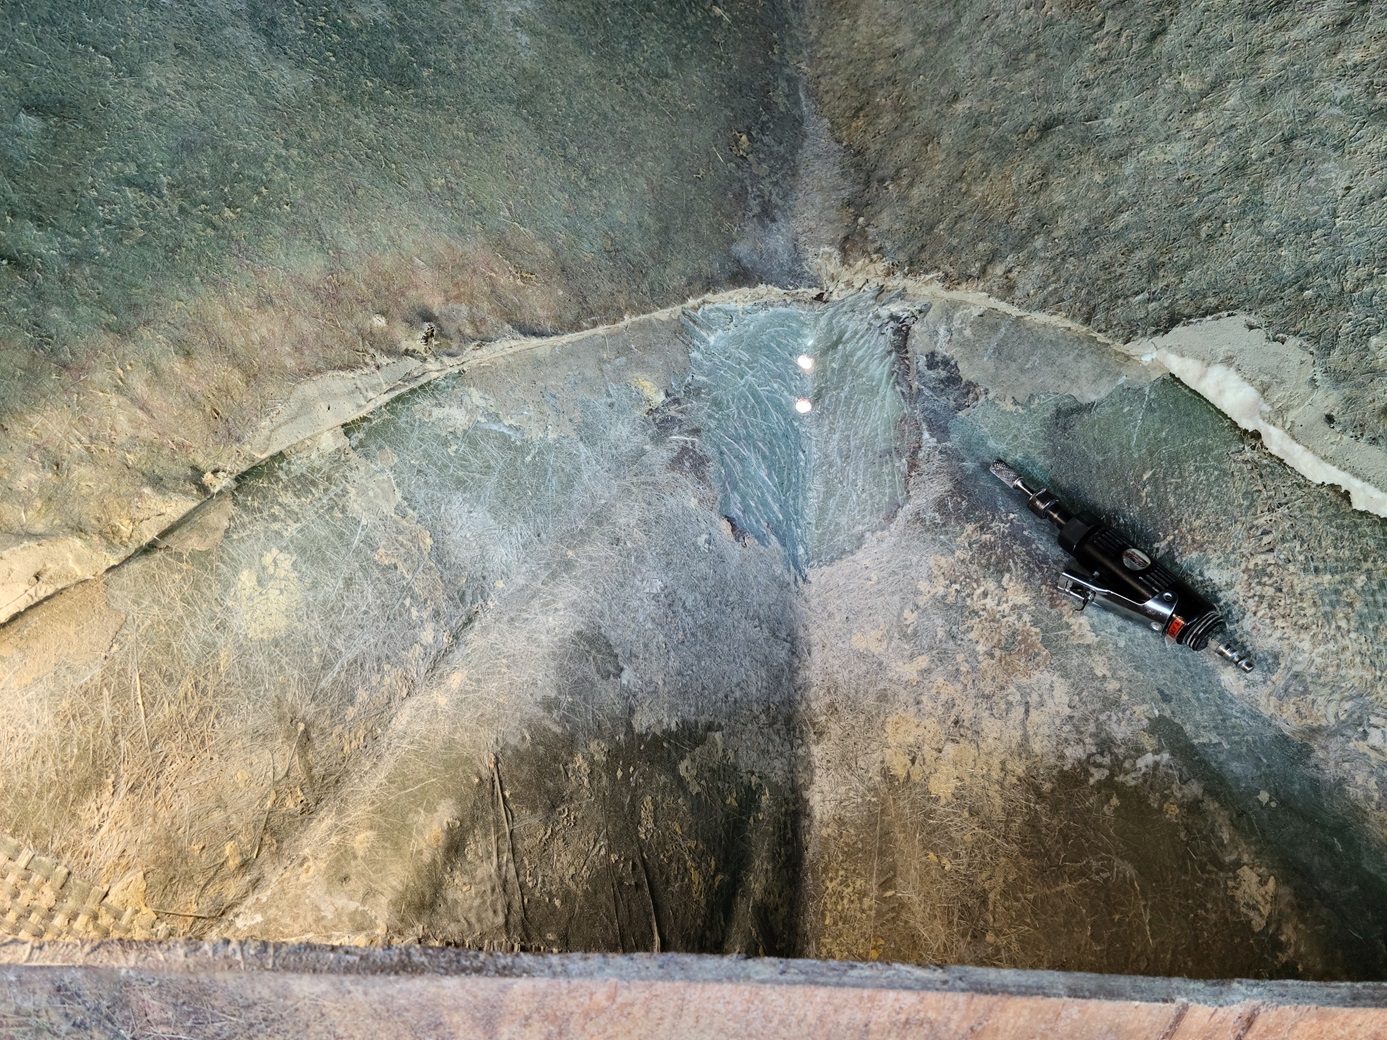
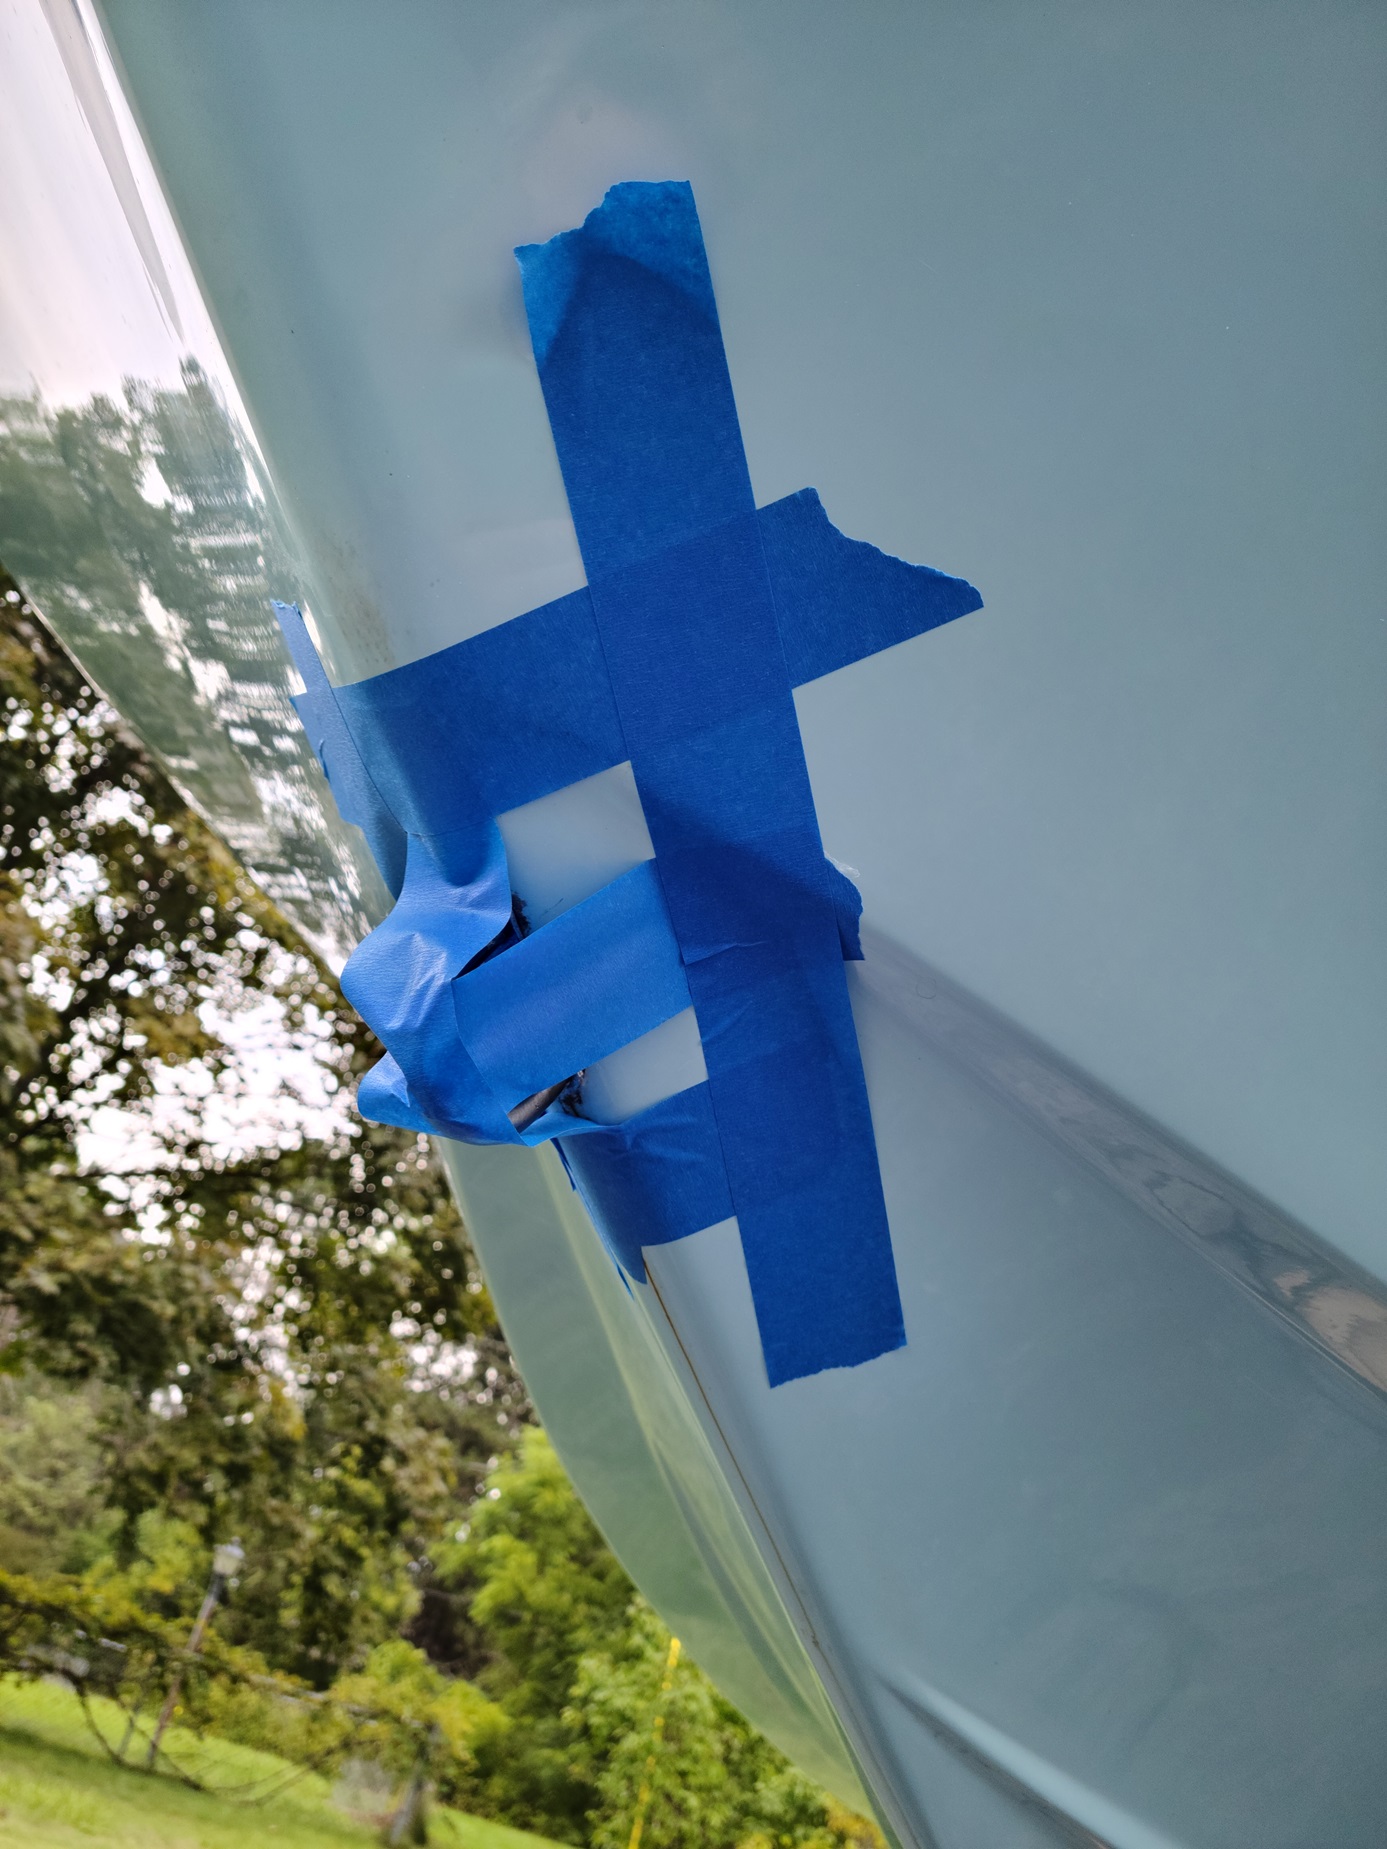
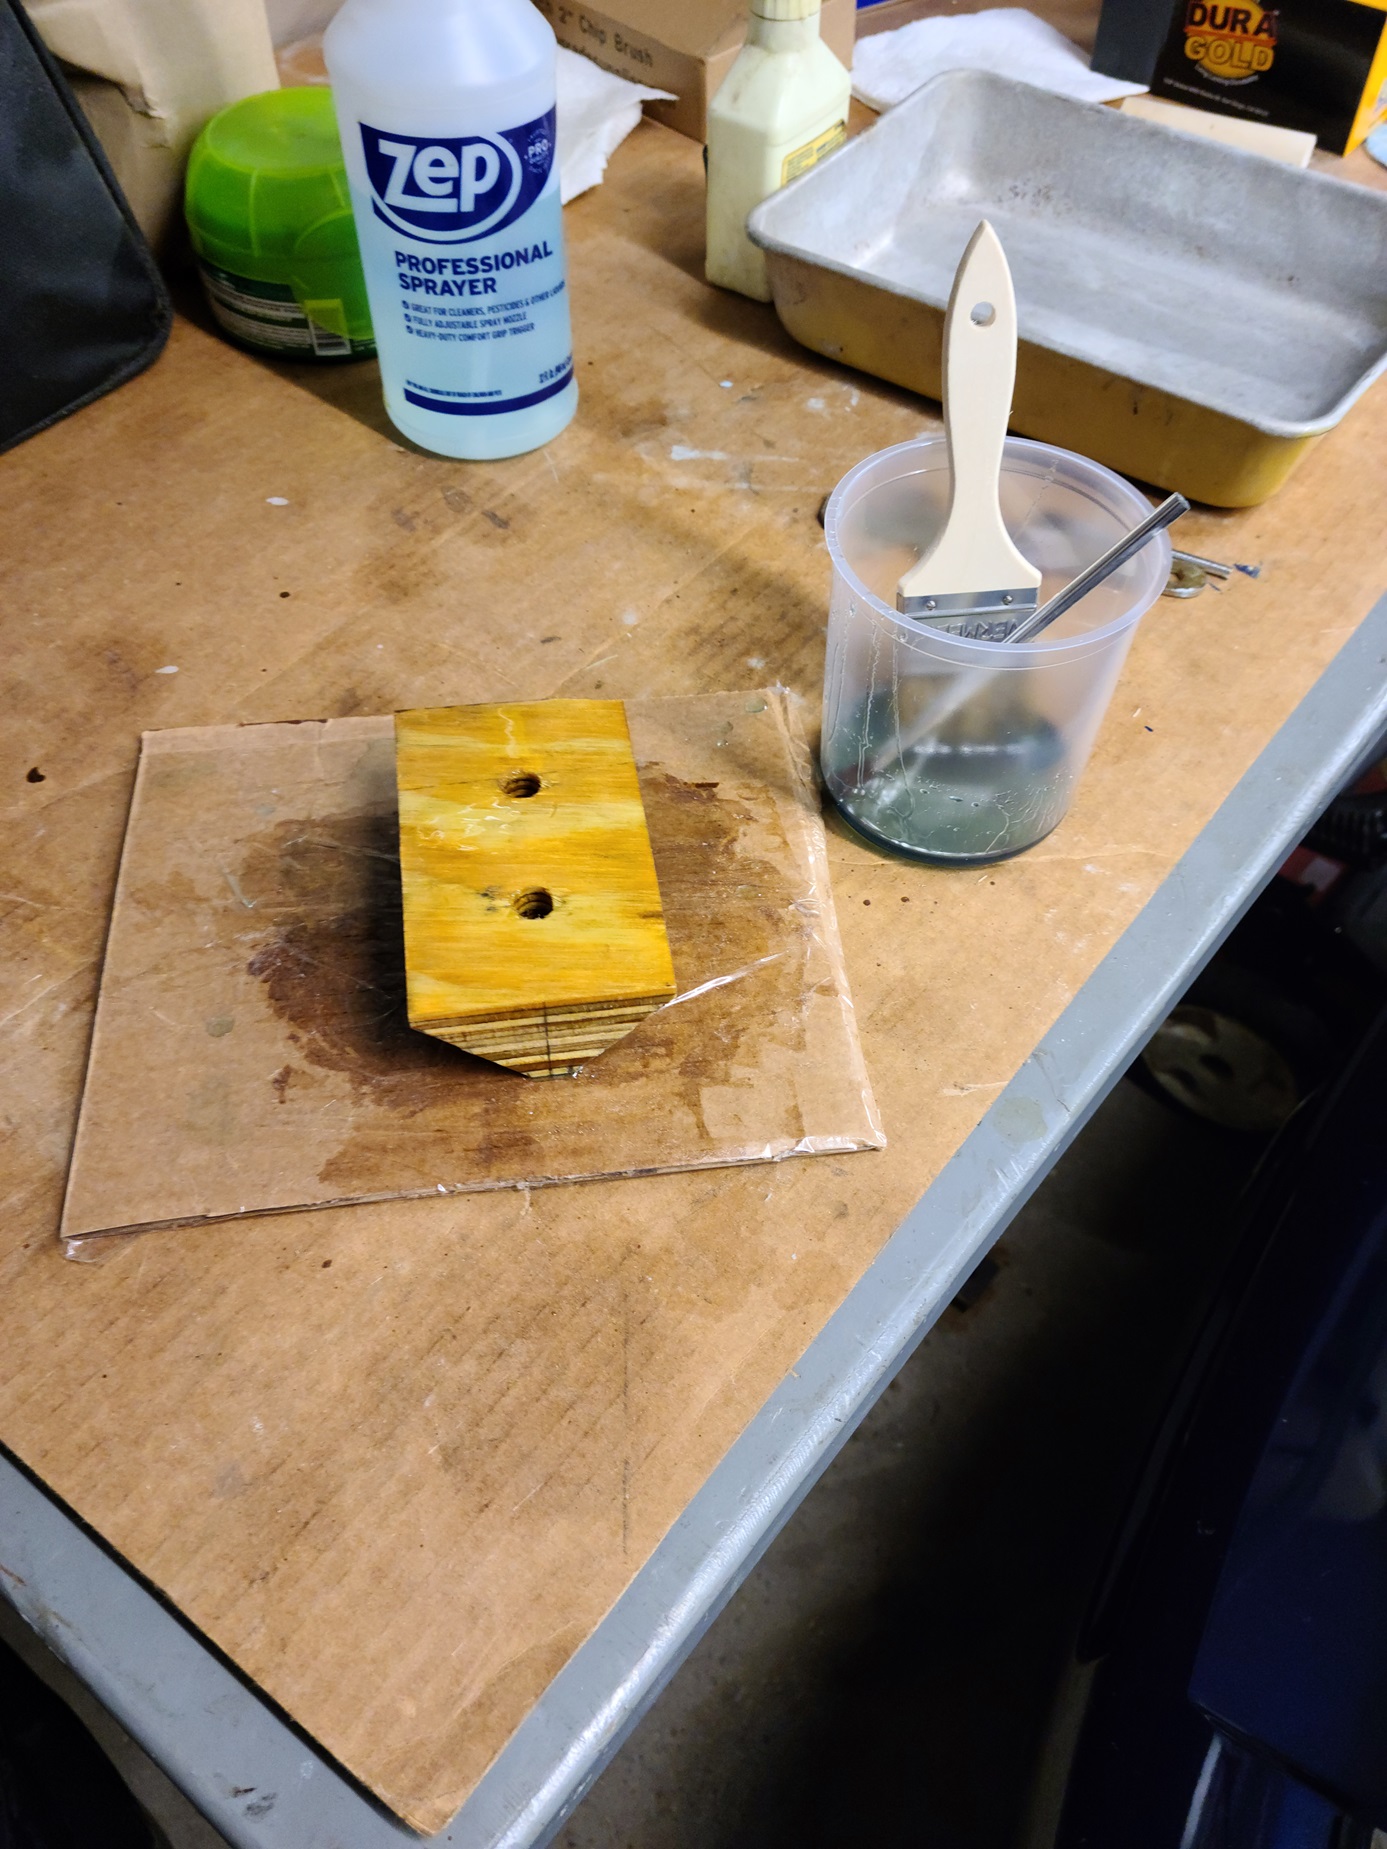
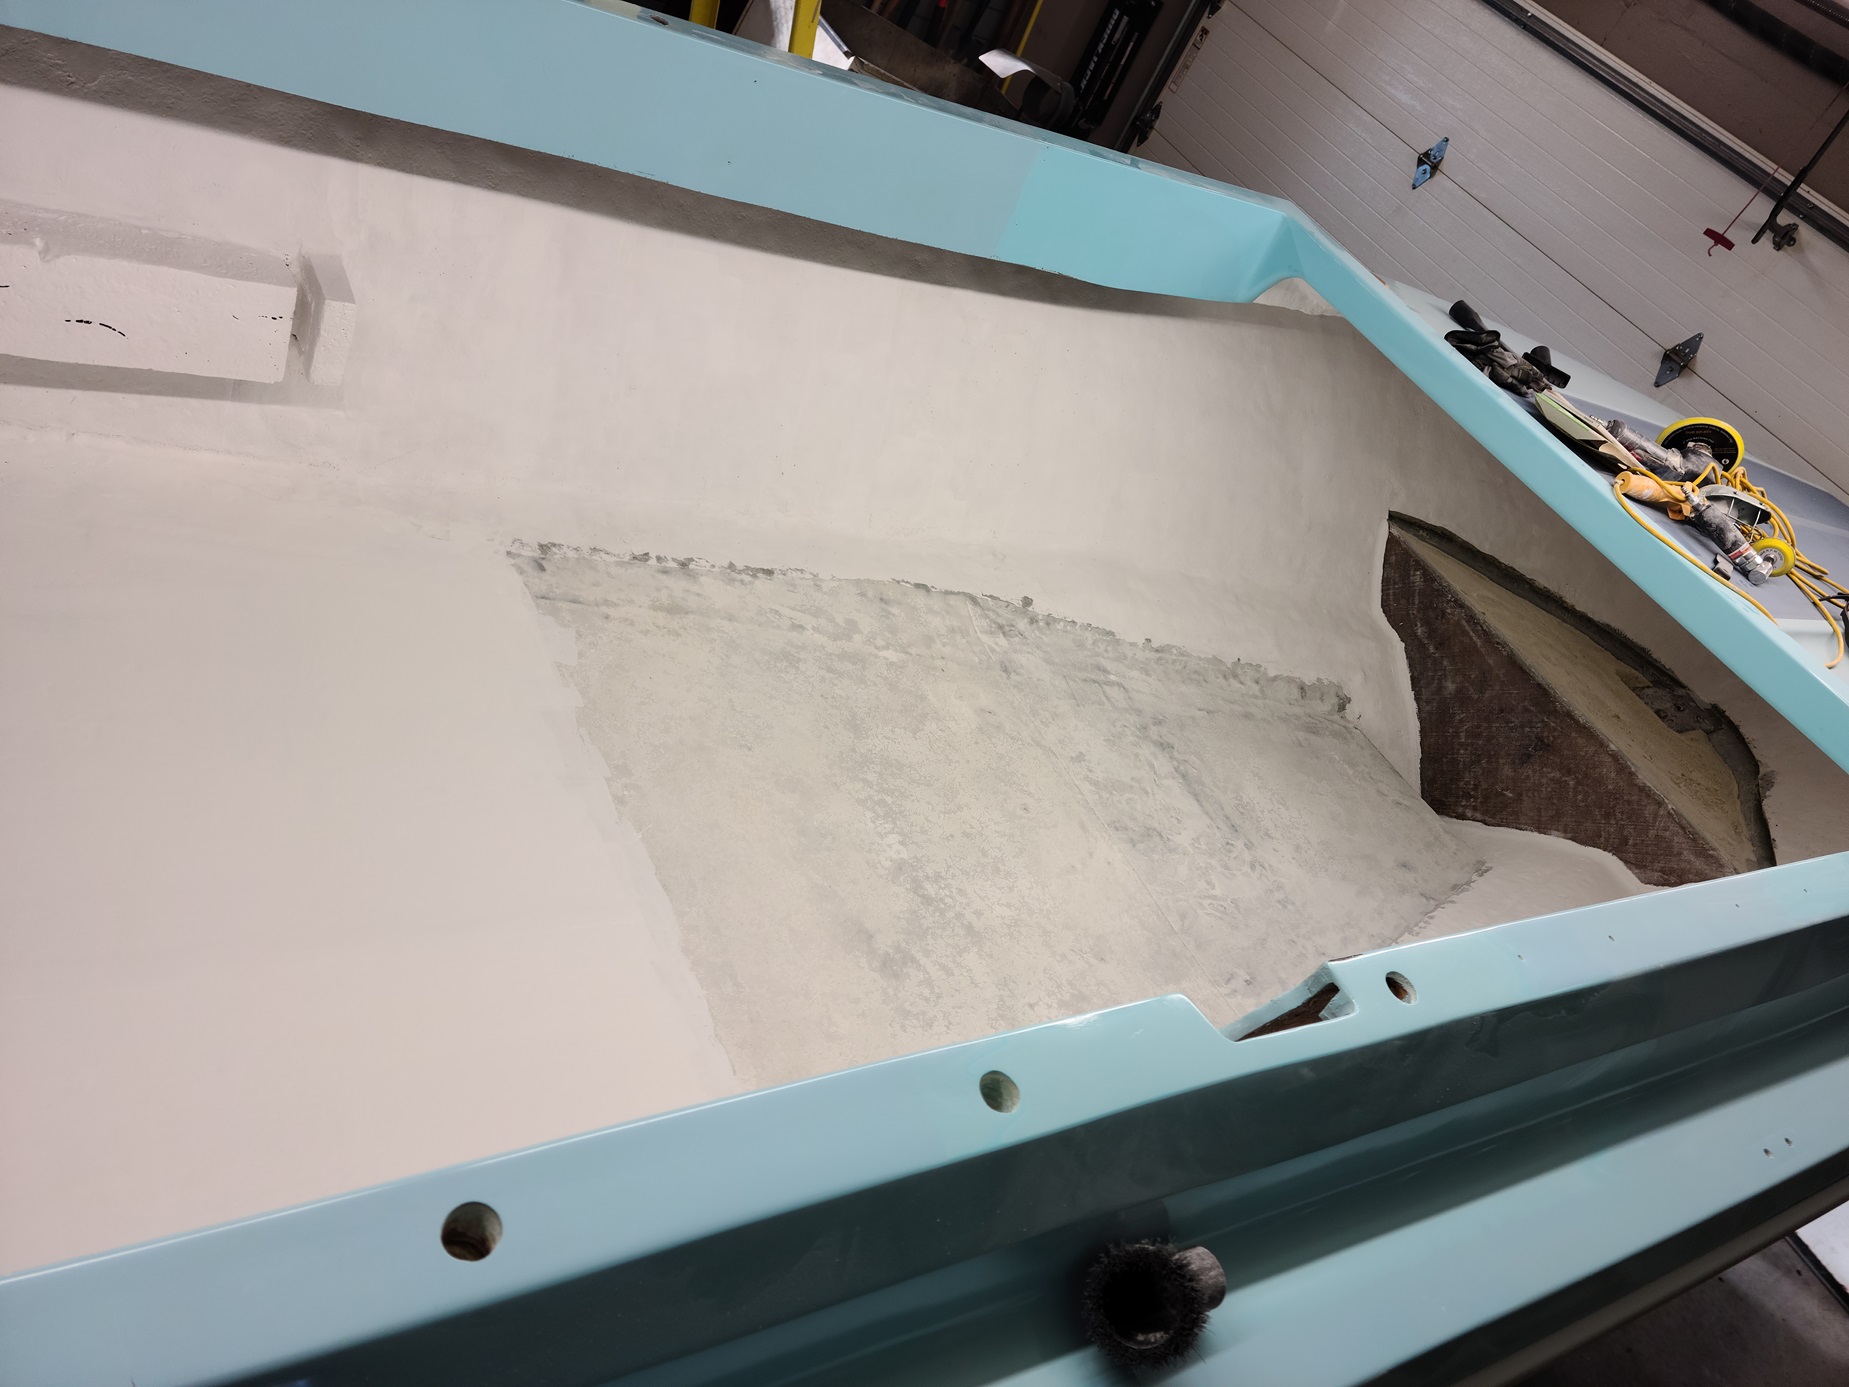
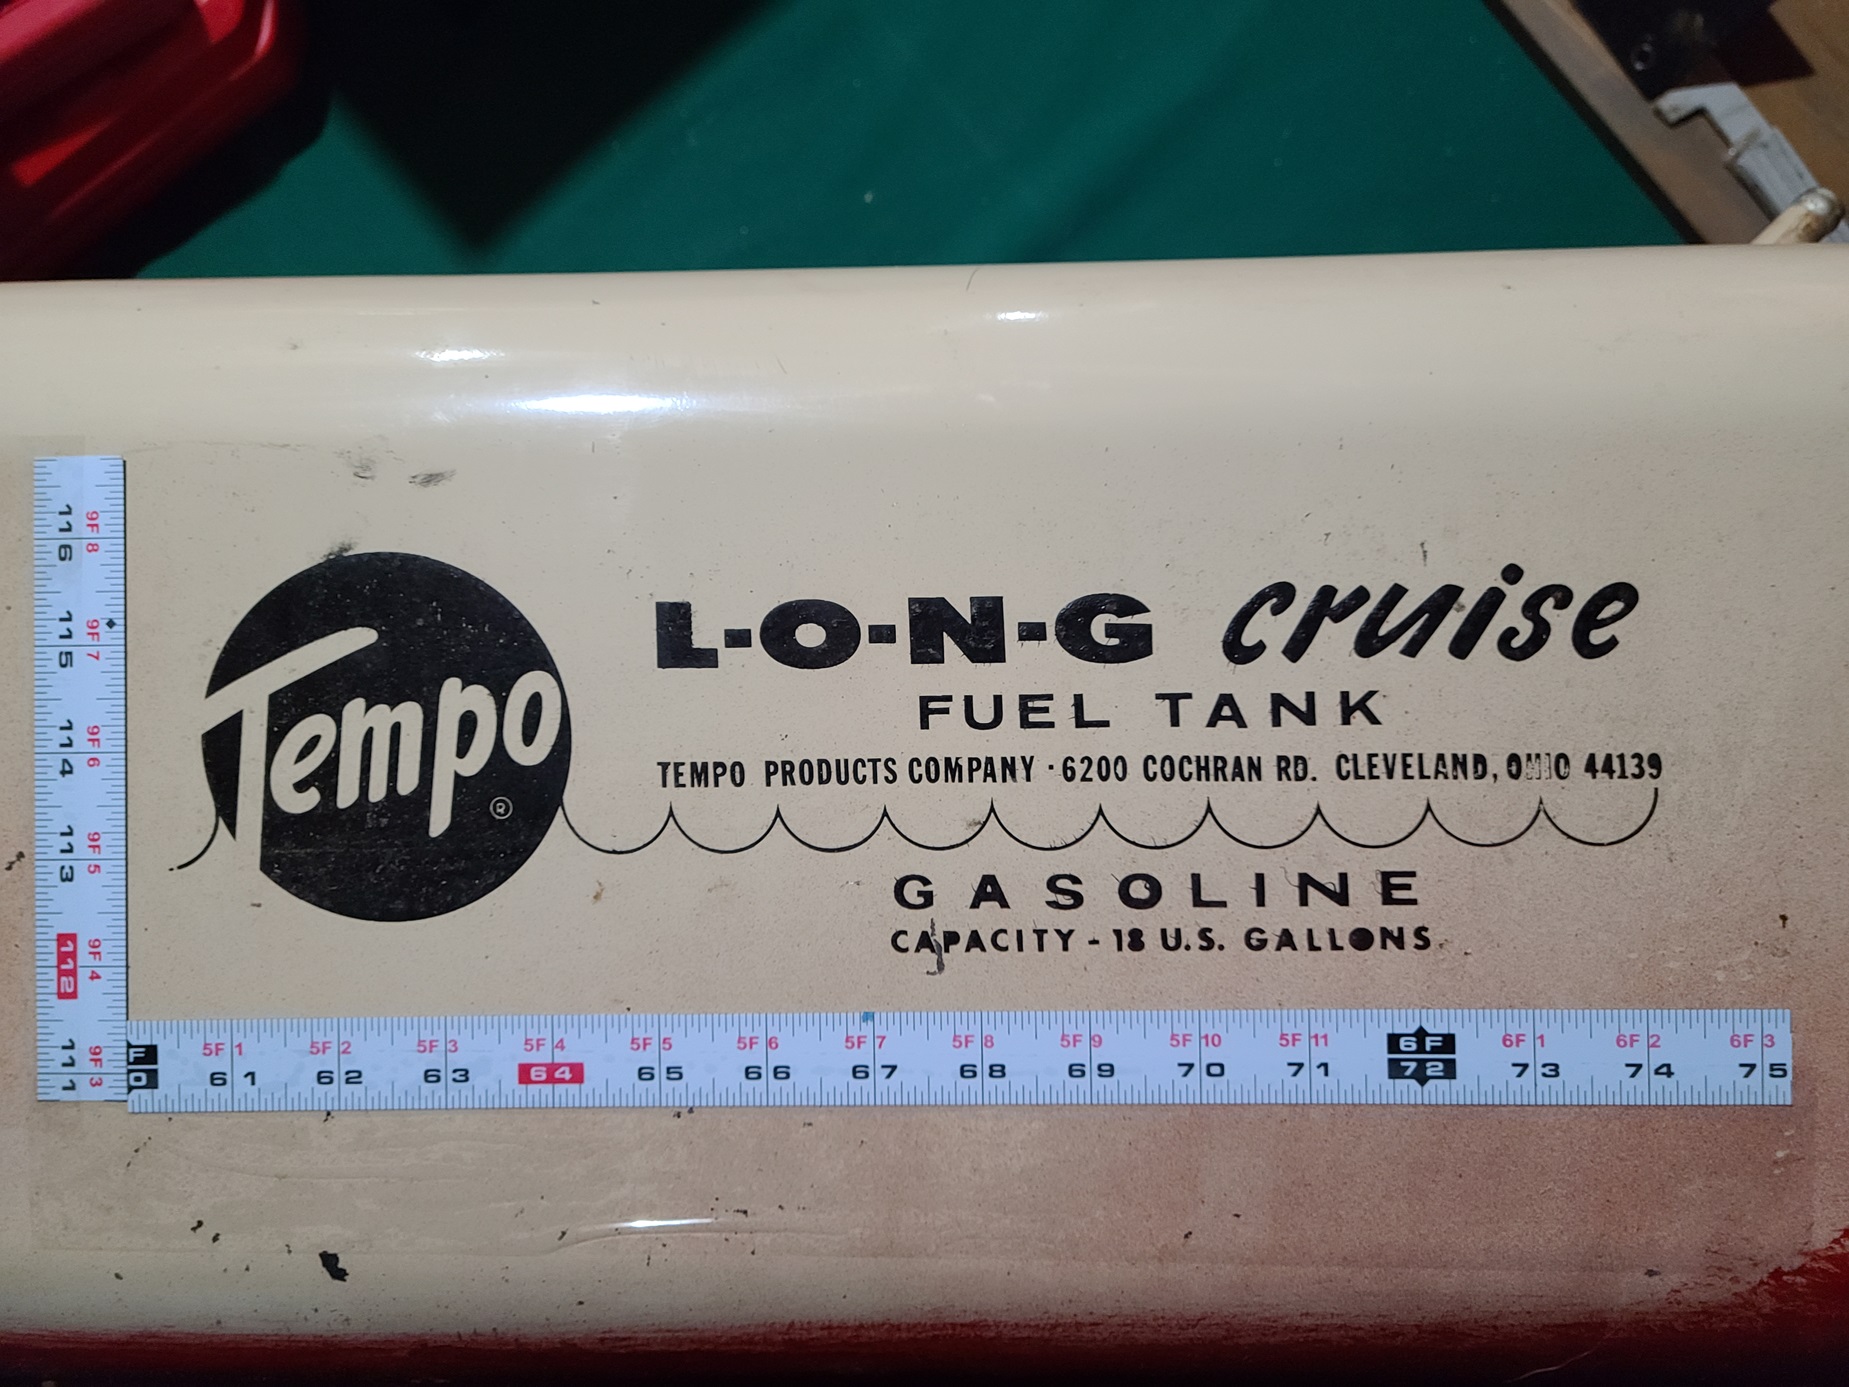
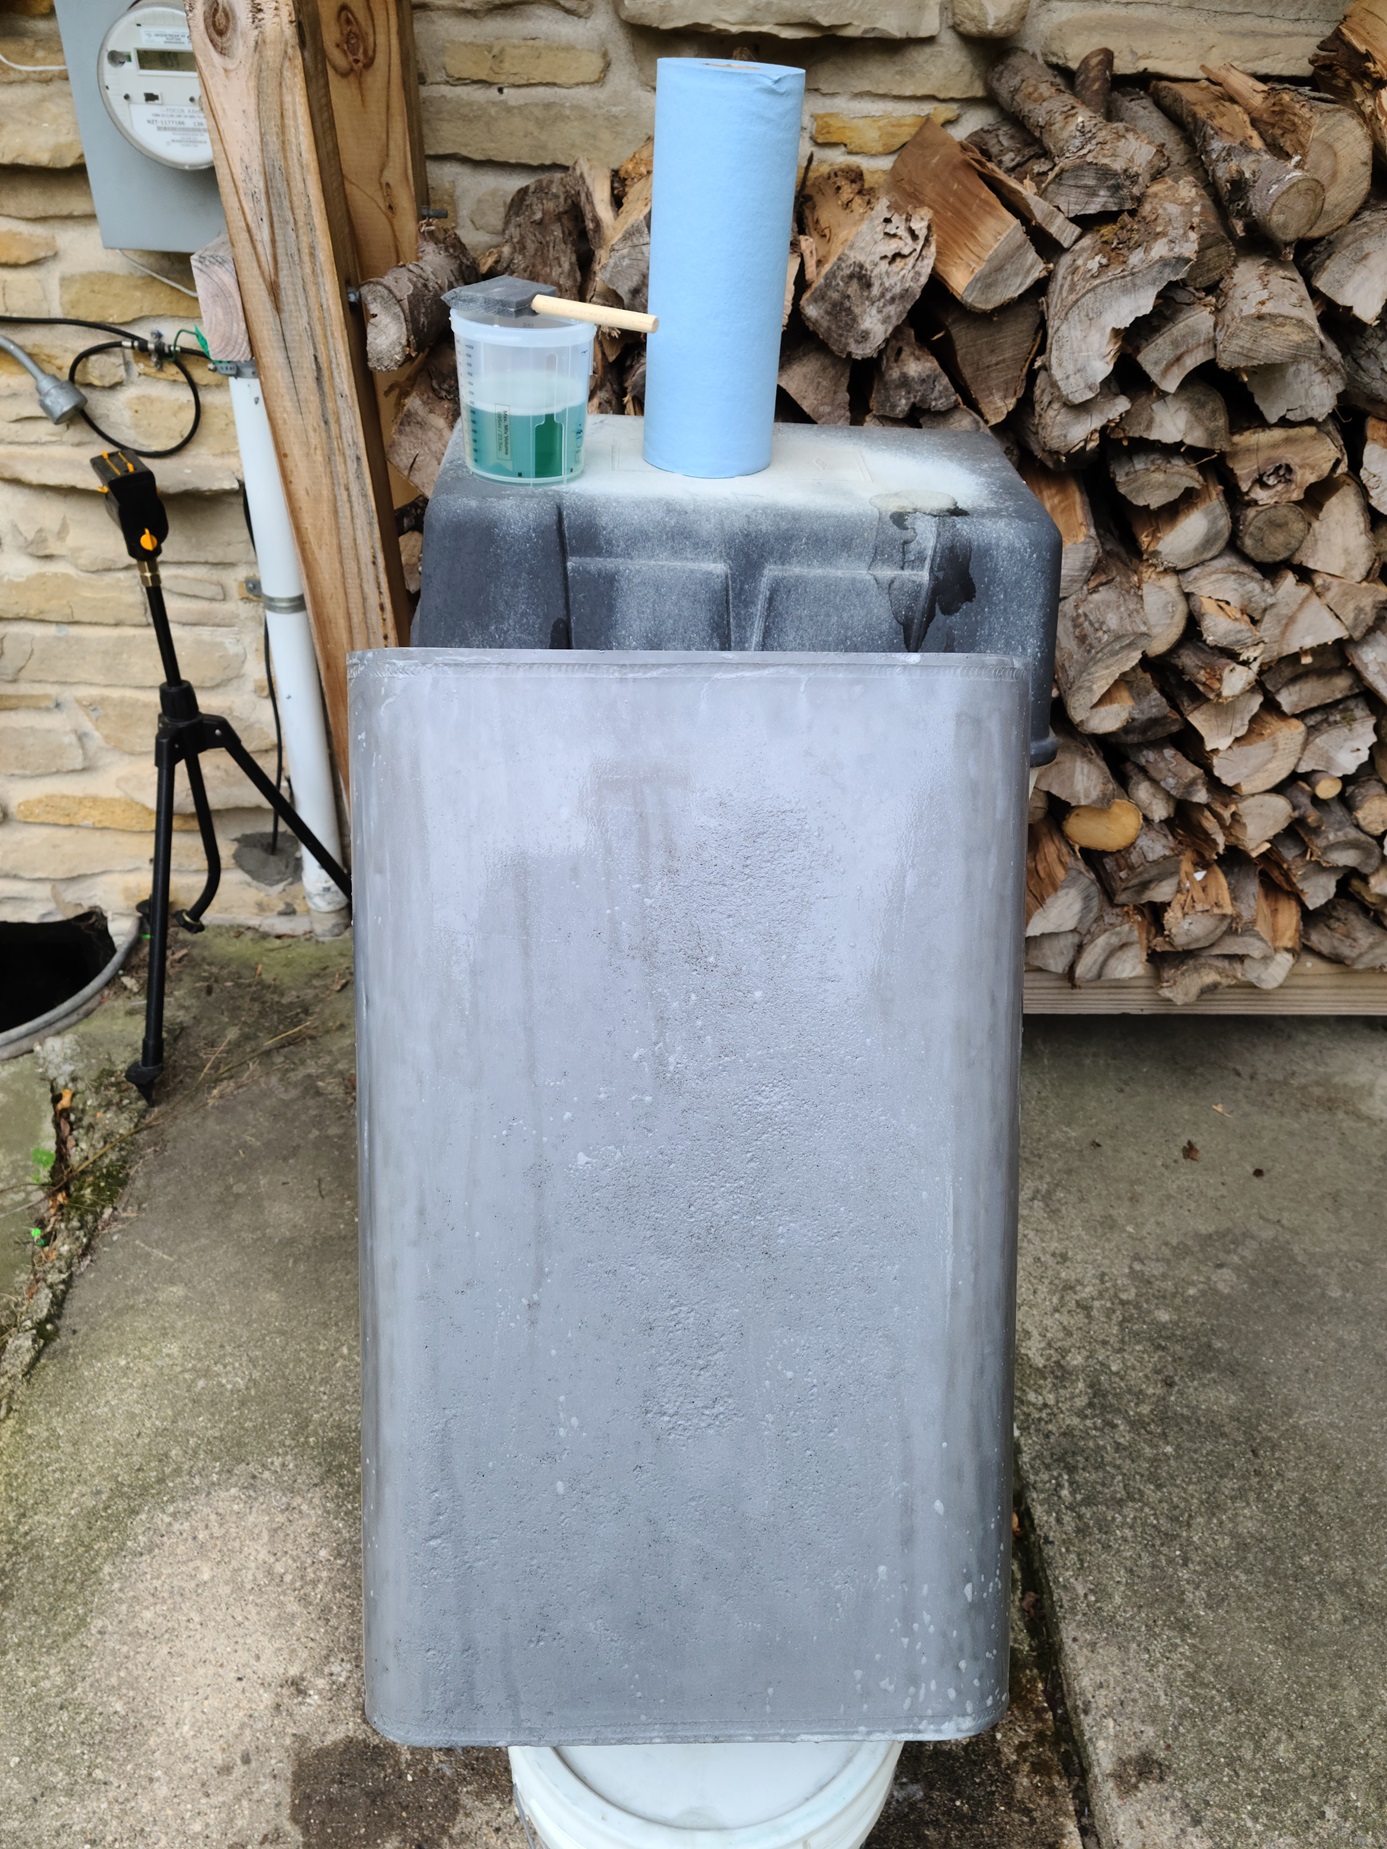
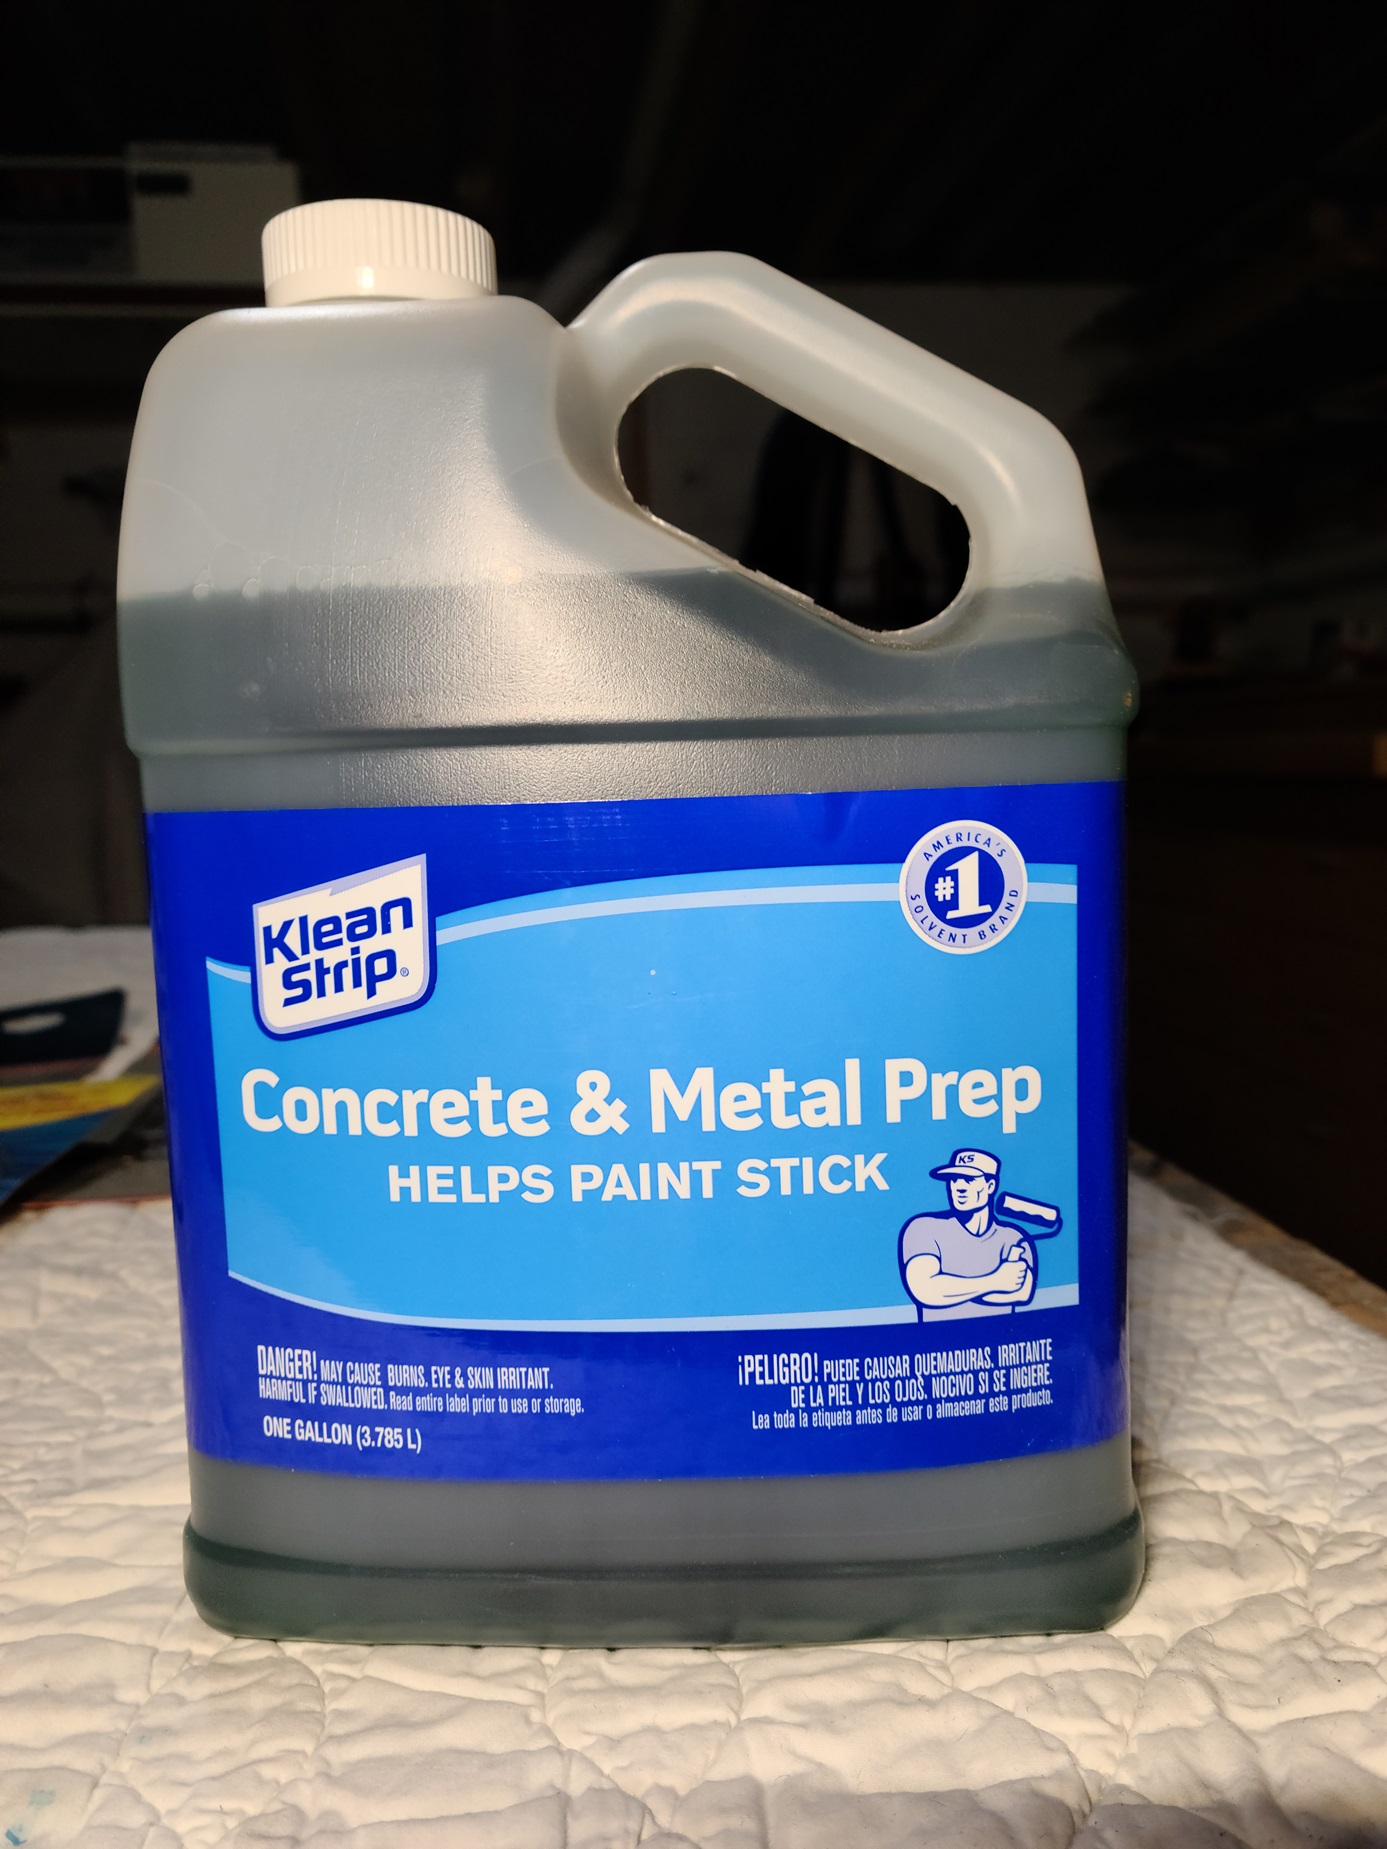
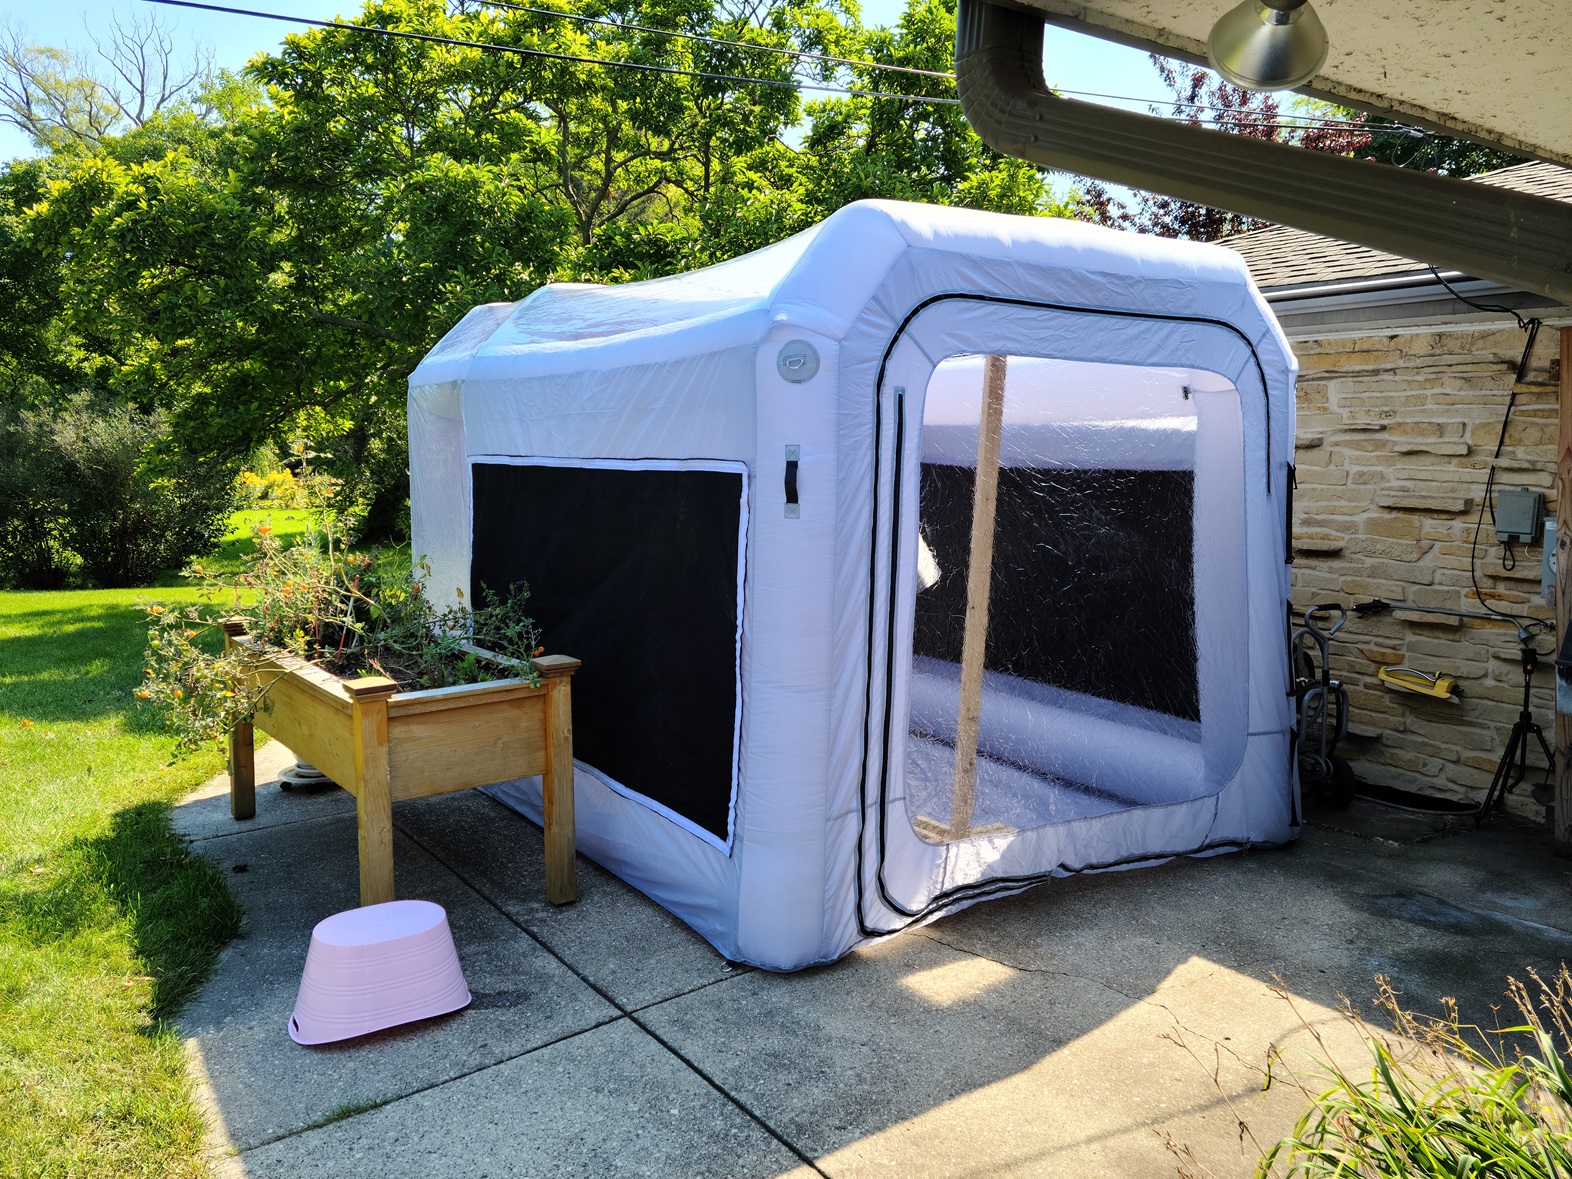
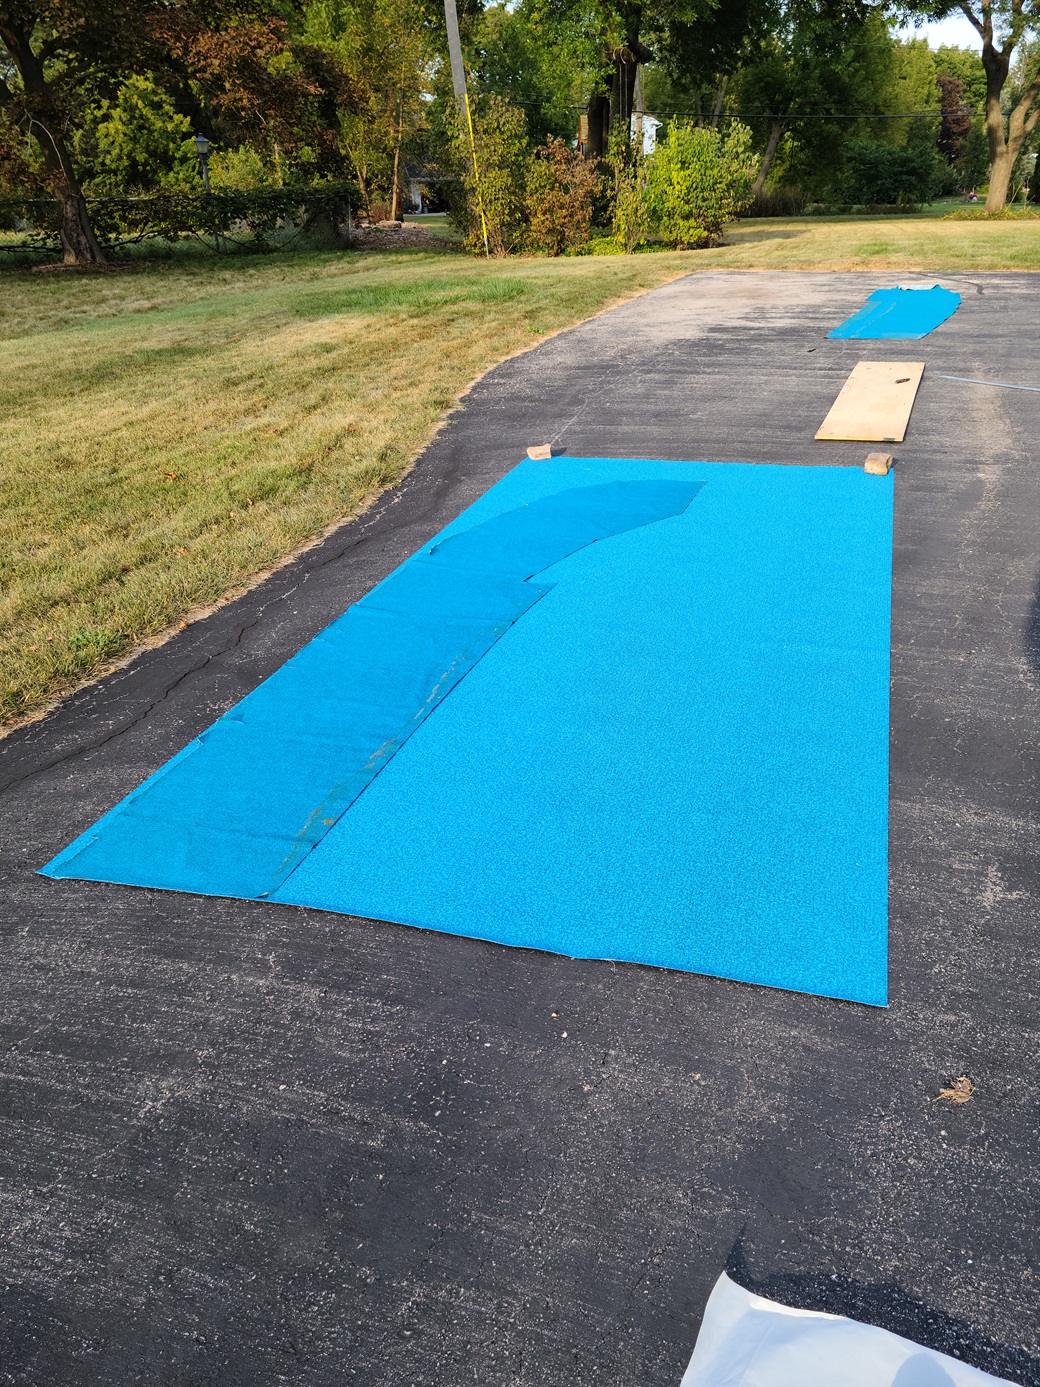
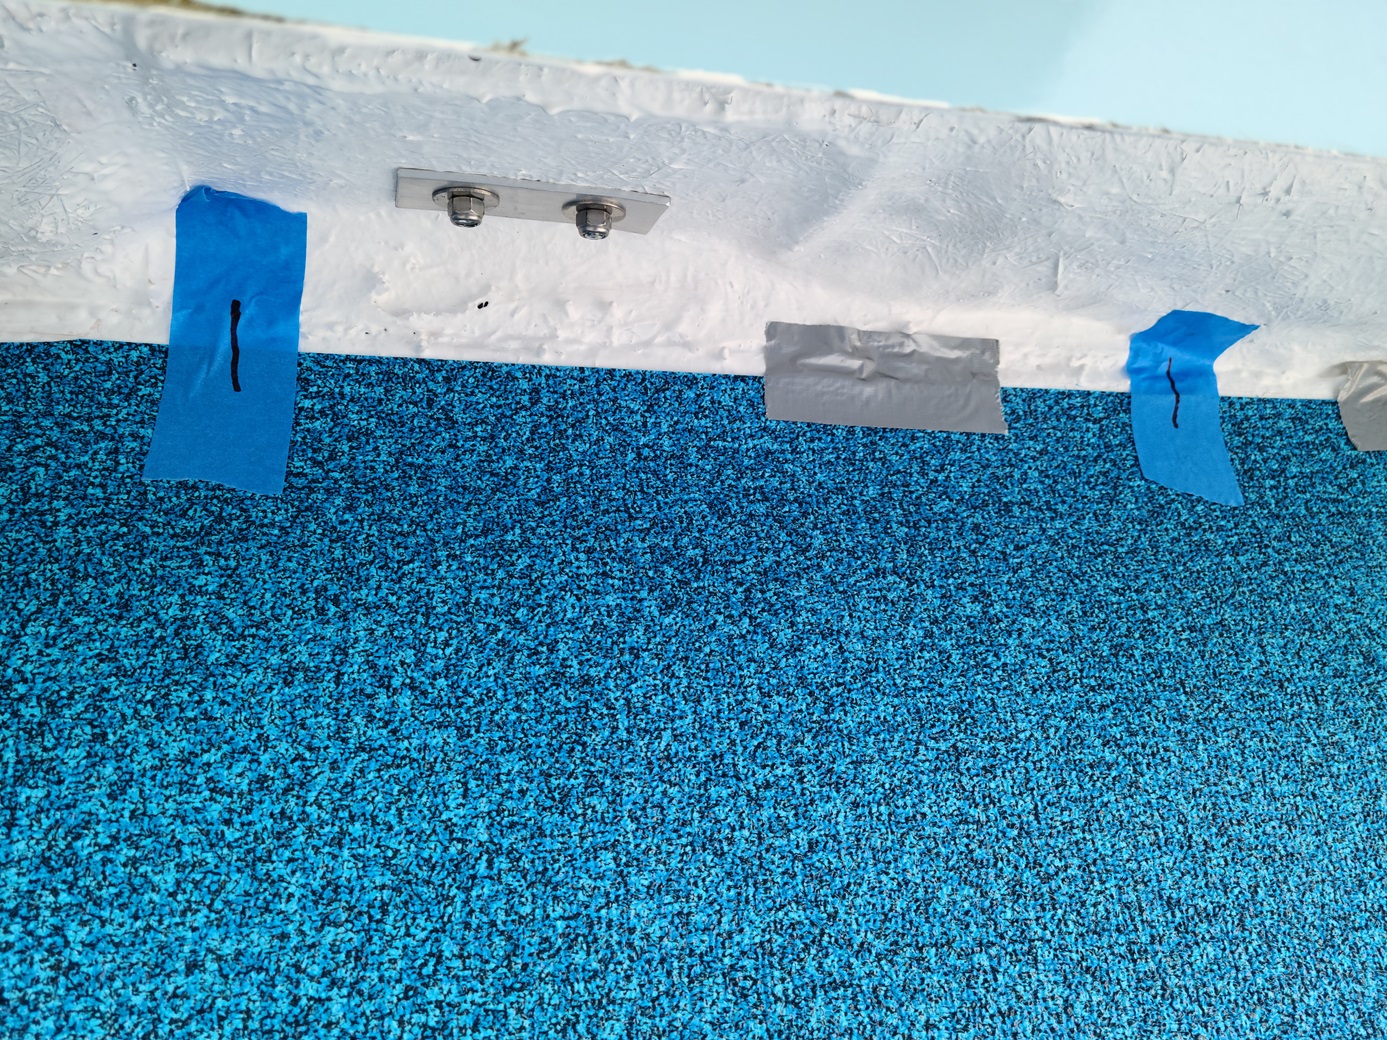
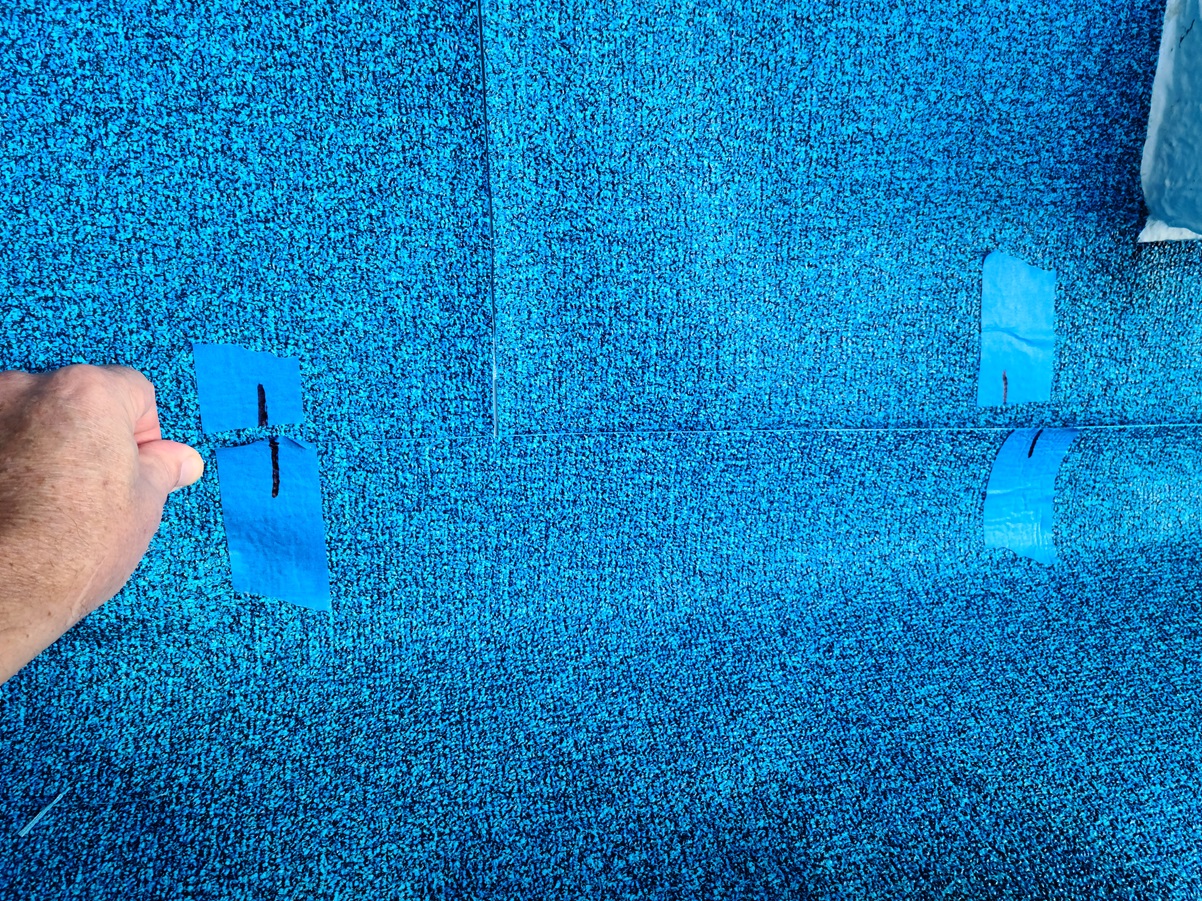
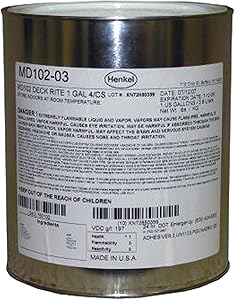
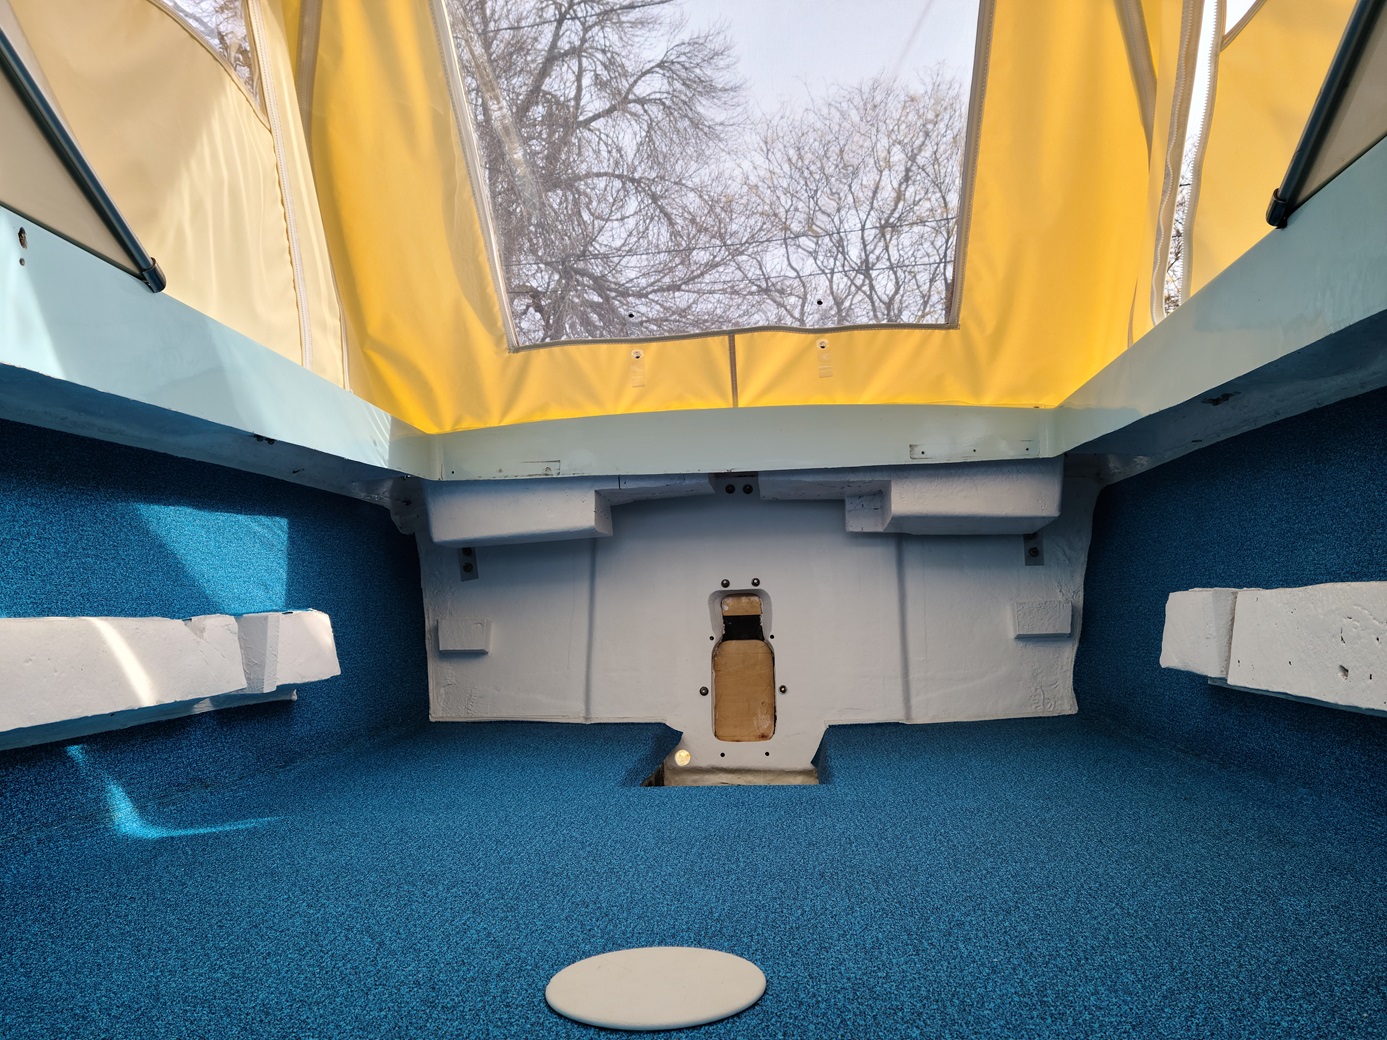
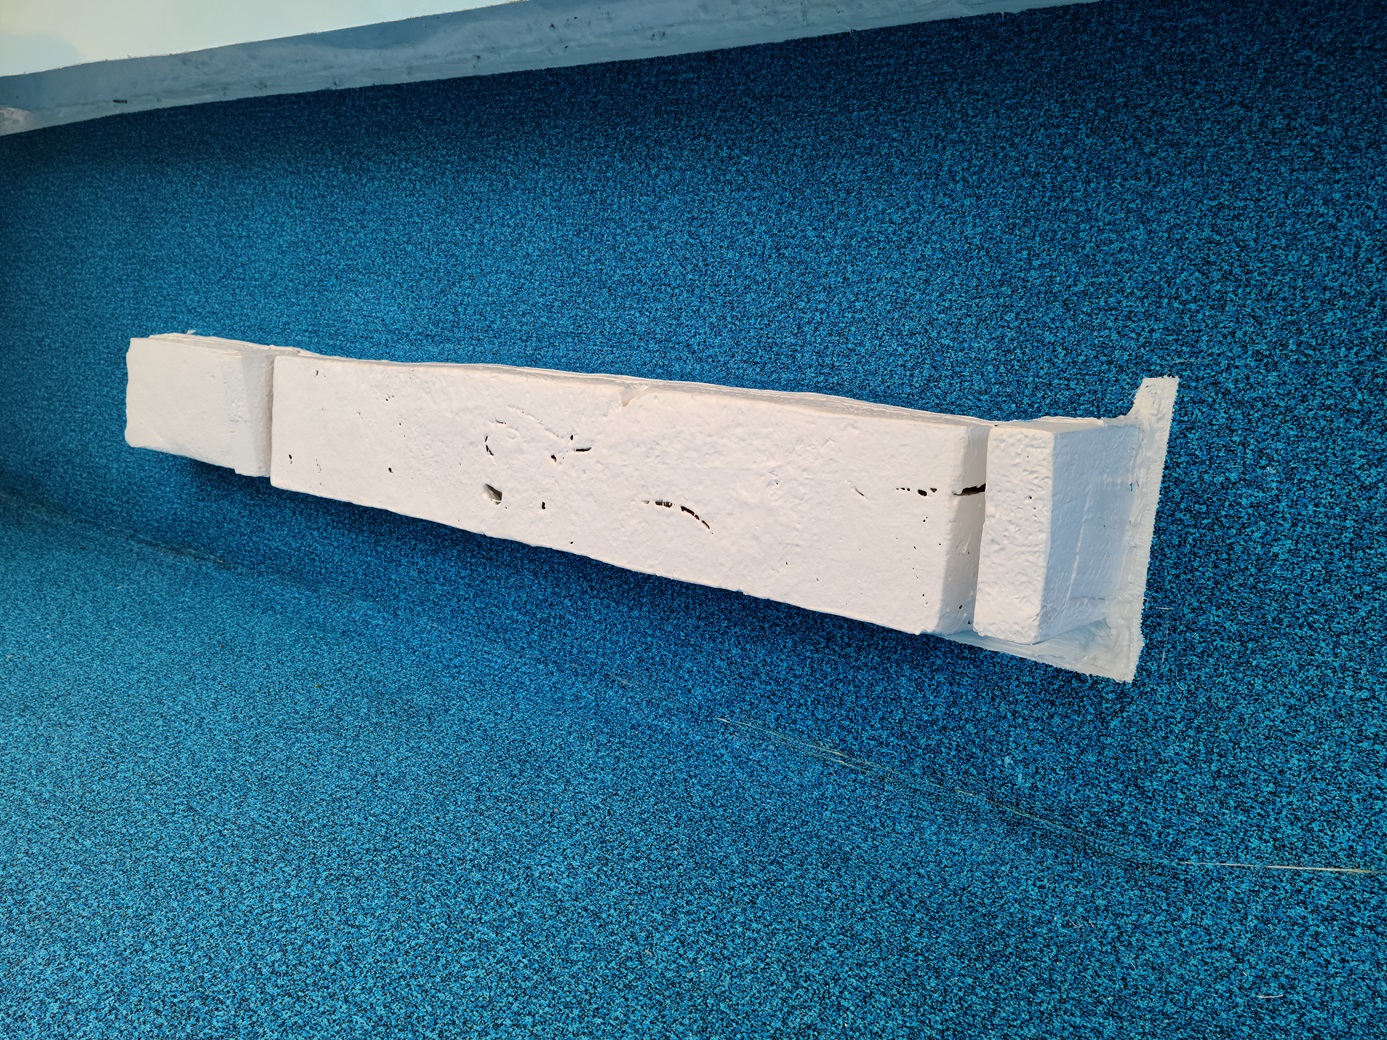
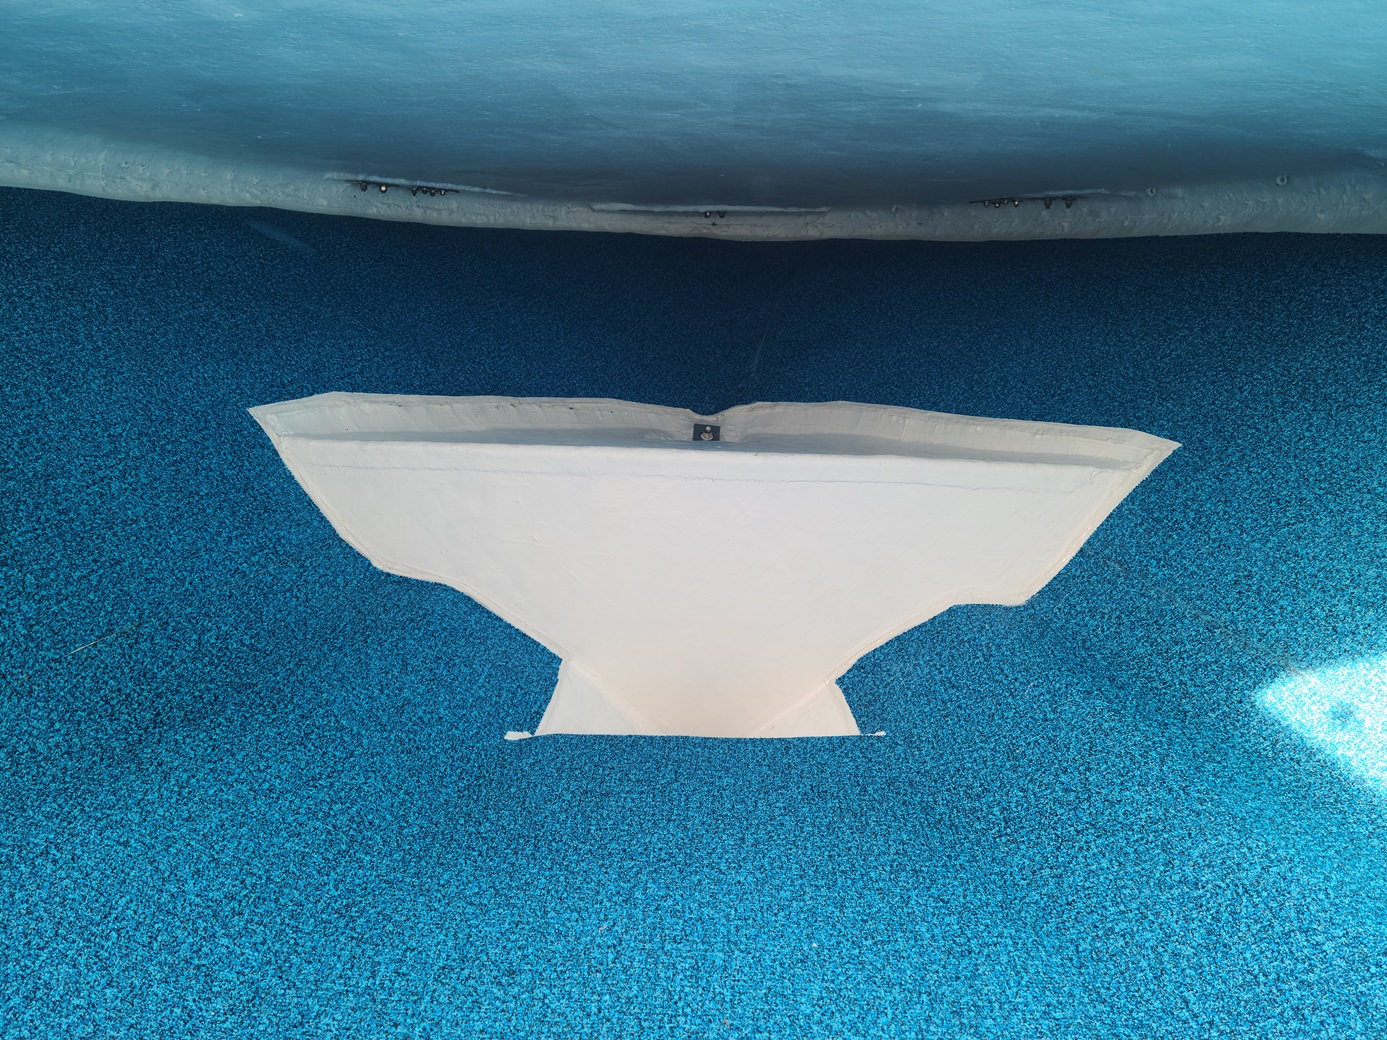
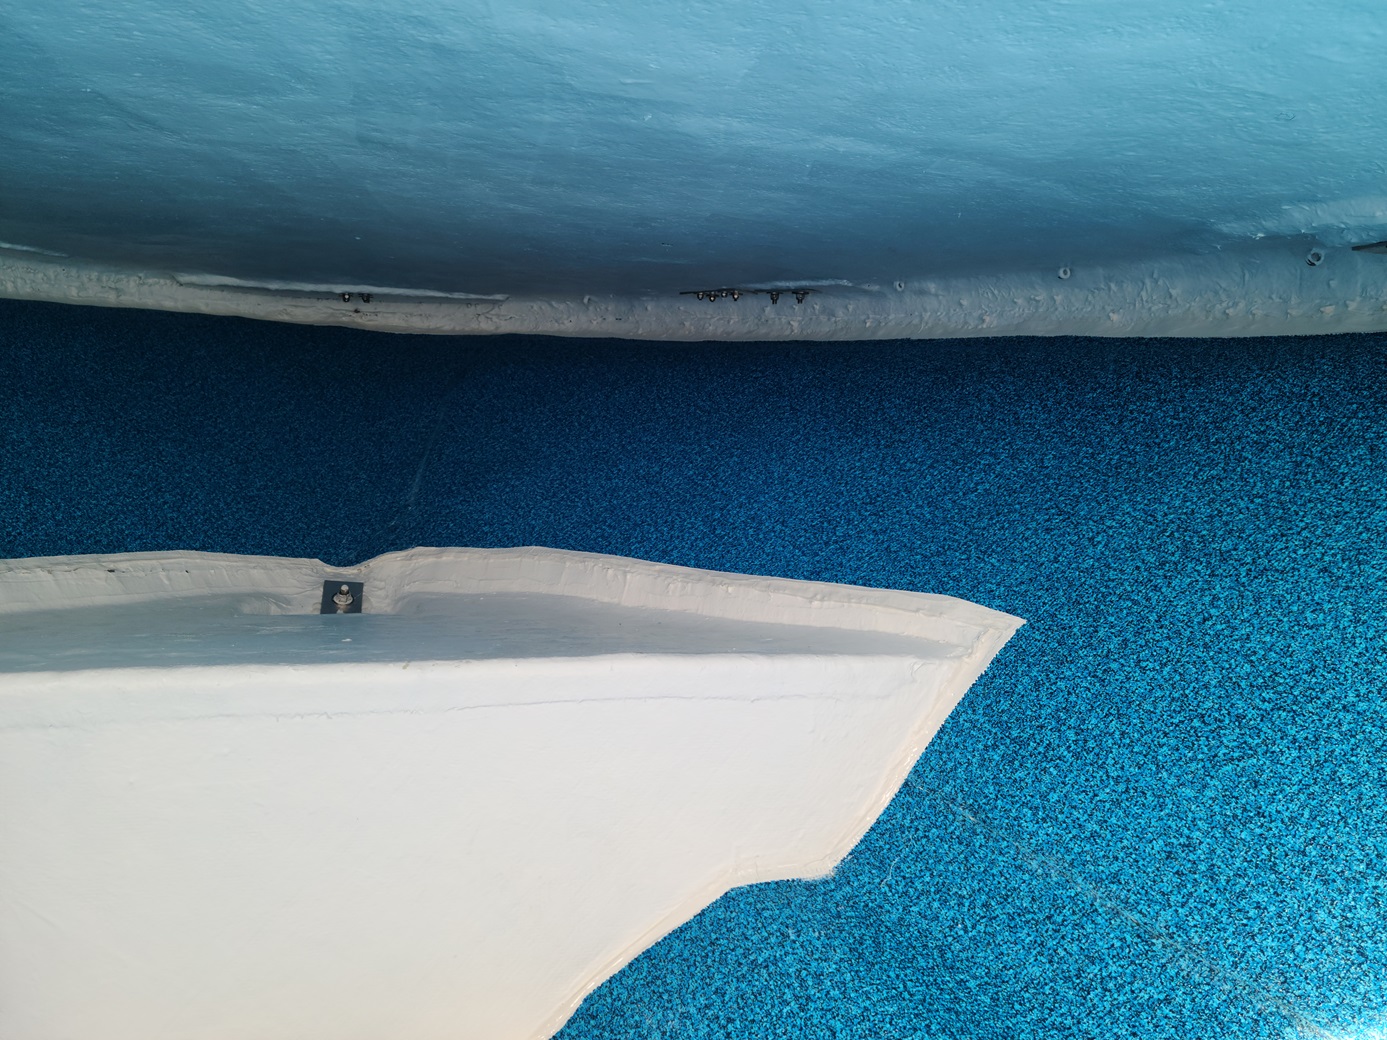
1971 Glasspar Newport Cruiser - Rejuvenation 2 years 5 months ago #148363
|
Please Log in or Create an account to join the conversation. |

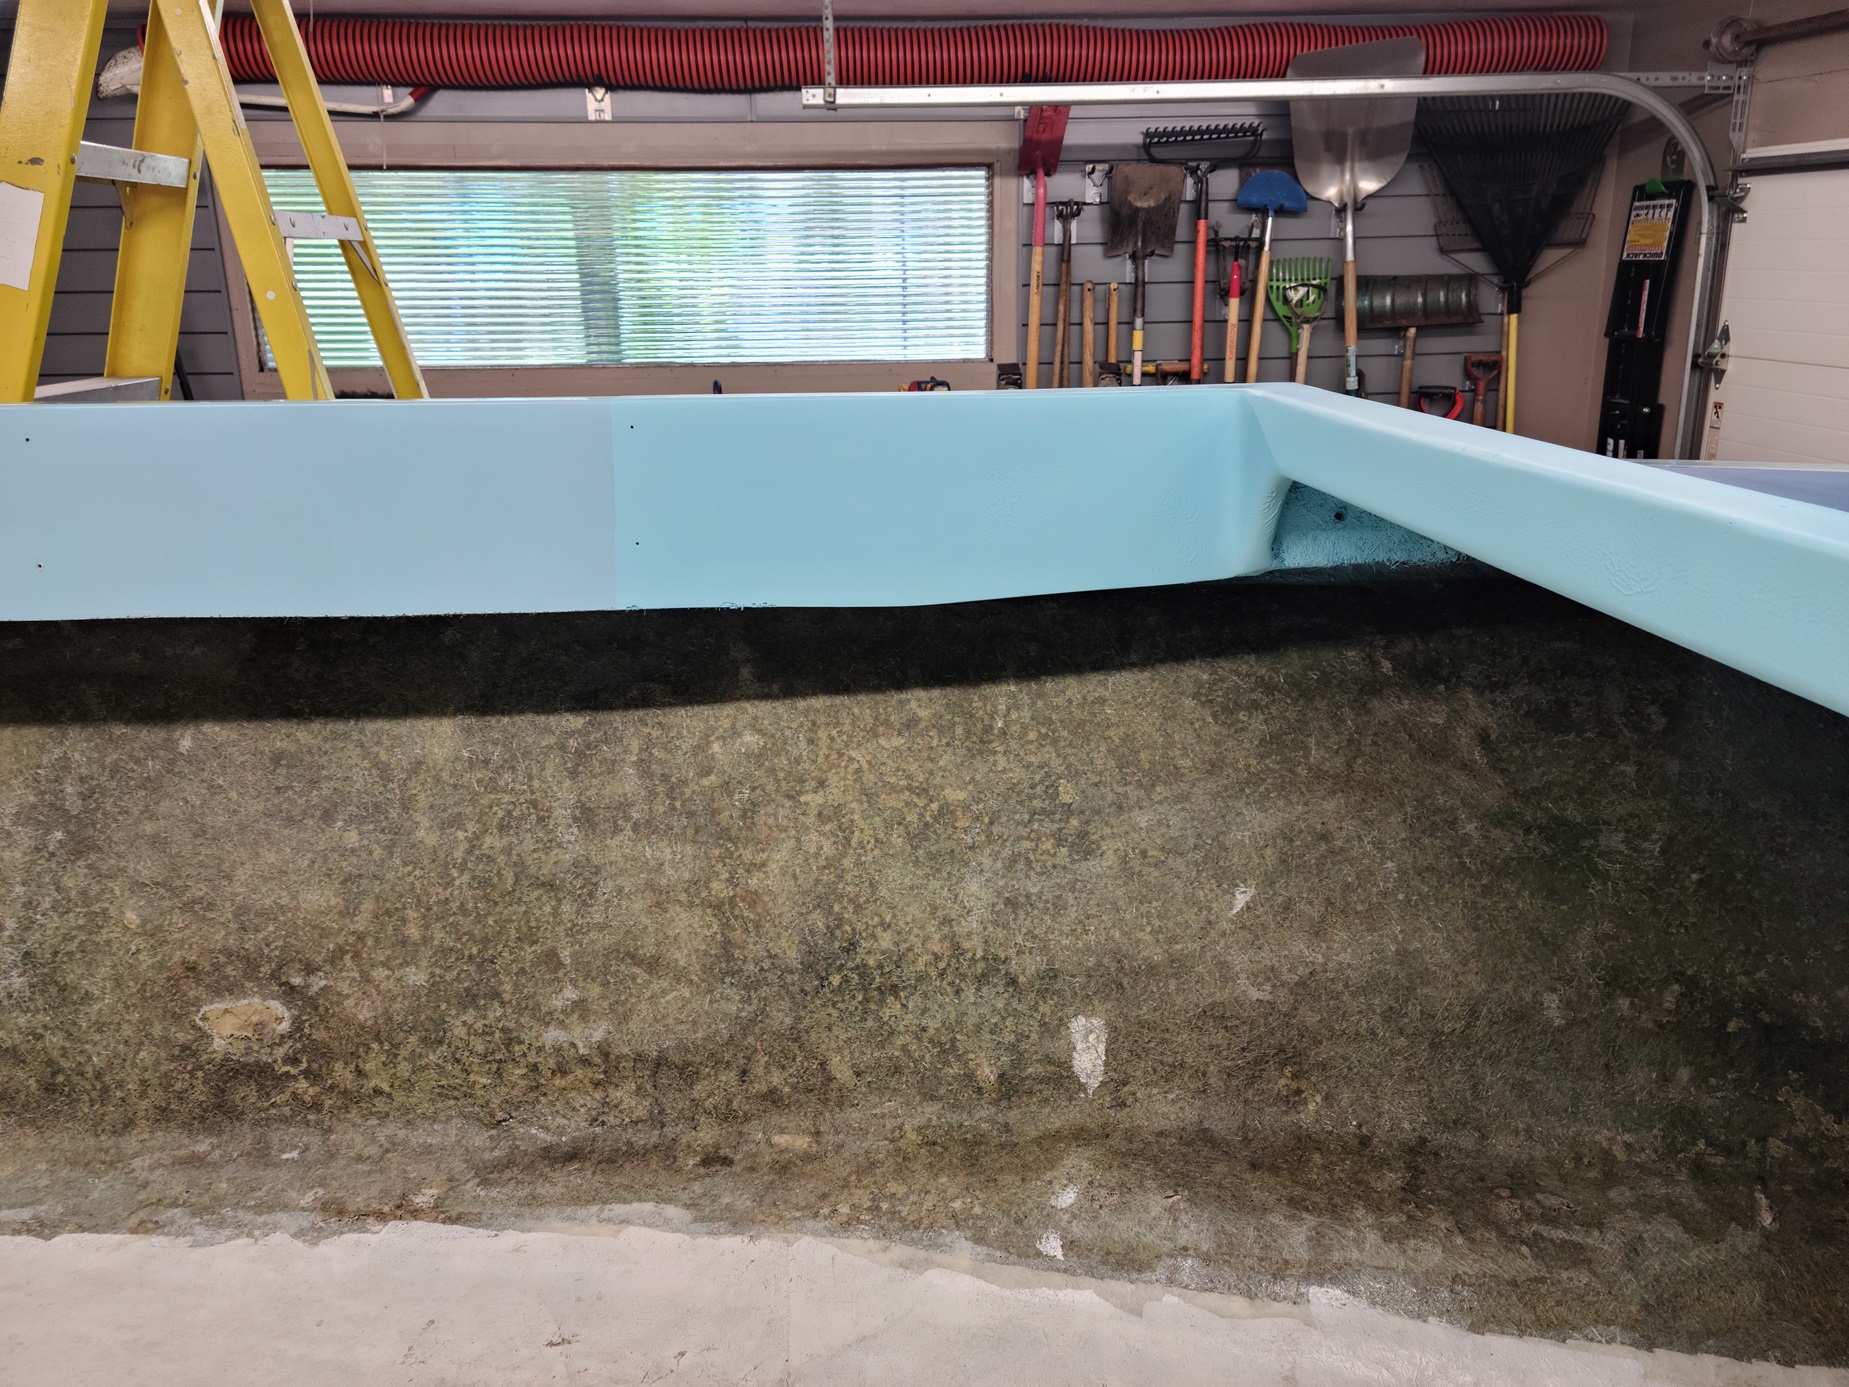
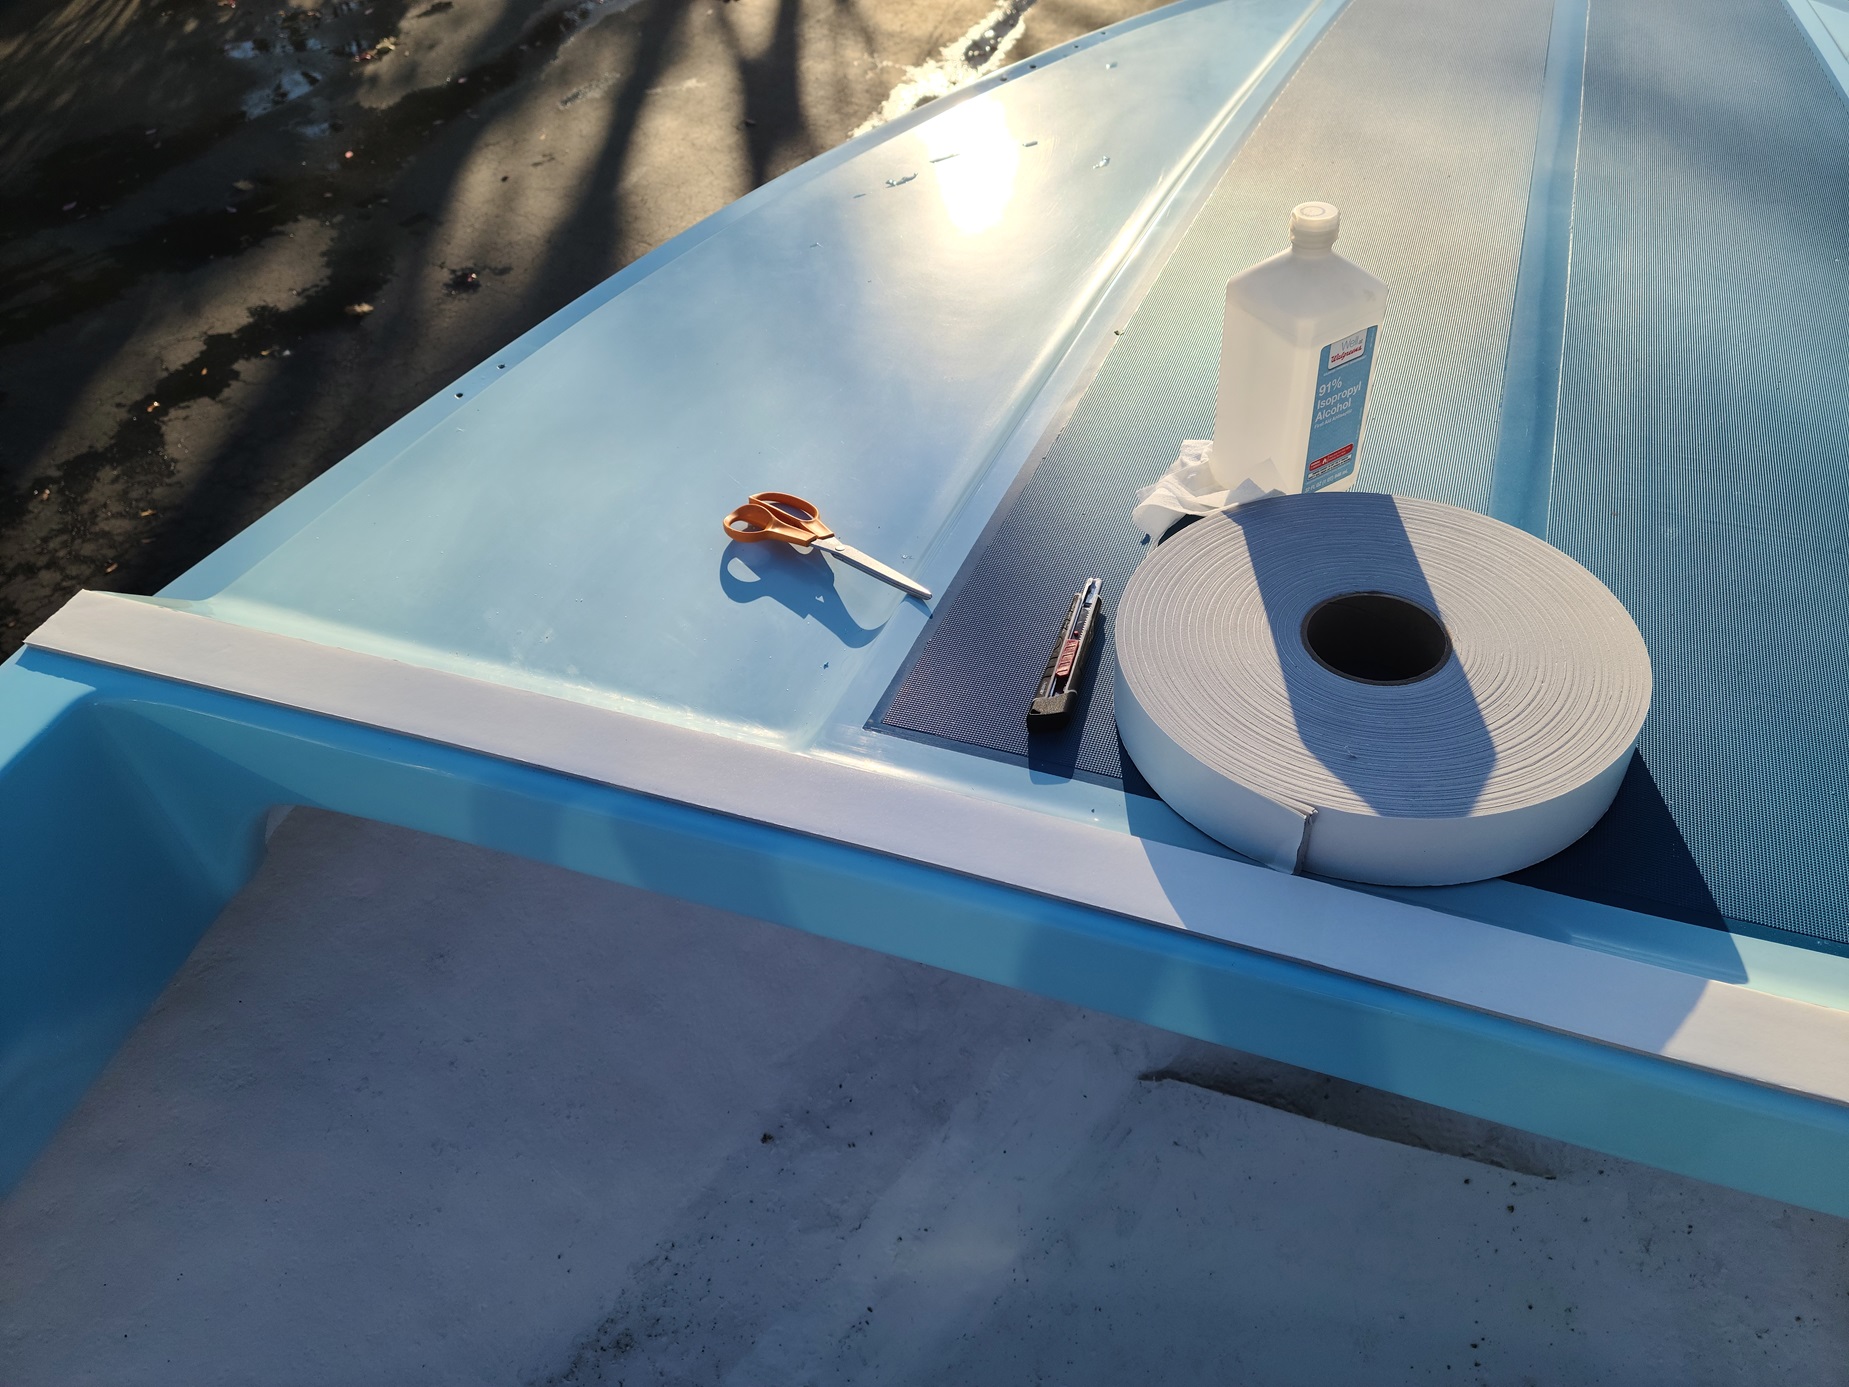
1971 Glasspar Newport Cruiser - Rejuvenation 2 years 3 months ago #148514
|
Please Log in or Create an account to join the conversation. |


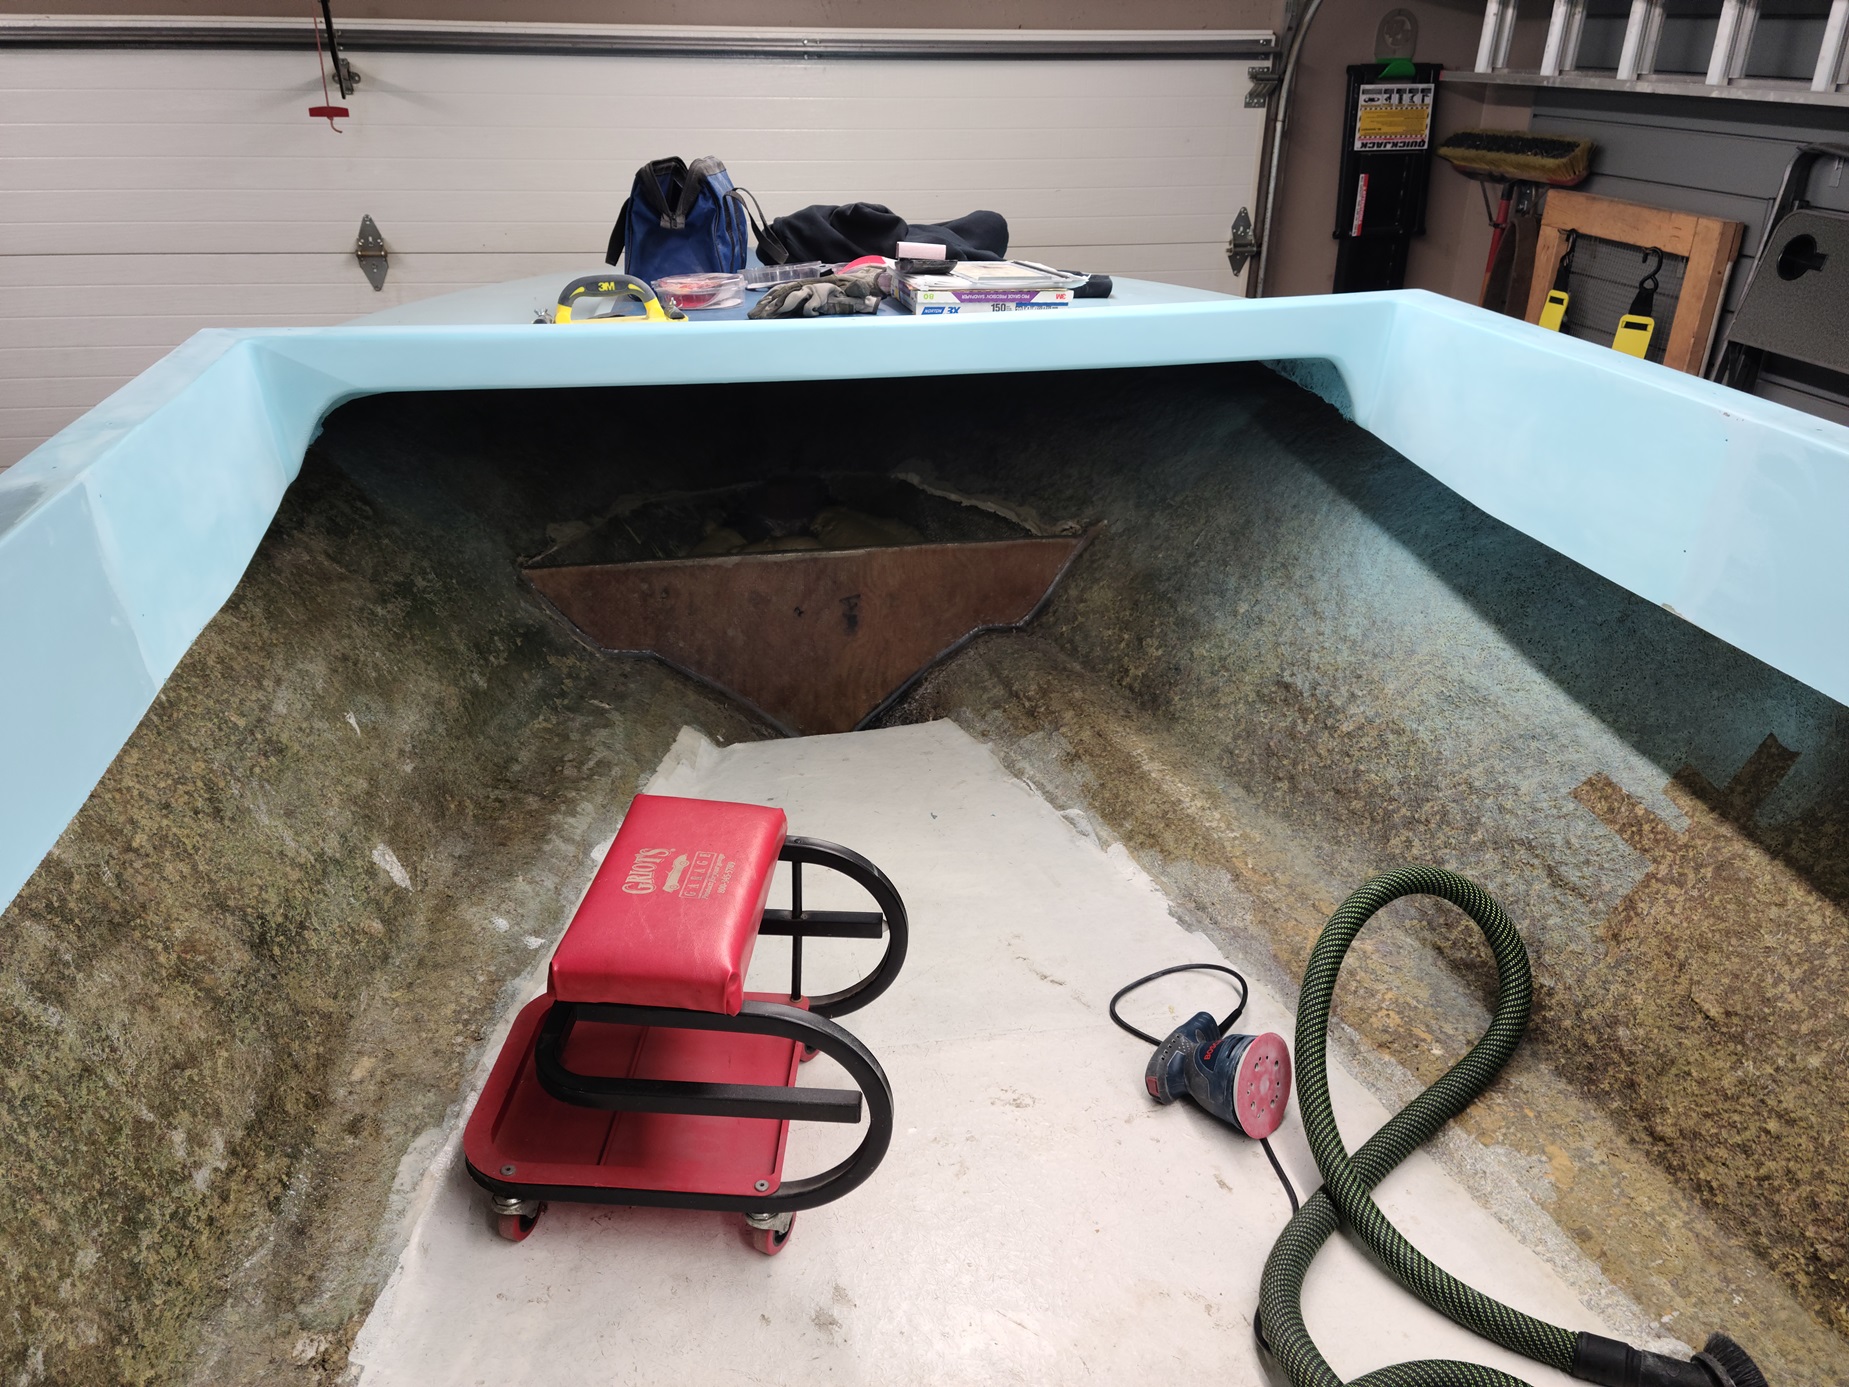
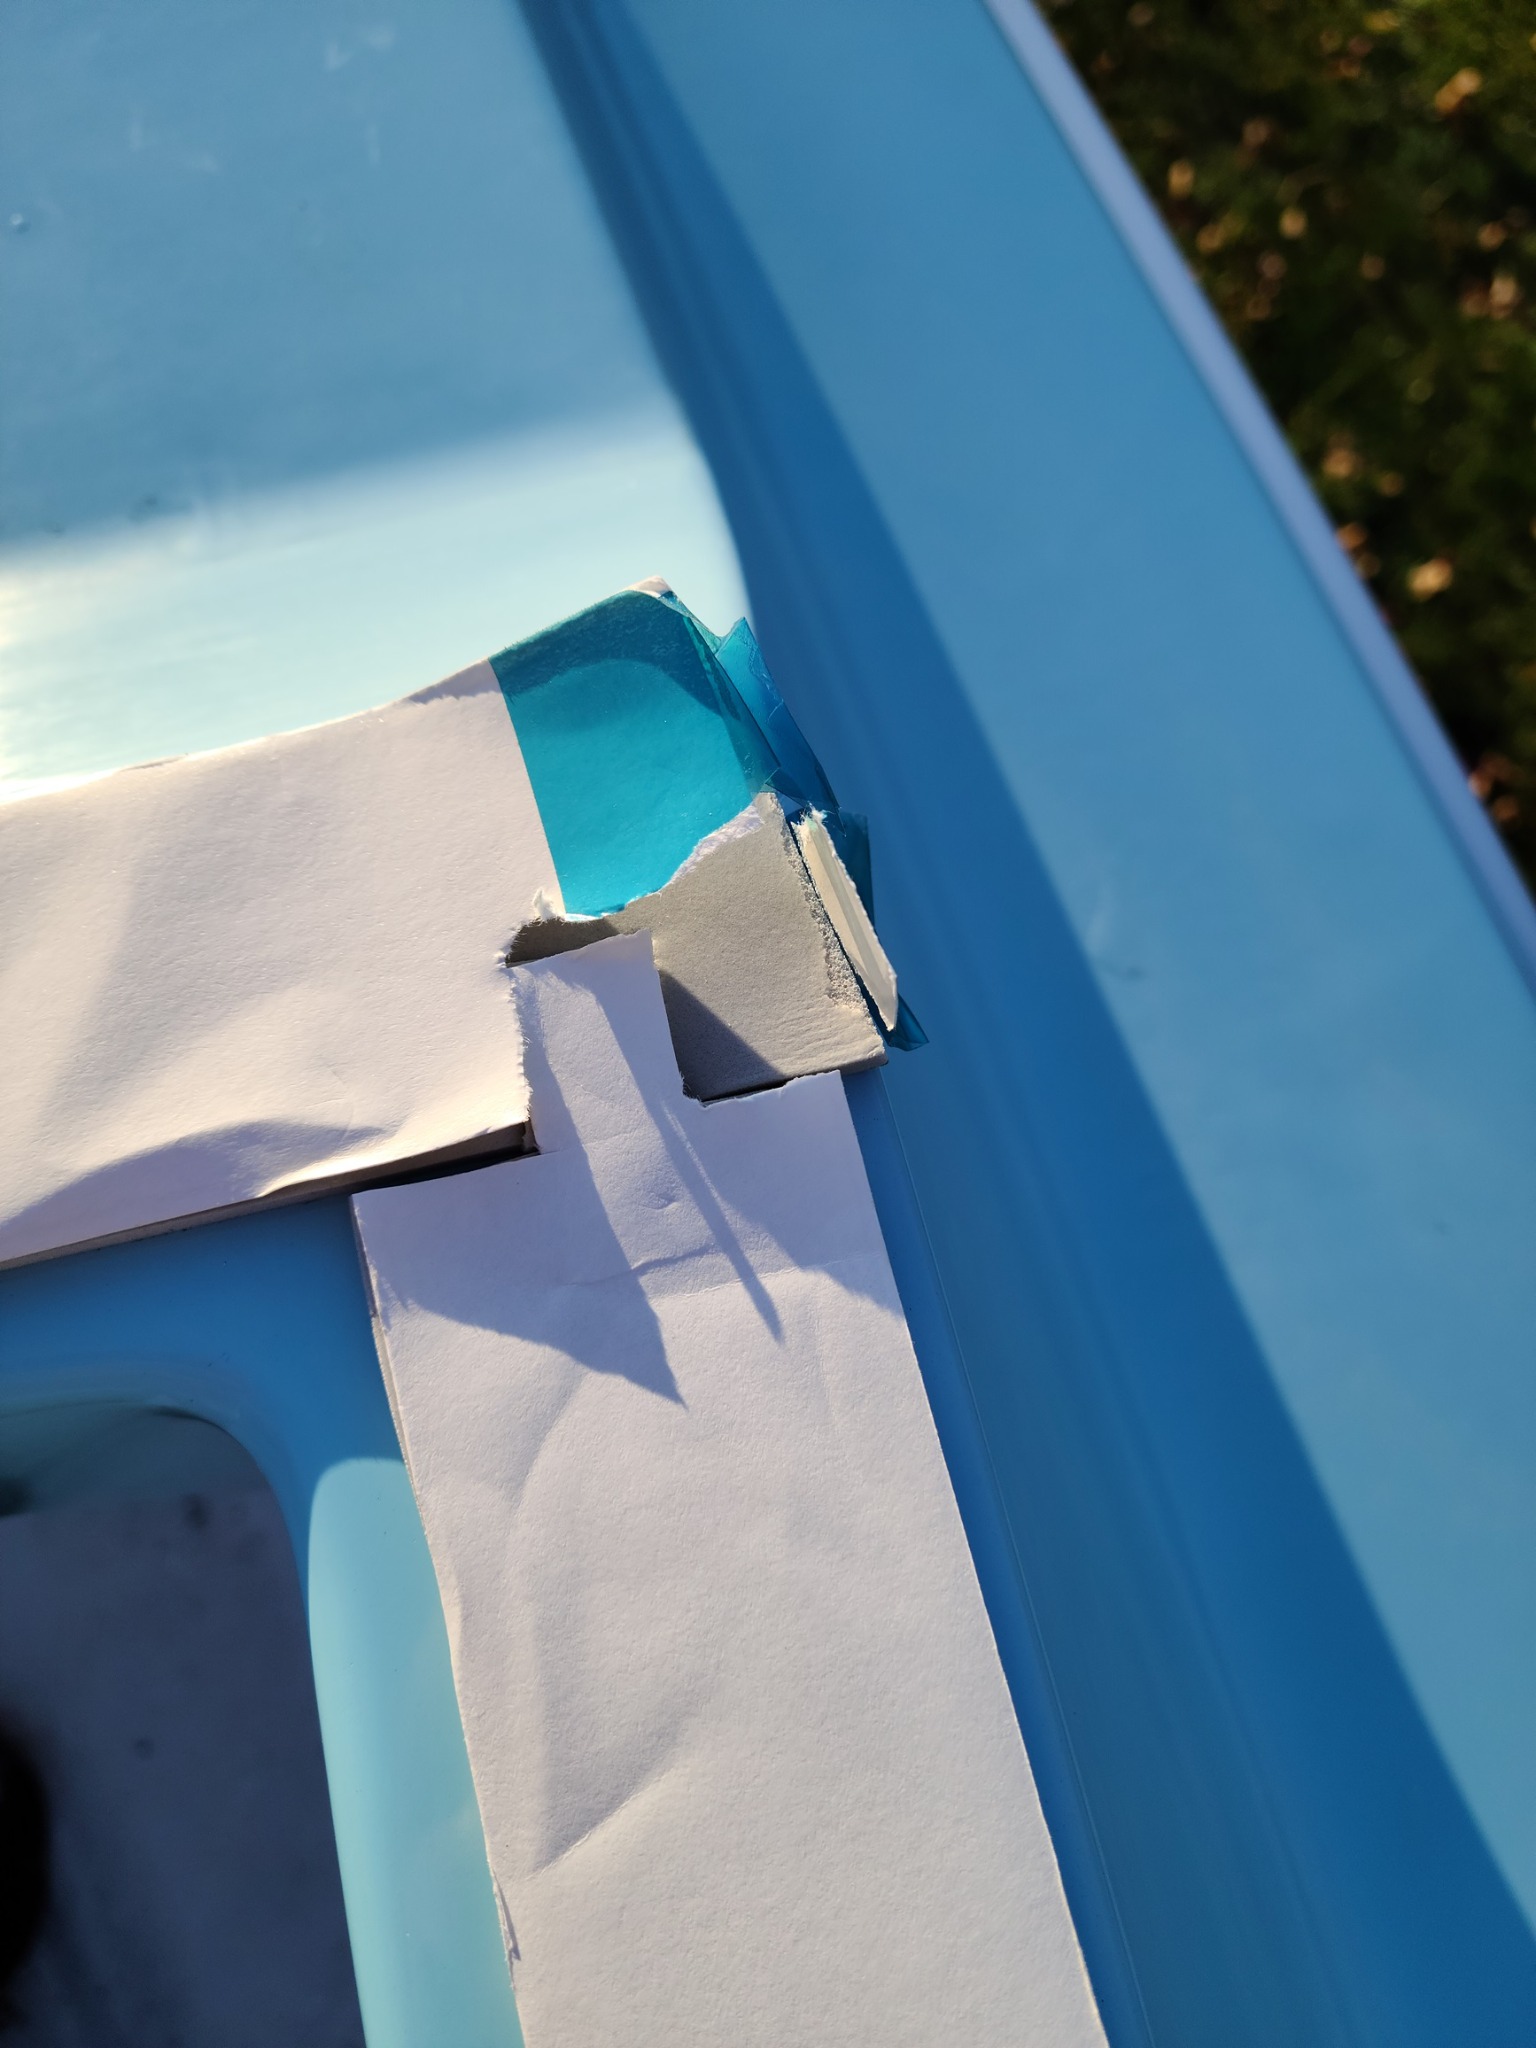
1971 Glasspar Newport Cruiser - Rejuvenation 2 years 2 months ago #148521
|
Please Log in or Create an account to join the conversation. |


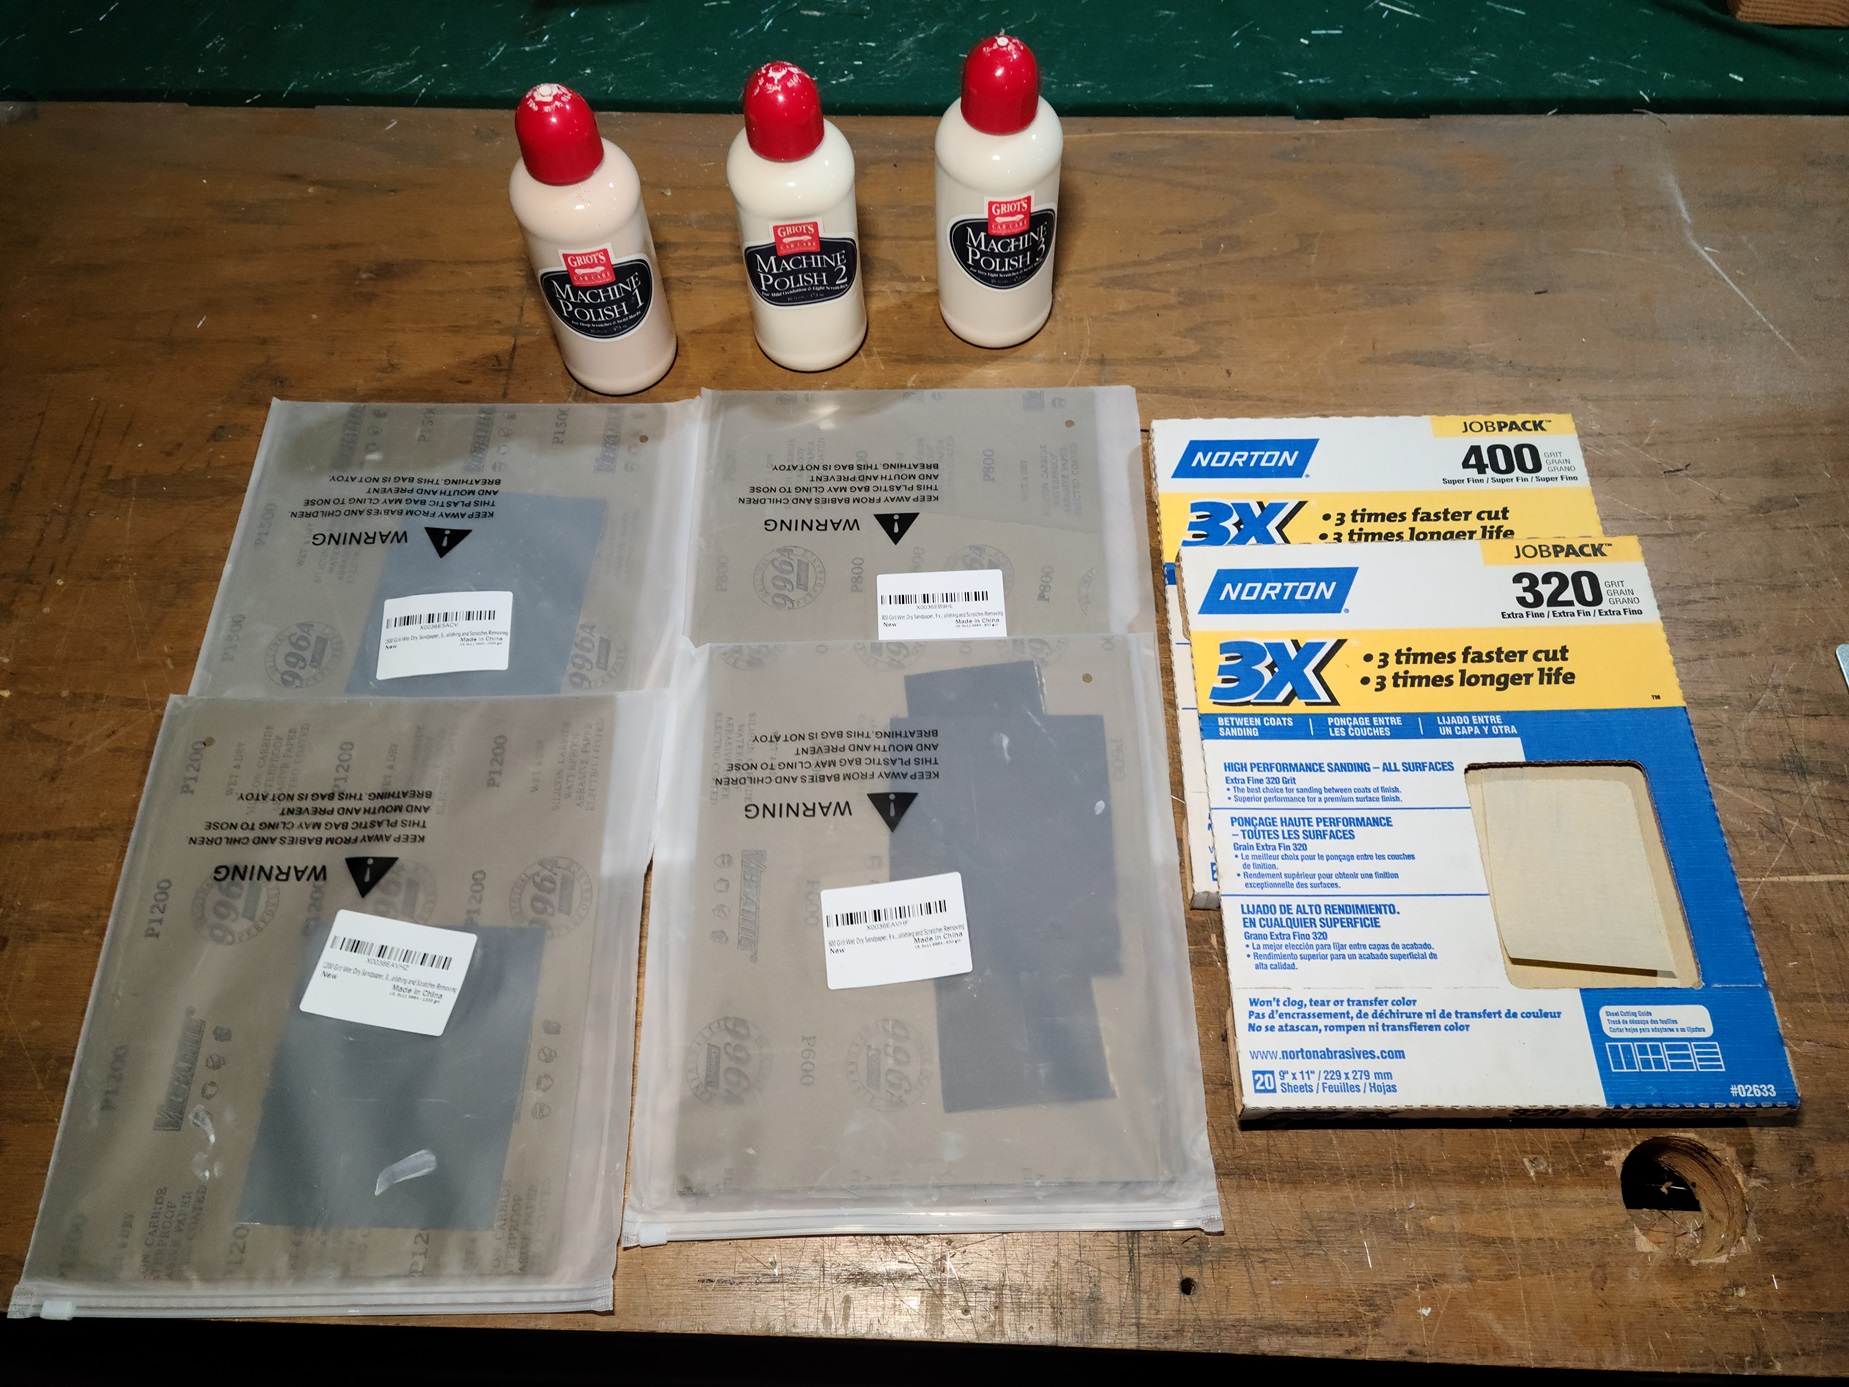
1971 Glasspar Newport Cruiser - Rejuvenation 2 years 2 months ago #148560
|
Please Log in or Create an account to join the conversation. |
1971 Glasspar Newport Cruiser - Rejuvenation 2 years 1 month ago #148561
|
Please Log in or Create an account to join the conversation. |


1971 Glasspar Newport Cruiser - Rejuvenation 2 years 1 month ago #148564
|
Please Log in or Create an account to join the conversation. |


1971 Glasspar Newport Cruiser - Rejuvenation 2 years 1 month ago #148565
|
Please Log in or Create an account to join the conversation. |

1971 Glasspar Newport Cruiser - Rejuvenation 2 years 1 month ago #148566
|
Please Log in or Create an account to join the conversation. |


1971 Glasspar Newport Cruiser - Rejuvenation 2 years 1 month ago #148567
|
|
Please Log in or Create an account to join the conversation. |
1971 Glasspar Newport Cruiser - Rejuvenation 2 years 1 month ago #148568
|
Please Log in or Create an account to join the conversation. |

1971 Glasspar Newport Cruiser - Rejuvenation 2 years 1 month ago #148570
|
Please Log in or Create an account to join the conversation. |
1971 Glasspar Newport Cruiser - Rejuvenation 2 years 3 days ago #148634
|
Please Log in or Create an account to join the conversation. |


1971 Glasspar Newport Cruiser - Rejuvenation 2 years 3 days ago #148635
|
Please Log in or Create an account to join the conversation. |

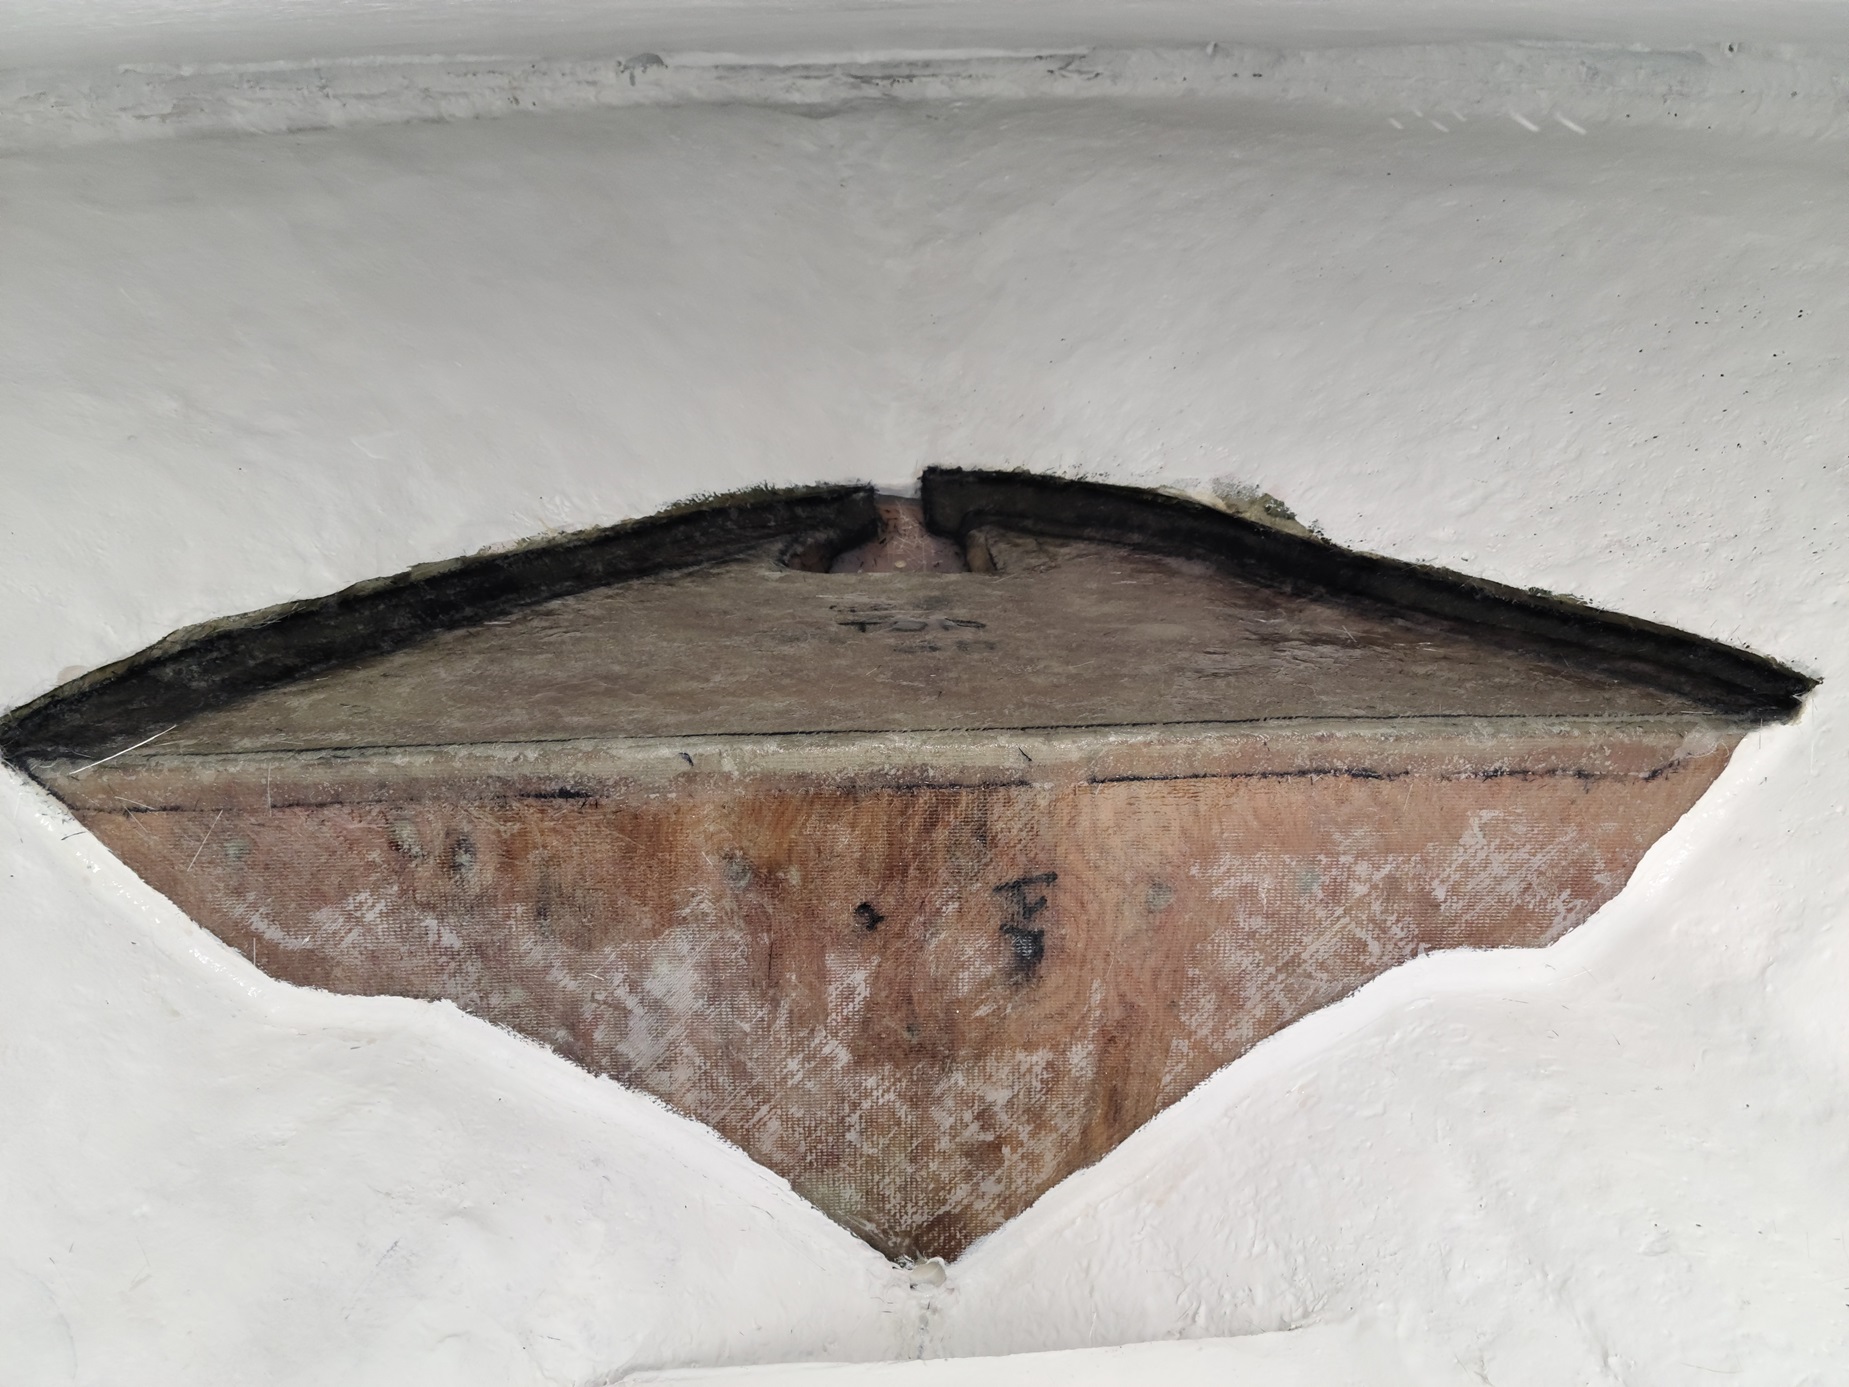
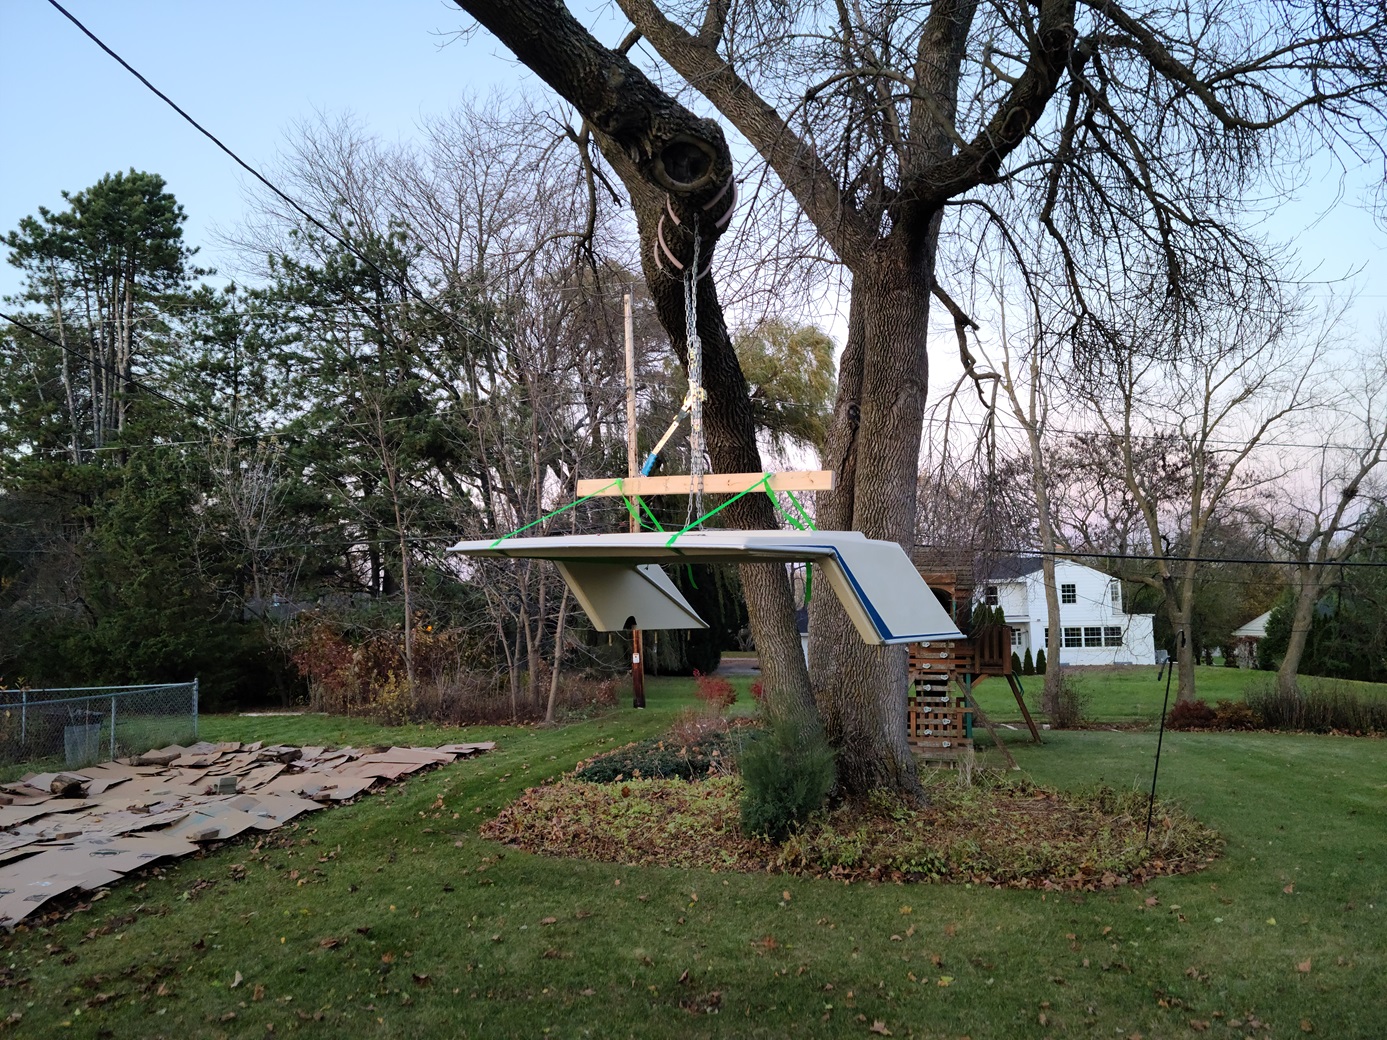
1971 Glasspar Newport Cruiser - Rejuvenation 1 year 2 months ago #148939
|
Please Log in or Create an account to join the conversation. |
1971 Glasspar Newport Cruiser - Rejuvenation 1 year 2 months ago #148940
|
Please Log in or Create an account to join the conversation. |

1971 Glasspar Newport Cruiser - Rejuvenation 1 year 2 months ago #148941
|
Please Log in or Create an account to join the conversation. |

1971 Glasspar Newport Cruiser - Rejuvenation 1 year 2 months ago #148944
|
Please Log in or Create an account to join the conversation. |


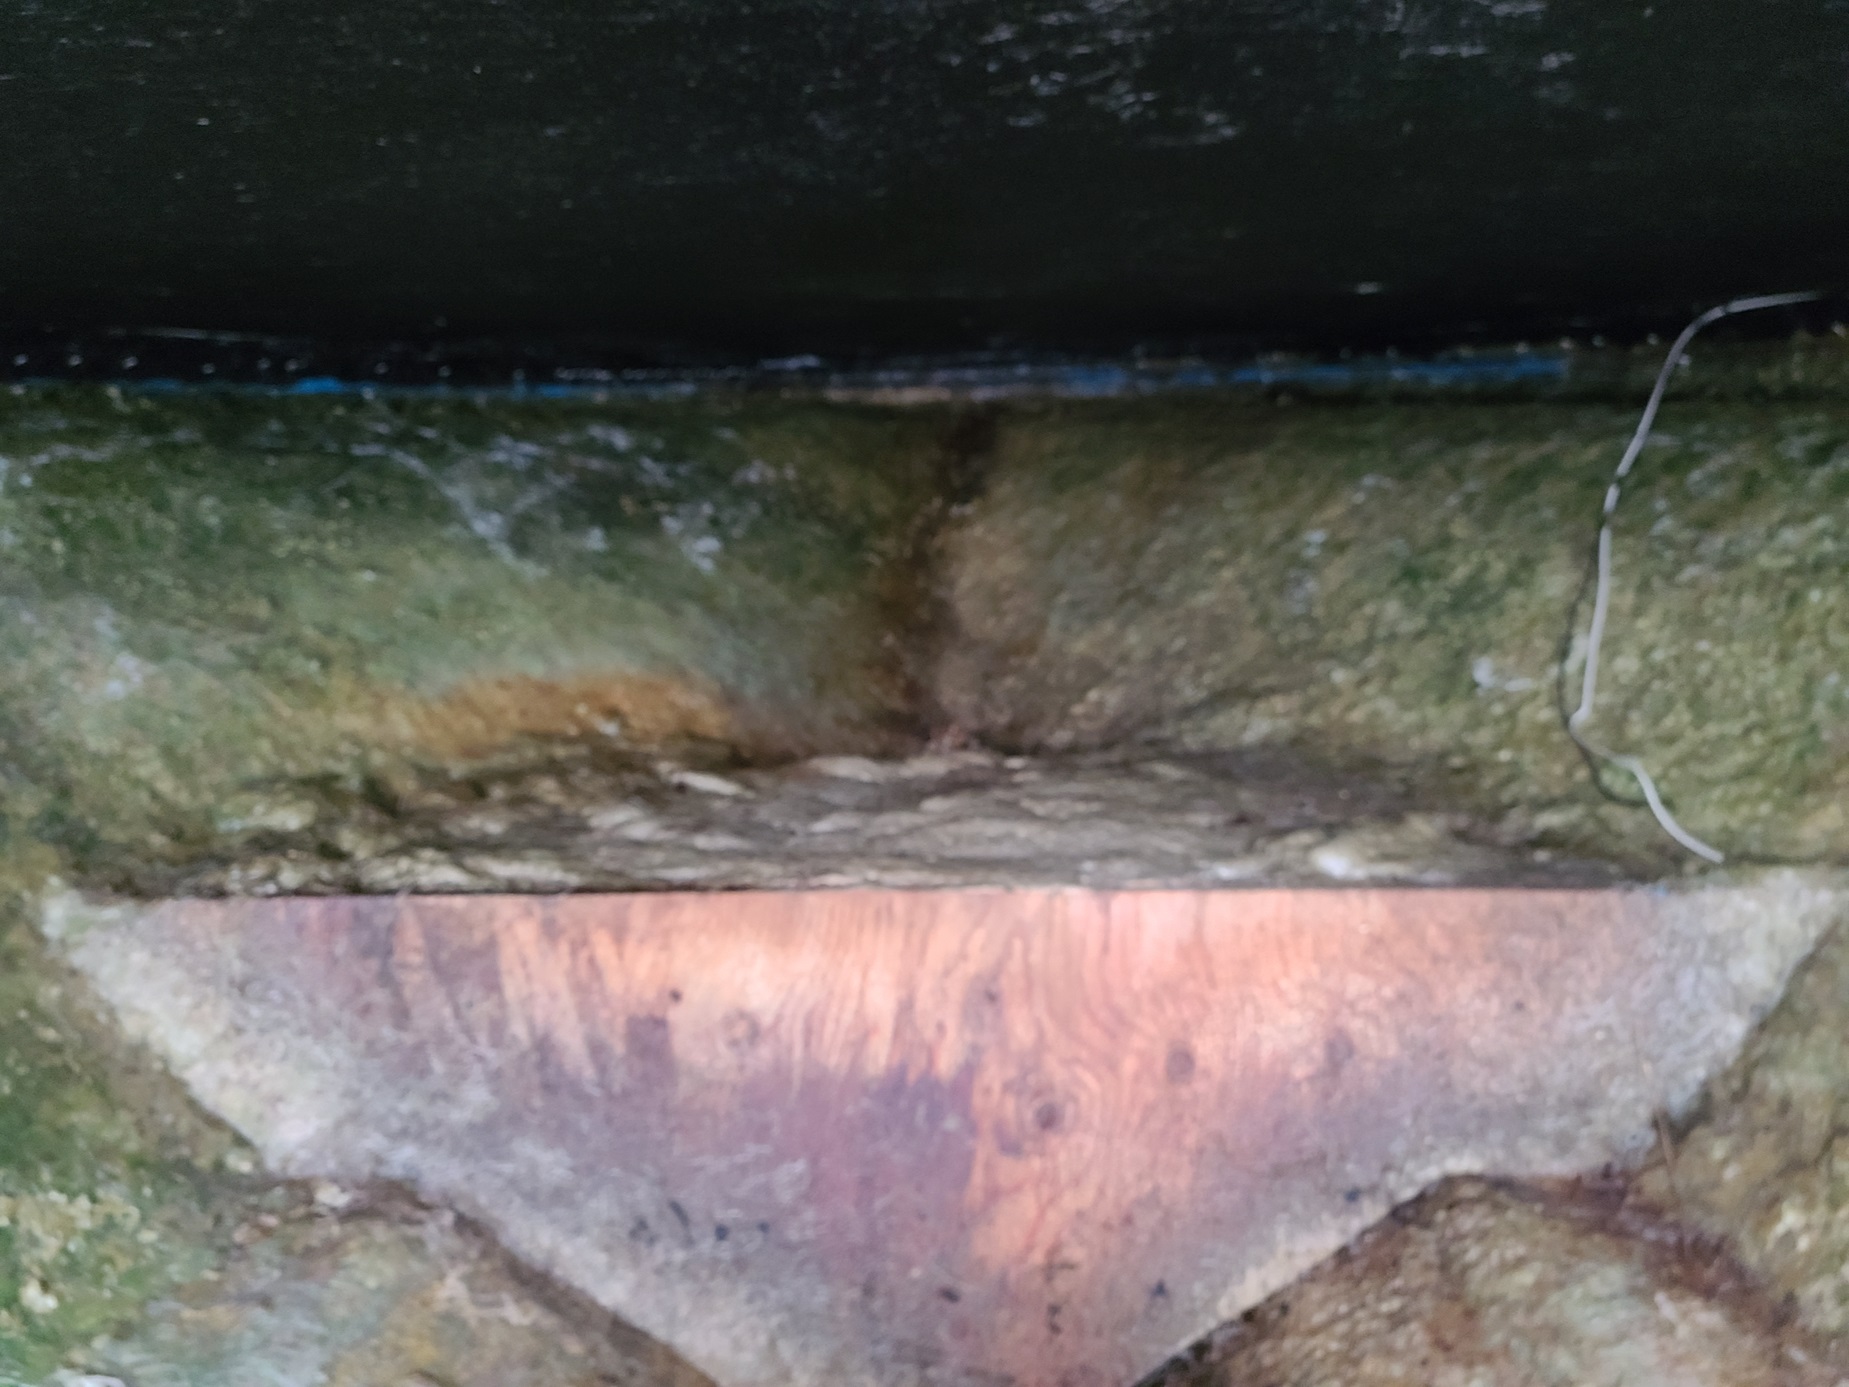
1971 Glasspar Newport Cruiser - Rejuvenation 1 year 2 months ago #148949
|
Please Log in or Create an account to join the conversation. |

1971 Glasspar Newport Cruiser - Rejuvenation 1 year 2 months ago #148961
|
Please Log in or Create an account to join the conversation. |
1971 Glasspar Newport Cruiser - Rejuvenation 1 year 2 months ago #148962
|
Please Log in or Create an account to join the conversation. |
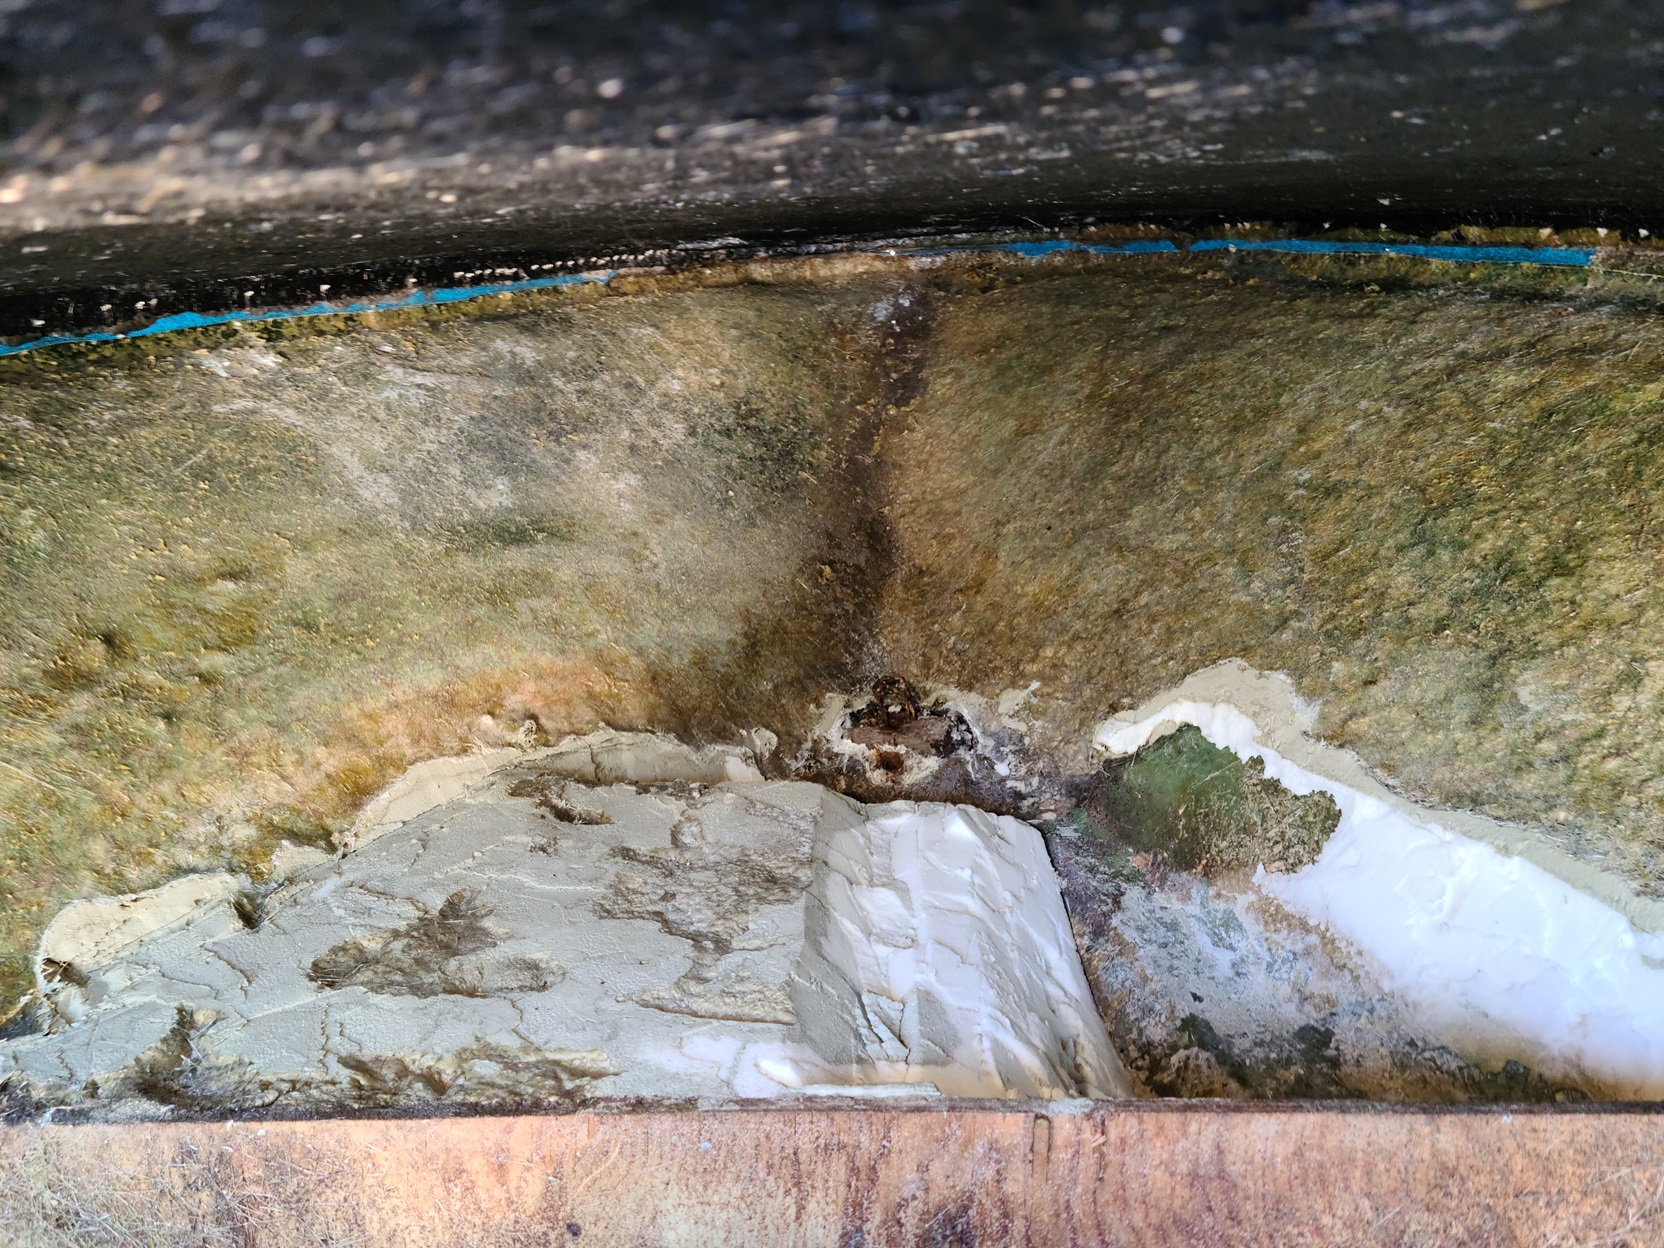
1971 Glasspar Newport Cruiser - Rejuvenation 1 year 2 months ago #148963
|
Please Log in or Create an account to join the conversation. |
1971 Glasspar Newport Cruiser - Rejuvenation 1 year 2 months ago #148964
|
Please Log in or Create an account to join the conversation. |


1971 Glasspar Newport Cruiser - Rejuvenation 1 year 1 month ago #148974
|
Please Log in or Create an account to join the conversation. |
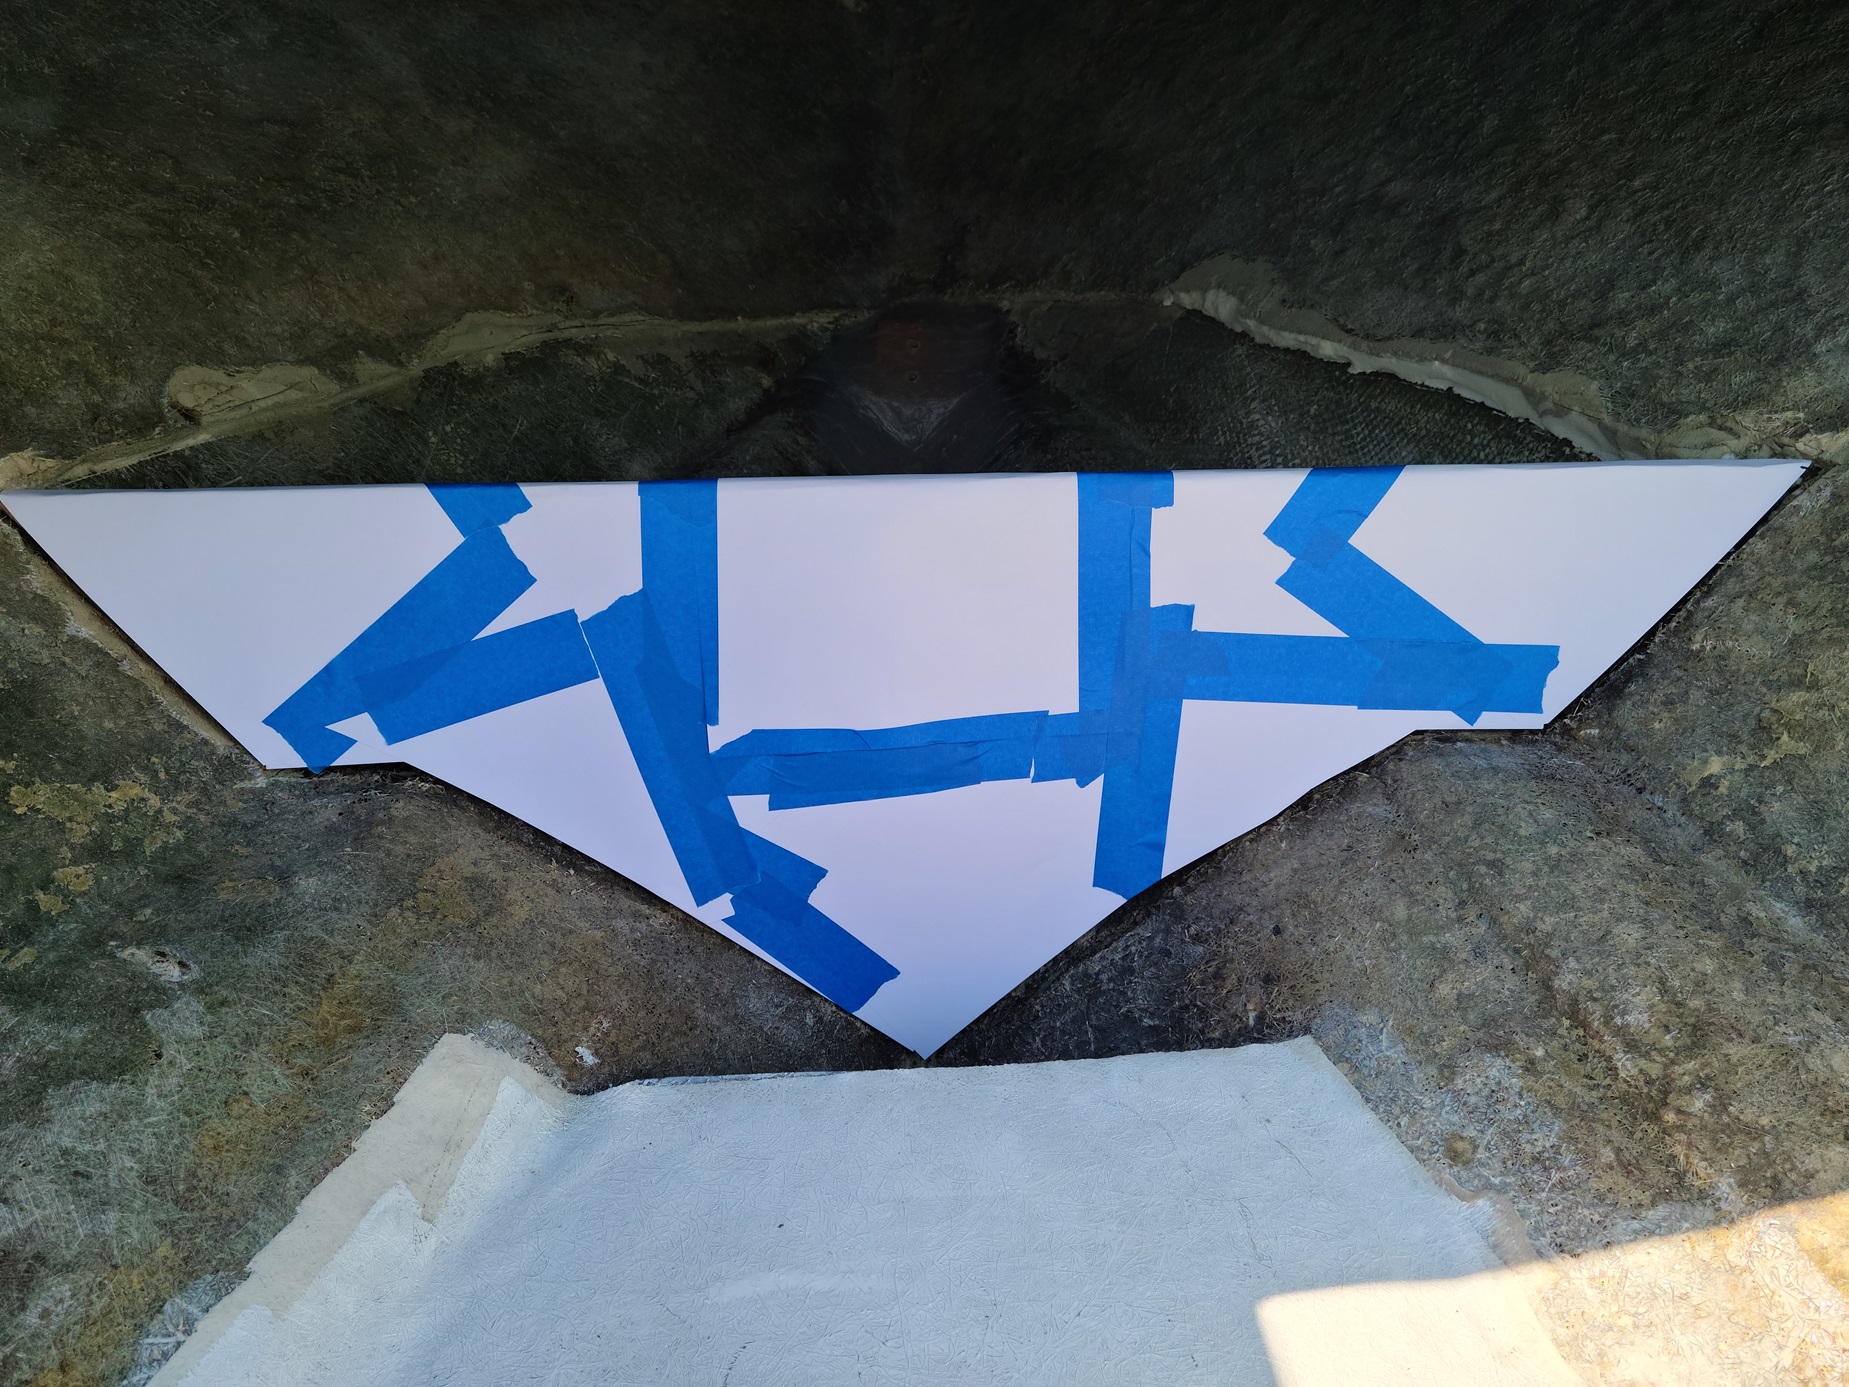
1971 Glasspar Newport Cruiser - Rejuvenation 1 year 1 month ago #148975
|
Please Log in or Create an account to join the conversation. |
1971 Glasspar Newport Cruiser - Rejuvenation 8 months 4 weeks ago #149048
|
Please Log in or Create an account to join the conversation. |


1971 Glasspar Newport Cruiser - Rejuvenation 8 months 4 weeks ago #149049
|
Please Log in or Create an account to join the conversation. |


1971 Glasspar Newport Cruiser - Rejuvenation 7 months 4 weeks ago #149111
|
Please Log in or Create an account to join the conversation. |


1971 Glasspar Newport Cruiser - Rejuvenation 7 months 4 weeks ago #149112
|
Please Log in or Create an account to join the conversation. |
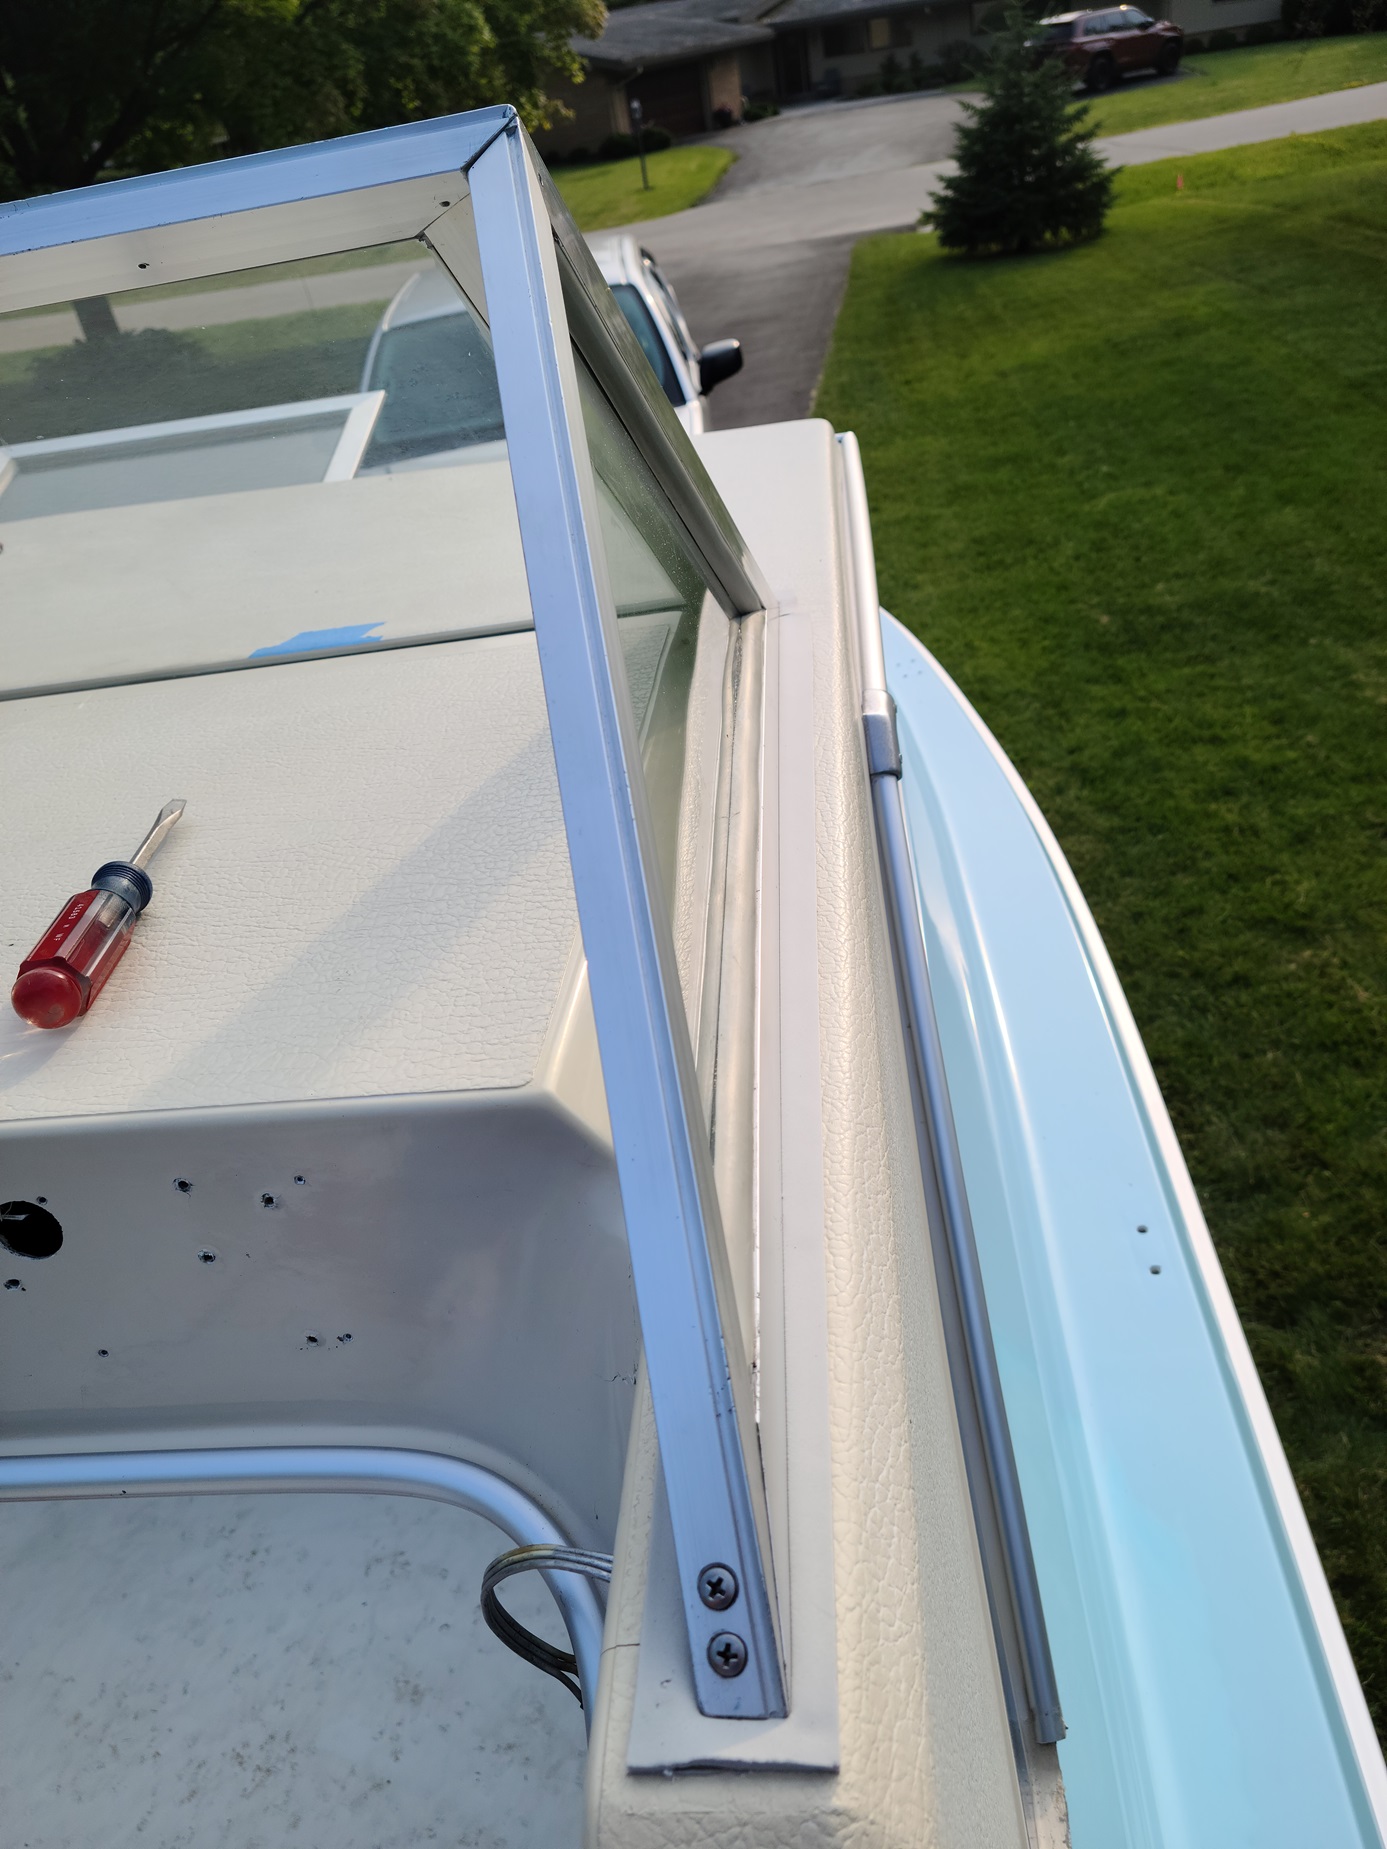
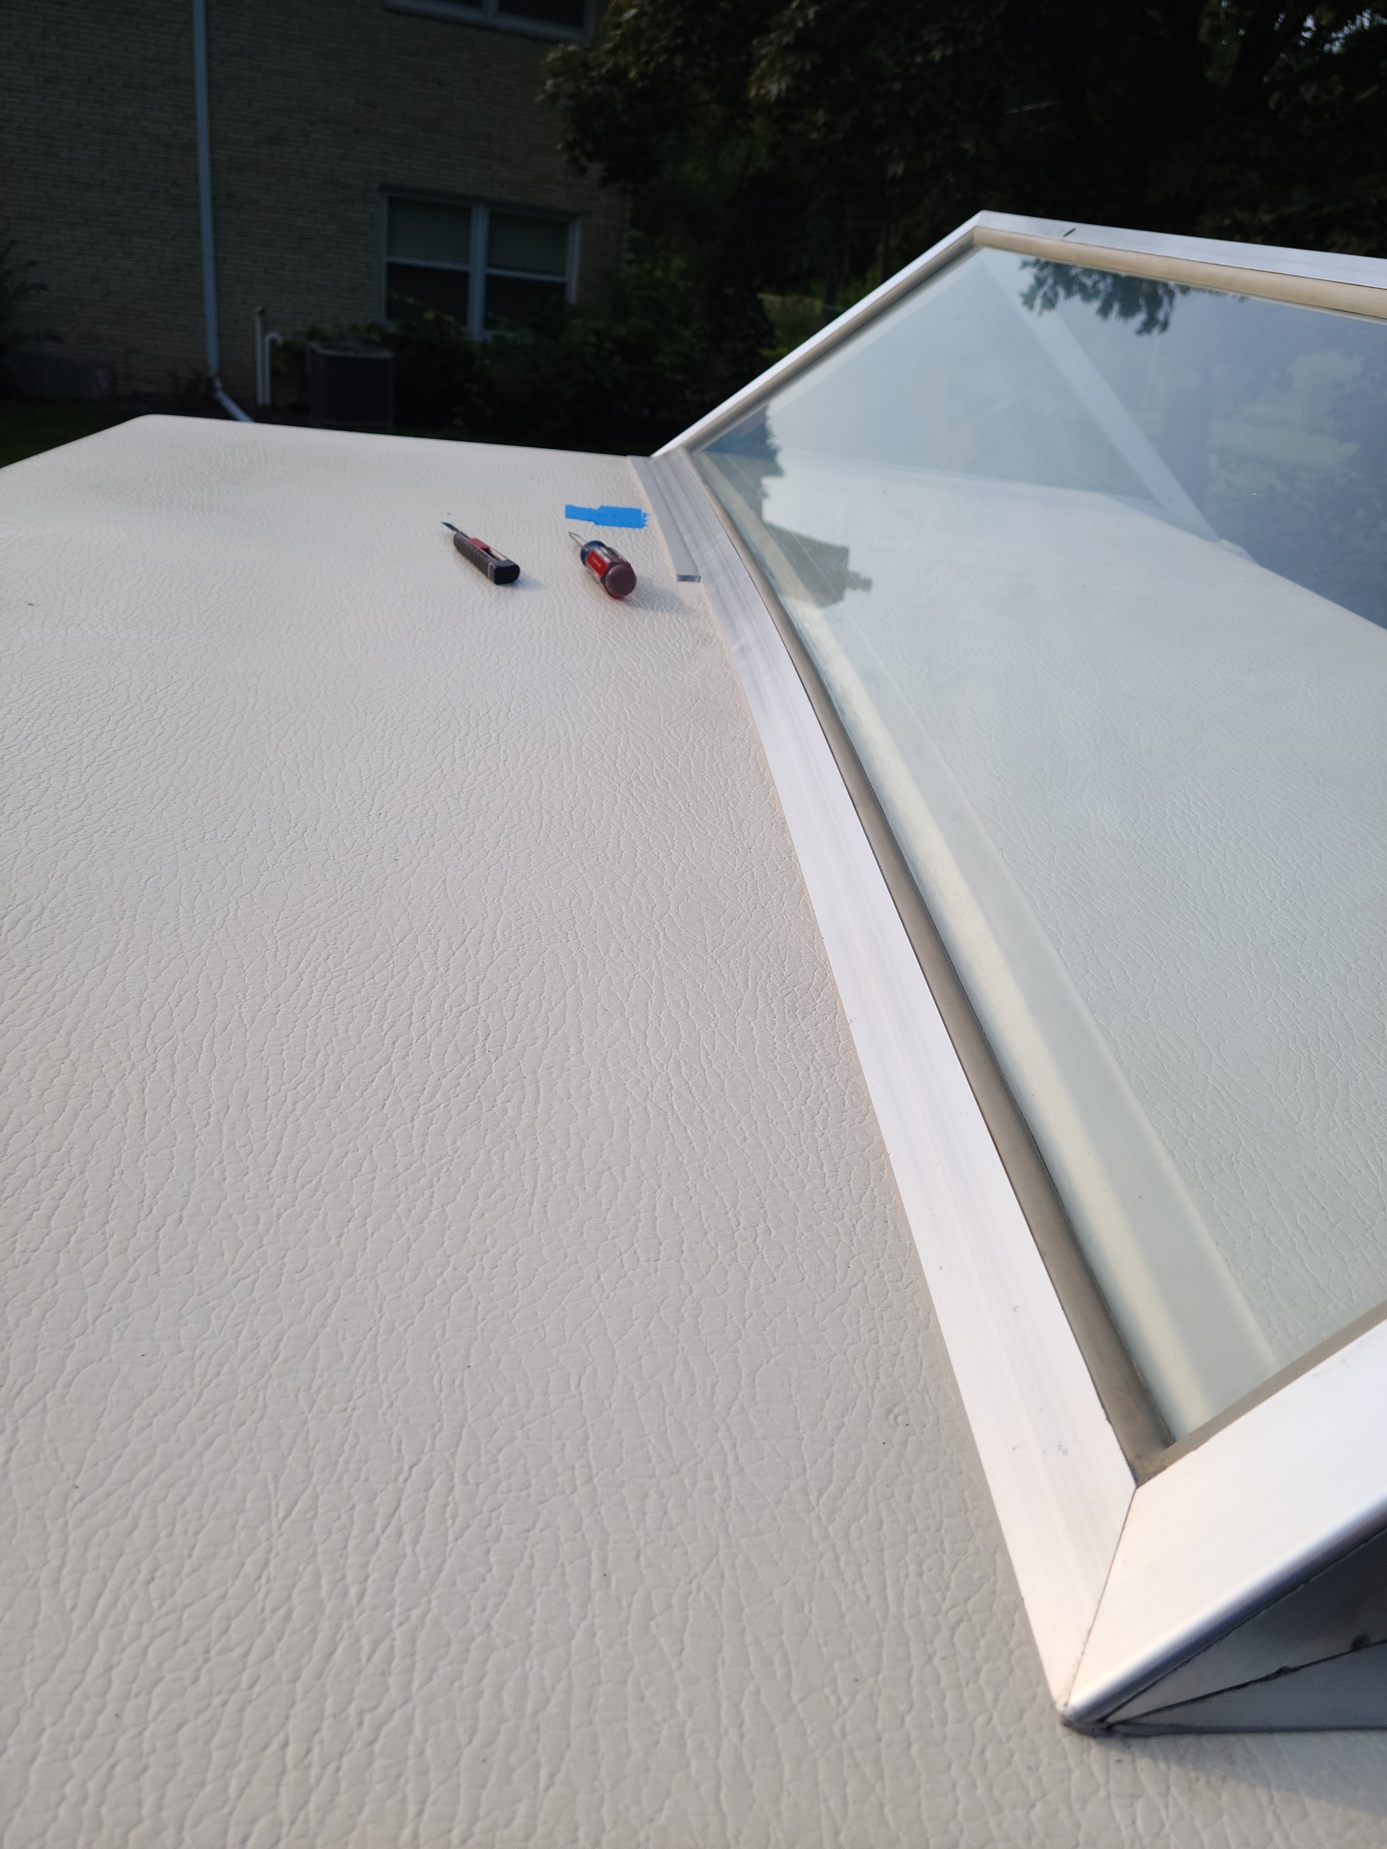
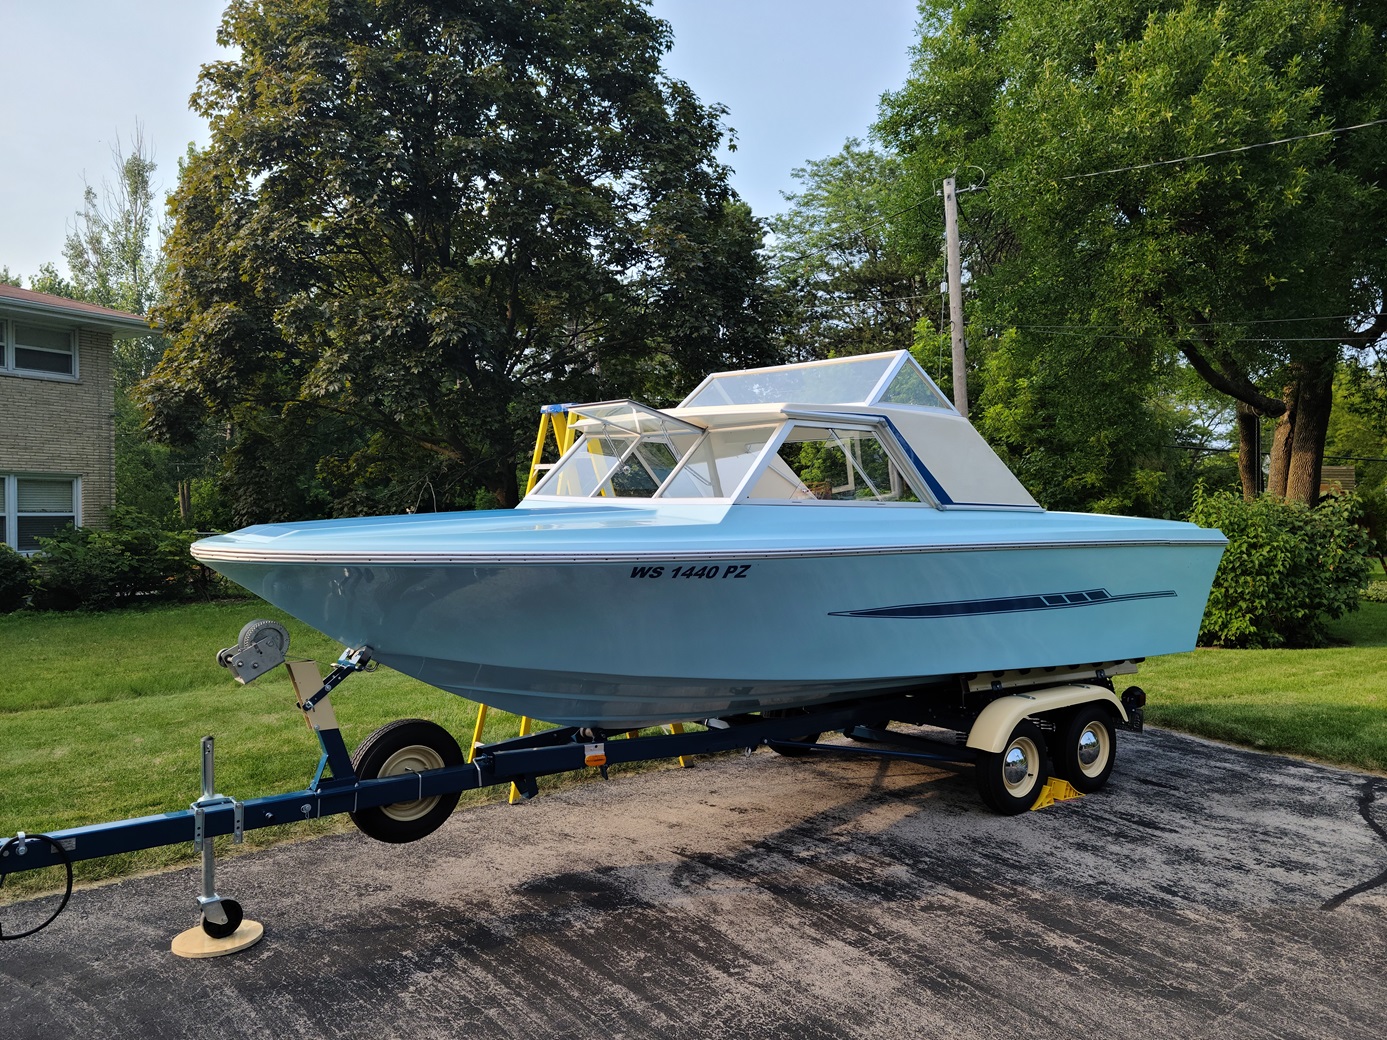
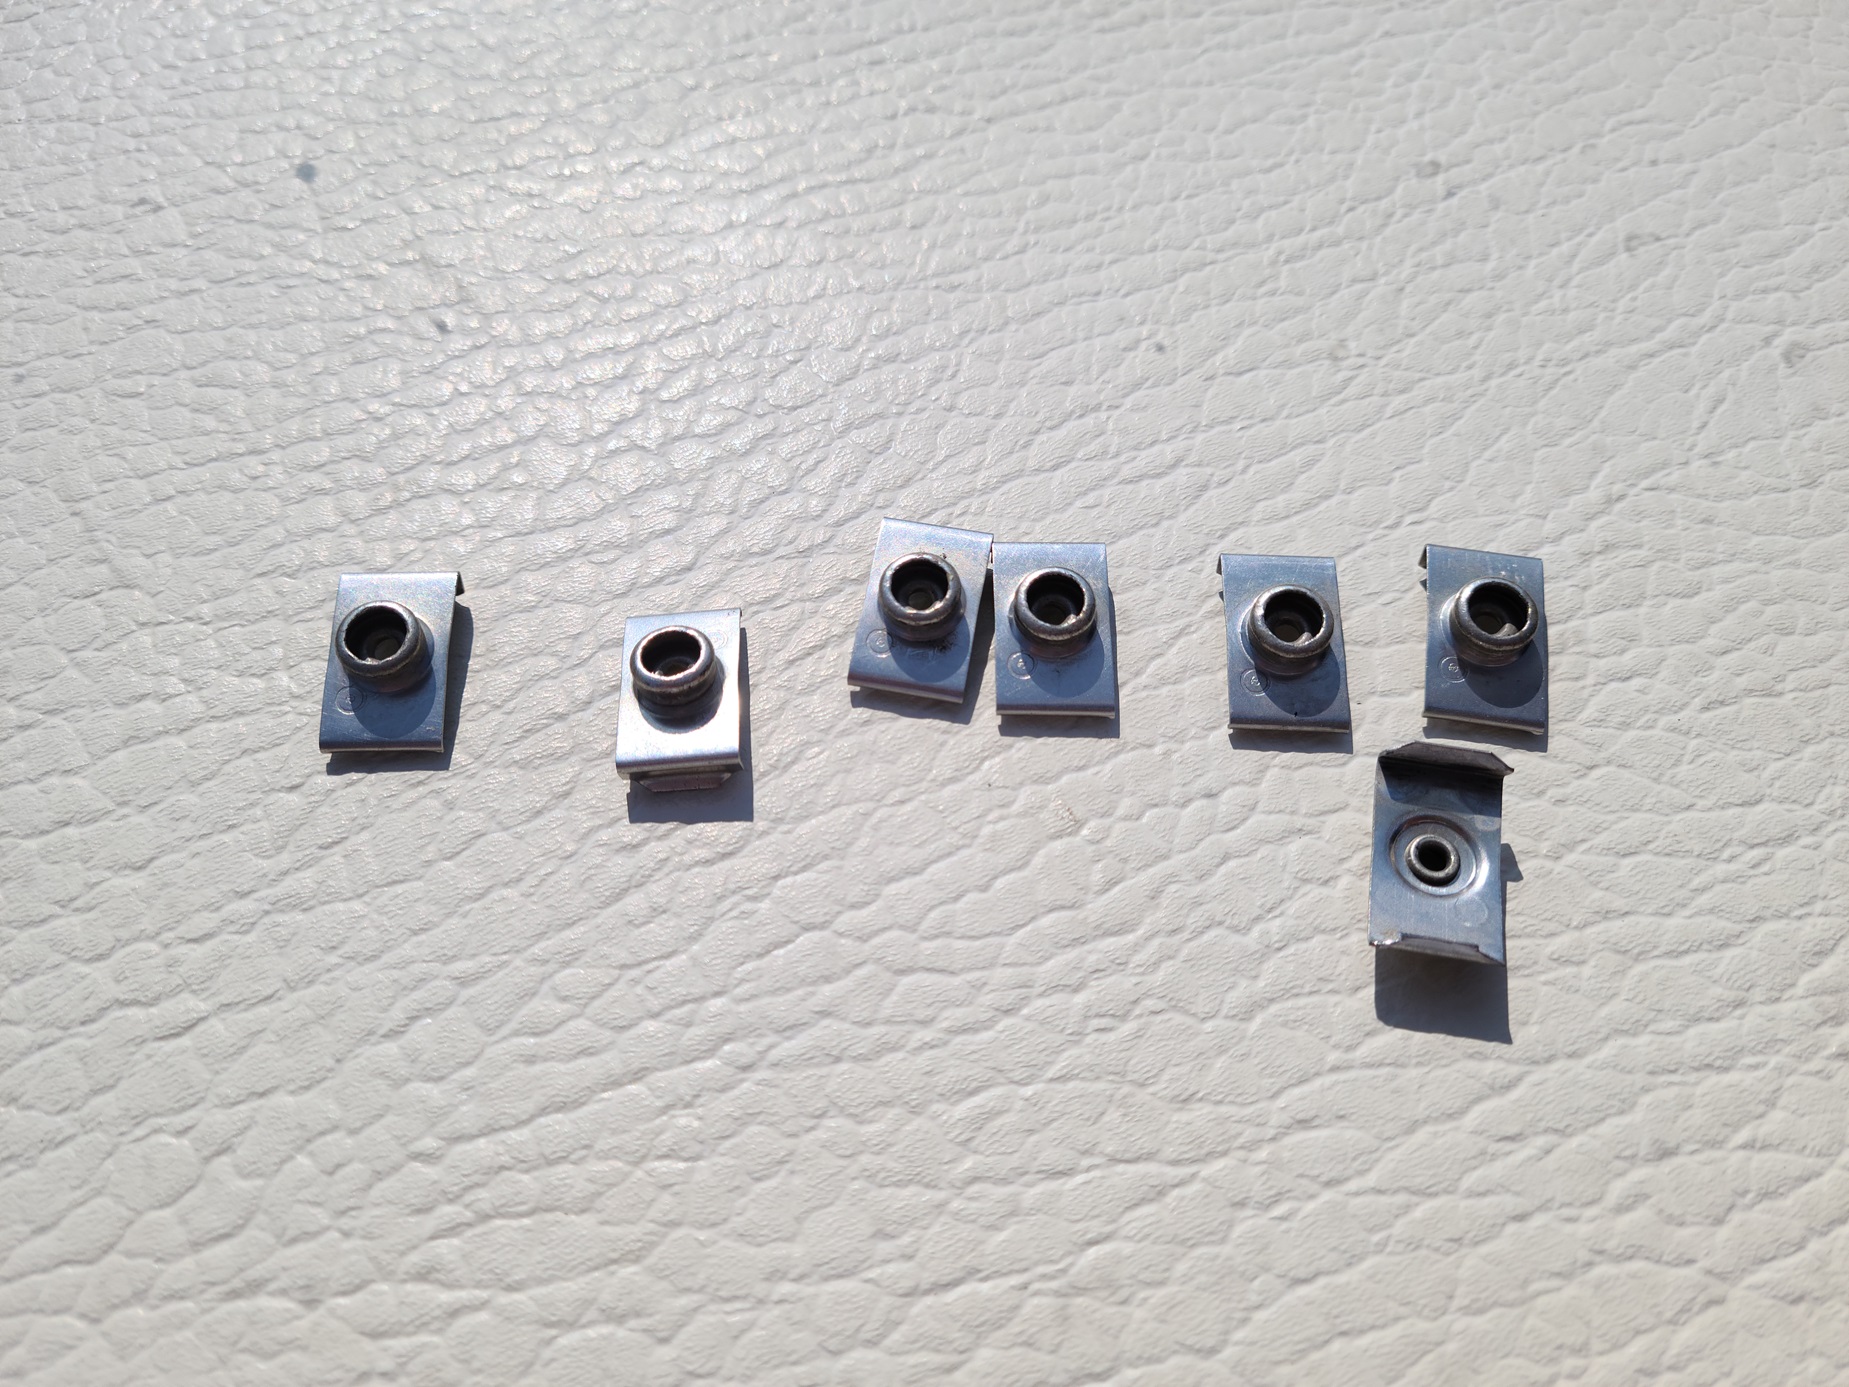
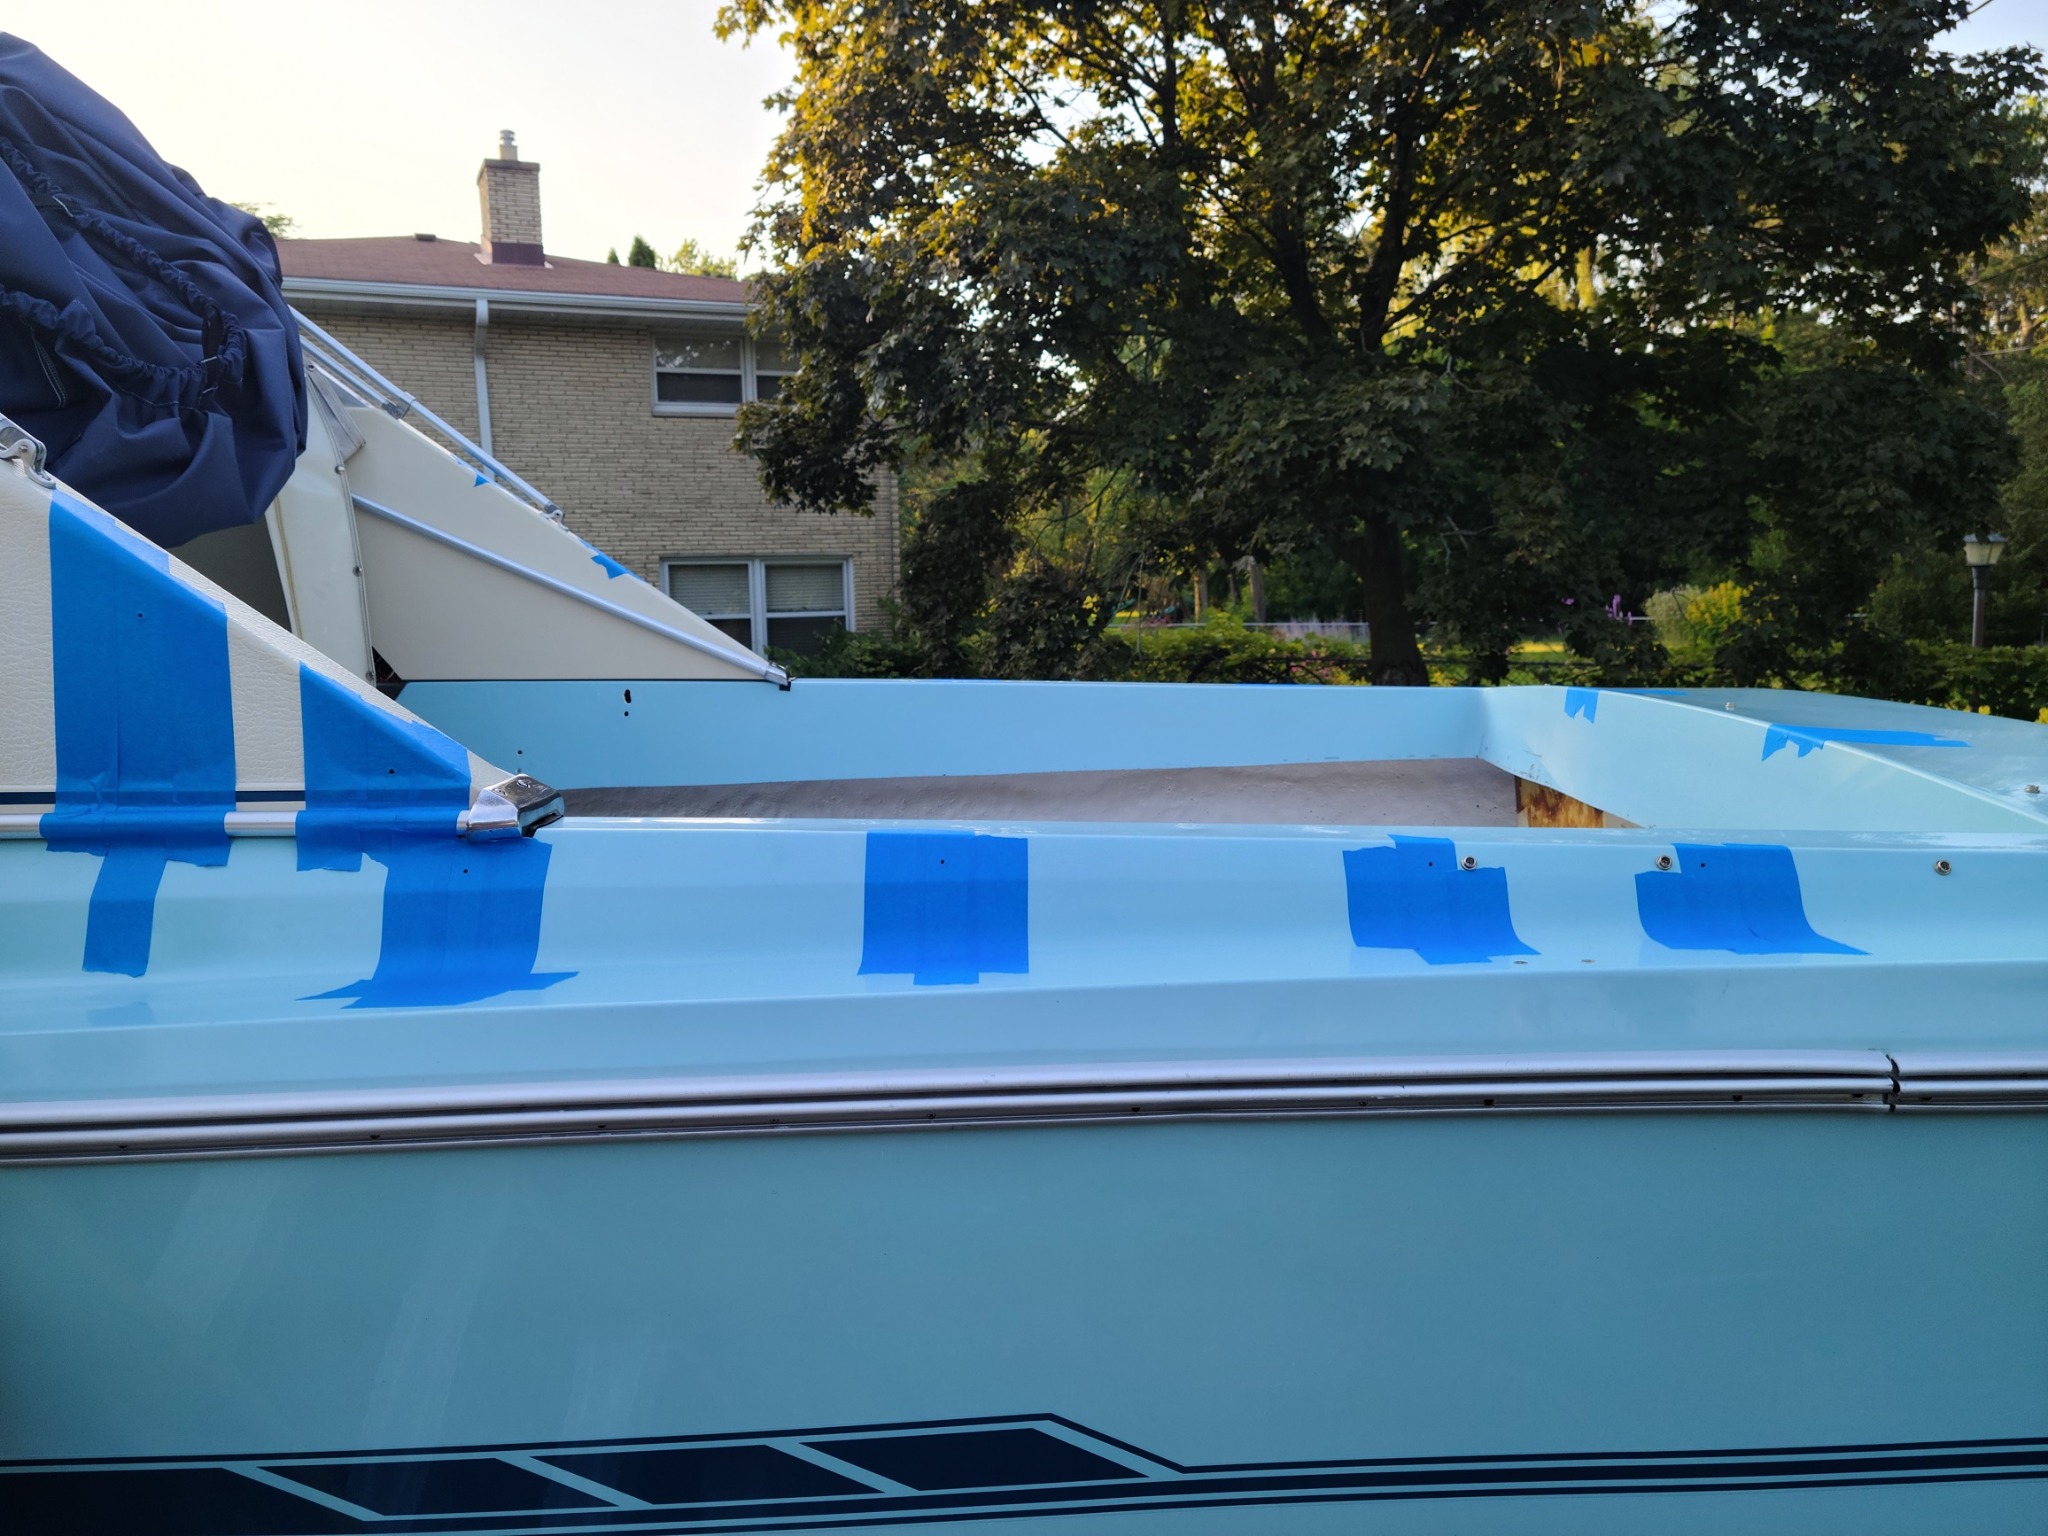
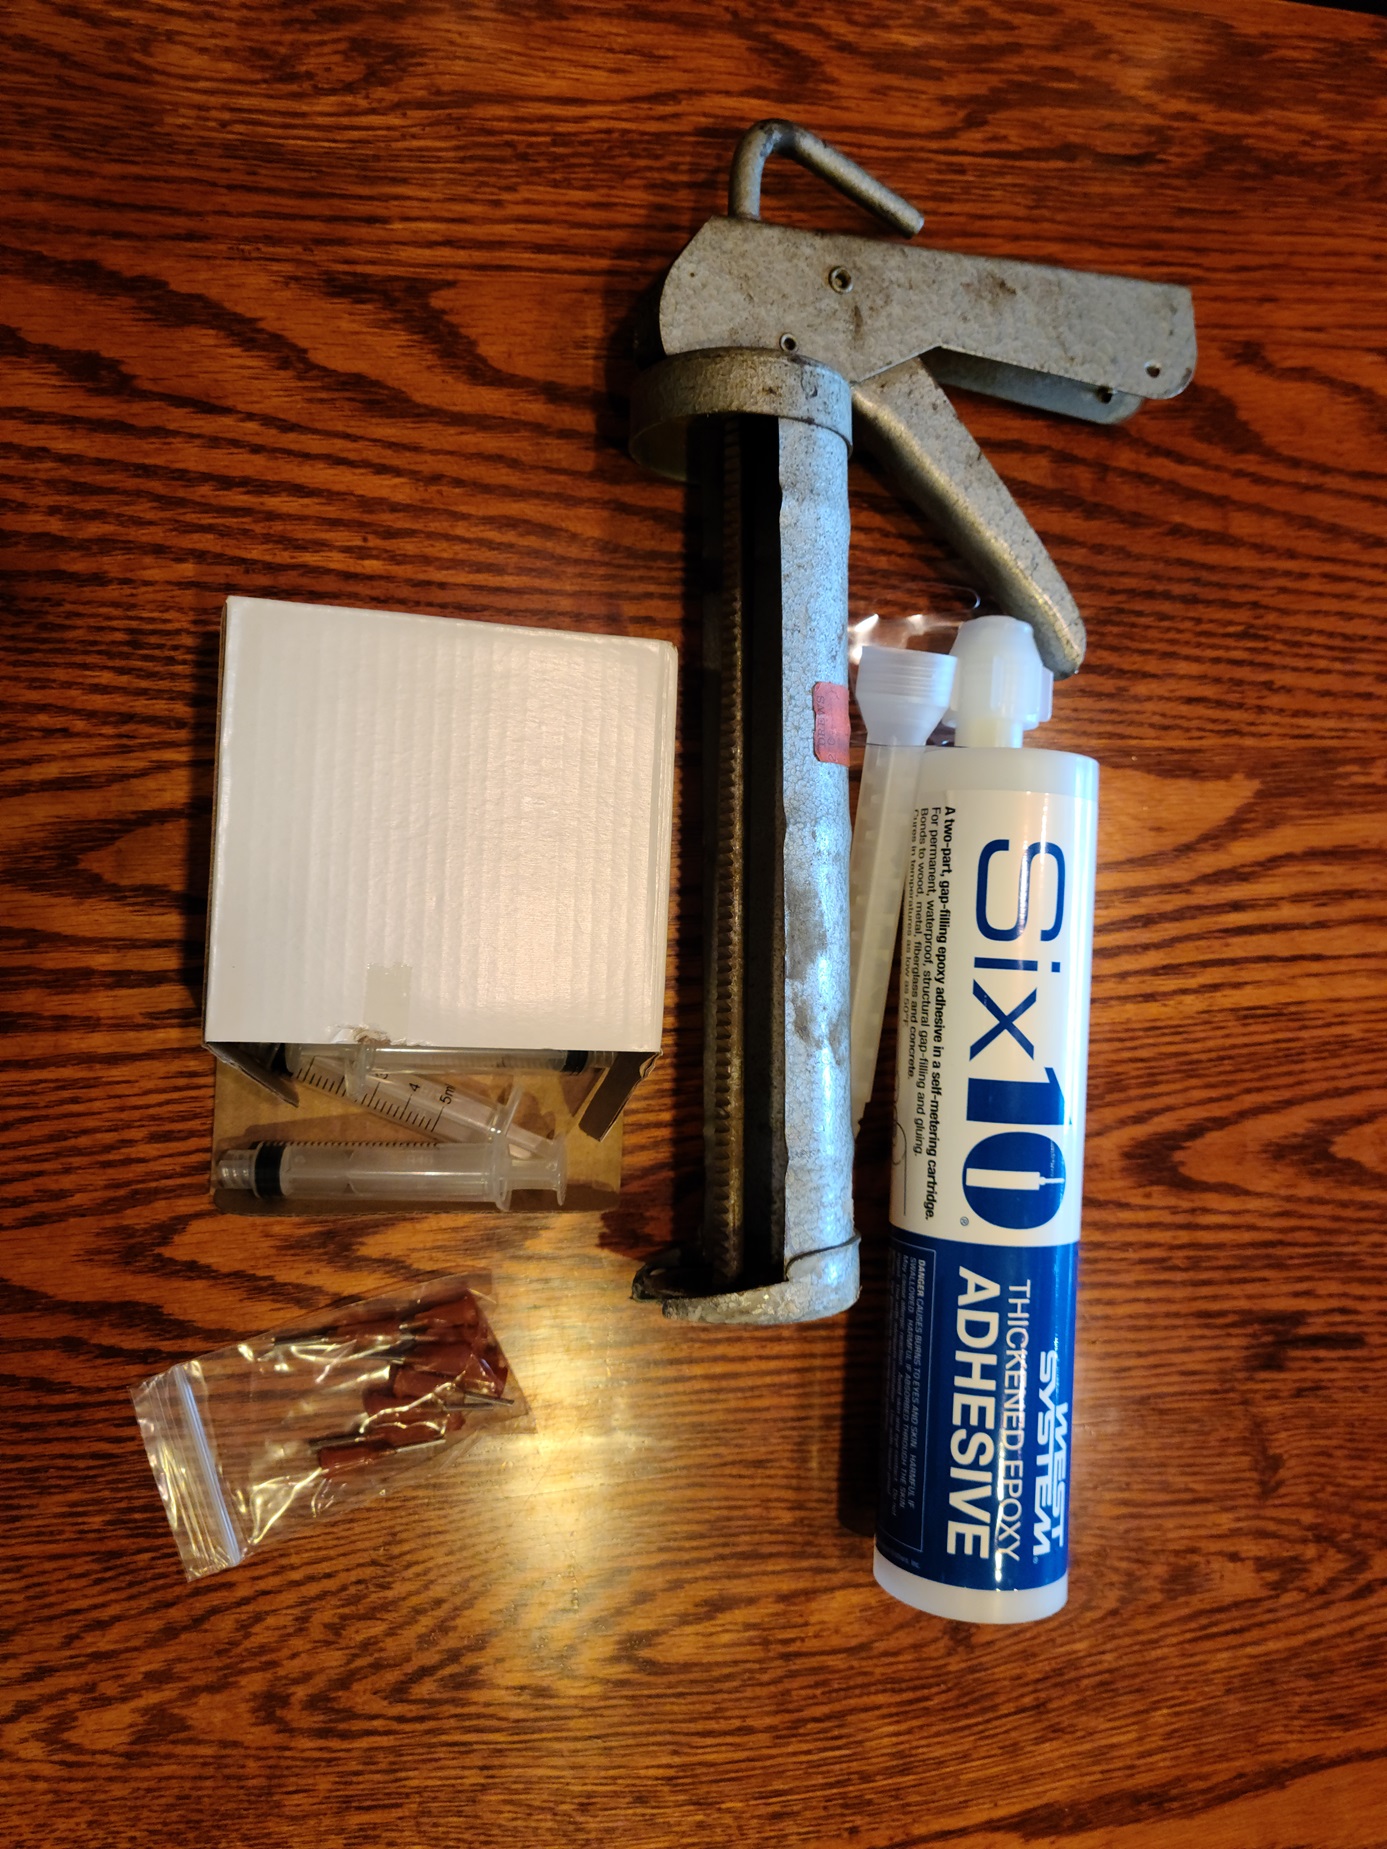
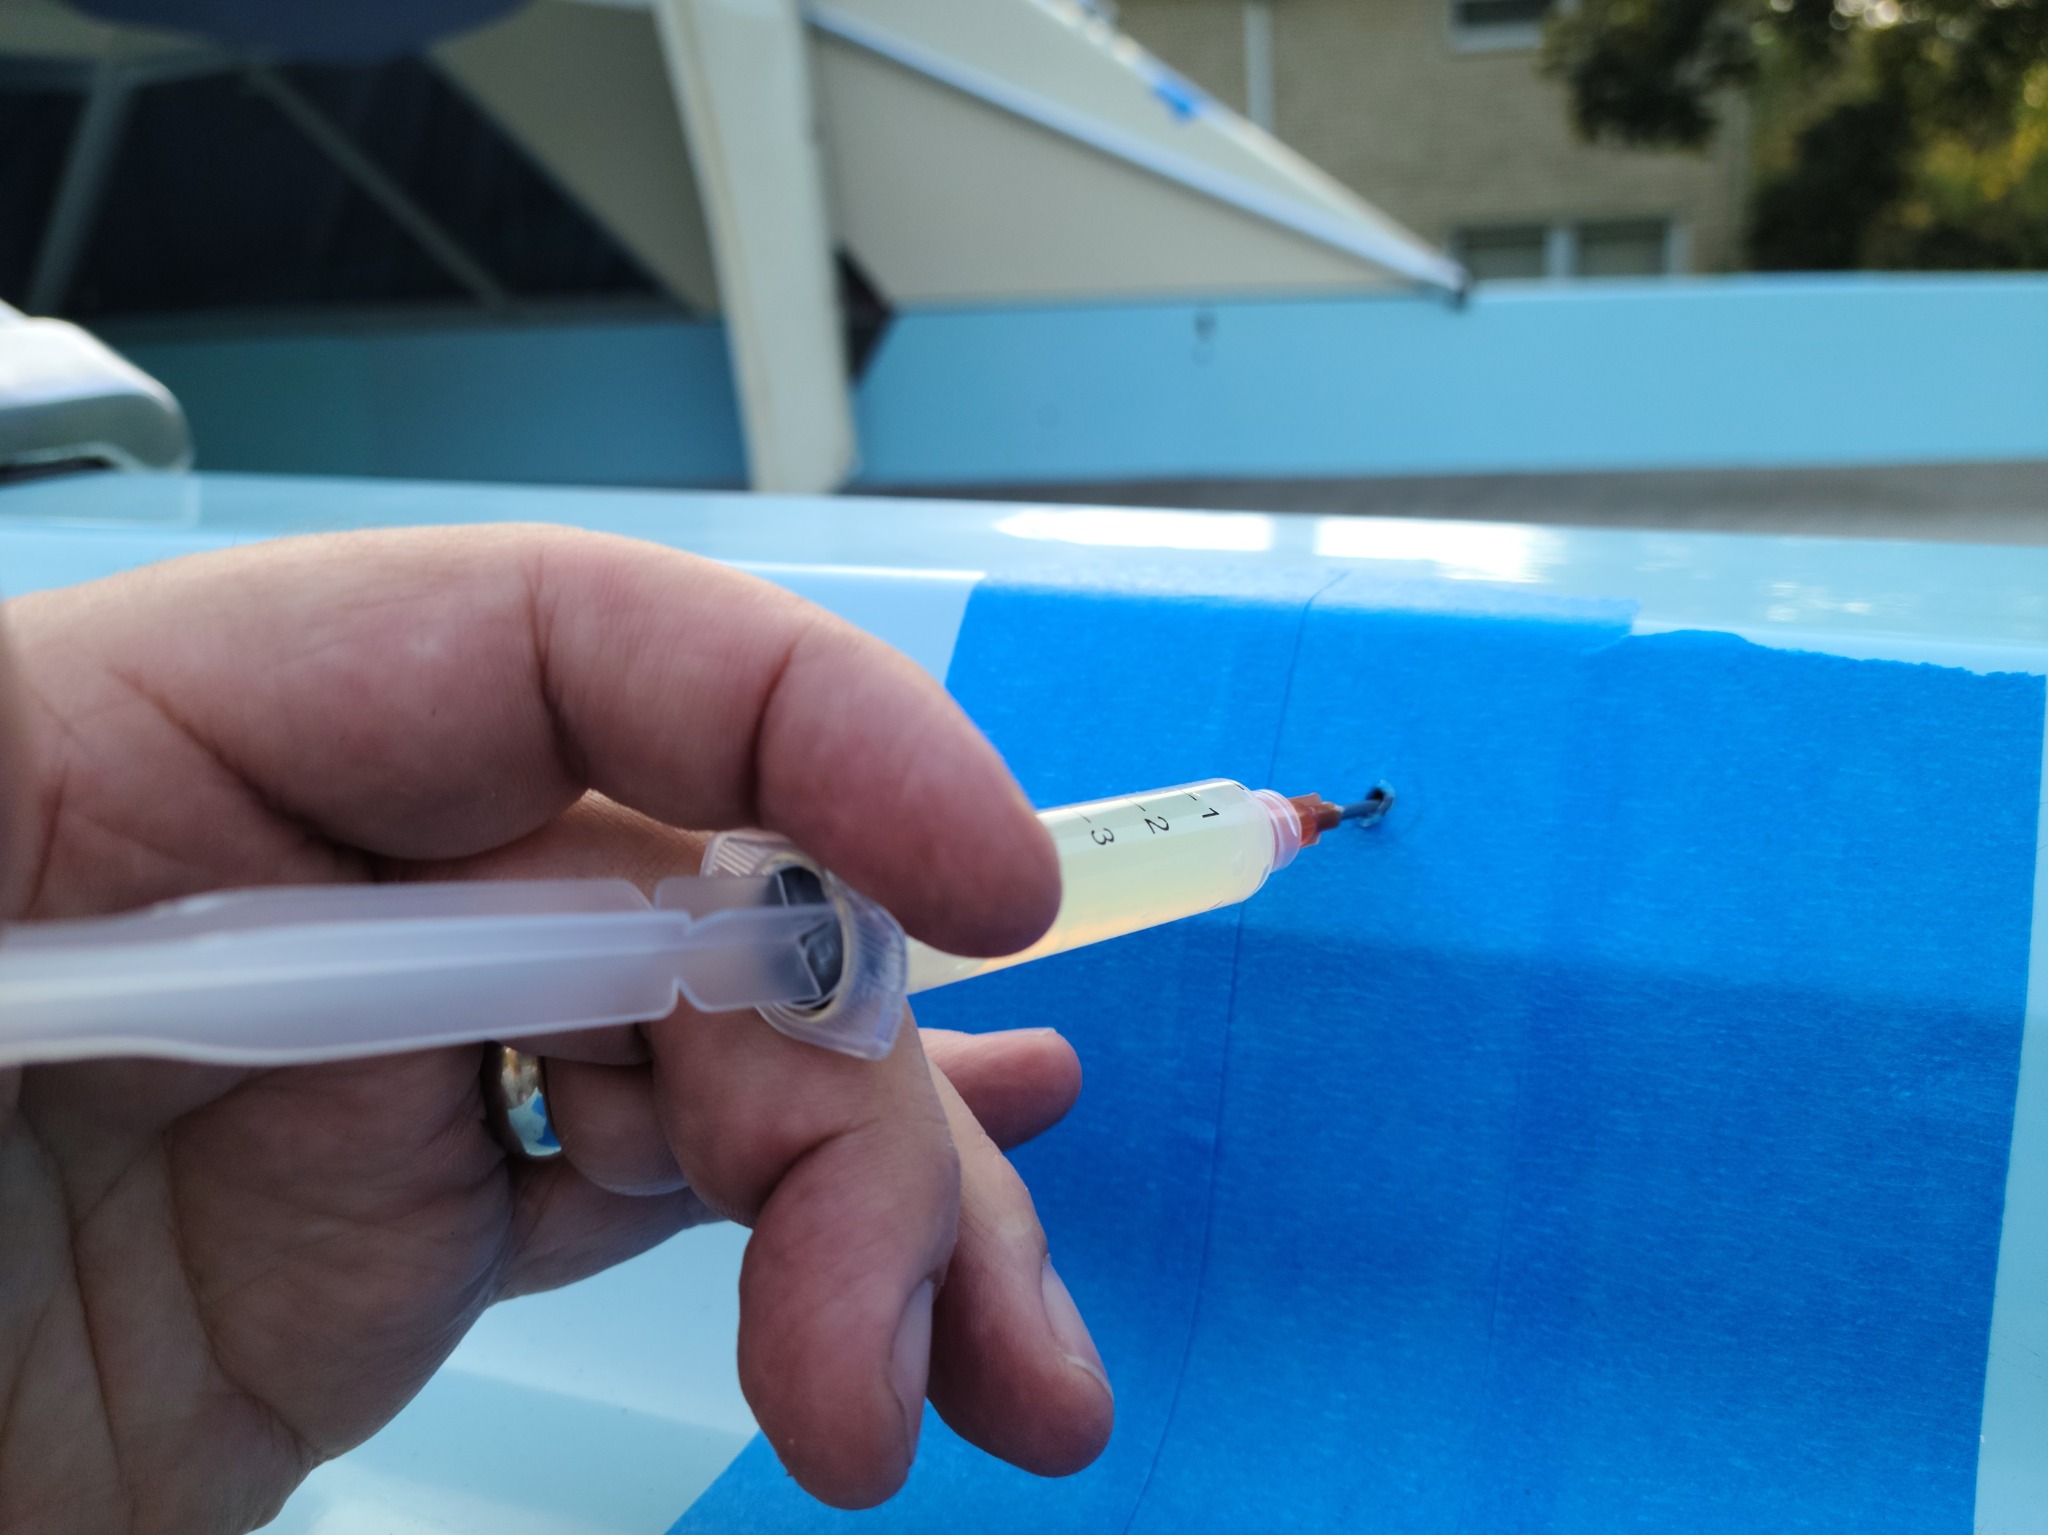
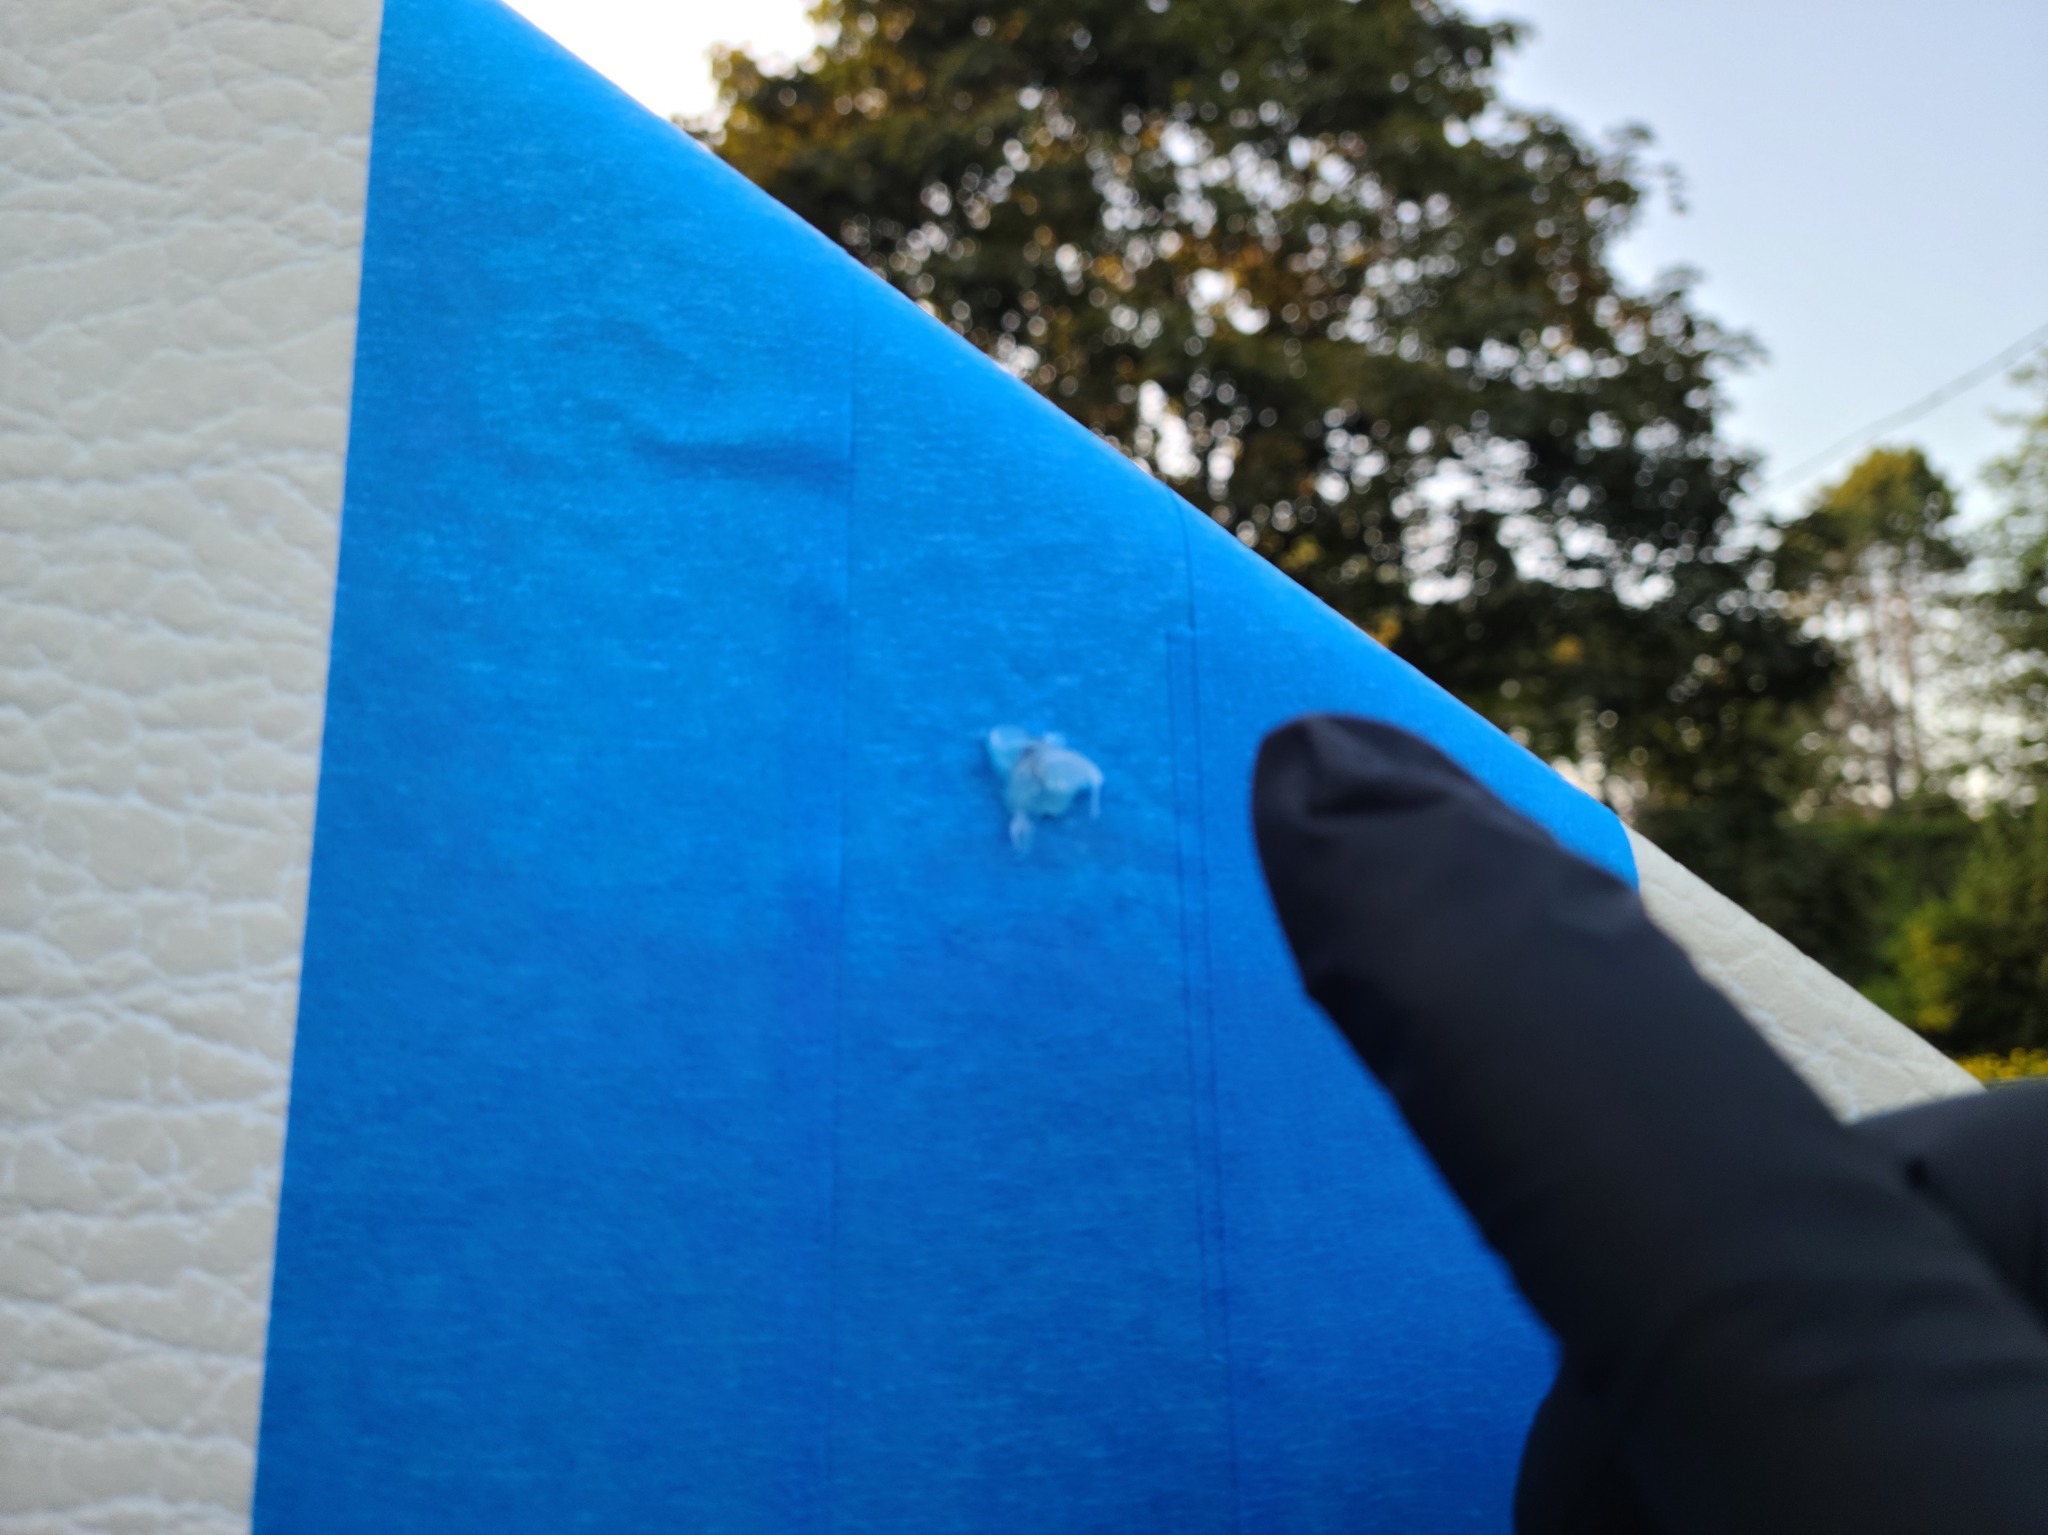
1971 Glasspar Newport Cruiser - Rejuvenation 7 months 4 weeks ago #149132
|
Please Log in or Create an account to join the conversation. |

Donate
Please consider supporting our efforts.
Glassified Ads
1959 Bowman with its 1959 Mercury Mark 58A Fully Restored |

I am a private money lender( / Wanted)


New/Used:Kids/Adults Go-Kart,Golf Cart,Snowmobiles/Jet Ski,( / Boats)


FG Login

FiberGoogle
Who's Online
We have 10561 guests and one member online