|
Welcome,
Guest
|
TOPIC: Removing crank bearings in-line 6
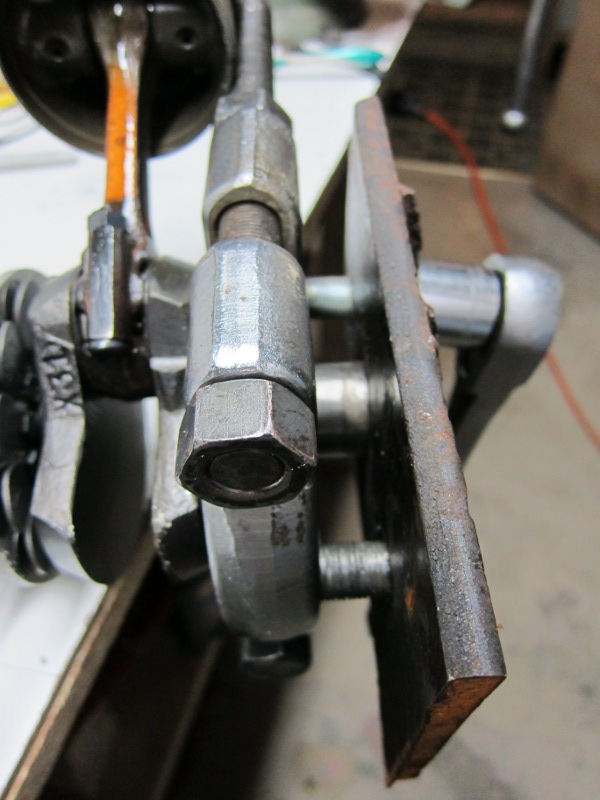
Removing crank bearings in-line 6 14 years 2 months ago #59414
|
|
Please Log in or Create an account to join the conversation. |


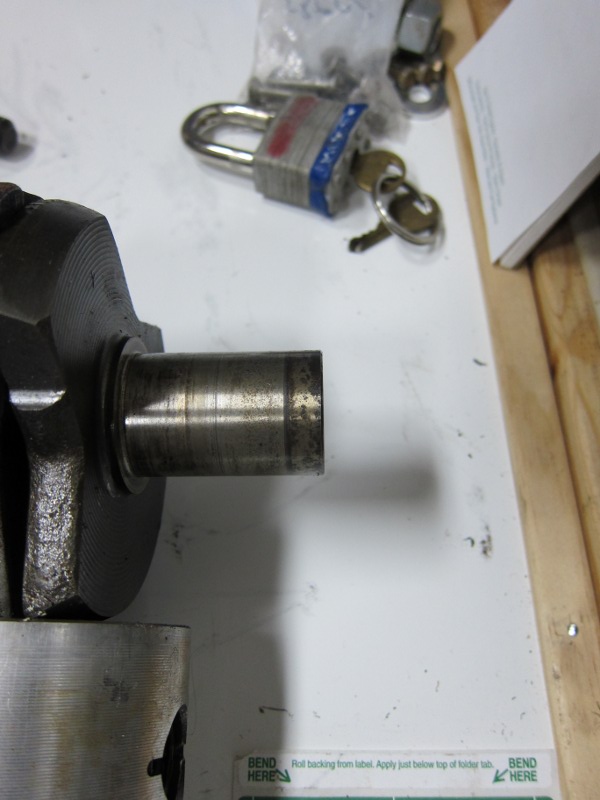
Re:Removing crank bearings in-line 6 14 years 2 months ago #59426
|
Please Log in or Create an account to join the conversation. |
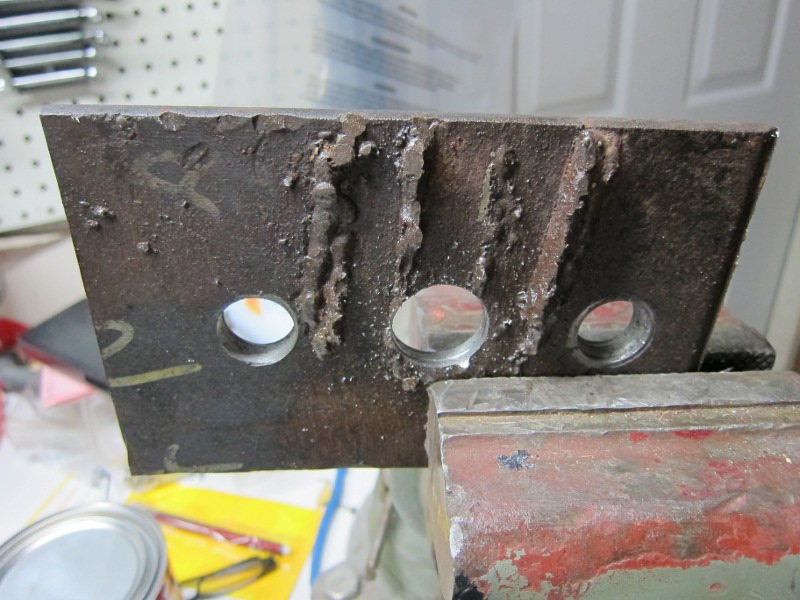
Re:Removing crank bearings in-line 6 14 years 2 months ago #59427
|
|
Please Log in or Create an account to join the conversation. |
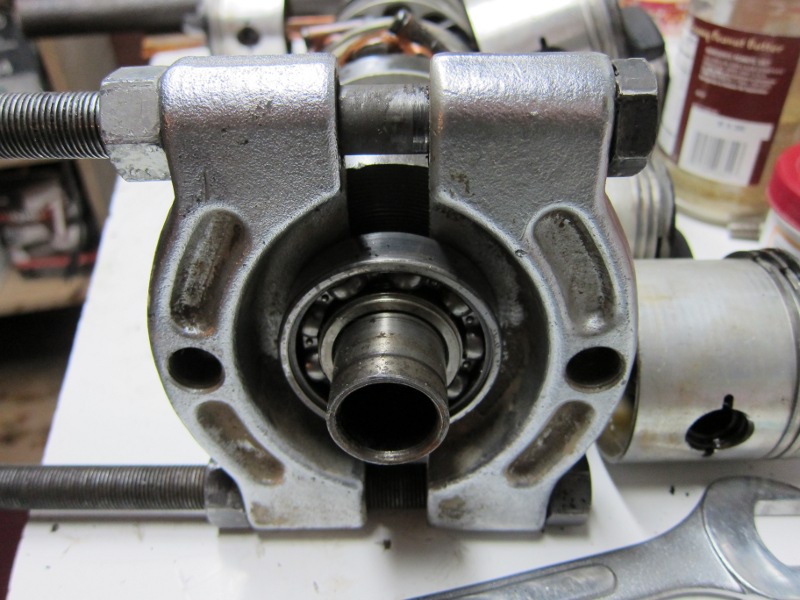
Re:Removing crank bearings in-line 6 14 years 2 months ago #59488
|
|
Please Log in or Create an account to join the conversation. |

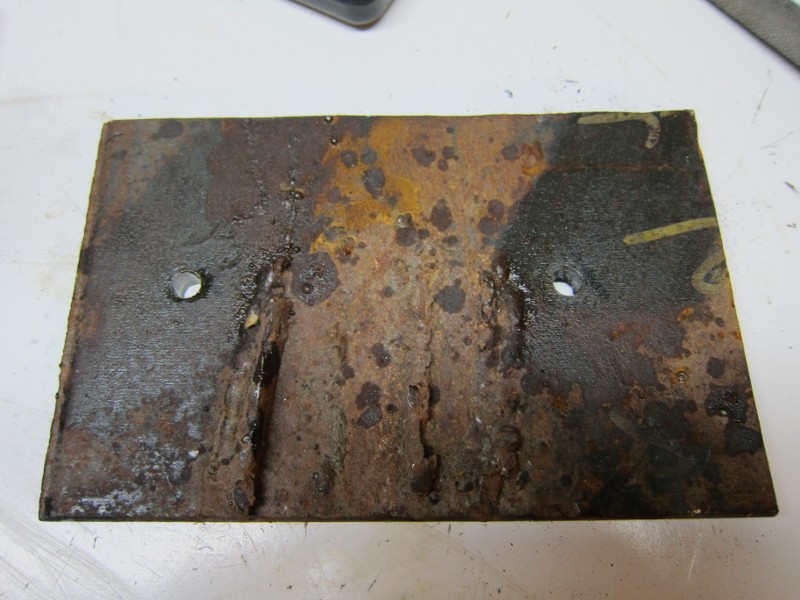
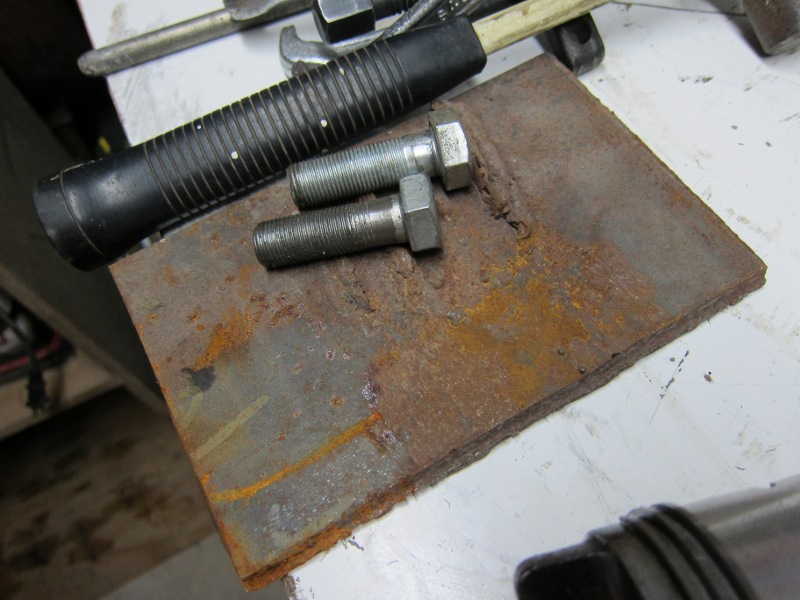
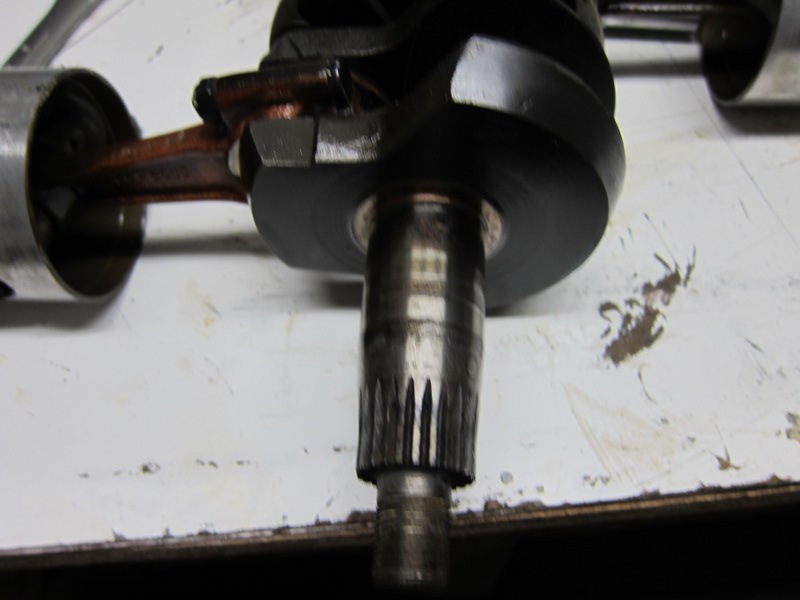
Done removing crank bearings in-line 6 14 years 2 months ago #59511
|
|
Please Log in or Create an account to join the conversation. |


Moderators: kensikora, classicfins, bruce gerard, billr, mrusson, cc1000, MarkS, Waterwings, jbcurt00
Time to create page: 0.052 seconds
Donate
Please consider supporting our efforts.
Glassified Ads
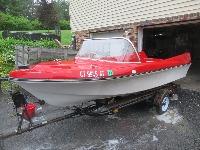
1959 Perormer Sportsman |

17' Fiber Form Bowrider Bailrider I-O Boat & EZ Load Trailer( / Boats)


06-12-2026
Family Owned 1961 Glasspar Seafair Sunliner 18’( / Boats)
06-10-2026


FG Login

FiberGoogle
Who's Online
We have 7700 guests and no members online