Welcome, Guest
Username: Password: Remember me
  • Page:
  • 1

TOPIC: 400 timing

400 timing 13 years 2 months ago #43749

  • 59Hustler
  • 59Hustler's Avatar Topic Author
  • Offline
  • Senior Boarder
  • Senior Boarder
  • Posts: 237
  • Karma: 4
  • Thank you received: 1
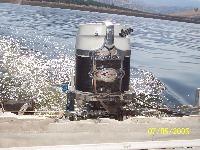
I read the Synch and link timing from Tim and was going to try his method but I cannot find a timing tab on the motor. My manual does not say anything about it that I can find. There are 2 marks on the magneto drive a long and short one, There are also a 0 mark and a .235 mark I believe on the flywheeol. But where do I ref these marks to?
I also have a dial back and standard timing light which one is preferred?
Thanks for any information. :)

Please Log in or Create an account to join the conversation.

Re:400 timing 13 years 2 months ago #43753

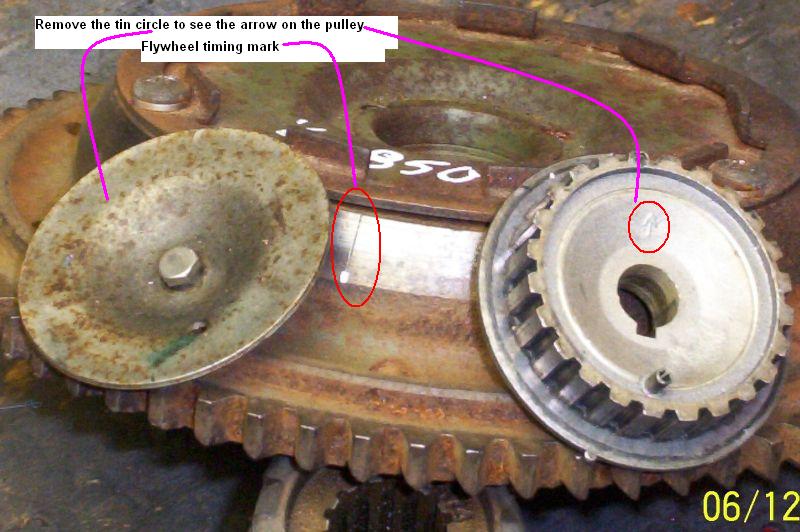
You will need to remove the round cover on the top of the distributor drive pulley to see the timing mark (arrow).
Thom
Attachments:

Please Log in or Create an account to join the conversation.

Re:400 timing 13 years 2 months ago #44575

  • 59Hustler
  • 59Hustler's Avatar Topic Author
  • Offline
  • Senior Boarder
  • Senior Boarder
  • Posts: 237
  • Karma: 4
  • Thank you received: 1
I looked at the magneto gear for about ten minutes before seeing the arrow (it was a slightly raised arrow on a rib).
Now if I have this right my timing light should flash as the timing marks align (the one on the magneto and the one on the flywheel) I shoud quit cranking and advancing and adjust the carbs so they just start to open.
Timing Event One - throttle pickup.
As the throttle is advanced, the spark timing advances toward TDC and then to before TDC. As the timing is just passing TDC the 1st (minor)throttle pickup should hit and start to open the carbs. Use the timing light. Adjust the tang or trigger screw to make this a reality. All of them are speced different, but if the 1st pickup hits at 3-4 degrees BTDC advance - you win. Use the timing light with a friend cranking it to complete this setting.
Ithen set my dial back timing light to 34 degrees btdc maybe 30 because of todays gas and adjust the magneto stop as per.
Timing Event Two - max advance.
As you continue to advance the throttle the timing will advance while the carbs slowly open a bit more. The next adjustment is max advance, this is the point where the distibutor (or trigger) can advance no more. Set the max-advance stop to 21 degrees for "direct charge" crossflow inlines and 34 degrees for the older plain vanilla crossflows. Use the light, - err to the side of caution.
I have a question about this as well. I have a two lever control and the neutral has nothing to doo with the throttle except limiting its forward progress. so how do I set this?
"Now adjust (and hook up)the throttle cable so that with the shifter in neutral, there is light to moderate pressure holding the throttle arm against the idle stop."

Please Log in or Create an account to join the conversation.

Re:400 timing 13 years 2 months ago #45036

  • 59Hustler
  • 59Hustler's Avatar Topic Author
  • Offline
  • Senior Boarder
  • Senior Boarder
  • Posts: 237
  • Karma: 4
  • Thank you received: 1
I am about to throw in the towel on setting max advance on this engine.!!!!
I removed the magneto cleaned and set the points, checked the primary resistance of the magneto coil. Cleaned the distributer cap and rotor contacts.
I then attempted to set the max advance by using my dial indicator setting the piston to .235 before TDC which corresponded to the .235 mark on my crank shaft pully. I then hooked up my ohmeter to the magneto kill post without the kill or mercury switch attached The ohmeter always gave a short no matter how far I advanced the magneto. So I ditched my digital ohmeter and went with my simpson 260 same thing. I then went and bought a self powered continuity tester and again the light always stayed on.
I pulled the magneto out and apart again and proved that it and my reflexes worked :laugh:
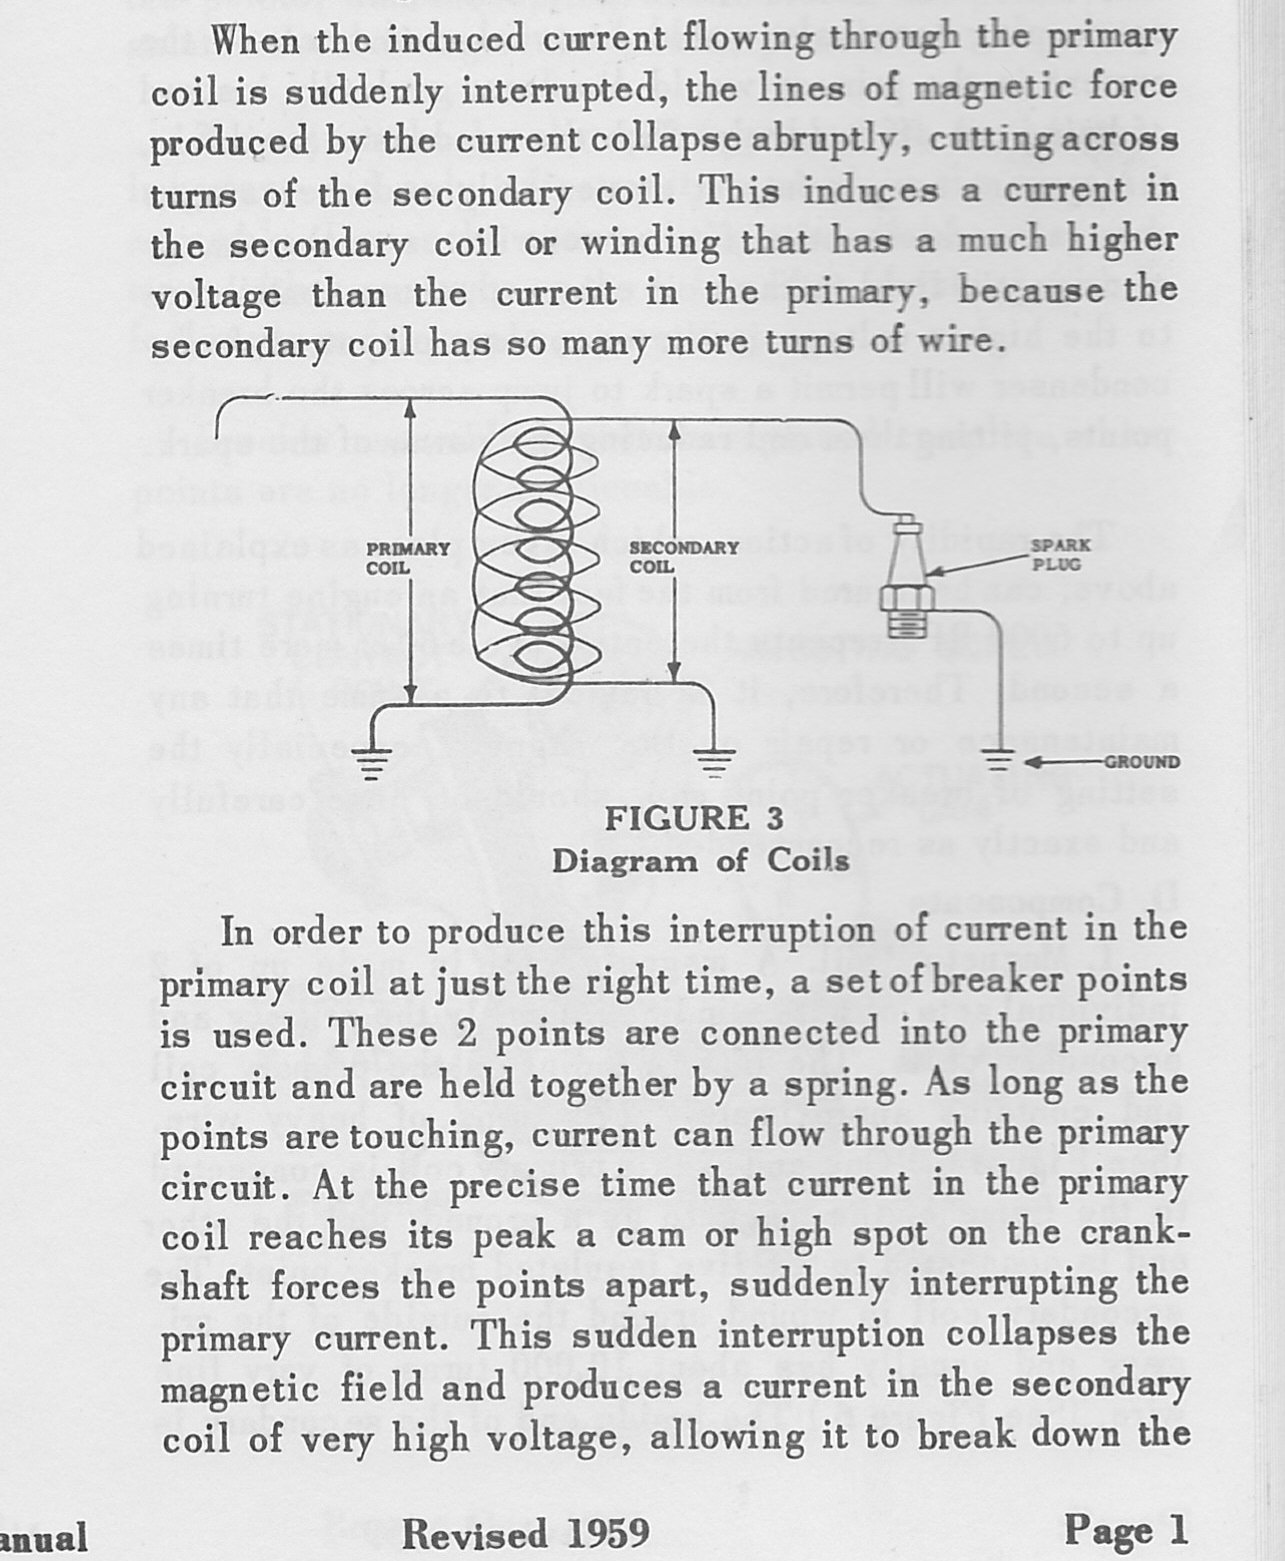
After disconecting the wire to the primary coil the points made and broke contact to ground but once the primary coil wire is hooked up you always get at the most the primary coils resistance to ground due to the fact that the primary coil is conected to ground on one end and to the isolated point contact on the other.
How does the books way ever work?? :unsure: :unsure:
By connecting my meter in series between the points and the primary coil I was able to verify the current passing through the points and the primary when the points were closed and the shaft was turned. Also the collapsiing field when the poinst opened ouch.
Satisfied that the magneto was working correctly I put it back together agian.
This time I tried Tim C's method with the timing light however the light was all over the place very inconsistent. I now have it back to where I had marked it before I took it apart.
I then put the motor in the tank and sarted it up after warm up the timing light showed 2 degrees btdc on the first pick up in neutral but that was as far as I dare go in a trash can.

Please Log in or Create an account to join the conversation.

Re:400 timing 13 years 2 months ago #45155

  • 59Hustler
  • 59Hustler's Avatar Topic Author
  • Offline
  • Senior Boarder
  • Senior Boarder
  • Posts: 237
  • Karma: 4
  • Thank you received: 1
What is the primary coil resistance on a K4d magneto?
I am trying to figure out what is wrong in this magneto. I have a page out of a fluke troubleshooting manual which supports my findings . I am now thinking that The K-4d magneto is supposed to have the primary isolated from ground as per the second pic from the Mercury service manual C-90-25500

File Attachment:

File Name: magneto_te..._pg3.pdf
File Size:71 KB
Attachments:

Please Log in or Create an account to join the conversation.

Re:400 timing 13 years 1 month ago #45419

  • 59Hustler
  • 59Hustler's Avatar Topic Author
  • Offline
  • Senior Boarder
  • Senior Boarder
  • Posts: 237
  • Karma: 4
  • Thank you received: 1
I started a new thread as I was too confusing on this thread

Please Log in or Create an account to join the conversation.

  • Page:
  • 1
Time to create page: 0.164 seconds

Donate

Please consider supporting our efforts.

Glassified Ads

1967 23 ft powercat flybridge
( / Boats)

noimage
11-17-2024

Mercury outboard
( / Engines)

noimage
11-03-2024

Classic Mercury Outboard Motors
( / Engines)

Classic Mercury Outboard Motors
10-18-2024

FG Login

FiberGoogle

Who's Online

We have 11467 guests and no members online