Welcome, Guest
Username: Password: Remember me
  • Page:
  • 1

TOPIC: 1961 Glasspar Seafair Sedan build

1961 Glasspar Seafair Sedan build 1 year 2 weeks ago #148511

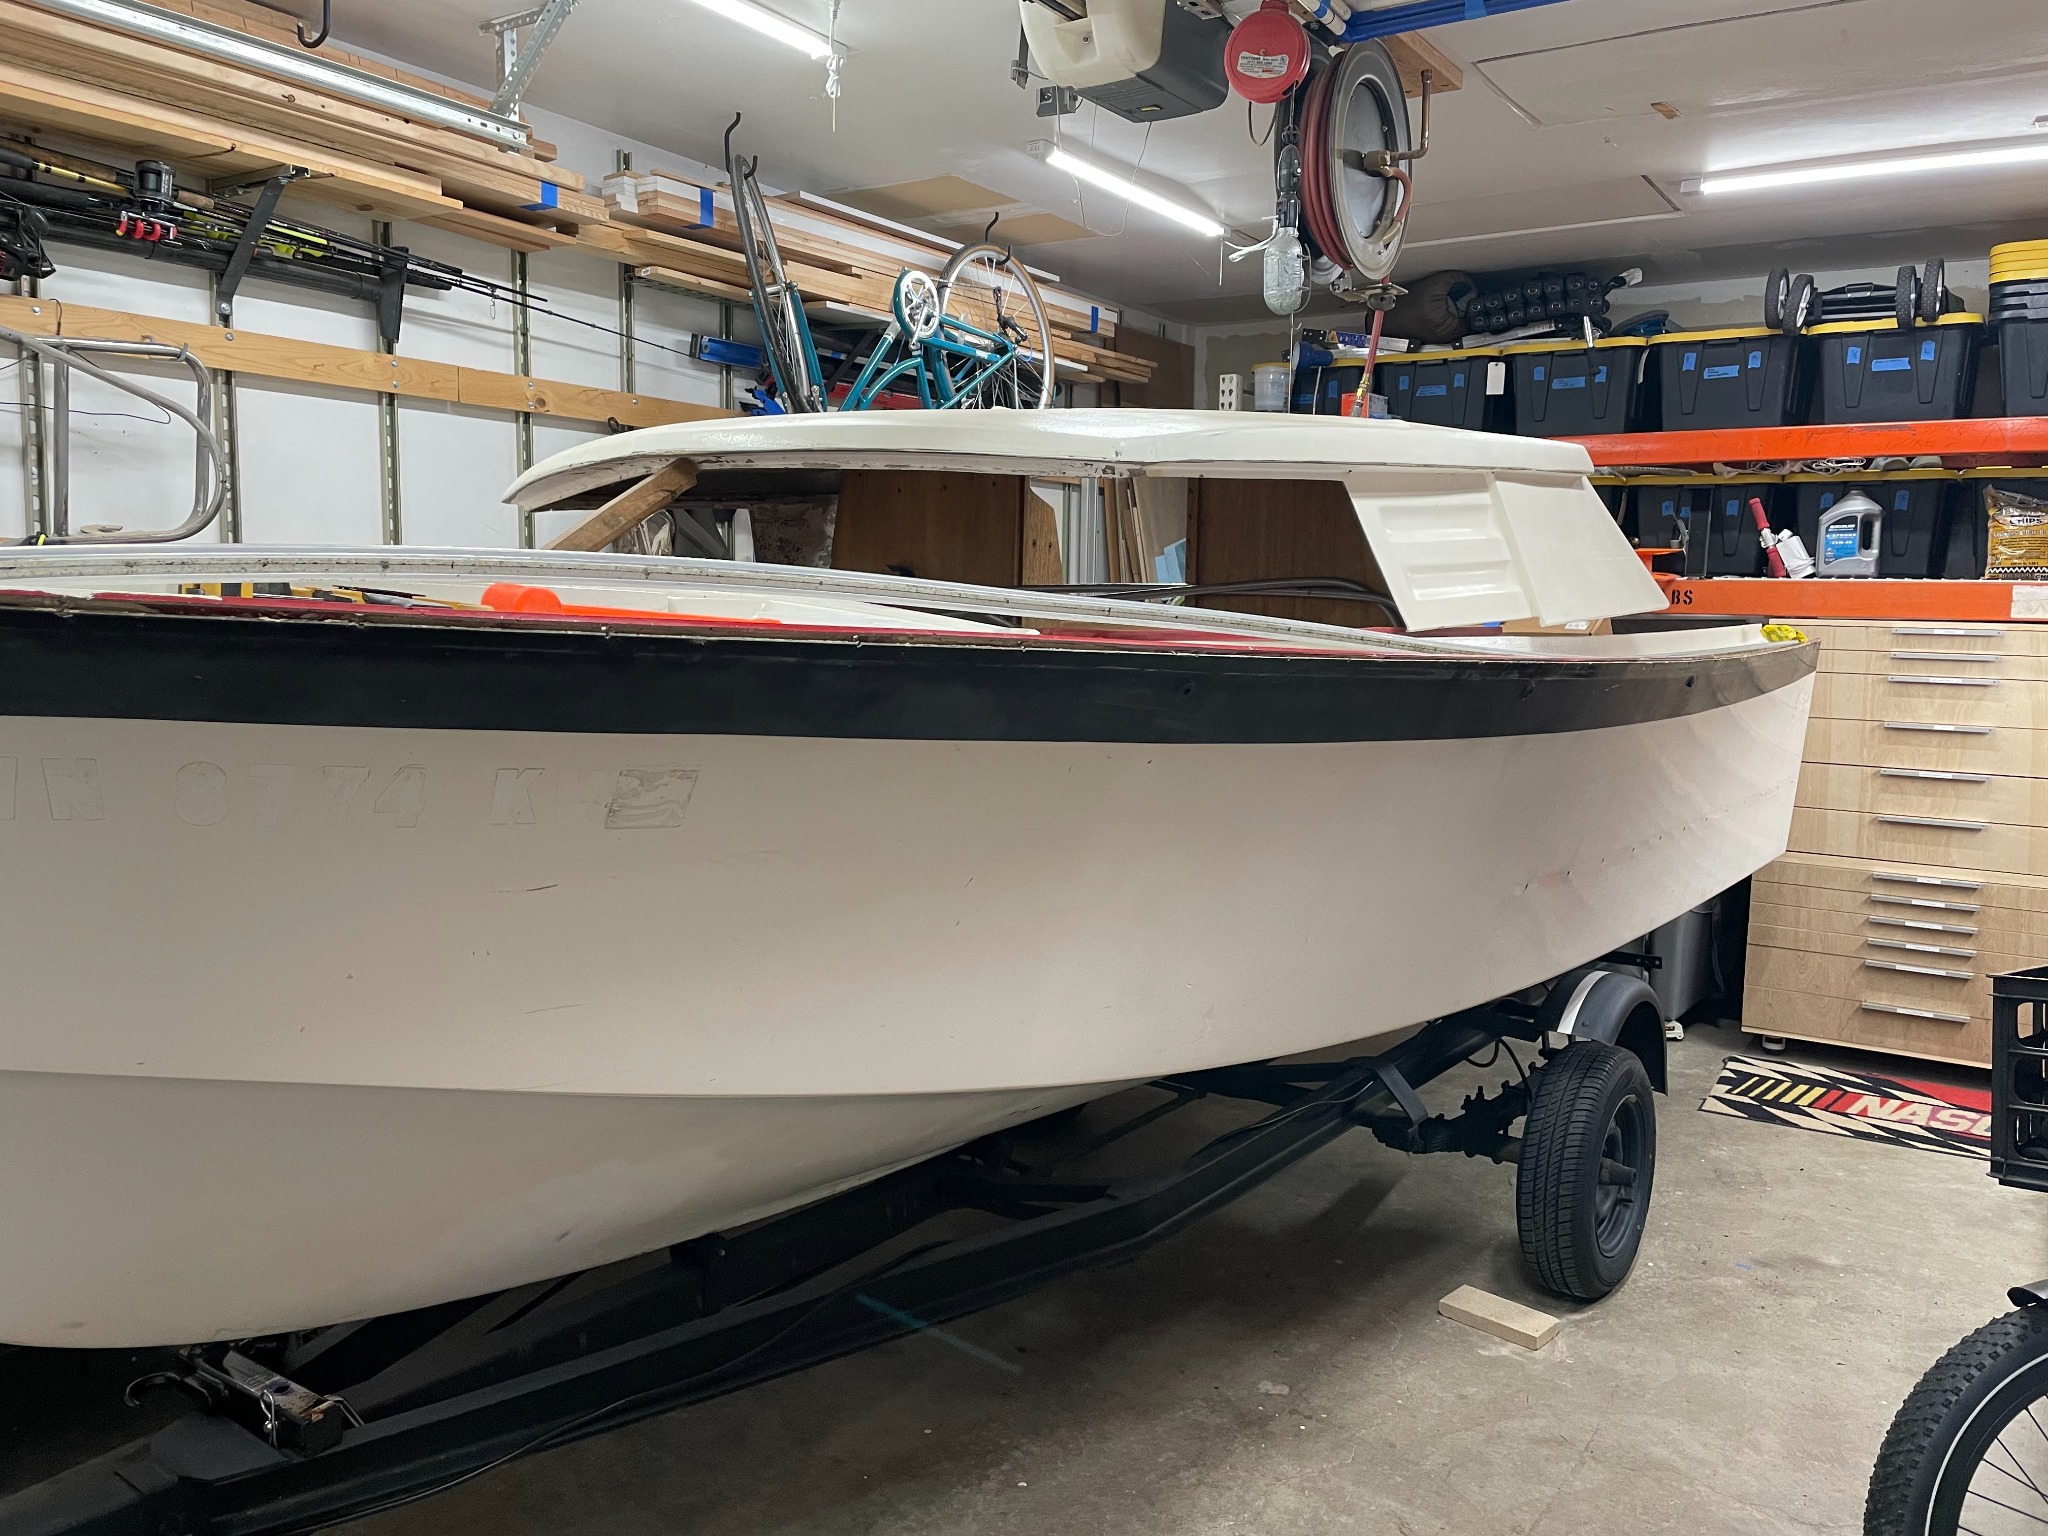
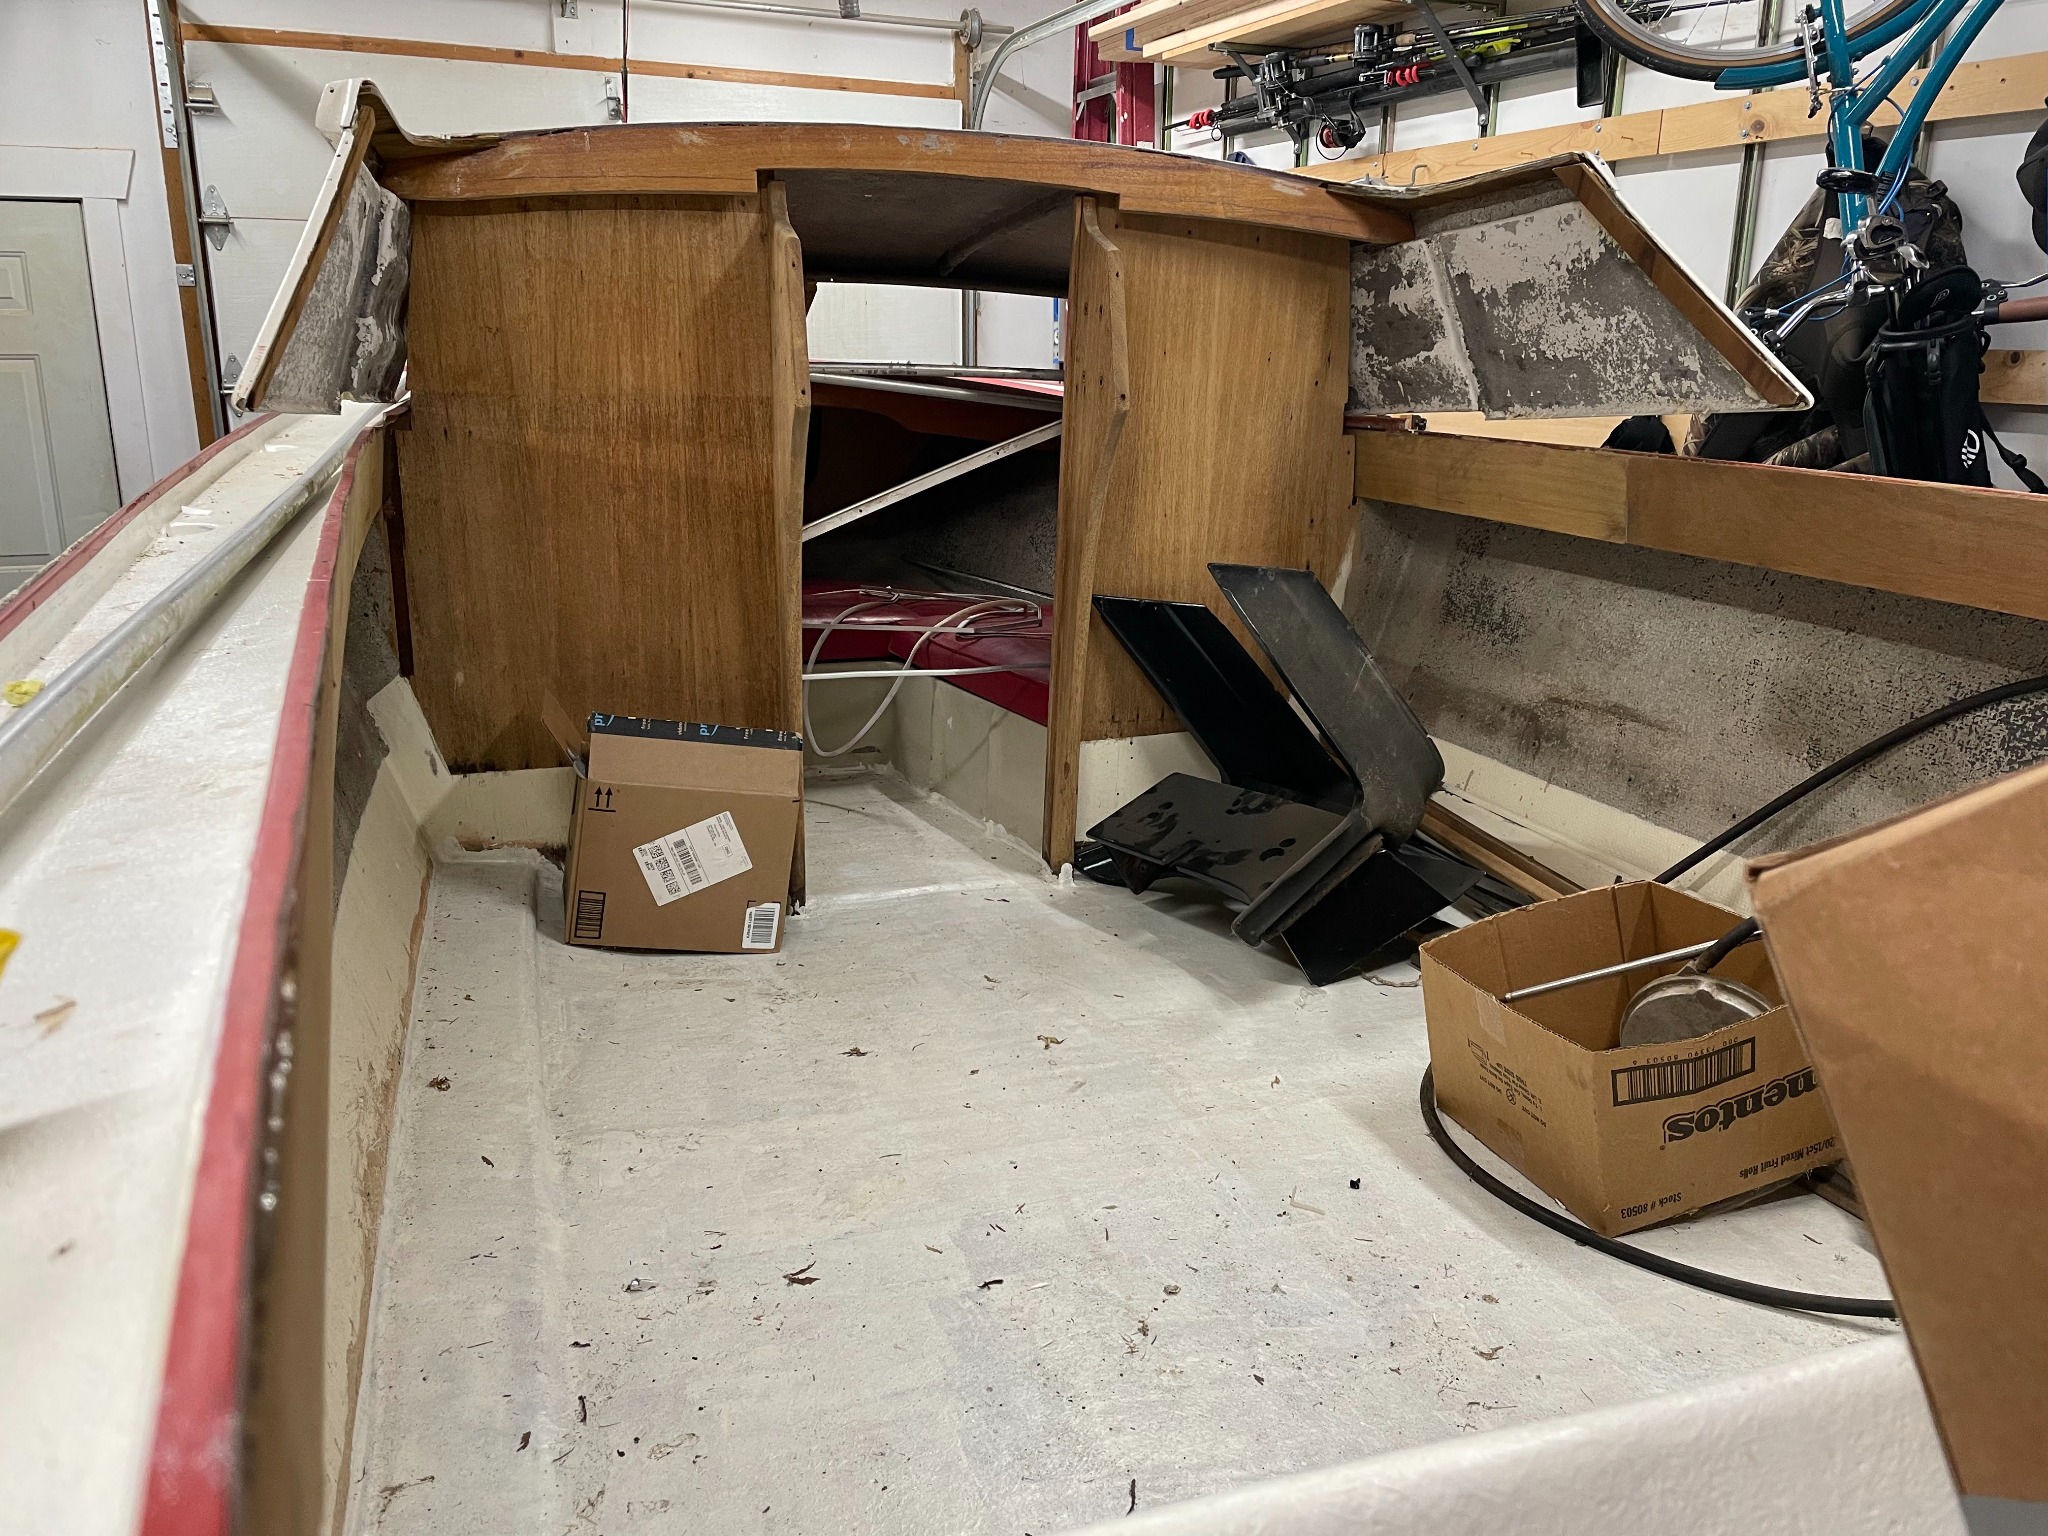
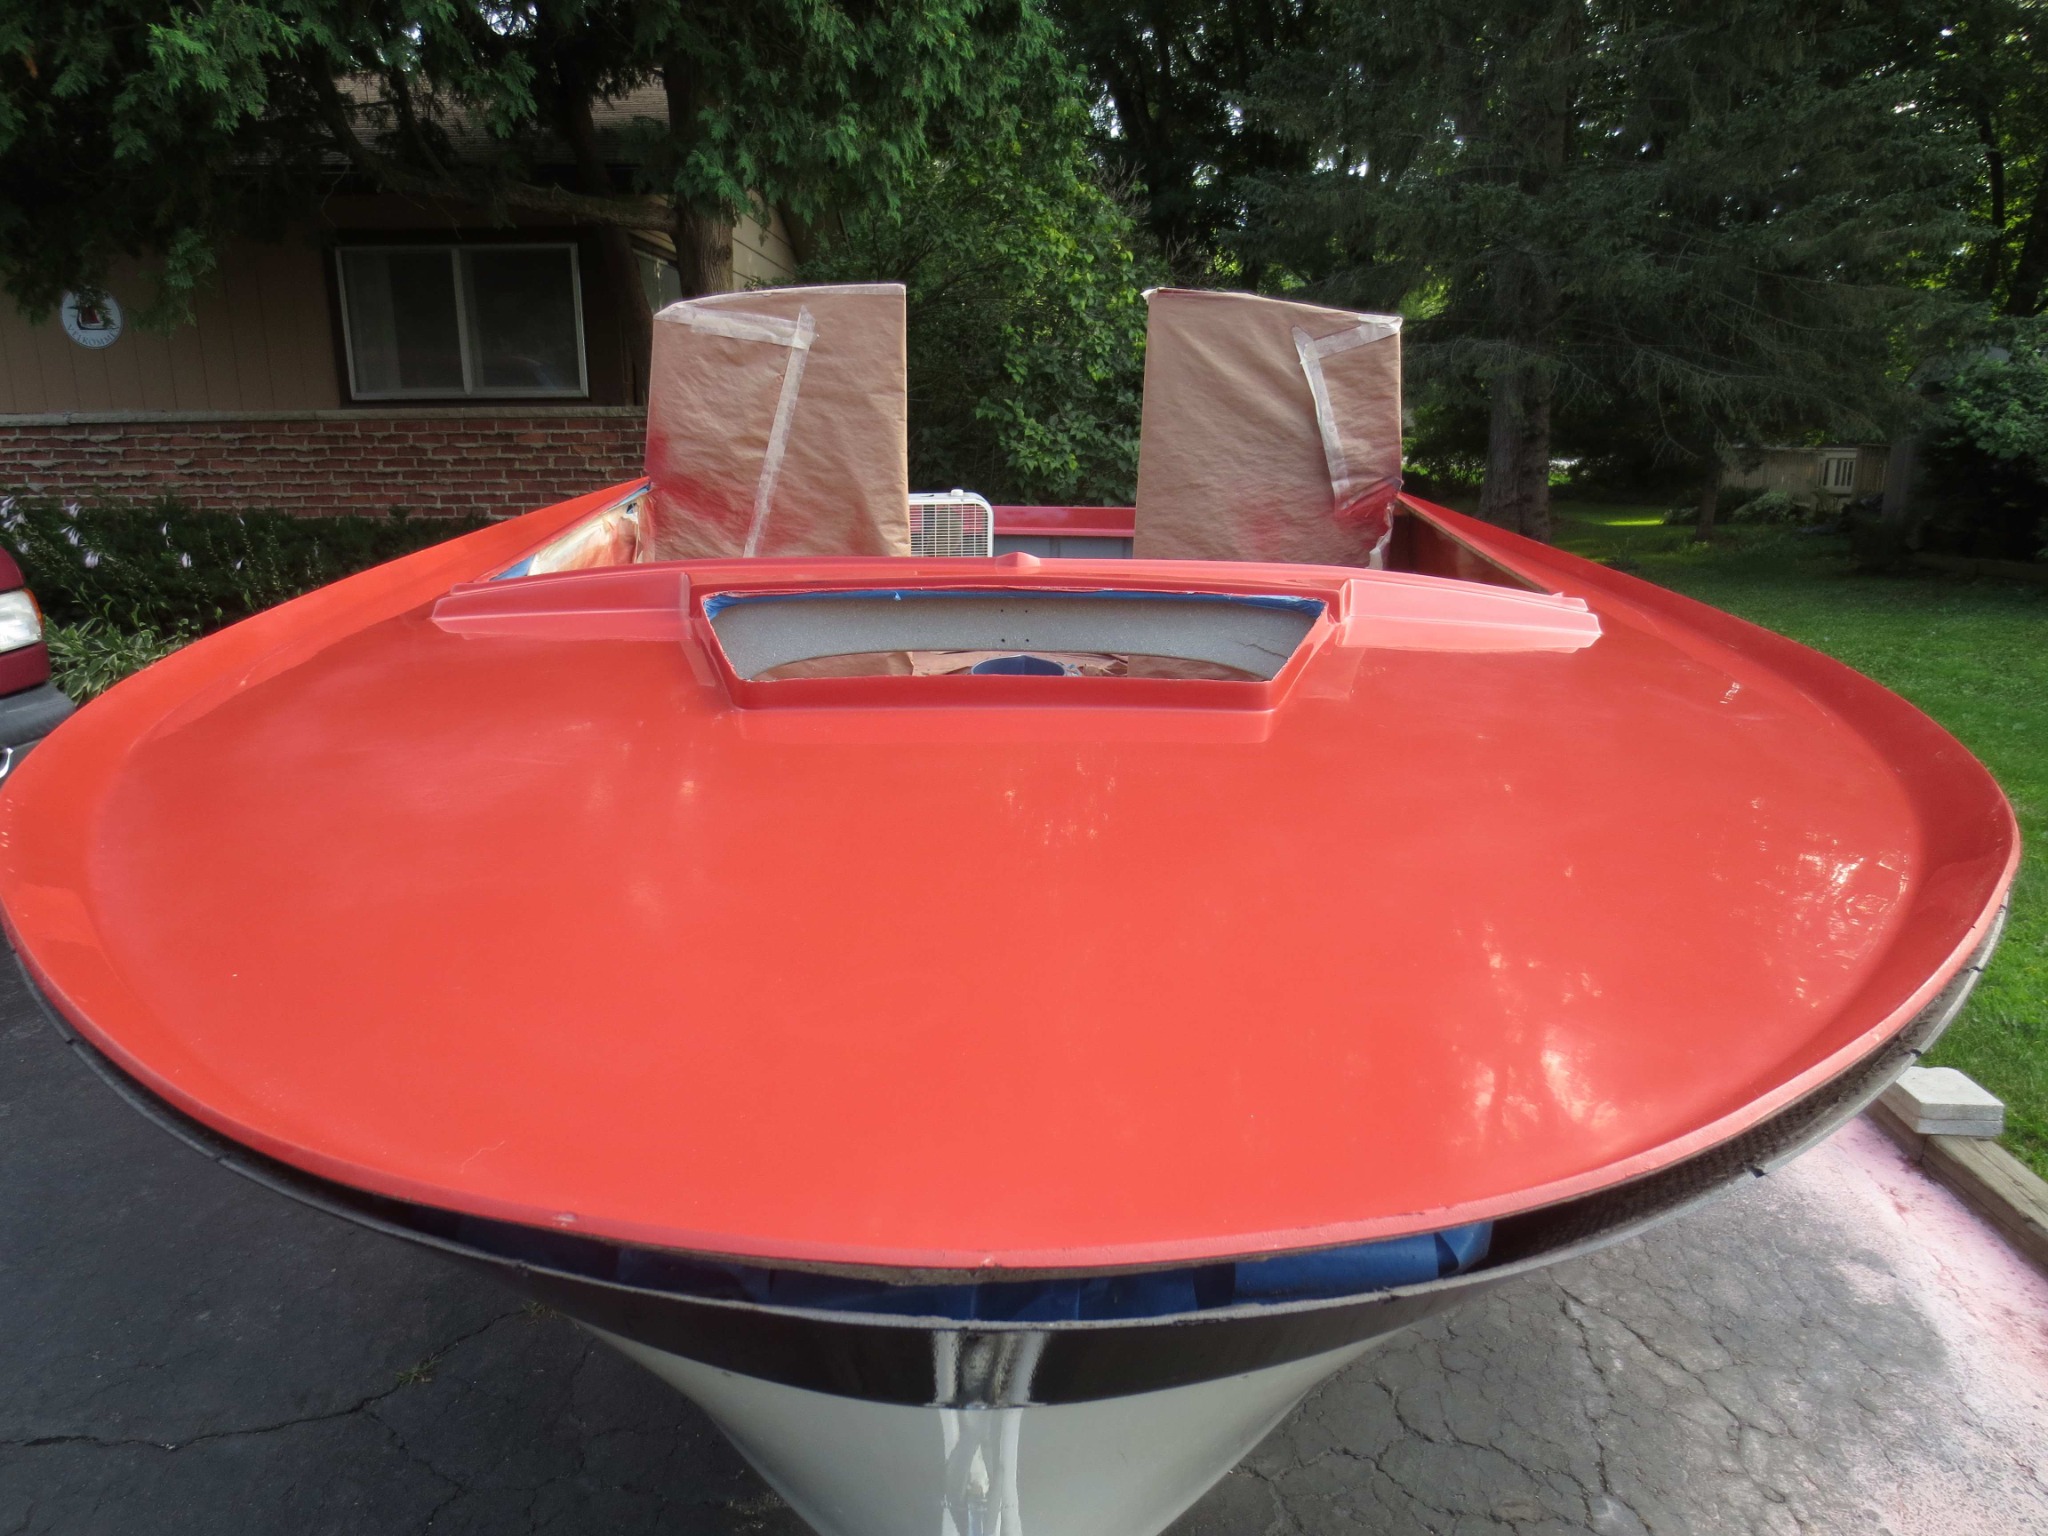
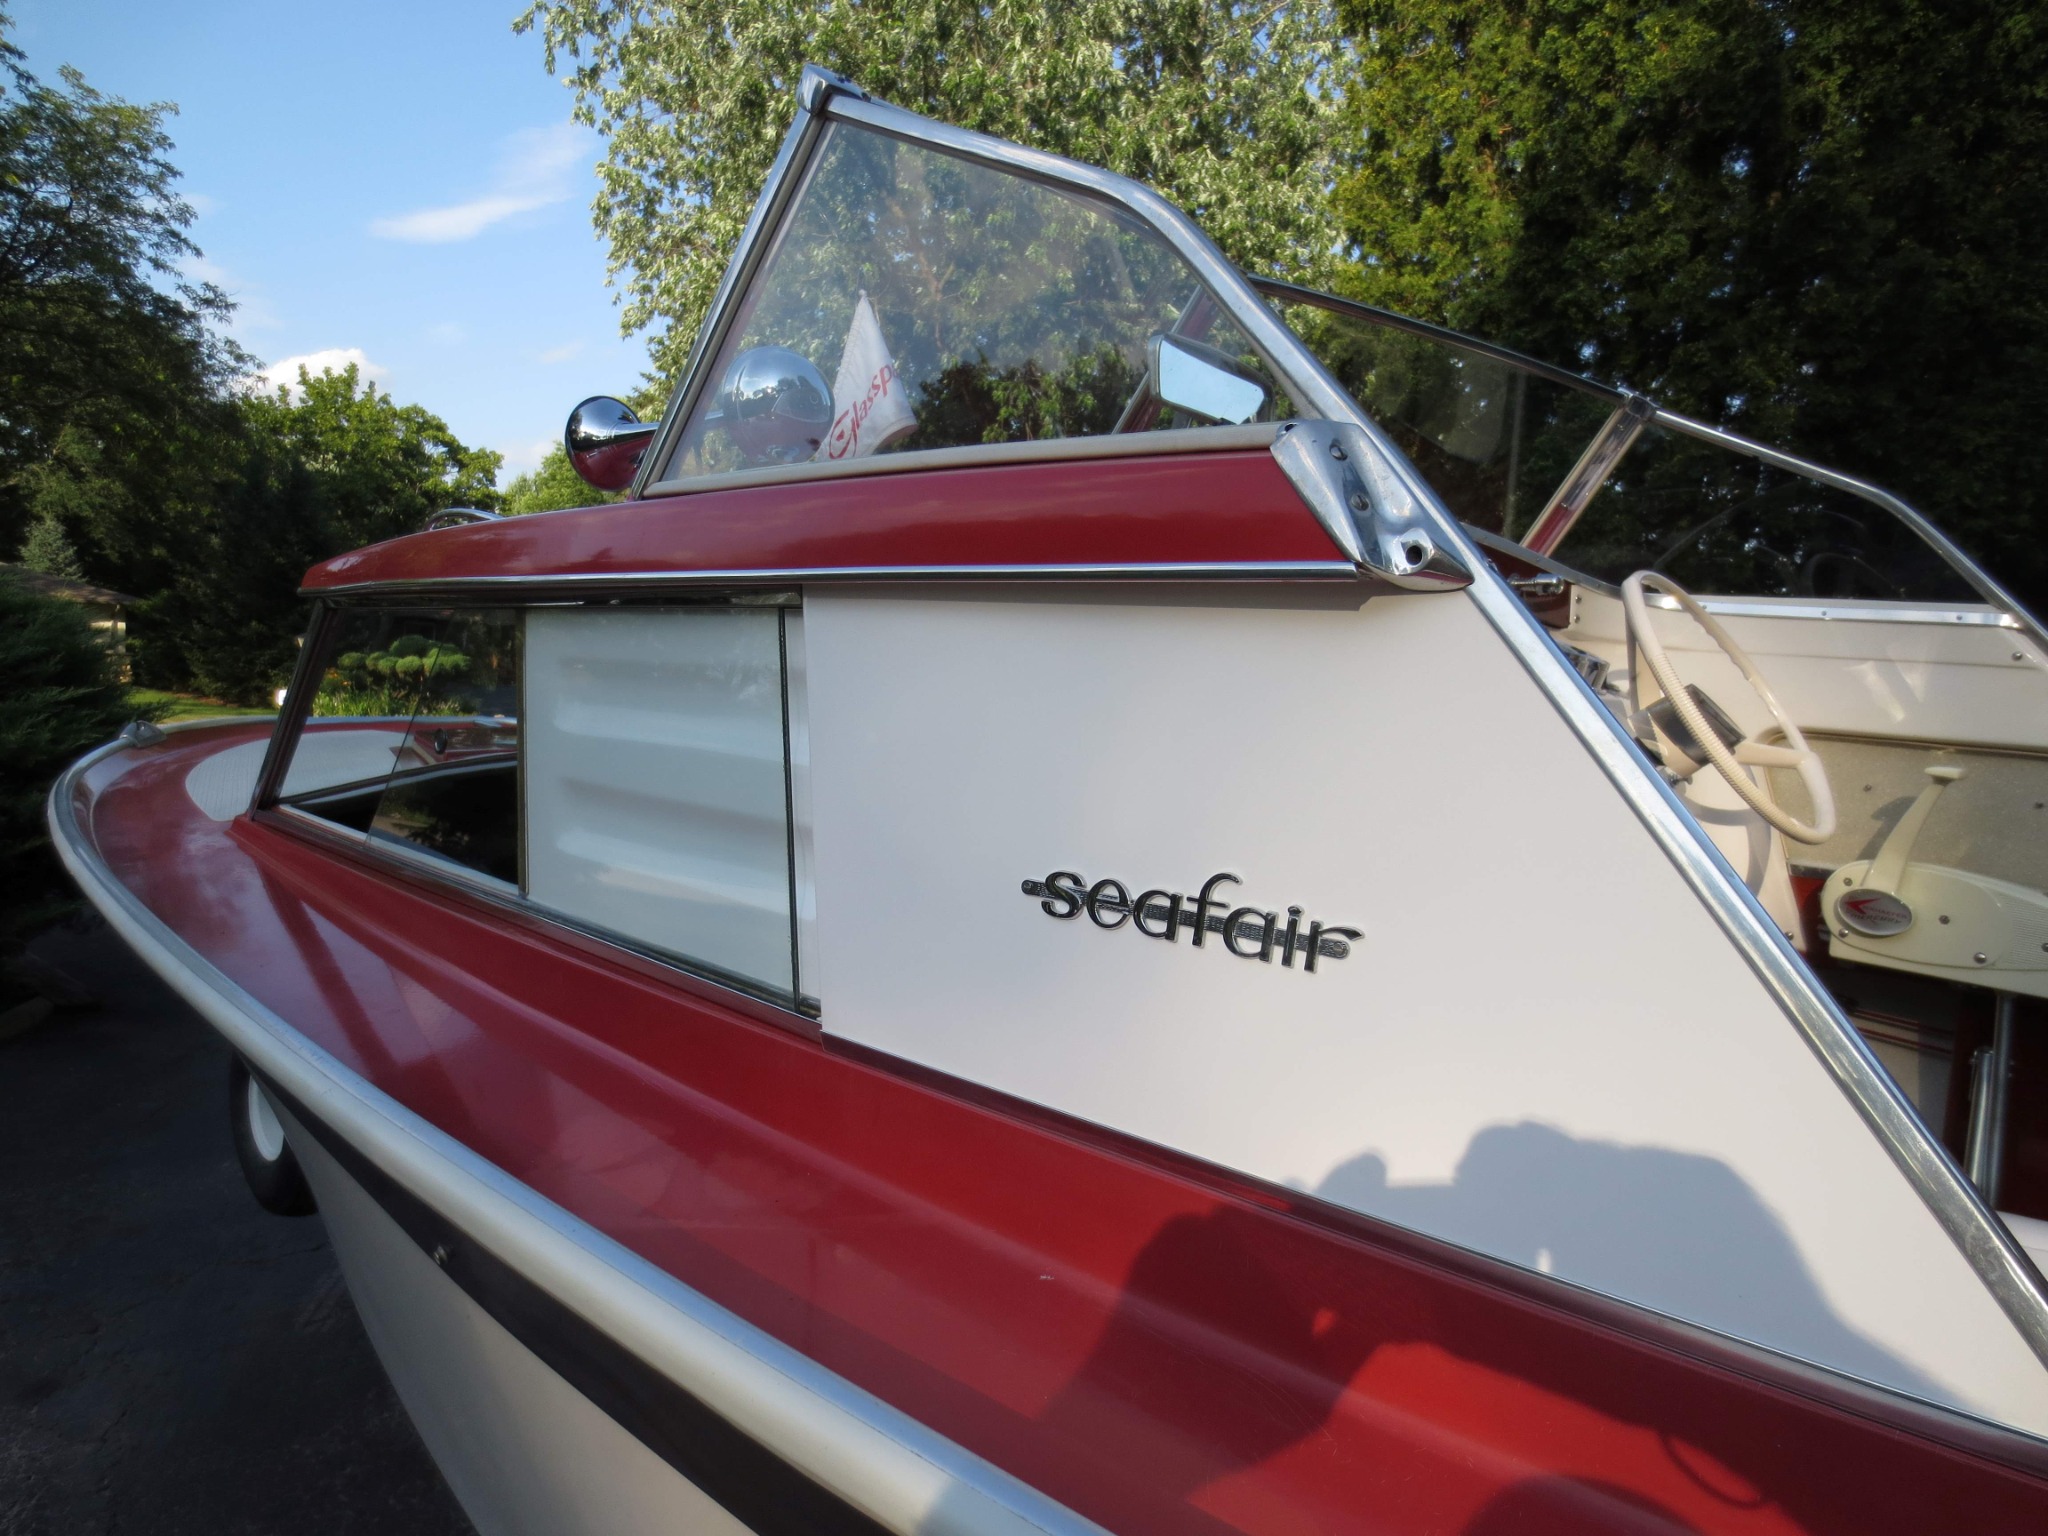
I just brought her home. Here's what she looks like now. Everything not glassed in has been removed by previous owner. It's mostly labeled and in boxes. I think all the pieces are there. Much work to do.


Attachments:

Please Log in or Create an account to join the conversation.

1961 Glasspar Seafair Sedan build 1 year 2 weeks ago #148512

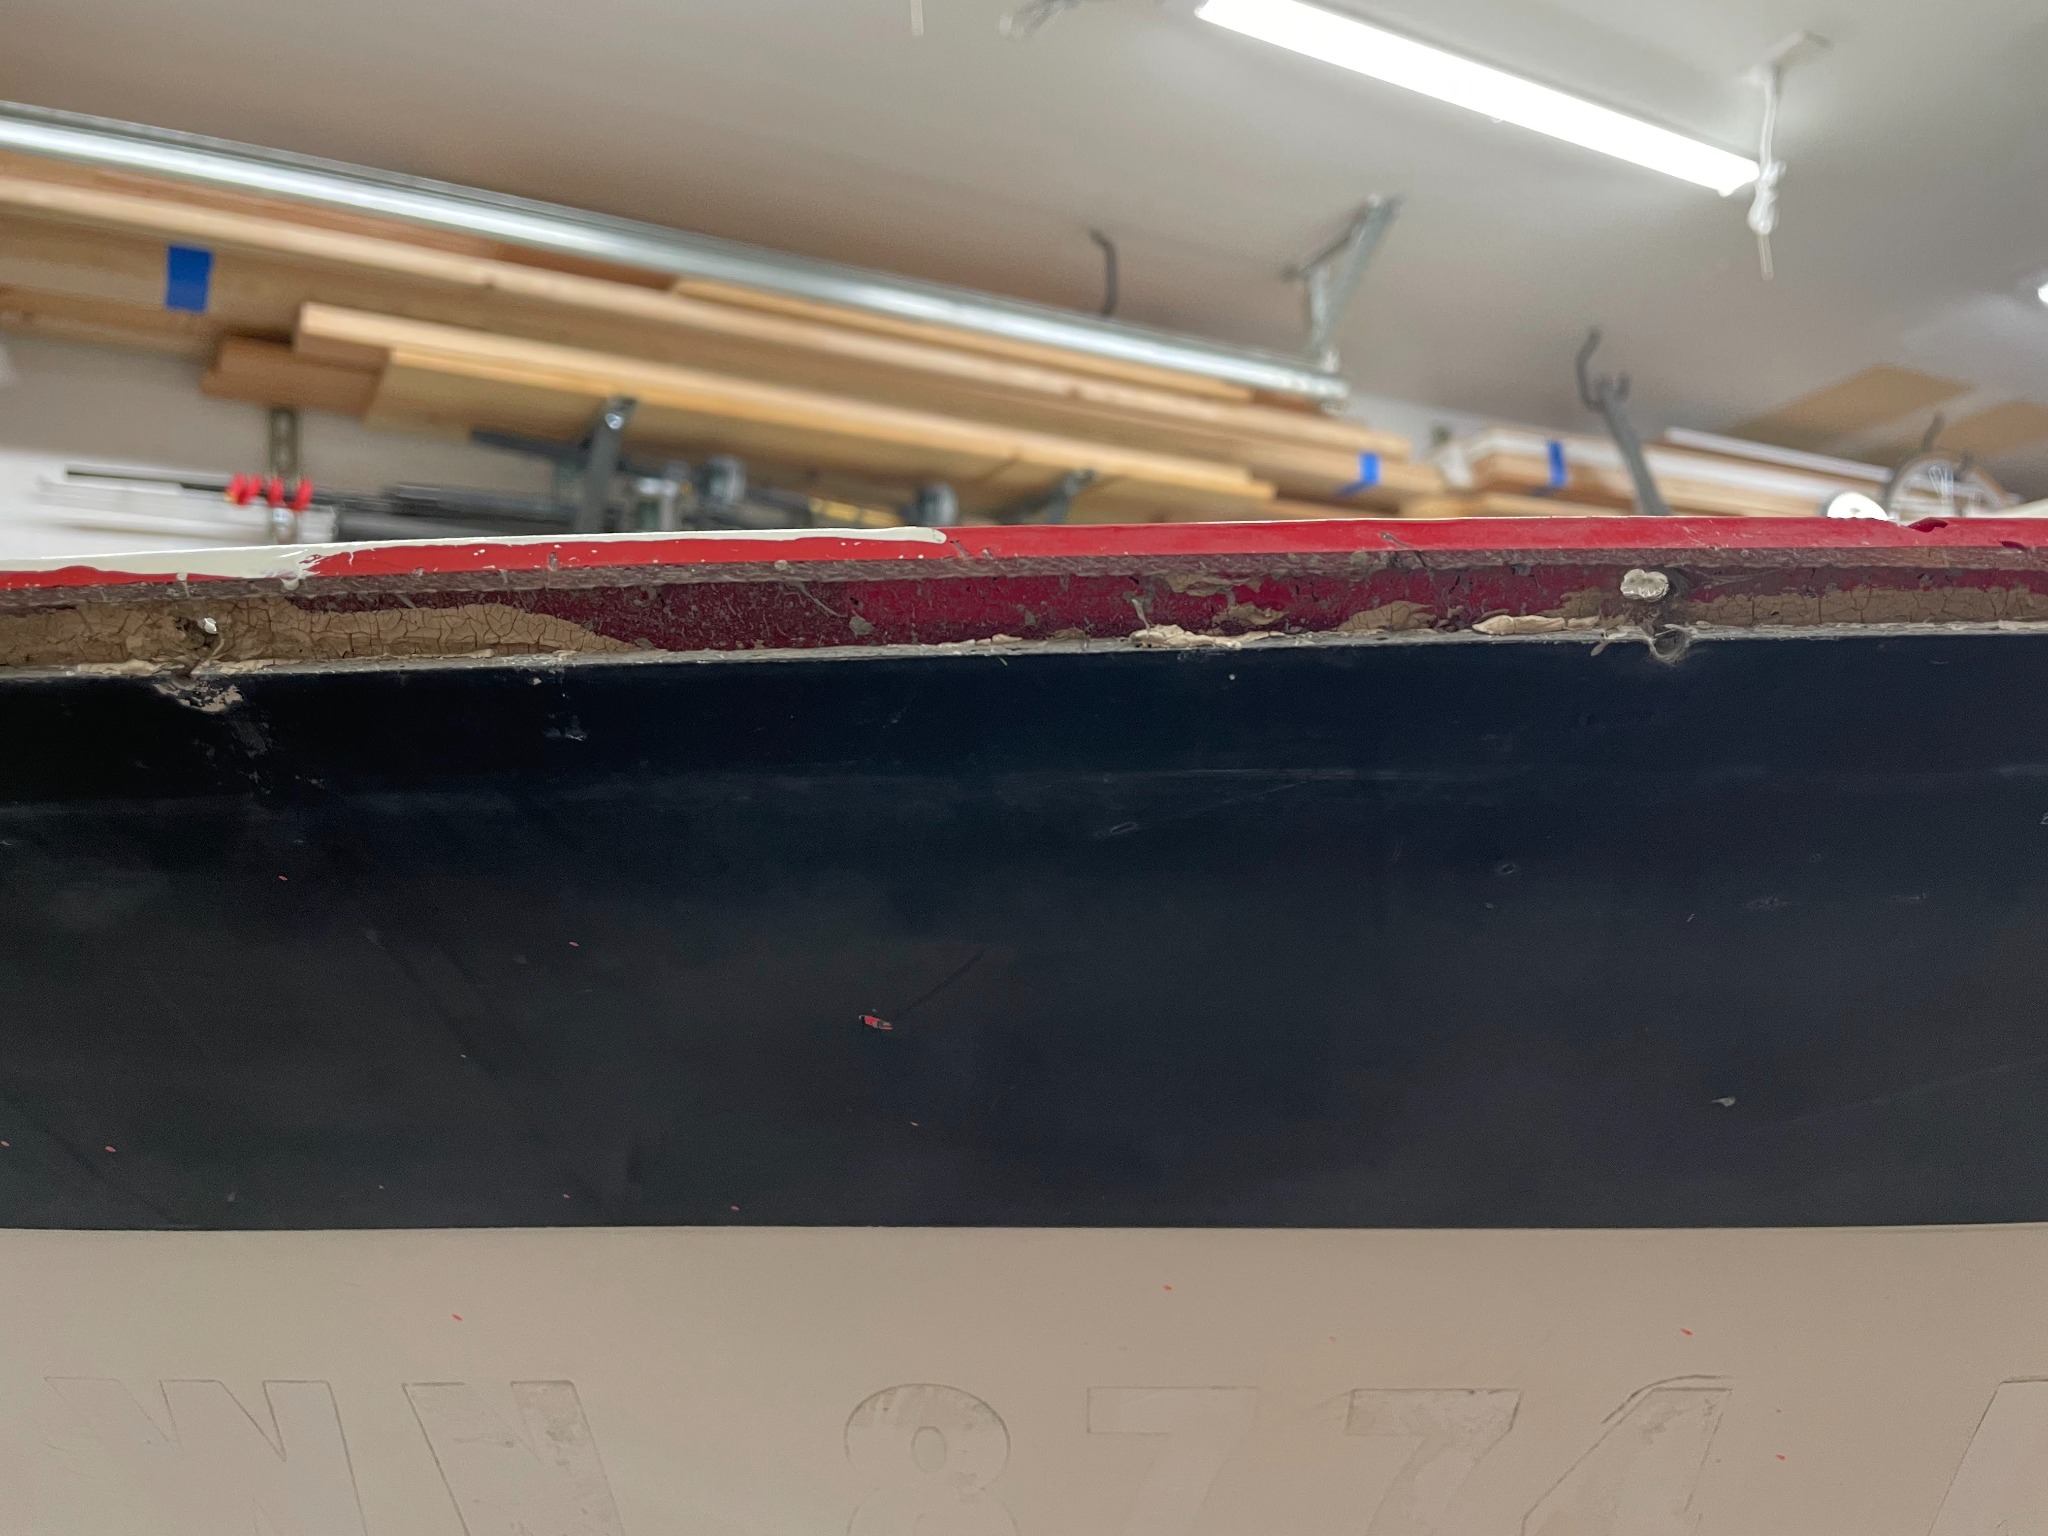
First step is reattach deck cap to hull. It's been loose for quite some time and things have settled a bit.

I plan to lay a bead of 4200 in the joint, pound the rub rail extrusion back on and redrill every other hole slightly further down in the rub rail groove. Many of the original rivet holes were barely catching the hull from the factory.
Attachments:

Please Log in or Create an account to join the conversation.

1961 Glasspar Seafair Sedan build 1 year 1 week ago #148524

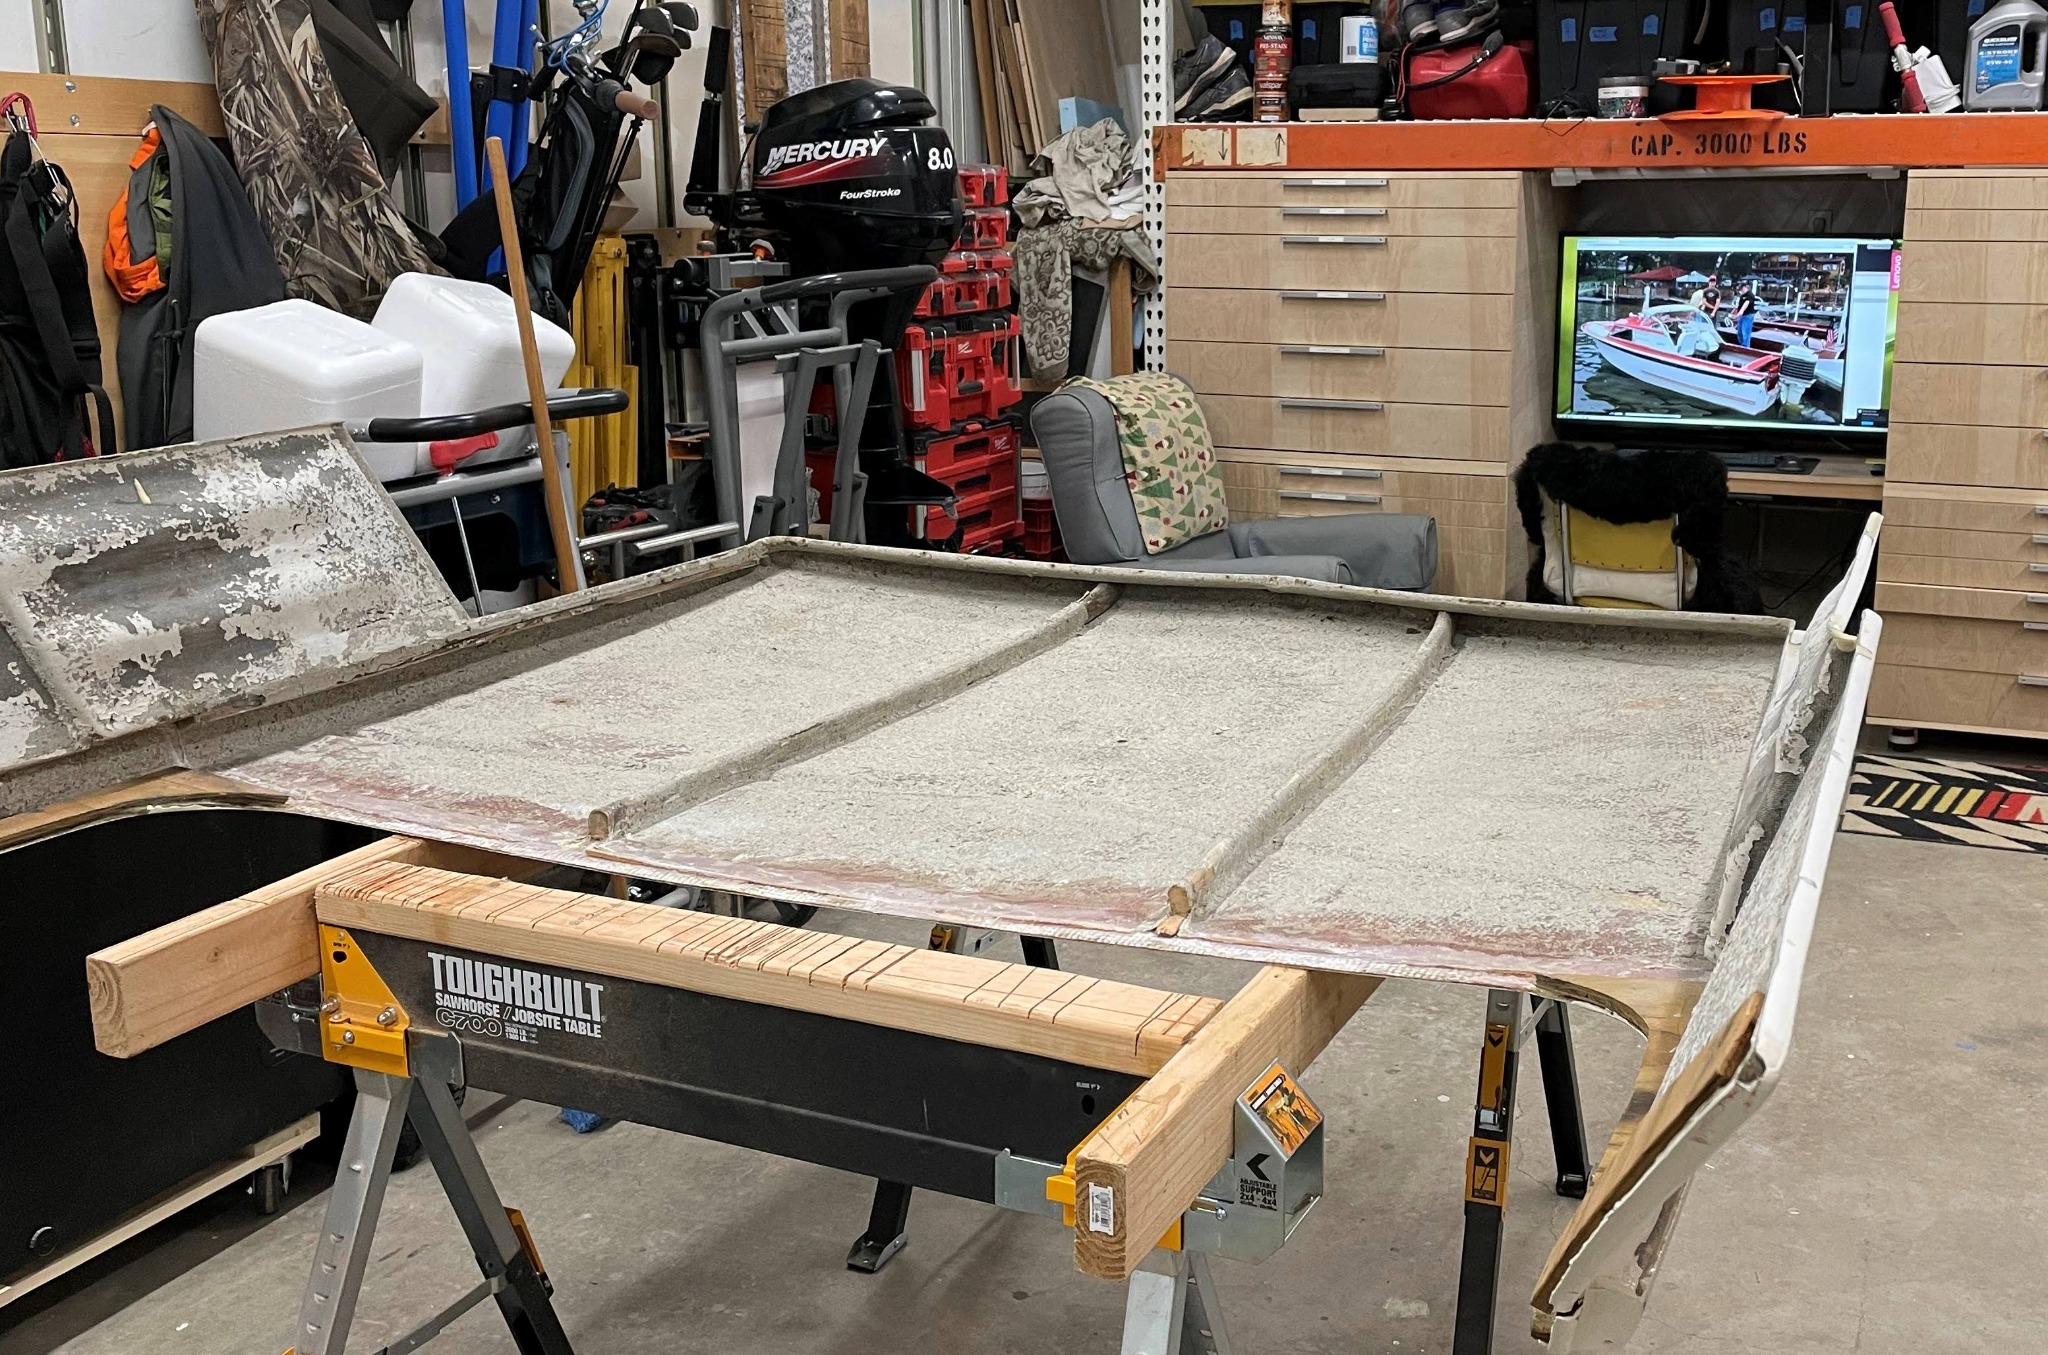
I got one side of the rub rail on. I finally figured out that I needed to clamp the joint together with a c-clamp around the rub rail and then I could pound the rail on with a deadblow hammer. I decided to wheel the boat out of the shop so I could work on the cabin roof, which was just sitting on the hull unfastened.

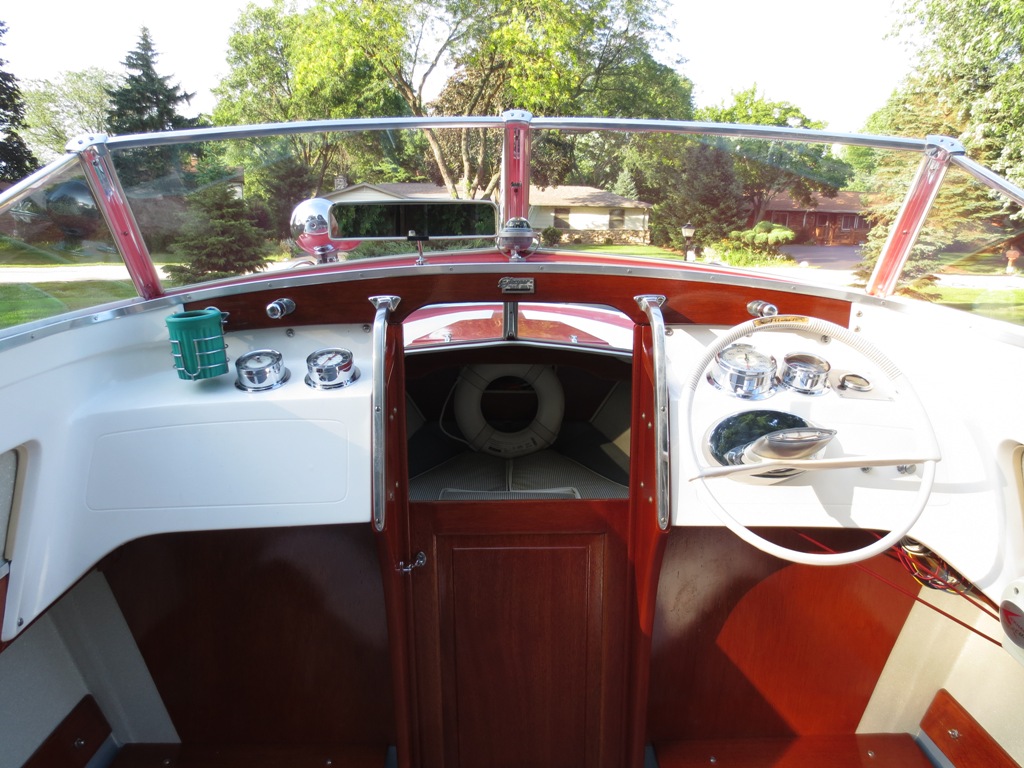
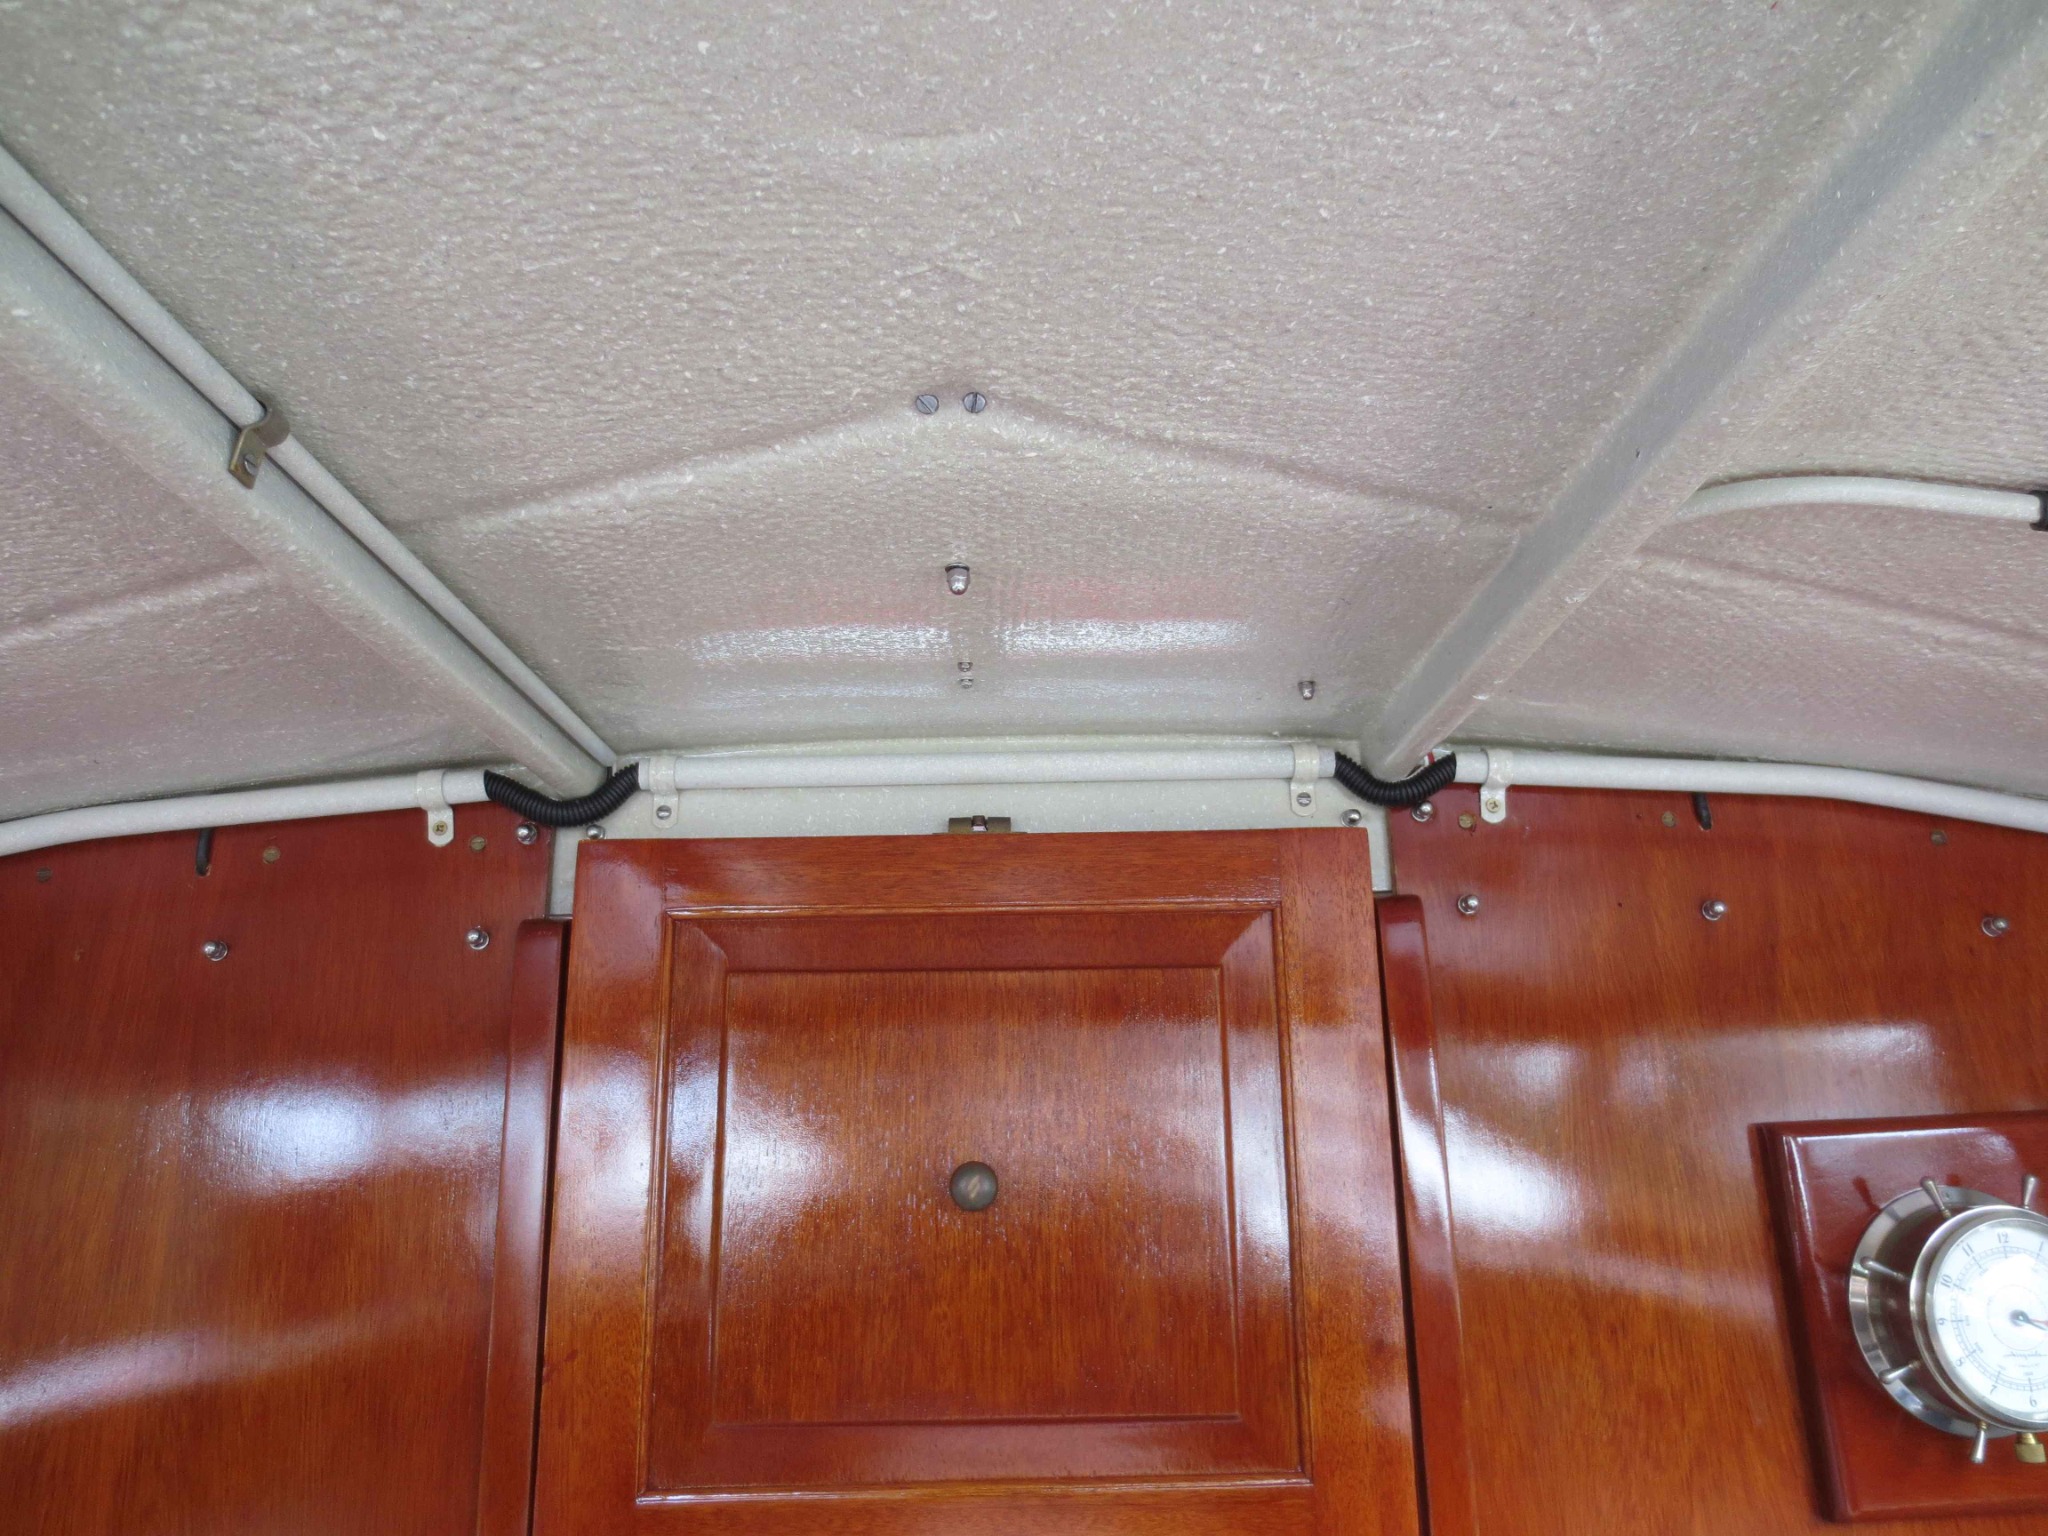
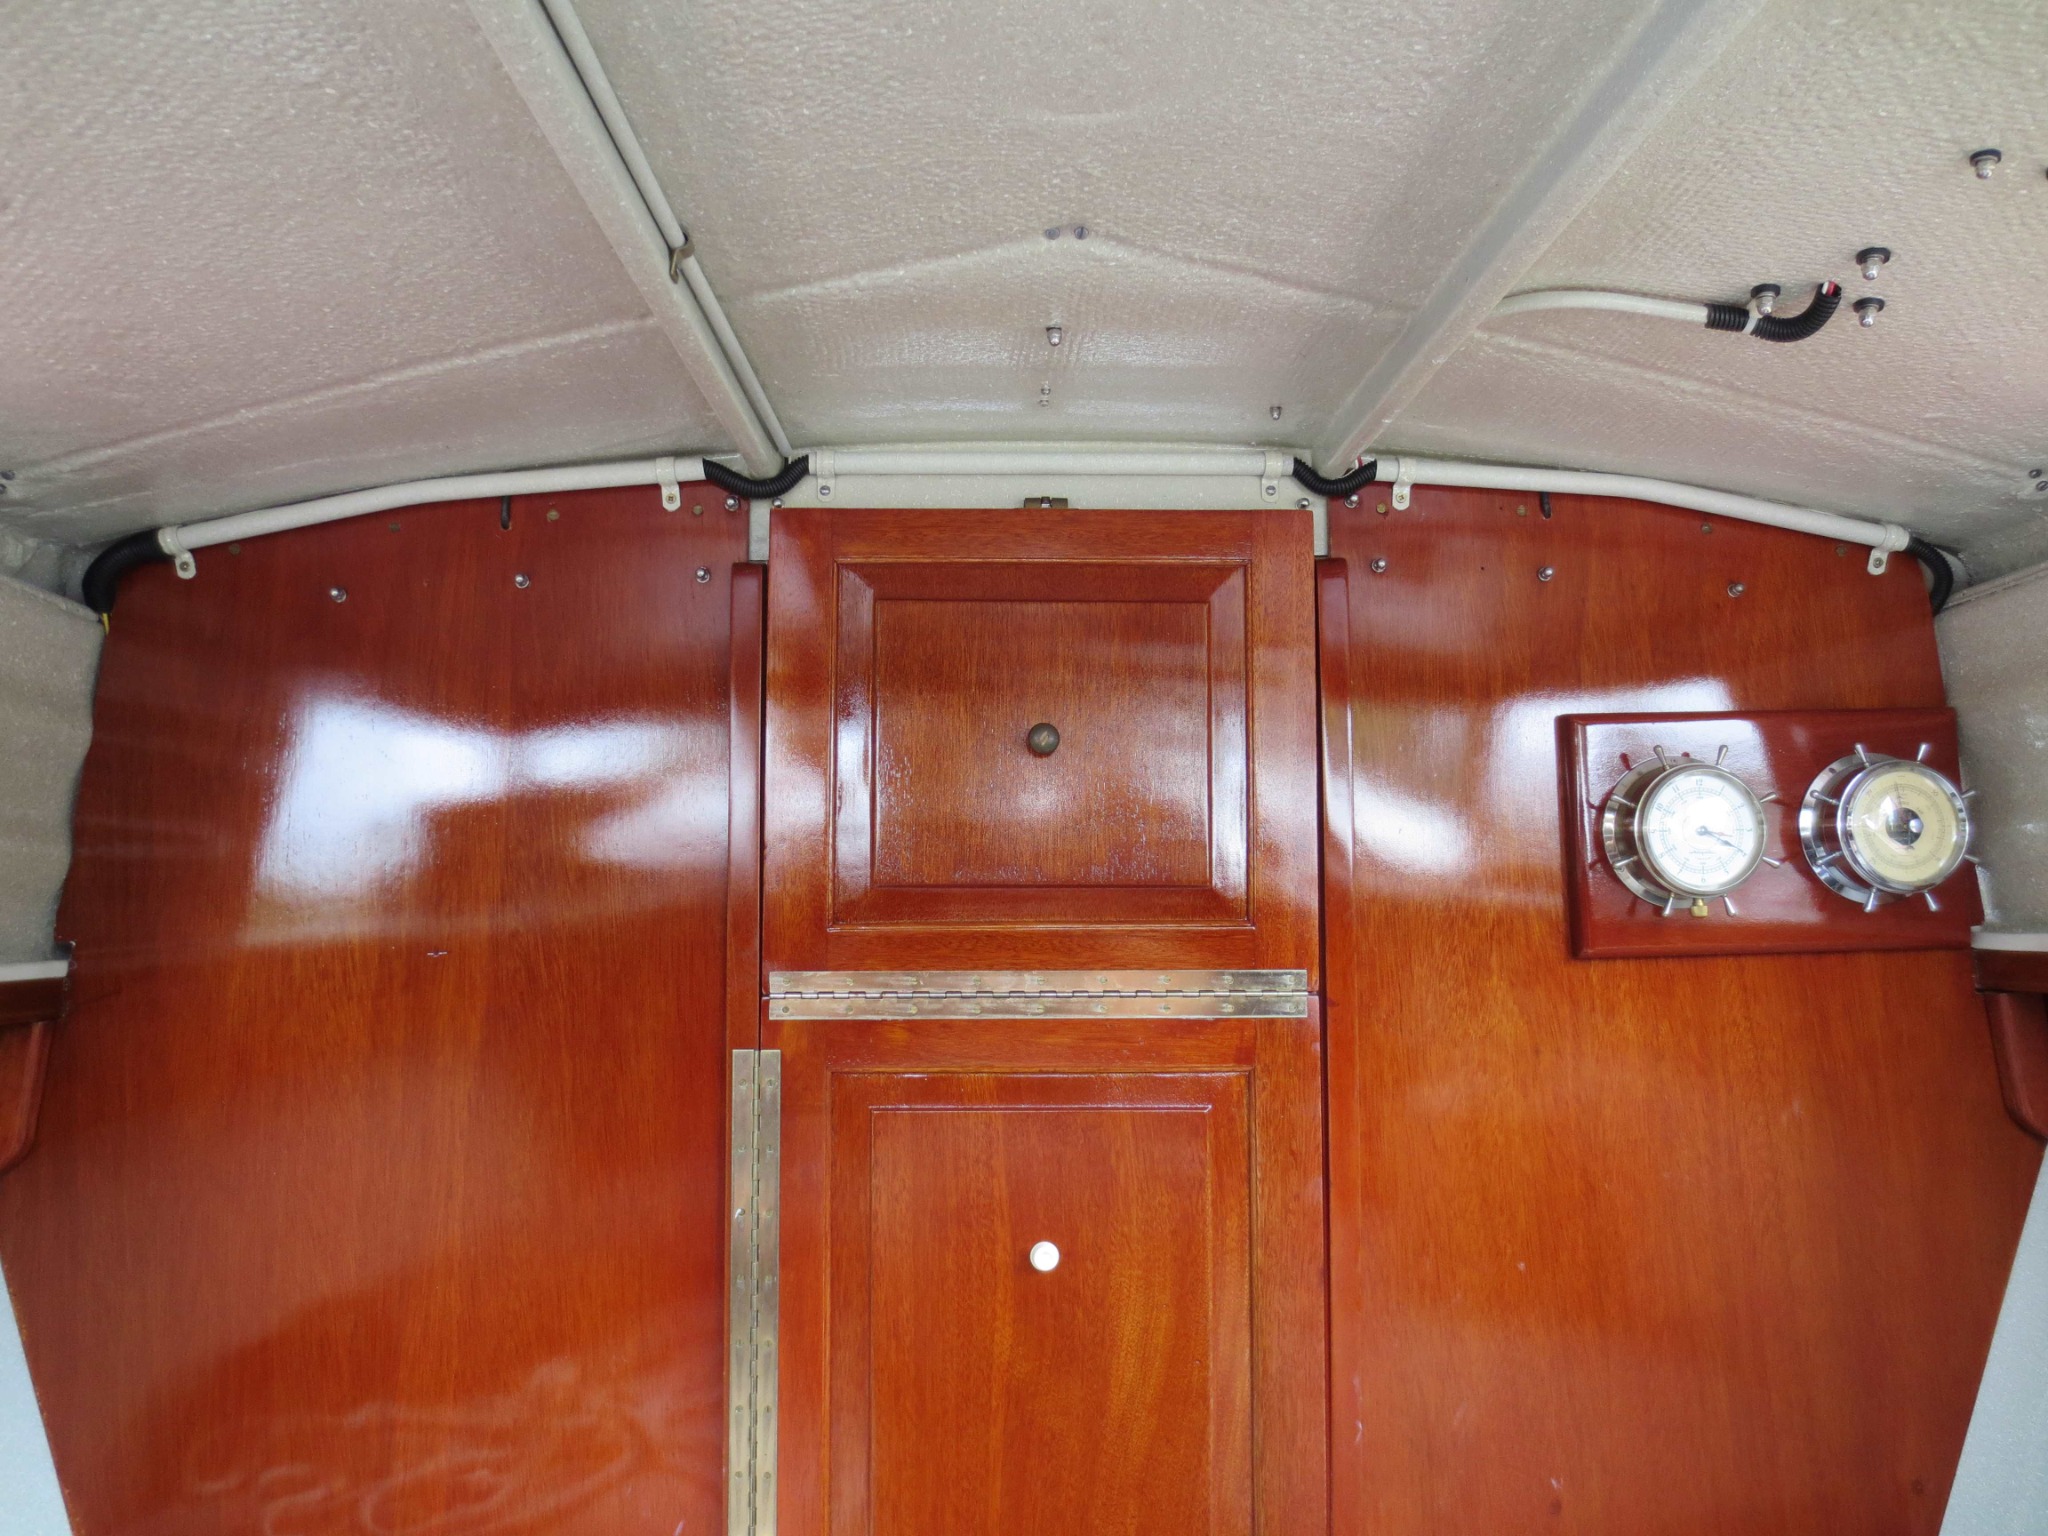
In my previous post there's a pic of the back of the cabin where you can see the mahogany header right at the top of where the dash is. That header was pretty well butchered so needed to be cut out.


I grabbed a piece of new mahogany and whacked out a new header. Need to do some sanding then glass it back into the cabin roof tomorrow. Good thing the original header was in the boat. I used that as a template. Also, note the pic of Mama Mia on my computer in the garage. Gotta have some inspiration!
Attachments:

Please Log in or Create an account to join the conversation.

1961 Glasspar Seafair Sedan build 1 year 1 week ago #148525

Hello Ricardo,

Ha! We’re happy to be an inspiration.


You will see that header cracked on many Sedans.


Tried to repair once but it didn’t last long.


Then replaced using ½” marine grade plywood laminated with ¼” mahogany.


Wrestling those 16’ rub rail extrusions was a pain but they had to come off to properly recoat. And I did not use a sealer. Don’t pound too hard as they will disform.


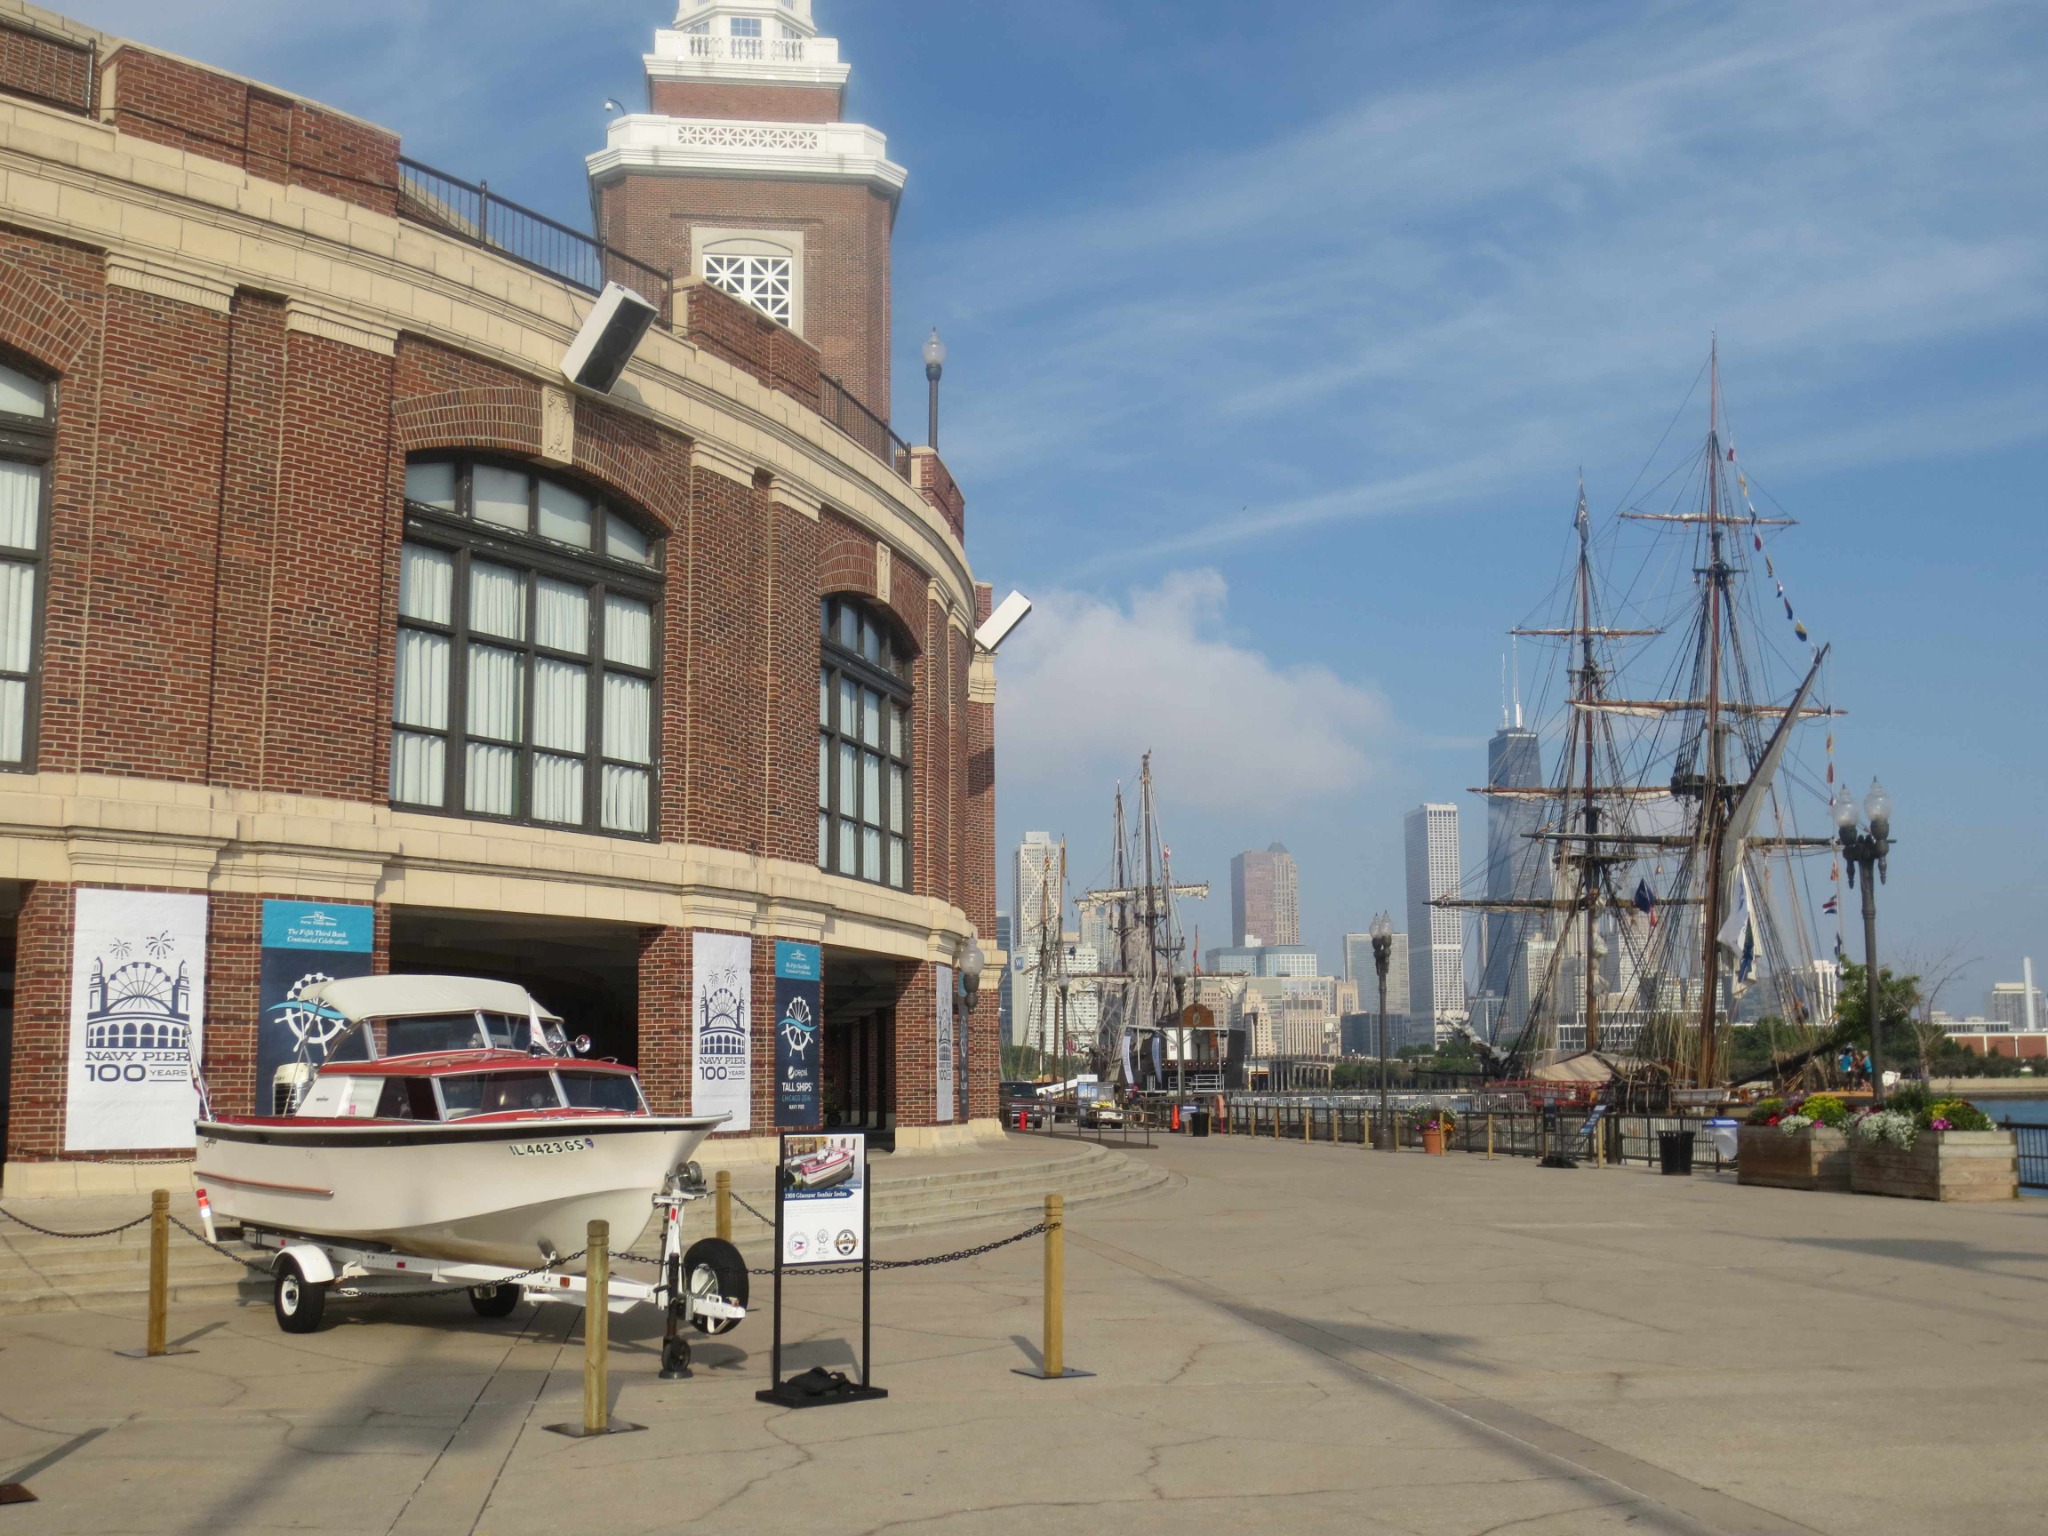
Mama Mia! on Chicago's Navy Pier for Tall Ships festival 2016.

Thanks,
Terry

Please Log in or Create an account to join the conversation.

1961 Glasspar Seafair Sedan build 11 months 2 weeks ago #148562

Terry,
That's a great idea, one I'll use with the plywood laminated with mahogany. I believe mine is cracked also and ply would just be so much stronger. Thanks!

Please Log in or Create an account to join the conversation.

1961 Glasspar Seafair Sedan build 11 months 2 weeks ago #148563

Hello Ricardo, welcome aboard and you have a pretty solid looking Seafair there. Looks like a lot of the hard work has already been done.
I, like Terry, have a '59 sitting in the yard waiting for restoration but I have a "1959 Glasspar Seafair Sedan Restoration" thread here in Member's projects as well. There's some stuff in there. Probably enough to make you feel really good about the state of yours!

Please Log in or Create an account to join the conversation.

1961 Glasspar Seafair Sedan build 7 months 4 weeks ago #148704

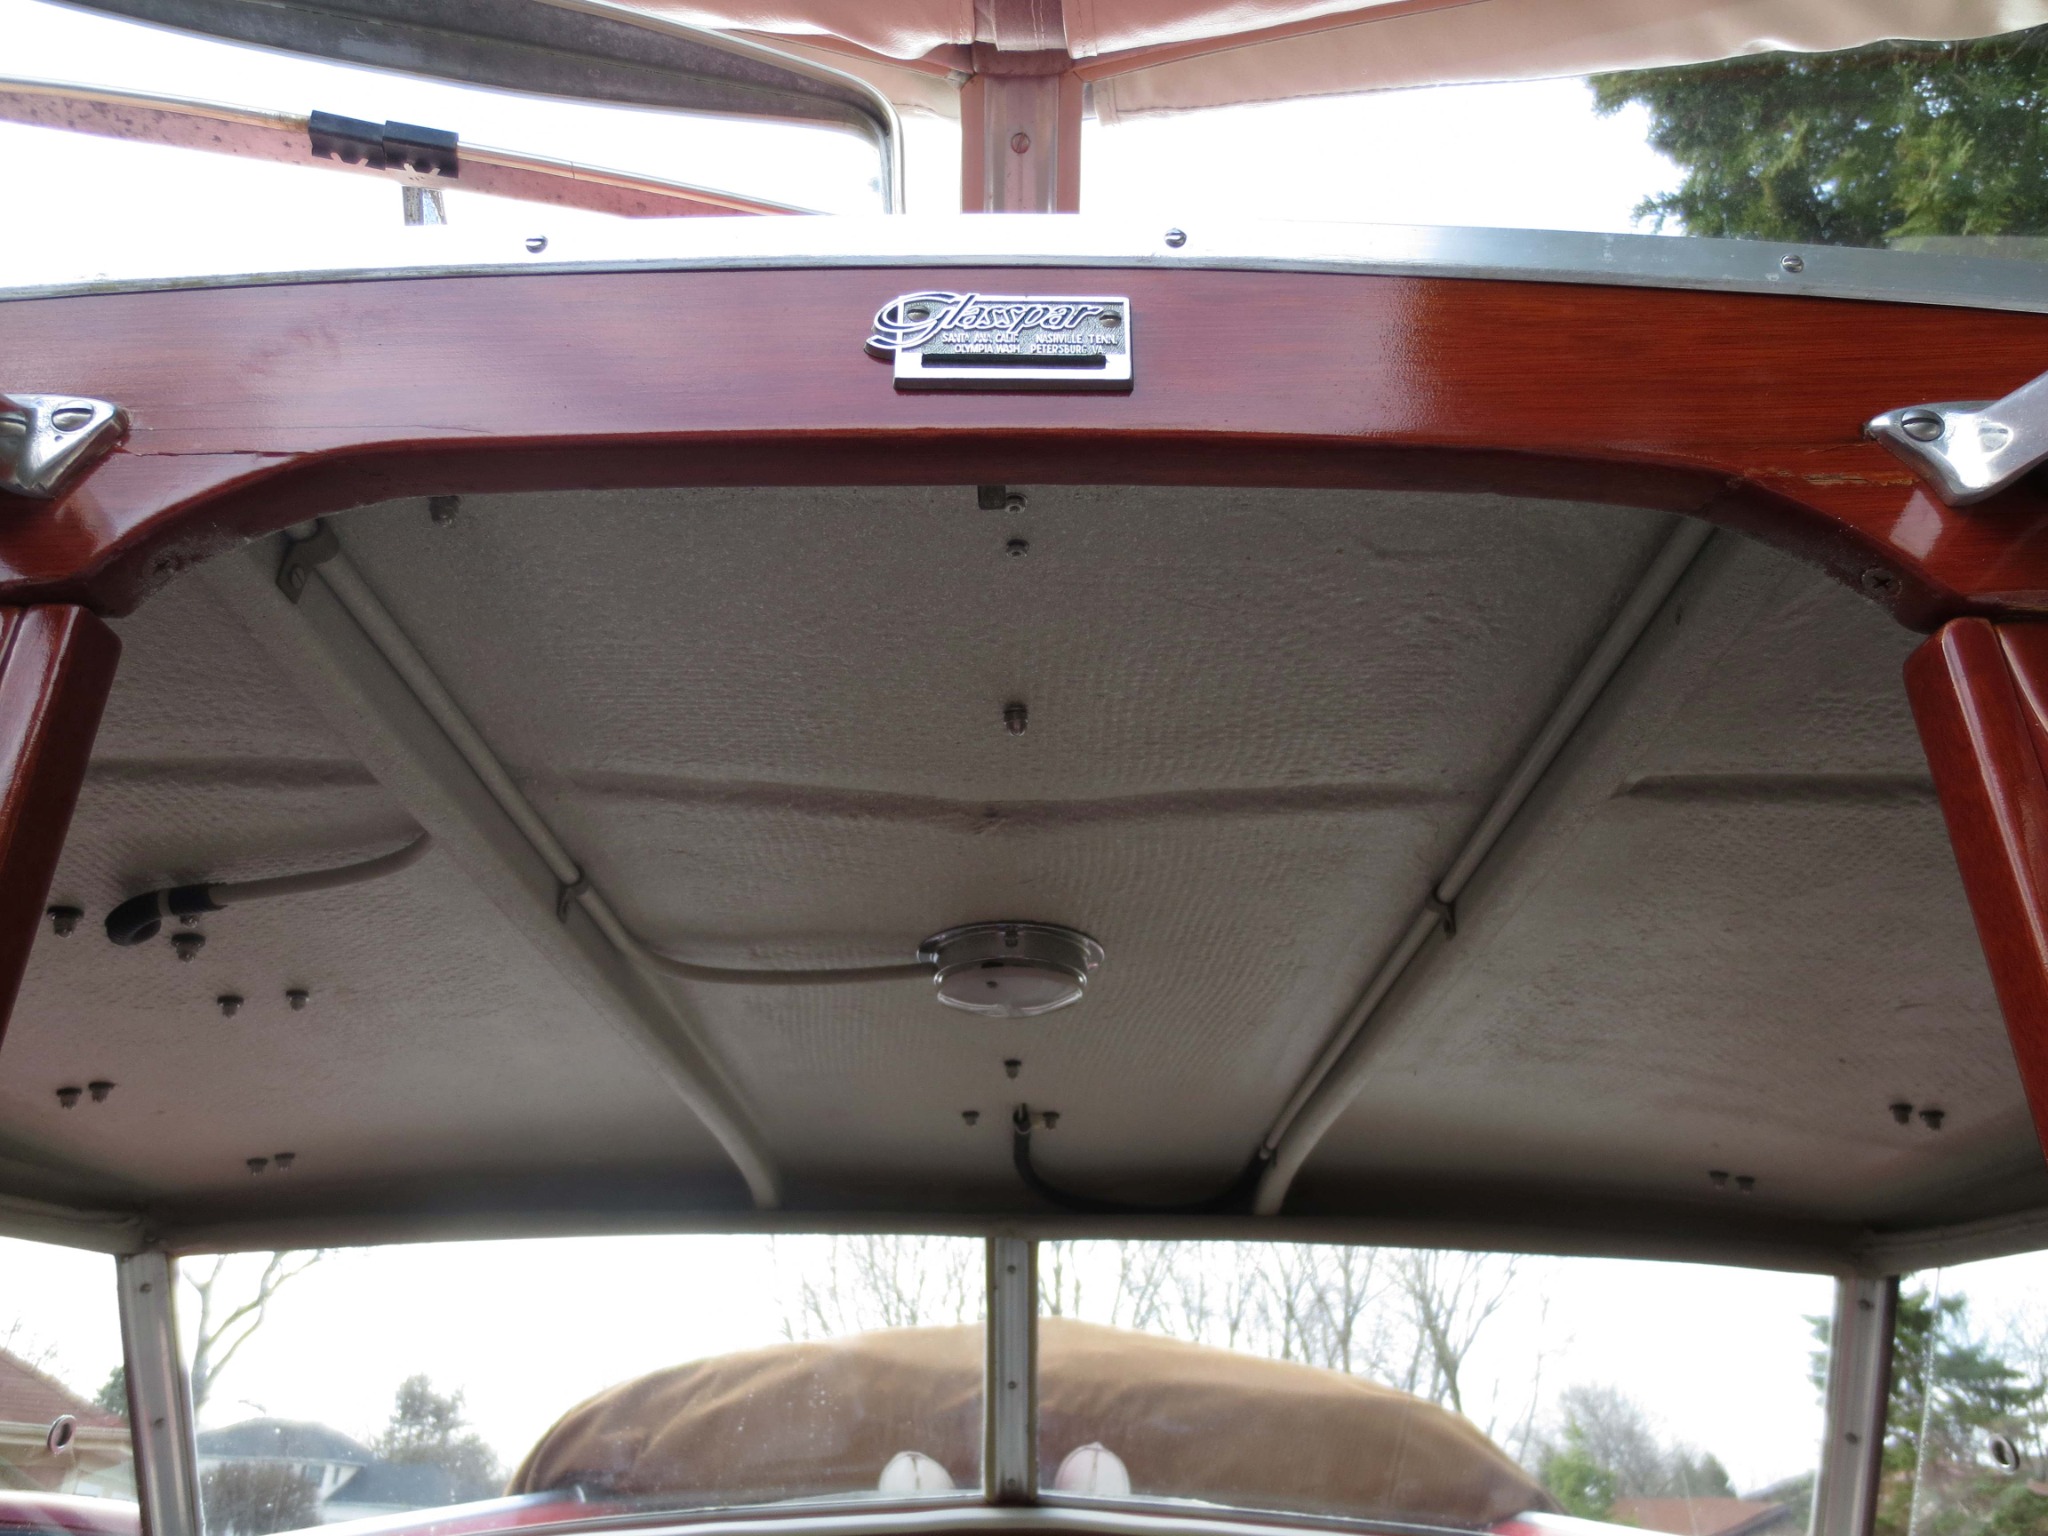
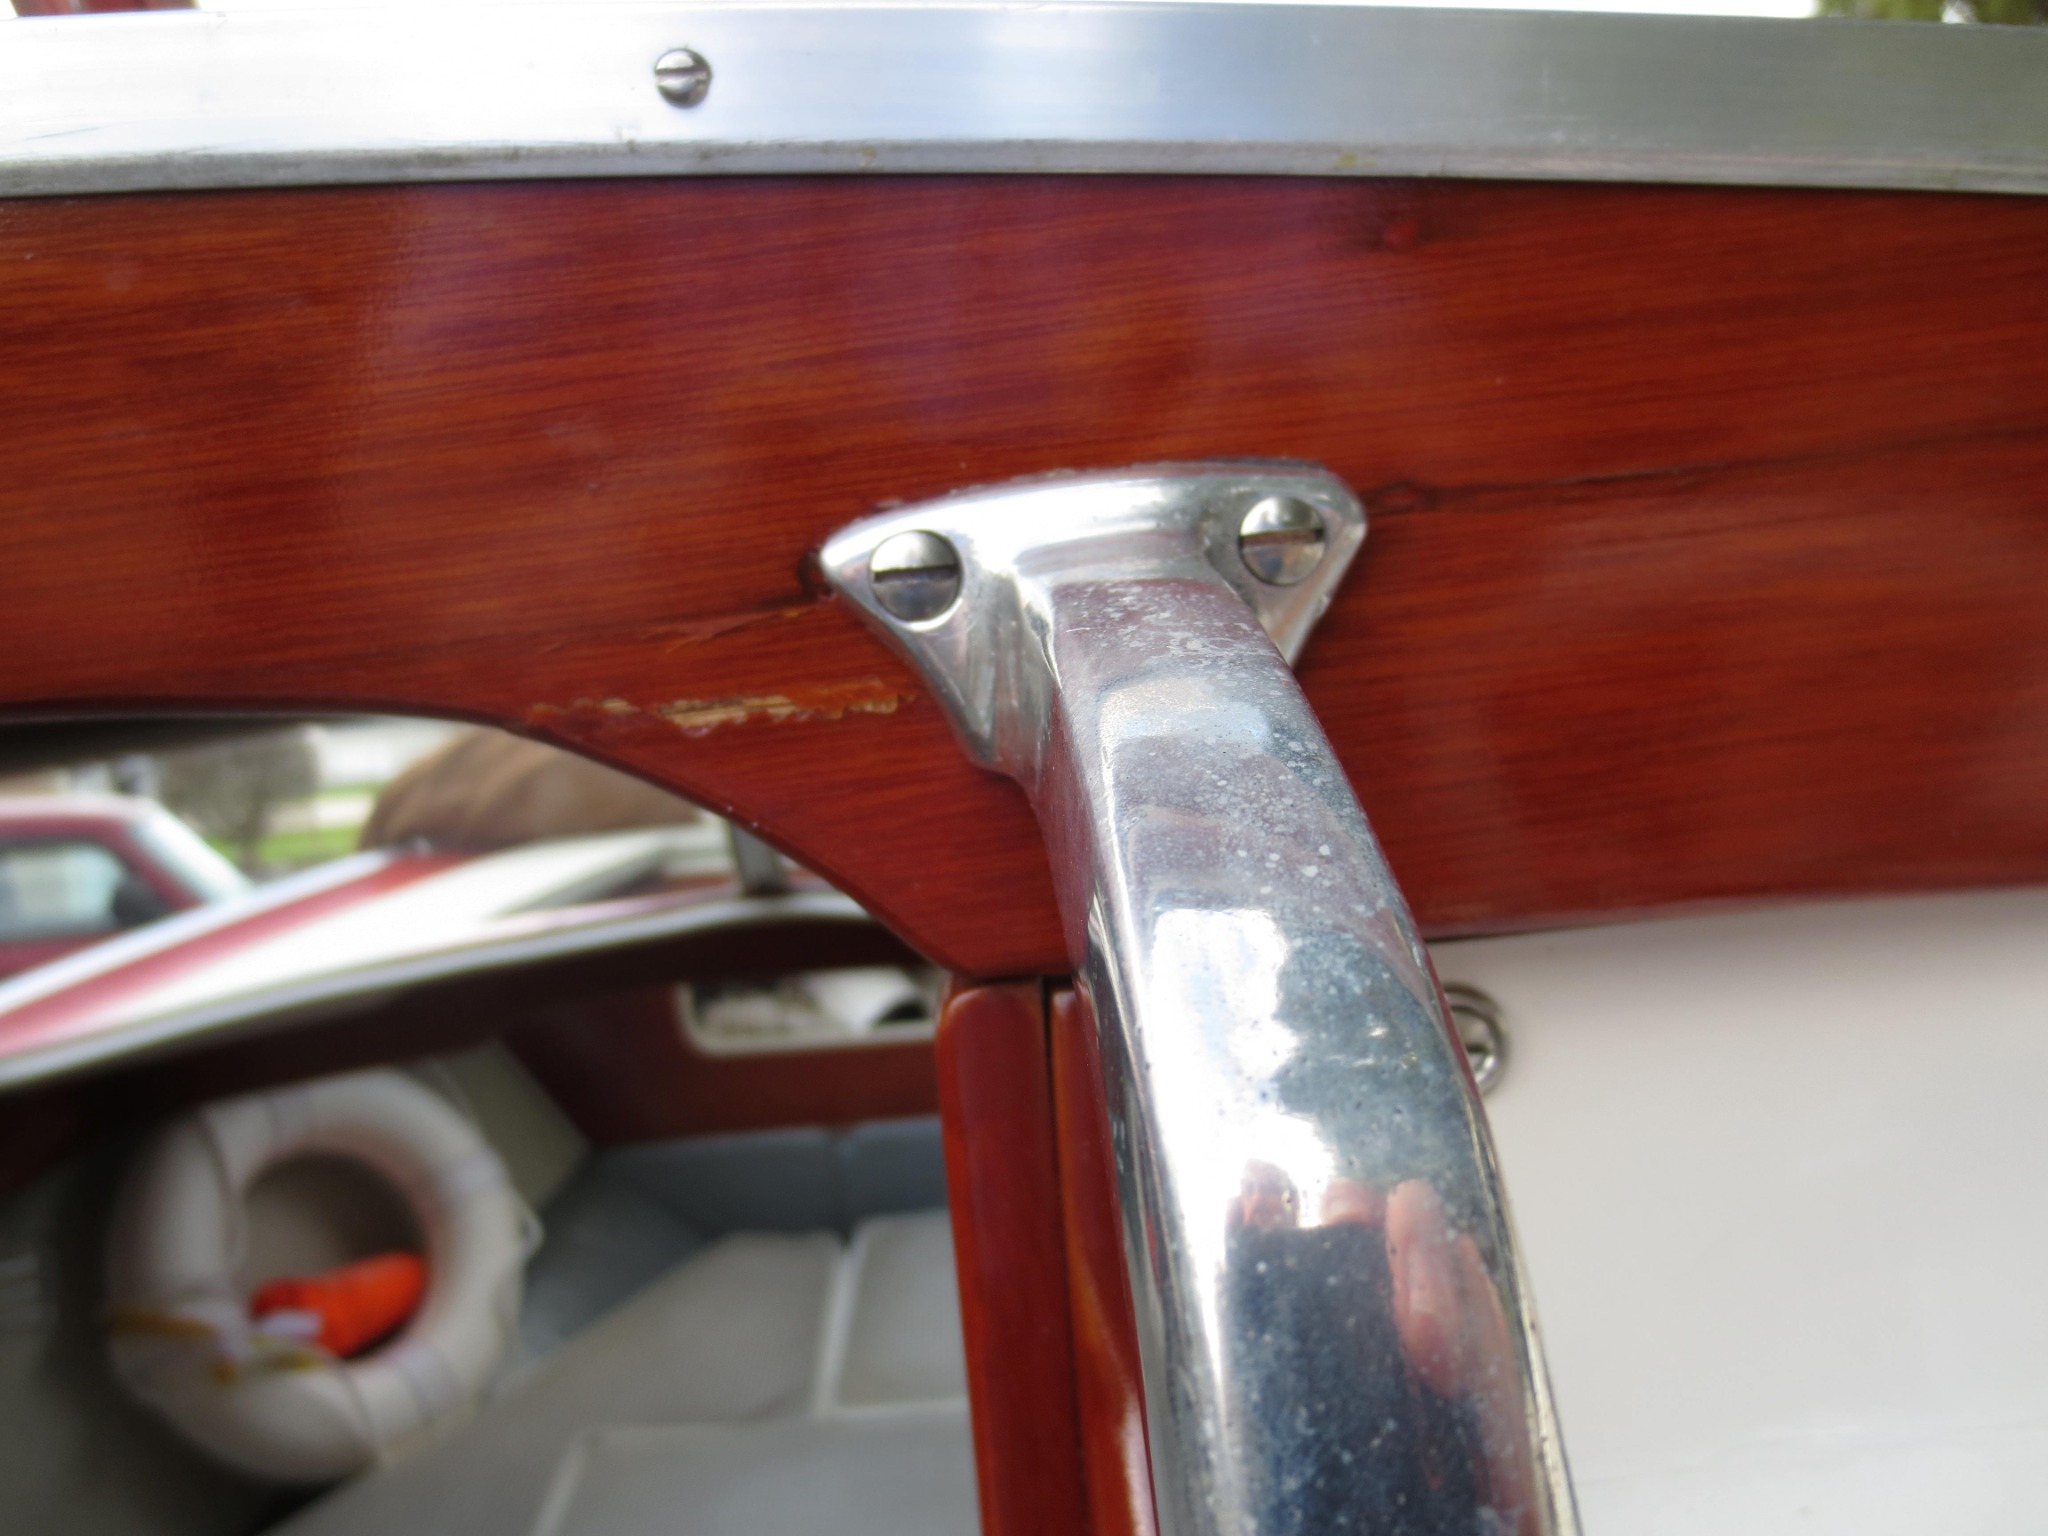
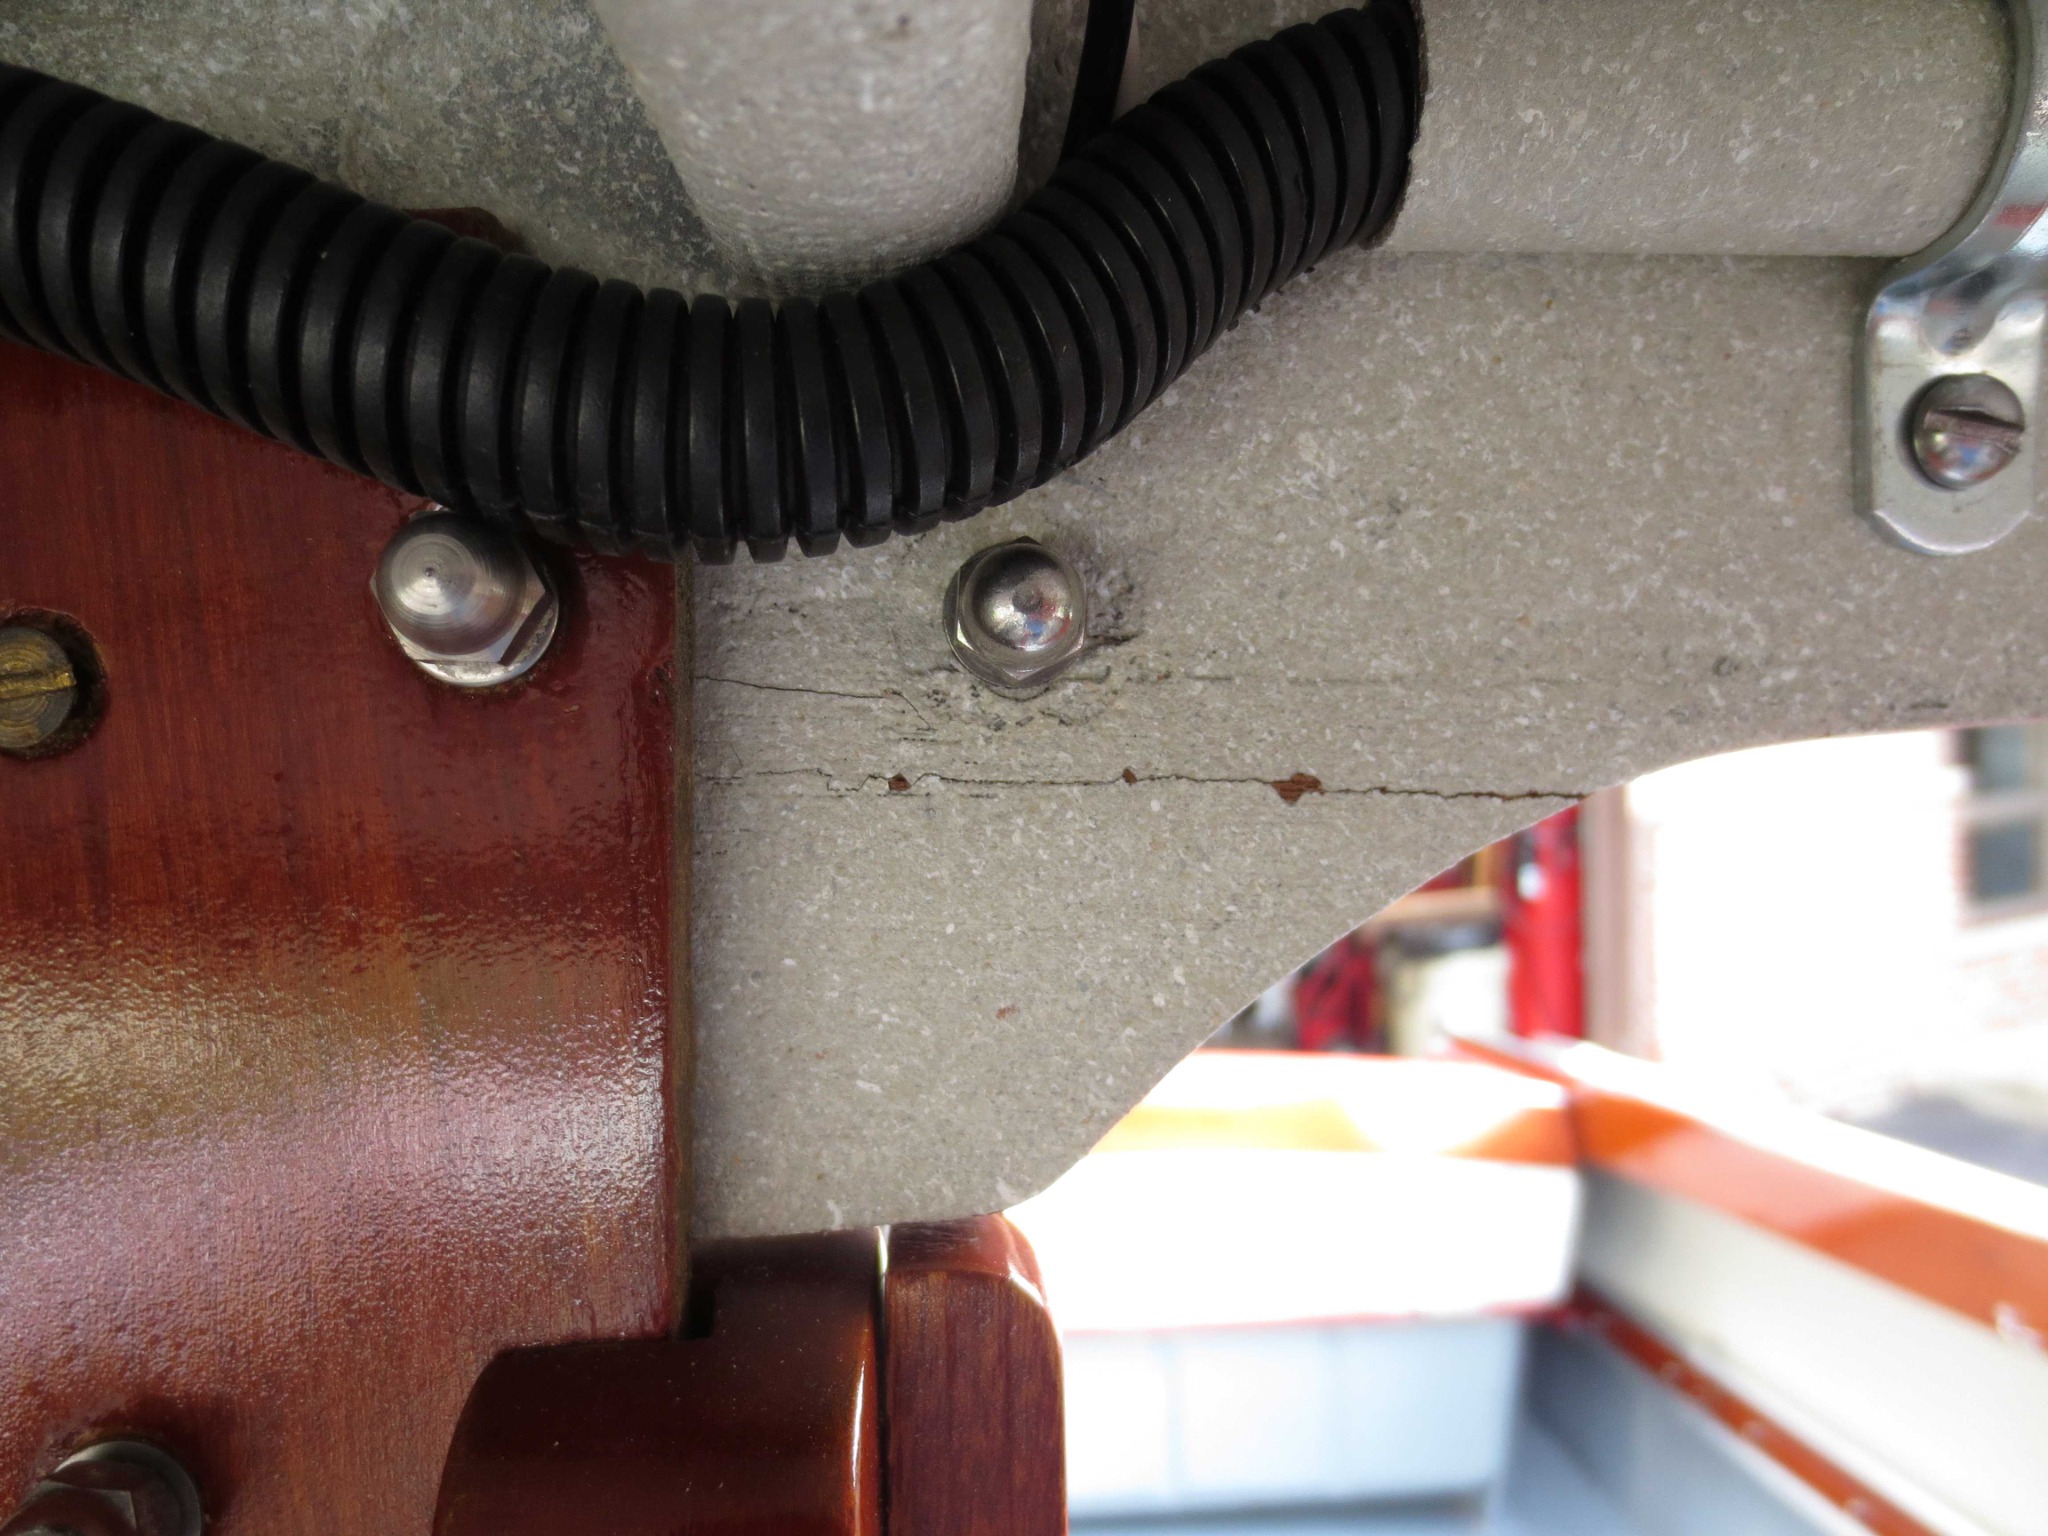
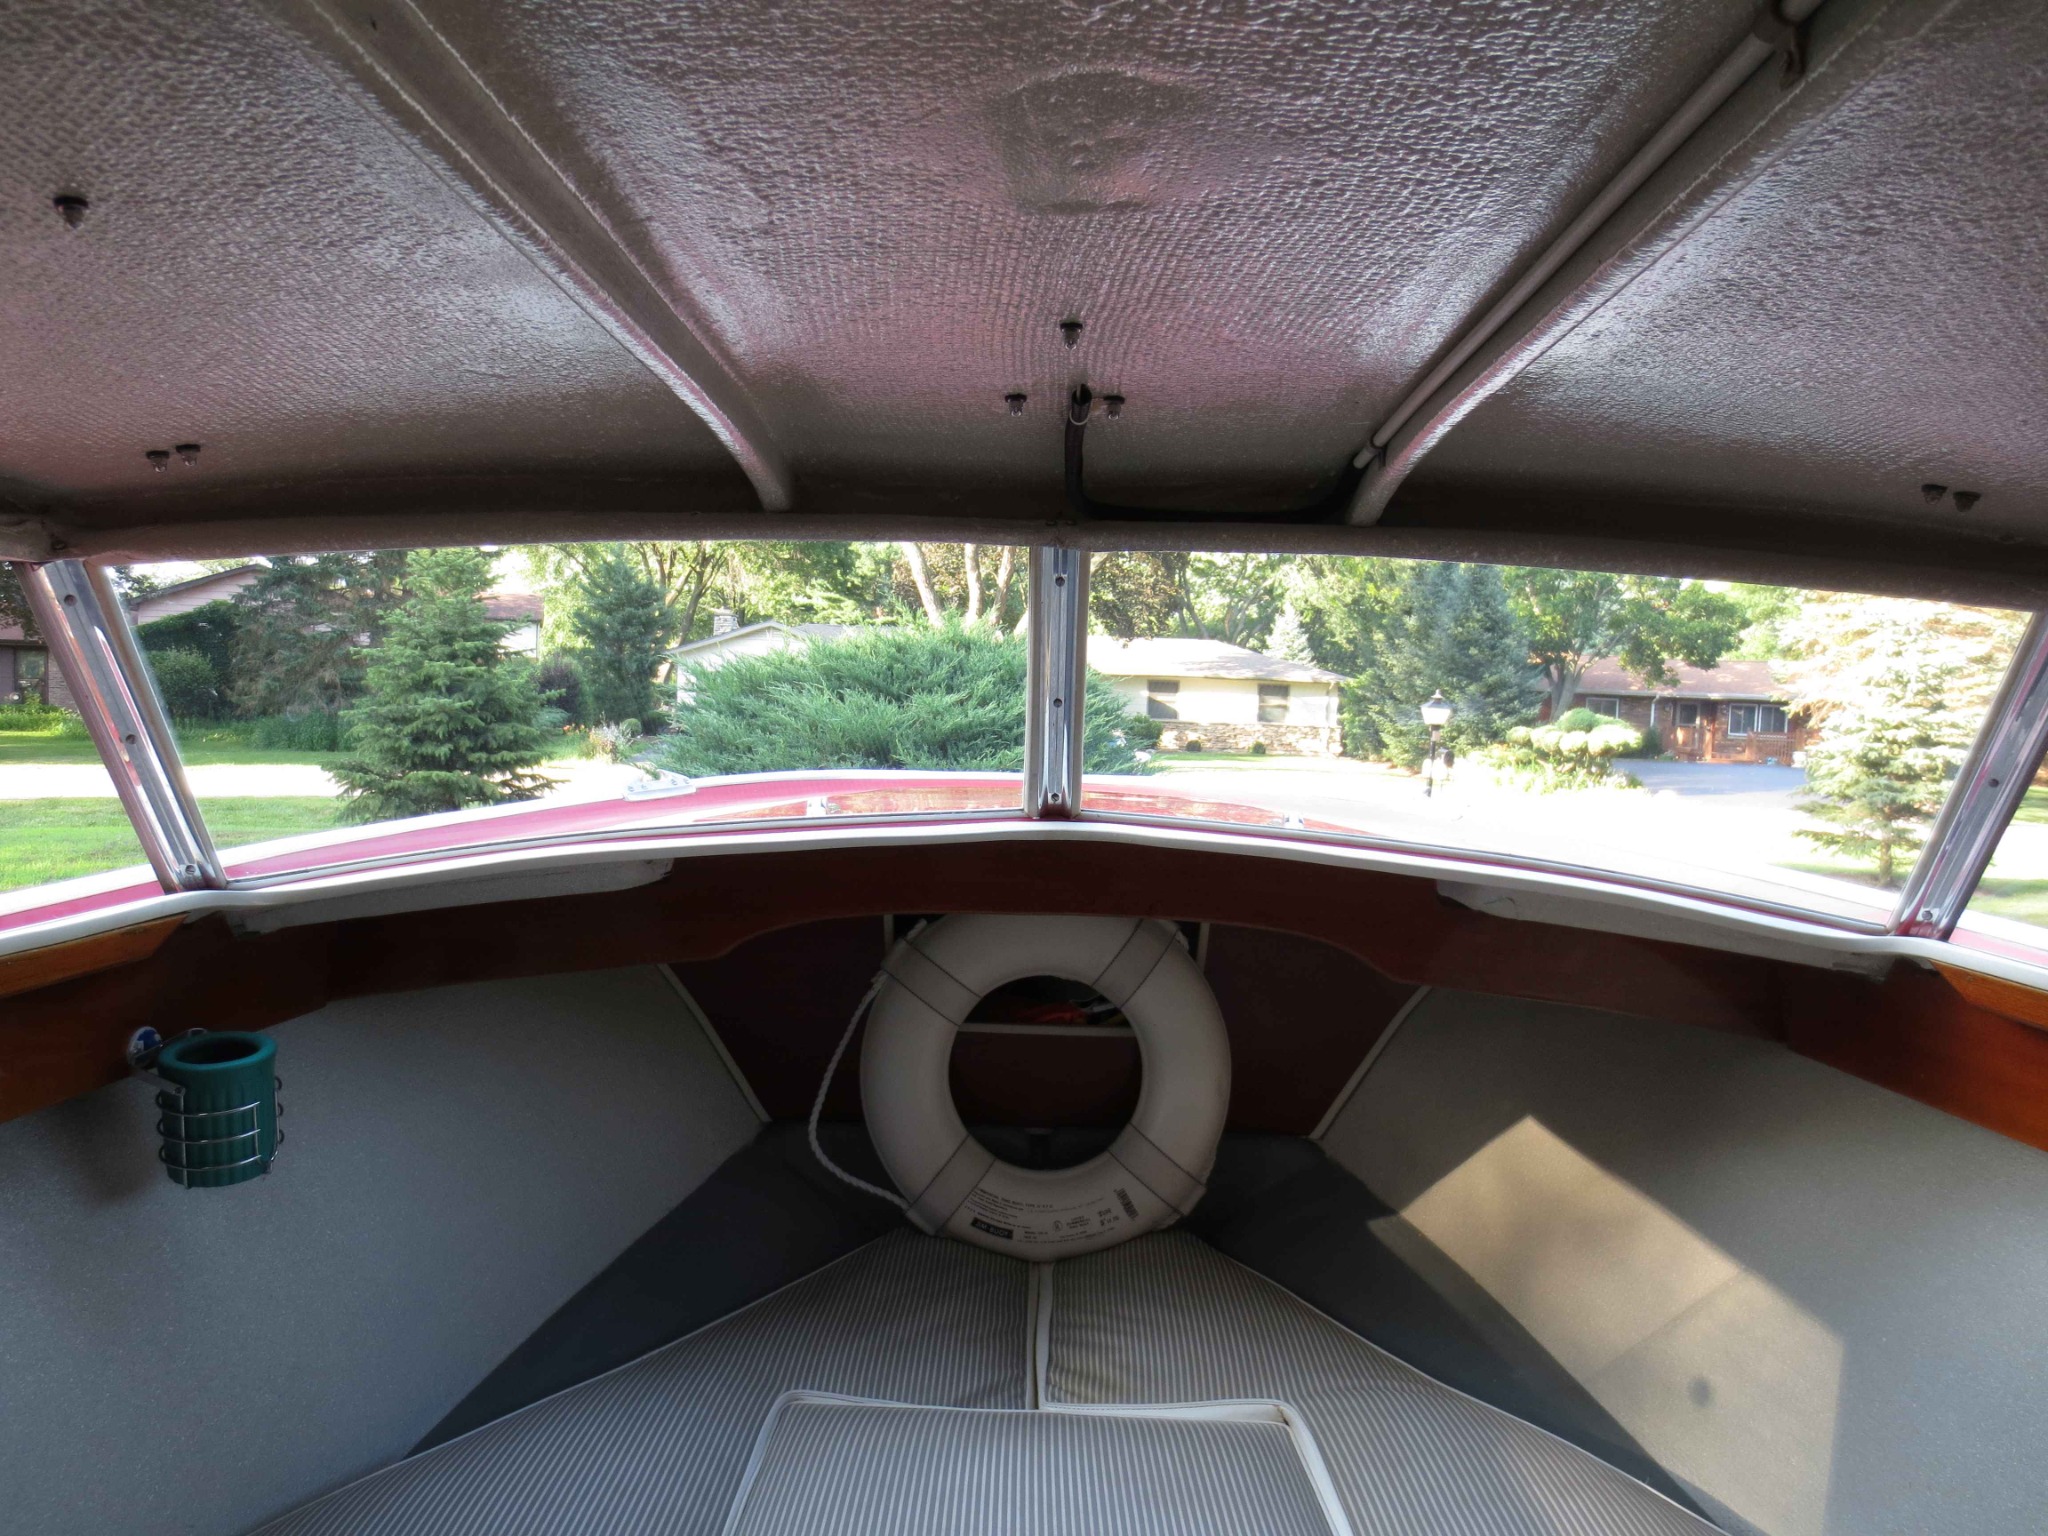
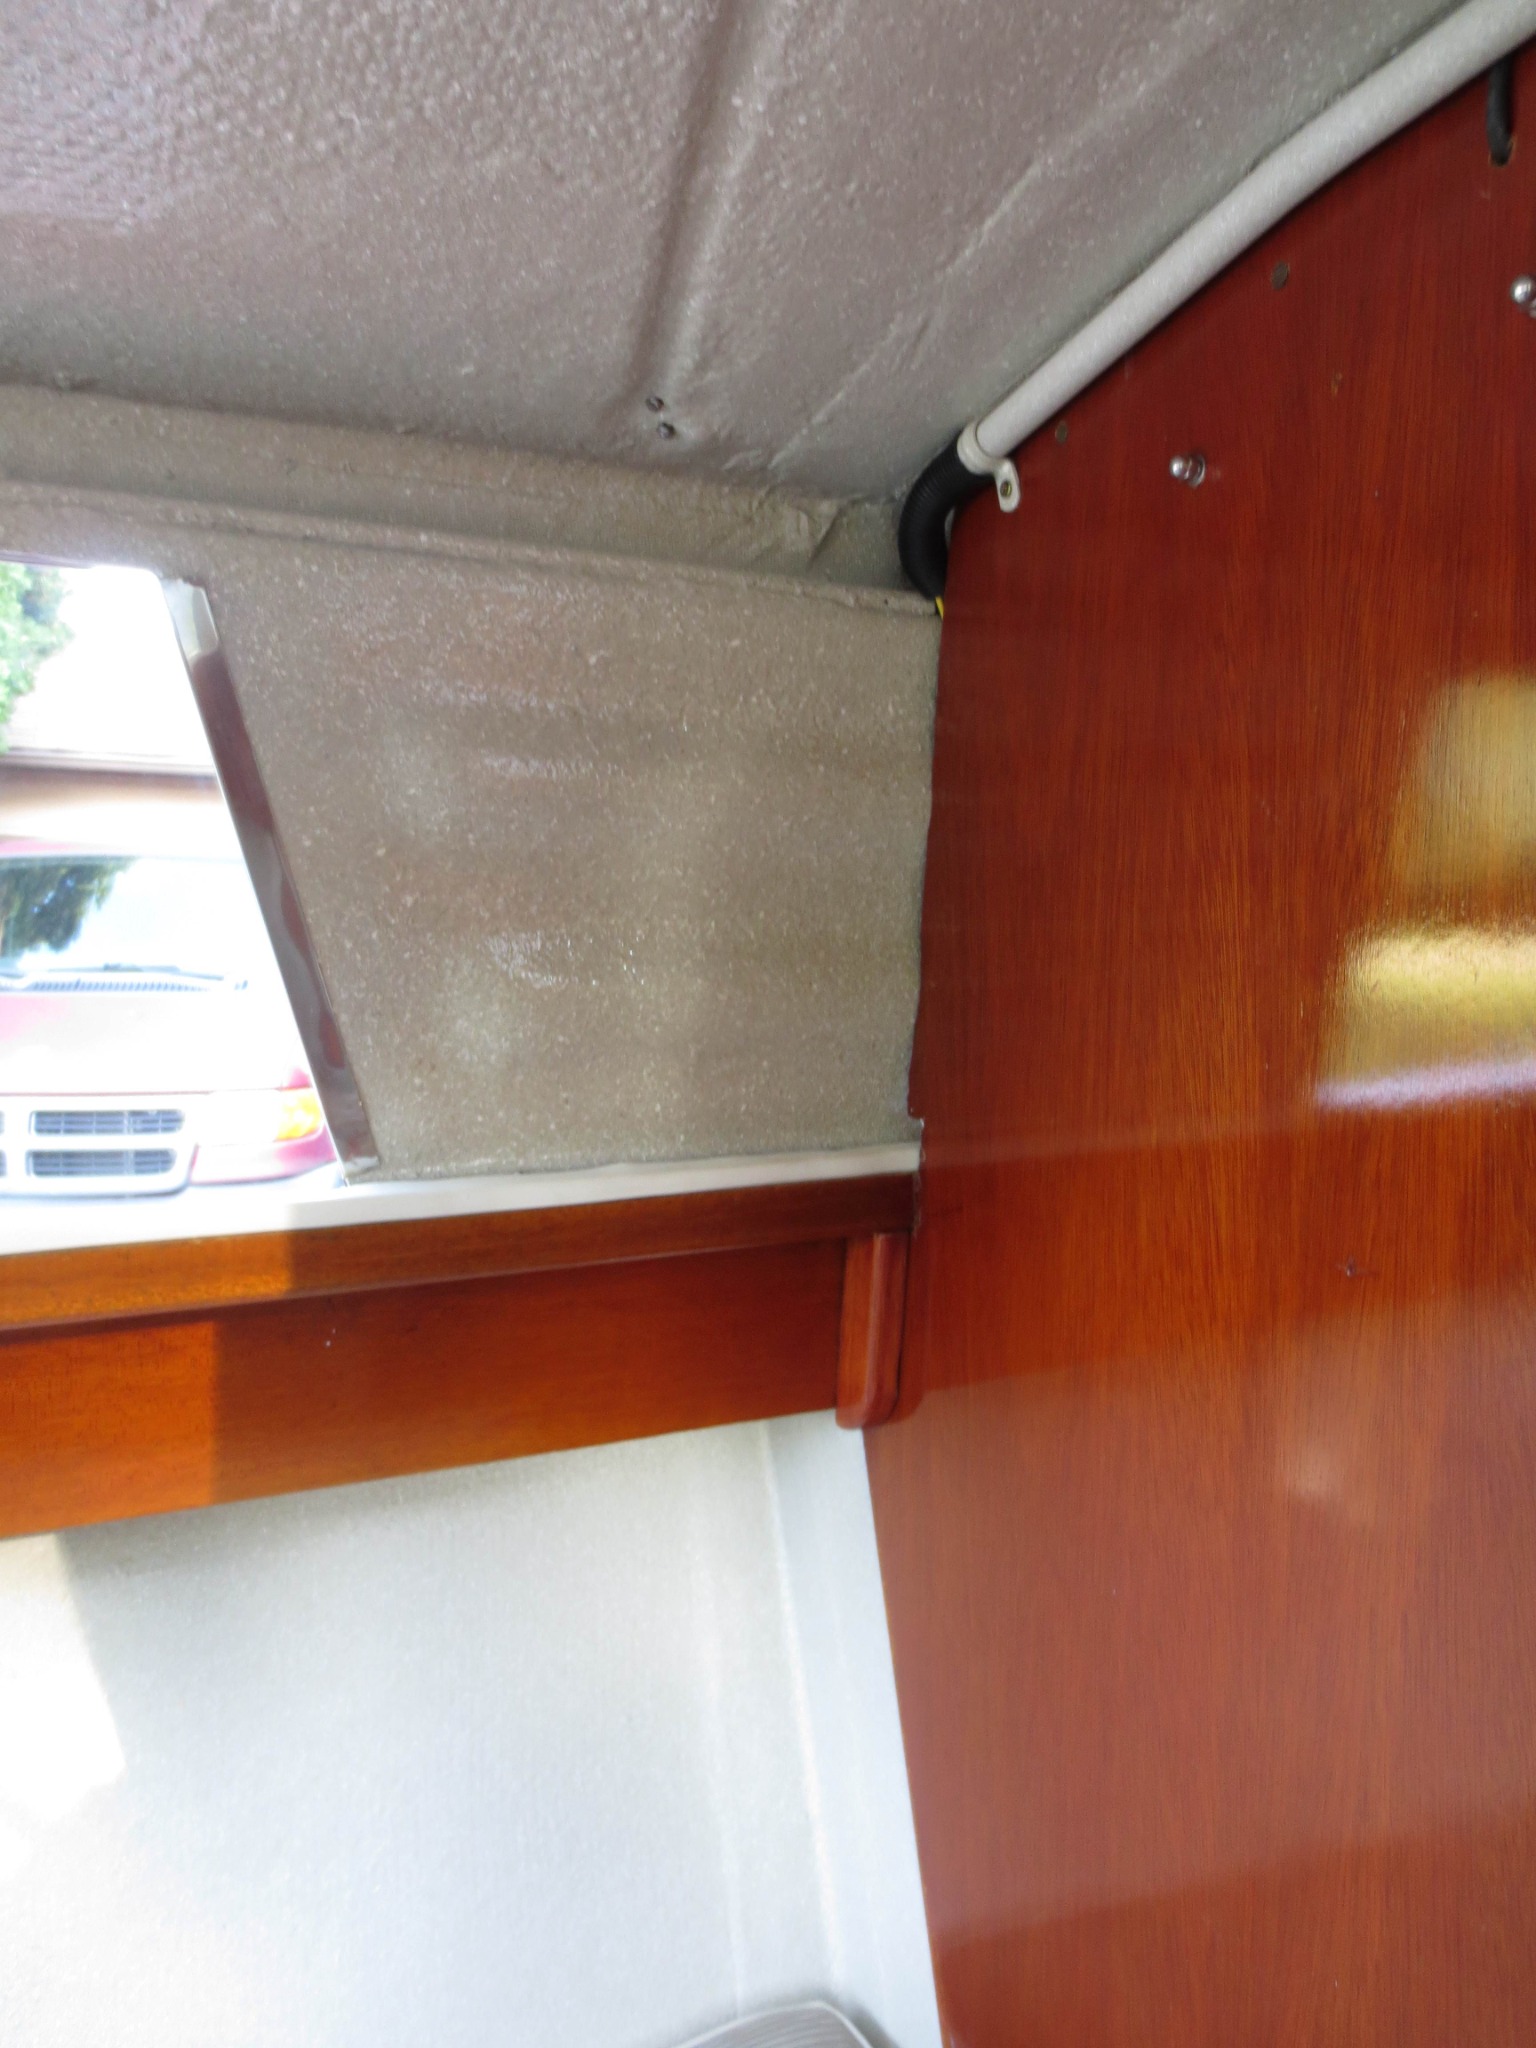
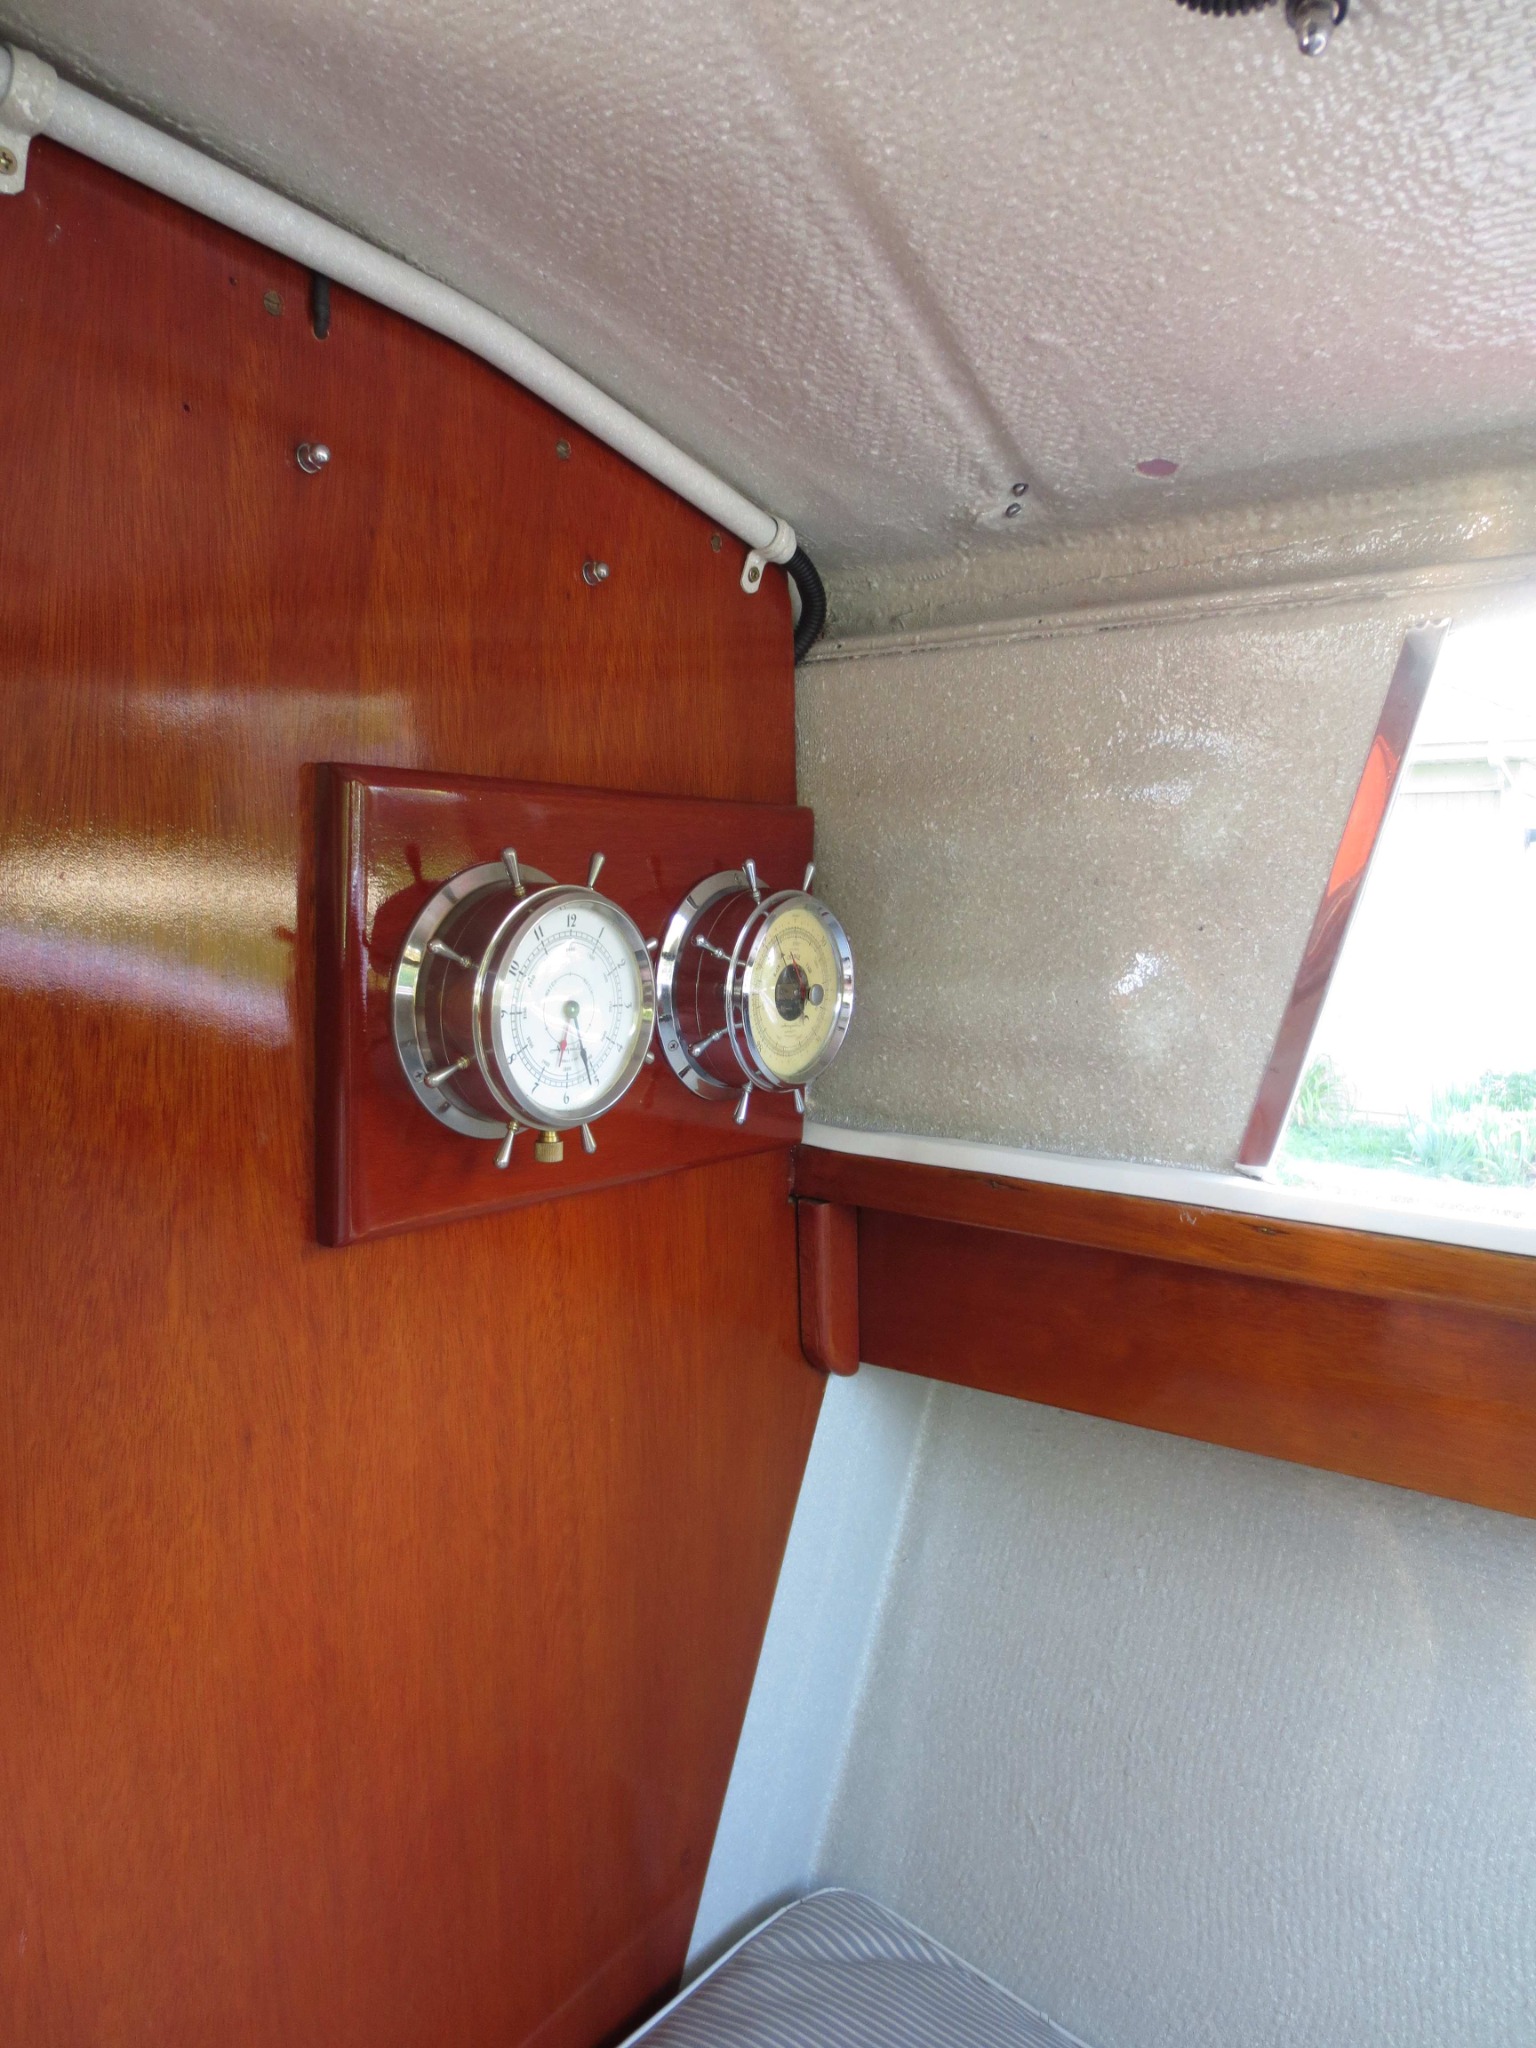
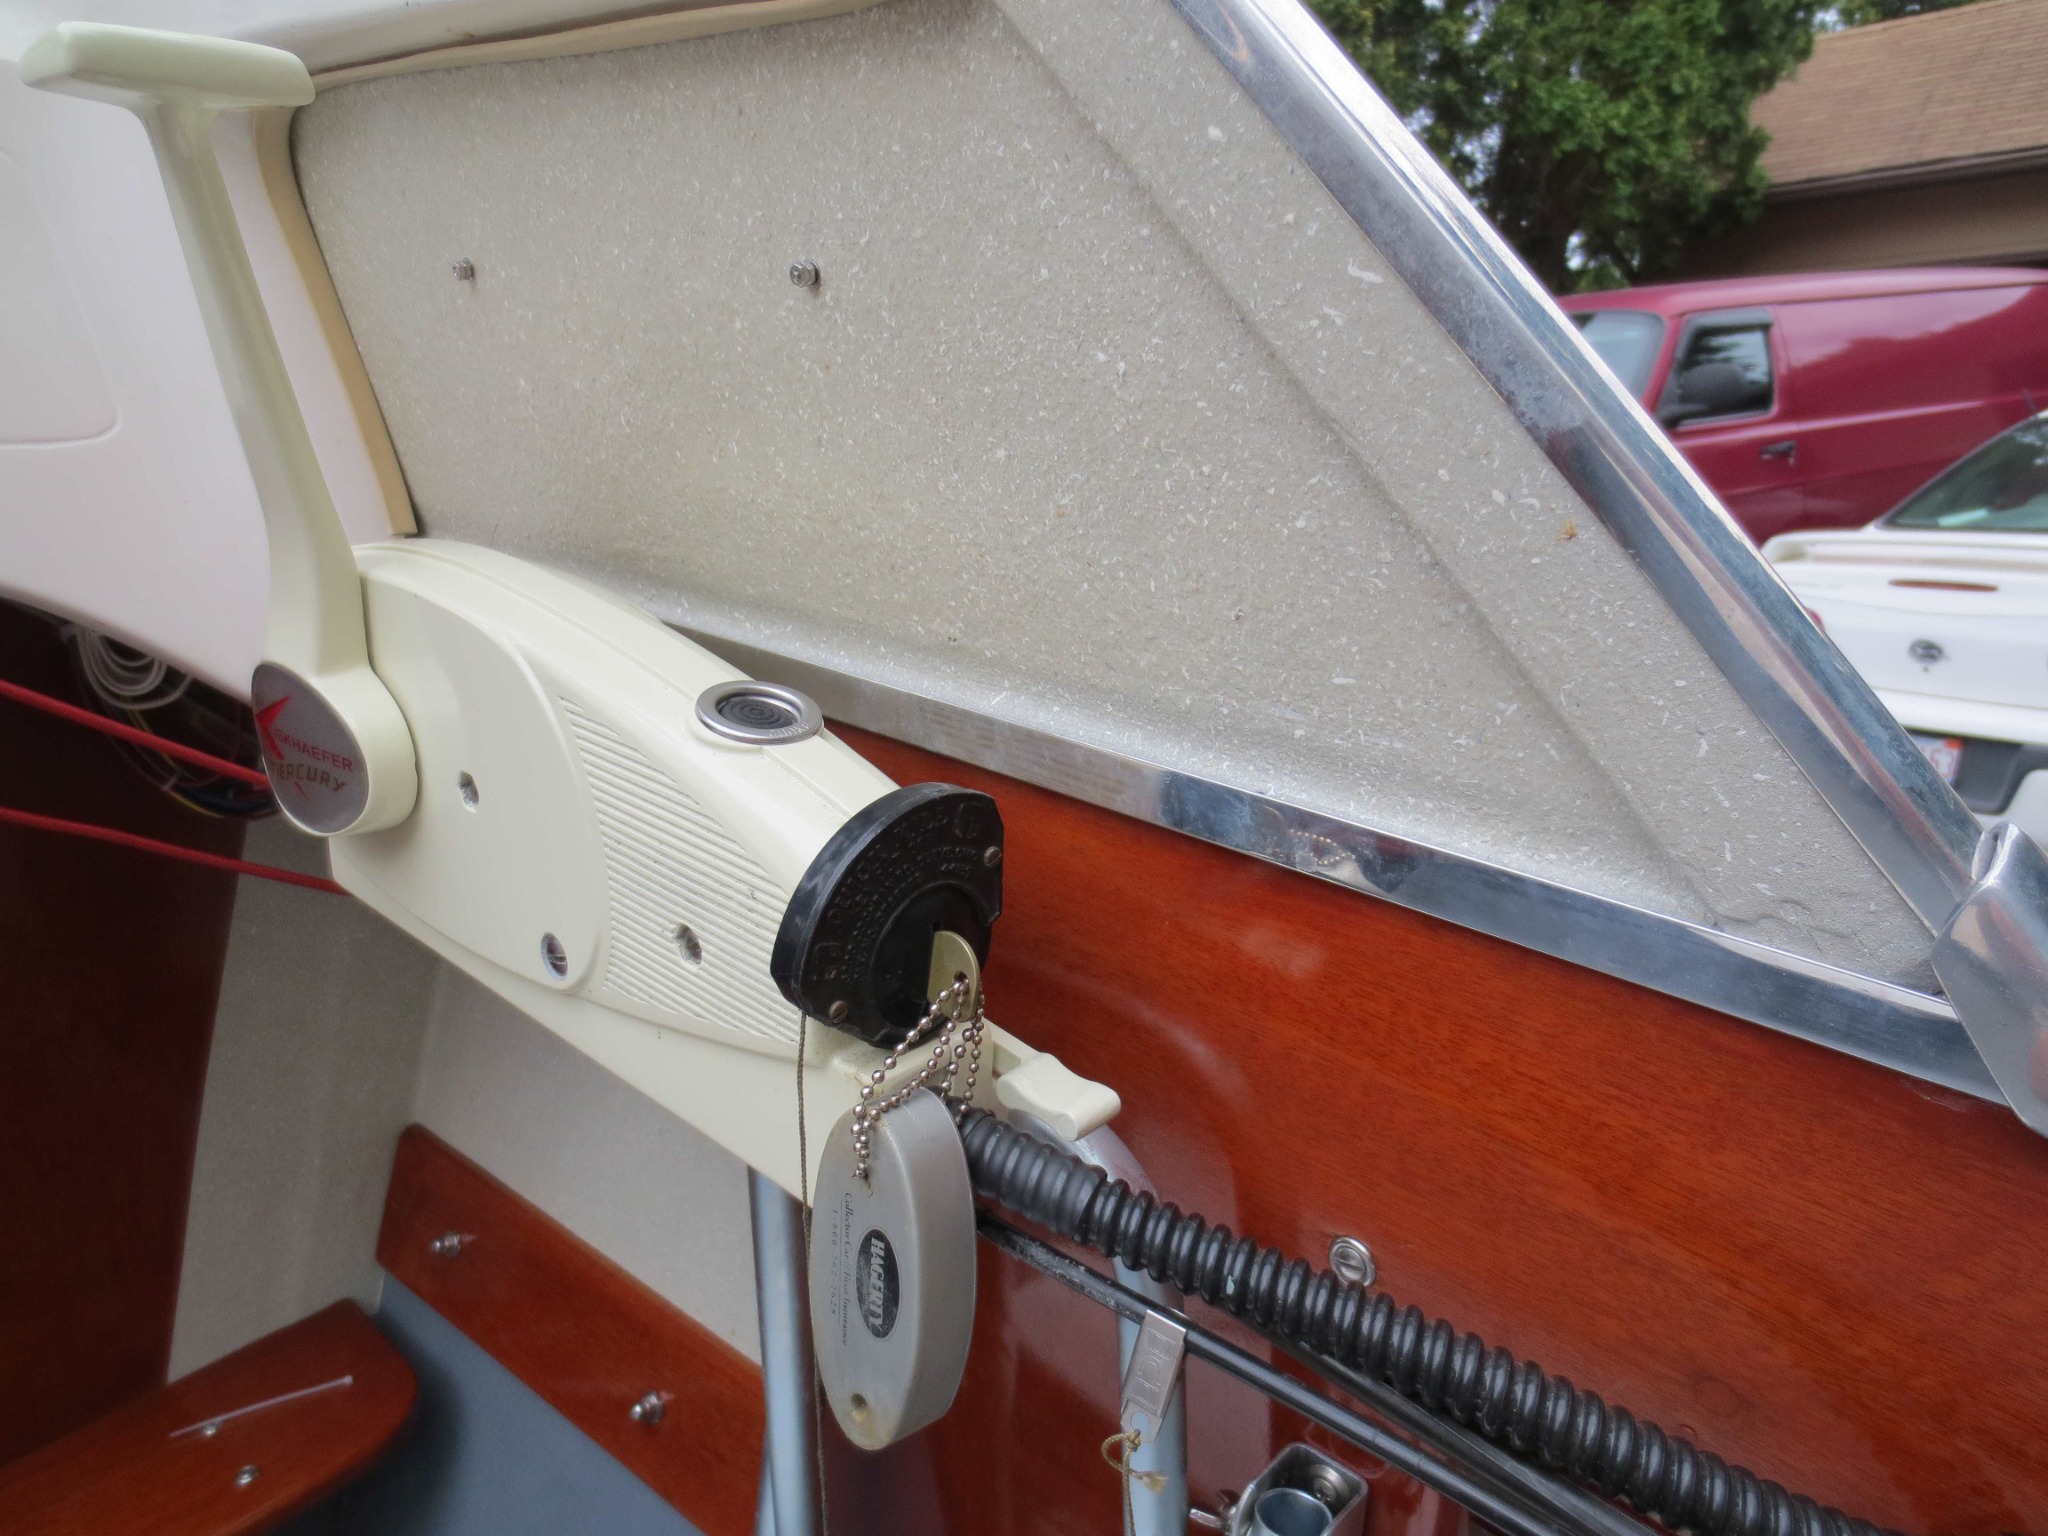
Terry- I'm done with all my winter painting, varnishing and polishing, ready to start reassembling my Seafair. Am I correct that the cabin roof is attached only by the following:
1. Bolts/screws through the over-dash header and the top edge of the main rear cabin bulkhead
2. Cabin windshield vertical frame members top and bottom screws
3. Lower-rear roof angled trim transition cap to gunwale.
Forgive my ignorance. My boat was a basket case with everything stripped off and in boxes. -Ricardo

Please Log in or Create an account to join the conversation.

1961 Glasspar Seafair Sedan build 7 months 3 weeks ago #148705

Wow! You’re really crankin.

Yeah, the 3 locations you listed is about it.
You can see #1 & 2 in pics that I posted previously.


They countersunk 4-wood screws on each bulkhead panel in the header. The grab handles also bolt though on top.


The 3-window posts forward used 4-sheetmetal screws each and you will need an offset screwdriver for the top screws.

#3 is apparent in your pic of the top flopped over. I refer to it as the side curtain and looks like maybe 4 or 5 screws were used there into the gunwale.


On my 59 they used at least six tiny screws and only in the cabin area. They finished it by covering it with Wefco rubber trim.


No screws outside the cabin as it sits in channel.


Post some pics of your progress.
Thanks,
Terry

Please Log in or Create an account to join the conversation.

  • Page:
  • 1
Time to create page: 0.513 seconds

Donate

Please consider supporting our efforts.

Glassified Ads

1967 23 ft powercat flybridge
( / Boats)

noimage
11-17-2024

Mercury outboard
( / Engines)

noimage
11-03-2024

Classic Mercury Outboard Motors
( / Engines)

Classic Mercury Outboard Motors
10-18-2024

FG Login

FiberGoogle

Who's Online

We have 10656 guests and one member online