Welcome, Guest
Username: Password: Remember me
  • Page:
  • 1

TOPIC: The art of sanding new gelcoat?!

The art of sanding new gelcoat?! 2 years 10 months ago #145986

Well,
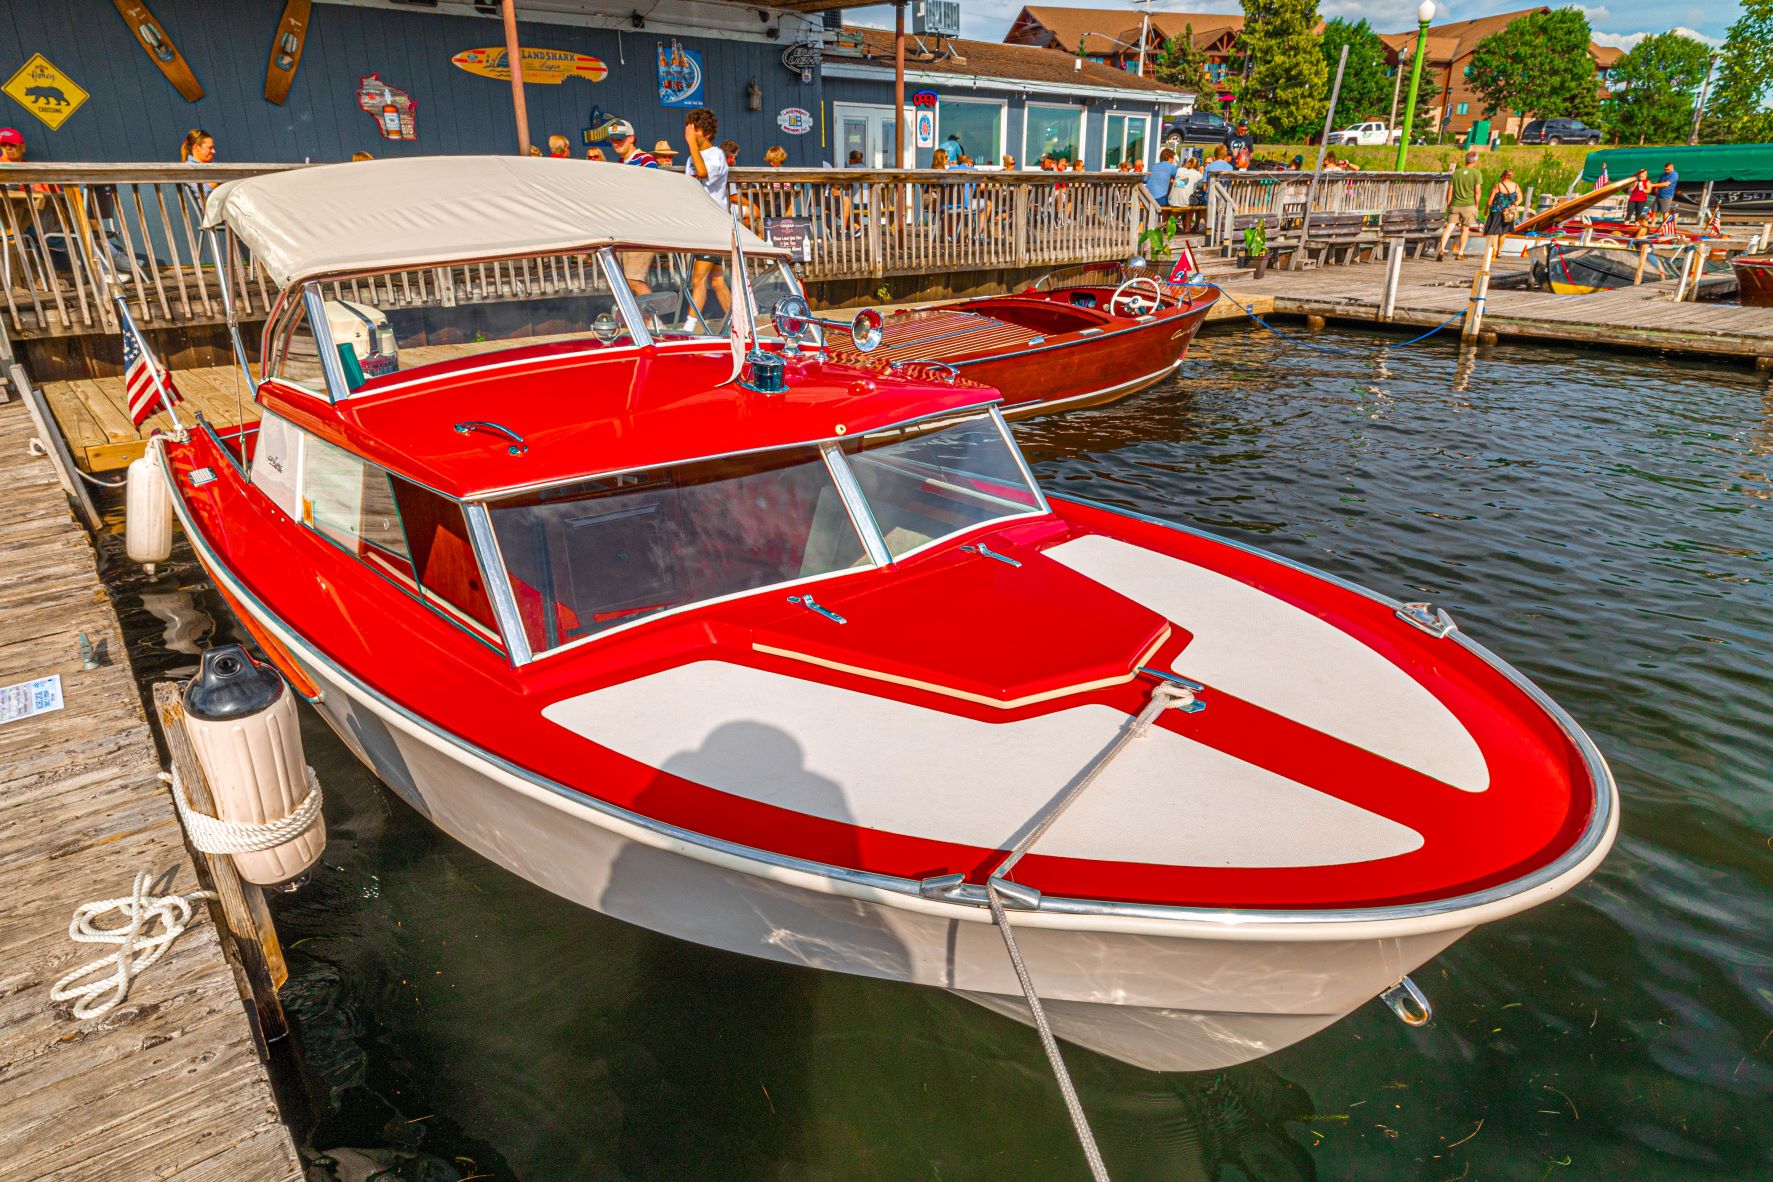
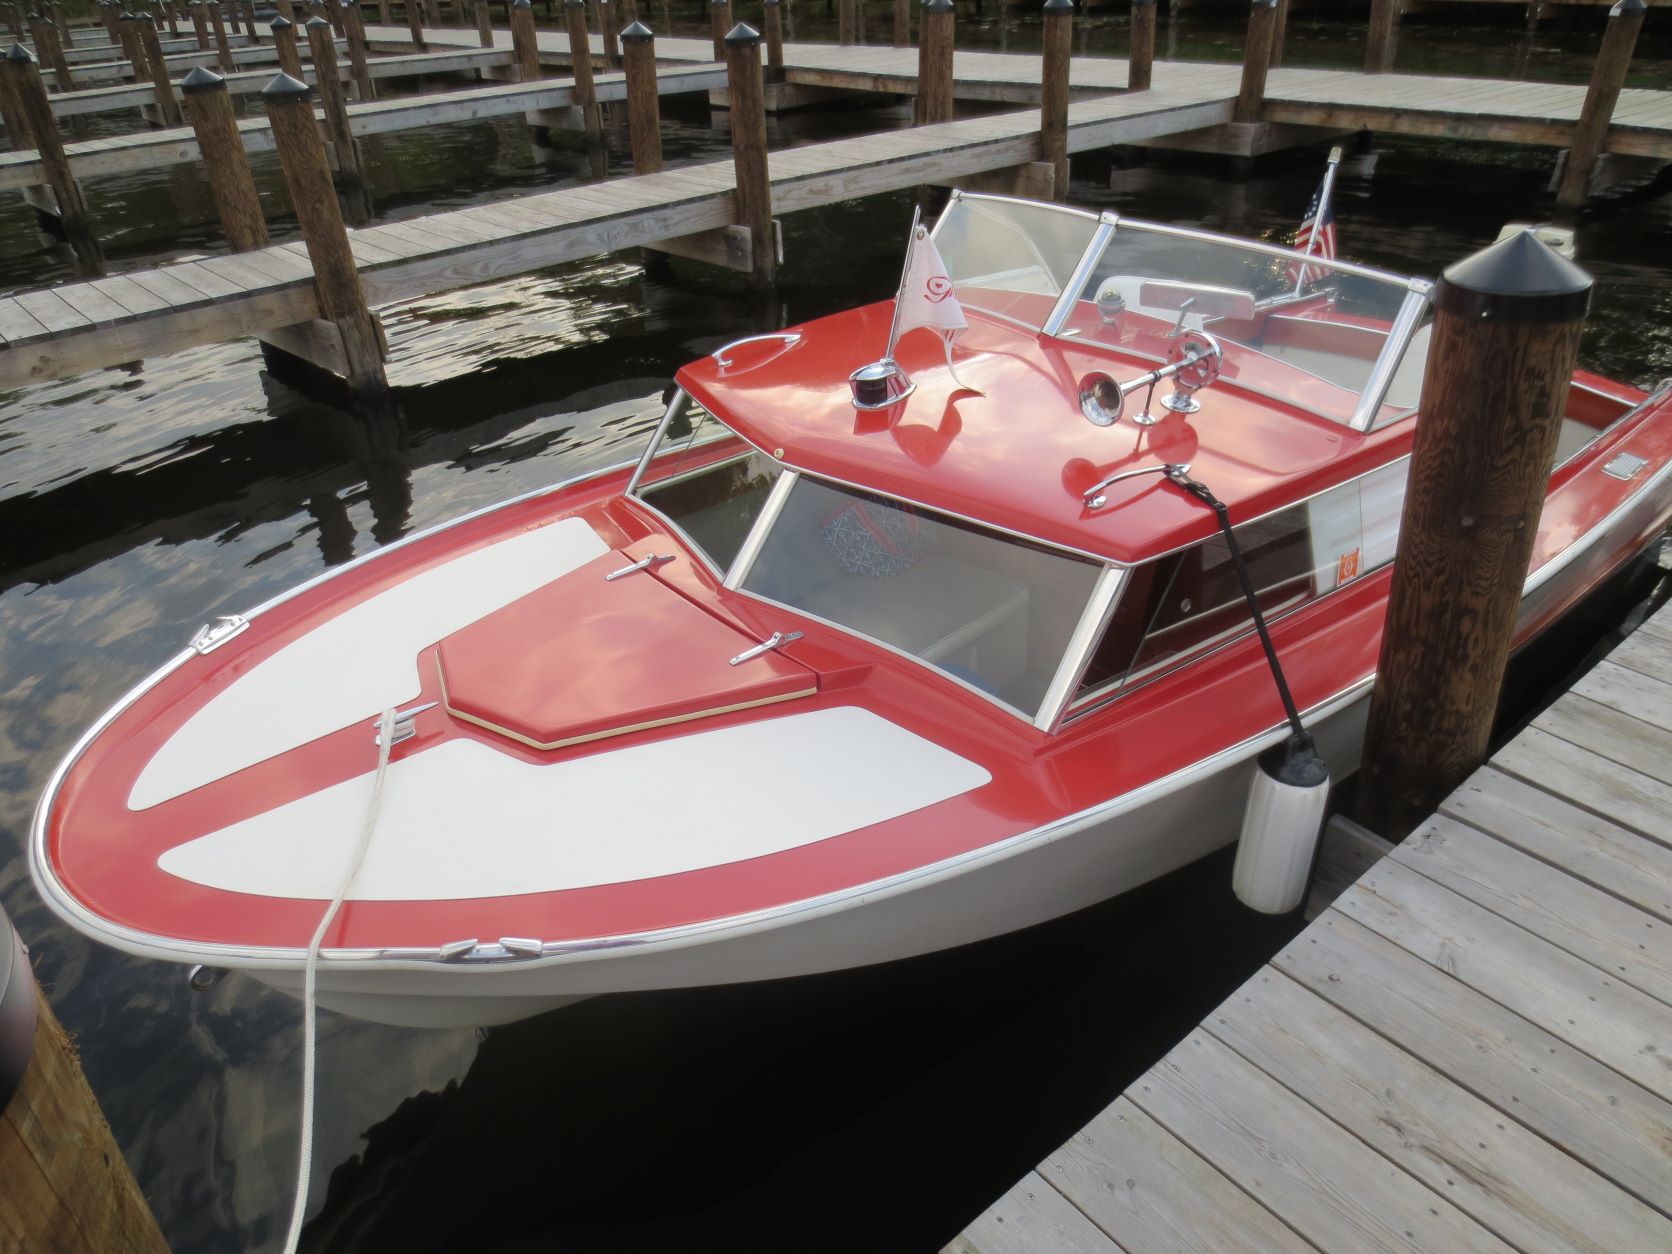
In the never ending restoration that is my 1959 Seafair sedan, I decided to re-gelcoat the hull. In order to do this i needed to create a dry, warm space in our PNW winter. I had a 3 wall boat shed that suddenly got a 4th wall(temporary as the trailer tongue doesn't fit). I insulated, and put black plastic over the dirt floor(another project on the list). Ive been able to keep is around 70 and 45% humidity. The first time I gel-coated the hull, I did it outside with a cheap harbor freight gun and a small air compressor. It kind of worked. As any hobbyist knows, there is a complex relationship between the acquisition of tools and the actual success of the job. I didn't dive all the way in, but I got a decent gun with a 2.3mm tip, a 30G compressor that can keep the gun going and a decent space to do the work. This time I tried the Fiberglast gelcoat and duratec gloss additive. I did 4 coats, with the first 3 being 25% duratec, and the last being 50/50. It sprayed on pretty well, and apart from a couple of runs that i didn't see initially, I am happy with the application. The tech I spoke to said you didn't need to sand, but I'm assuming he thought he was speaking to someone who actually knew what he was doing.

I have an orbital sander with a speed control. I have a 5" and a 3" base, and have tons of wet/dry discs in both sizes from 320 to 1600G. I sand using a spray bottle and keeping the RPM down. I typically try to knock down that orange peel with 320

I've had ok results getting it buffed out, but often I end up sanding through in points, even when I'm really careful. I'm hoping that this coating is more thorough(around 18-20mm). I'm thinking of getting some of that 3m 1/8" tape for the edges, but would love any other tips for how to actually do this without continually re-spraying!
Attachments:

Please Log in or Create an account to join the conversation.

The art of sanding new gelcoat?! 2 years 10 months ago #145989

Hello Nwtexan and welcome to Fiberglassics.

Well, never ending is a great choice of words.


It’s been a few years since I gel coated the top deck on my 59 Sedan but what you described is the routine. I too used the Duratec and got a lot of coaching from members here. They got me through it and for that I am grateful.

I was told to put on lotsa gel and then wet sand it smooth. Rinse and repeat if necessary.


Started small with the hatch cover and thought piece of cake.


320 grit is about right to start knocking down the orange peel but I did all the wet sanding by hand using rubber blocks.


And not sanding through high spots and edges is the trick.


The harbor freight guns ported for LPHV worked well.


Ambient temps and humidity directly affect results. Cool and dry air days is best time to spray and a compressed air dryer or a desiccant dryer helps too.


Tons lot of work for sure but she turned out pretty and the gel coat really accentuates that plastic look.

Please share more fotos of your Glasspar.
Thanks,
Terry

Please Log in or Create an account to join the conversation.

The art of sanding new gelcoat?! 2 years 10 months ago #145990

Terry.

Well, your boat has been a huge inspiration to me! I posted a bunch about my restoration at the old Glasspar forum. Some of my pics got lost in one of my comps dying.
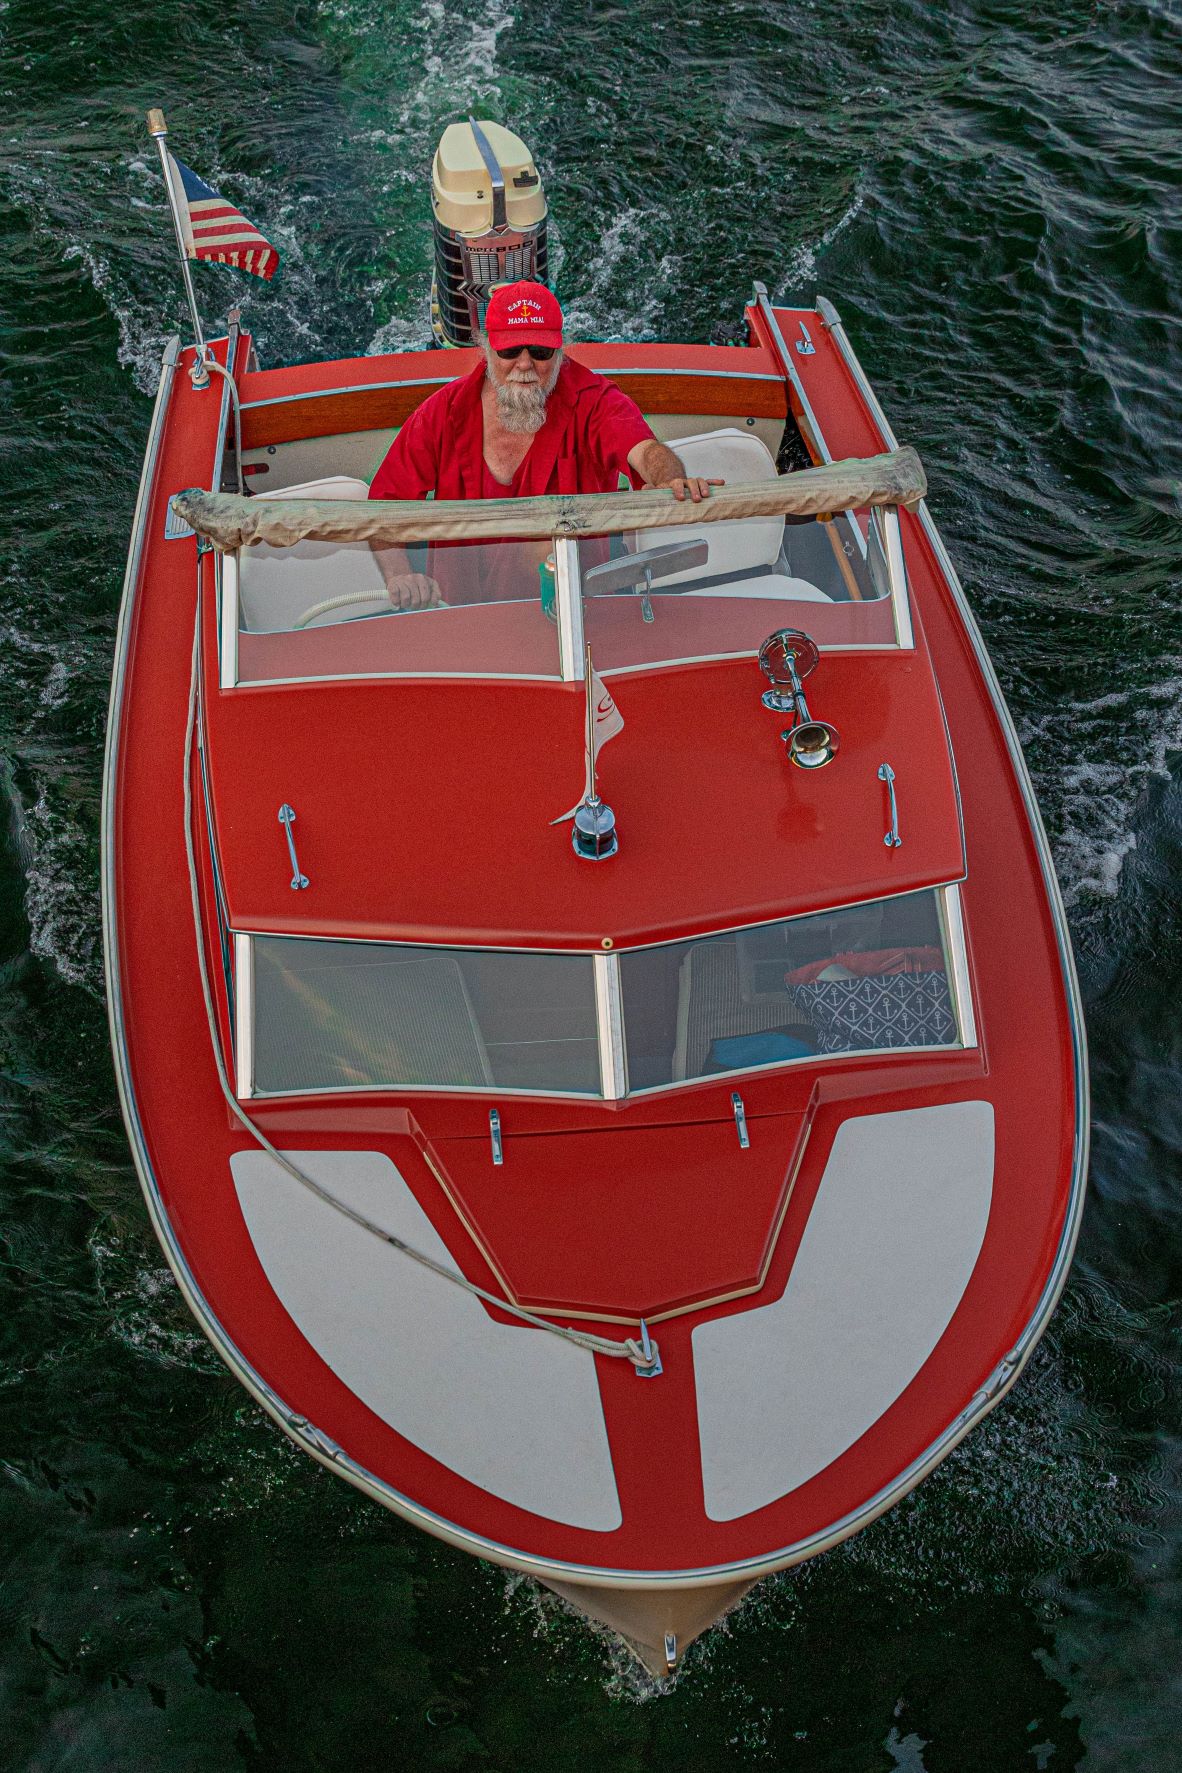
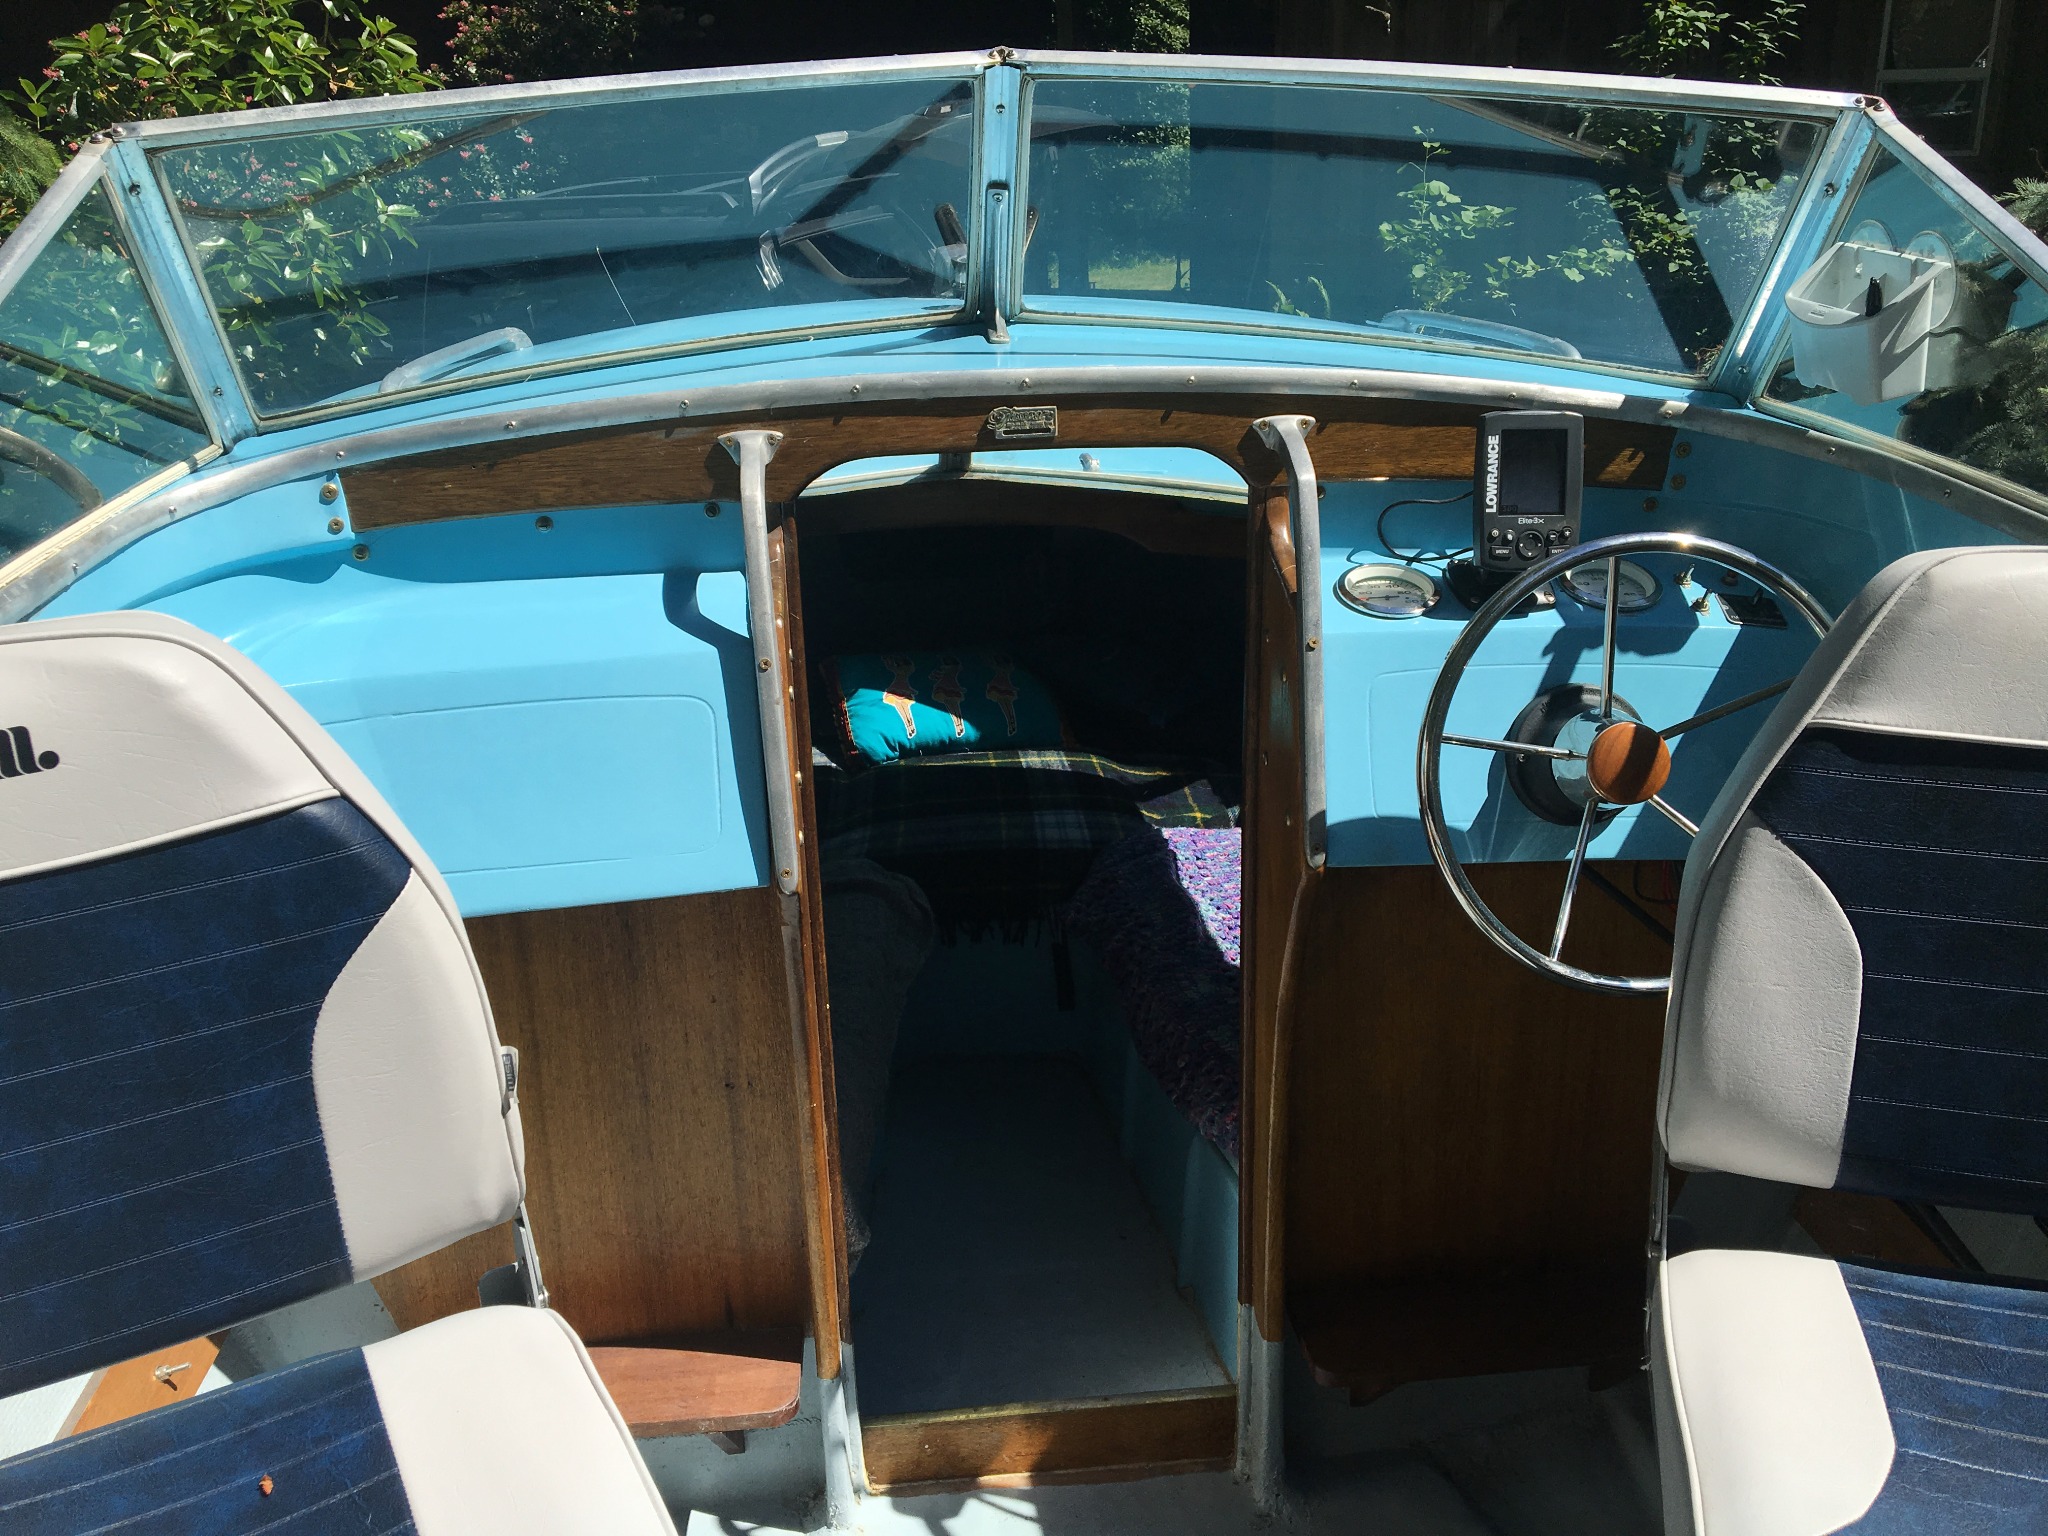
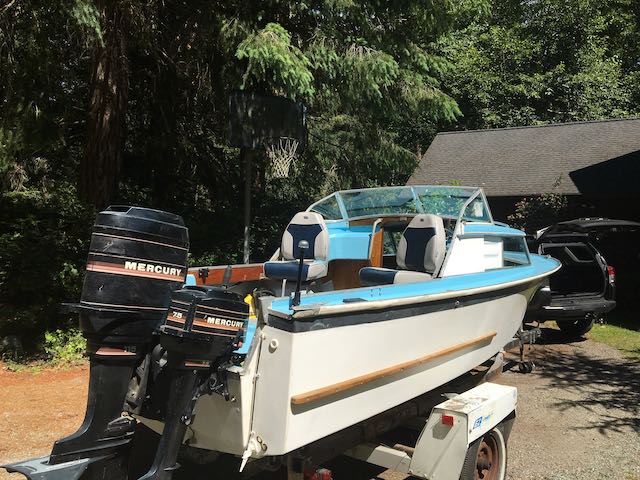
I basically took a pretty bombed out 59 Seafair and rebuilt the stringers, deck, and transom. I painted the deck, gelcoated the hull, scrapped together a windshield. This restoration was about 6 years ago, and we have been having a ton of fun running around the Puget sound since! We mostly use it for short jaunts, but I have also used it as a fishing boat. I currently have an '88 Merc 115 TOP, but am looking to find something that gets a bit better gas mileage. We will see. Really don't have the money to get a new motor, and it gets tricky trying to find a lightly used one.

Over the years I have done slight improvements. I switched out the side saddle tanks for a single poly 19G that fits behind the rear seats. I moved my dual battery system to the cuddy area where the toilet originally sat. I made a headliner and added a couple of cabin lights.(Not totally happy with the headliner mounting-trying to use the ribs to attach it, but again, trying to balance time and hobbies)

When I initially did the restore, I didn't get my gunnel dimensions right, so a couple of pieces of trim didn't fit correctly. That was what started this round. I got some 1/2". mahogany to fit properly. I will begin installing that once I am happy with the hull. I also need to figure out how to salvage the exterior hull boards. I really don't want to have to make new ones, but these guys are getting a bit haggard. For now thinking of using mahogany dust with some type of resin to build up the low spots.

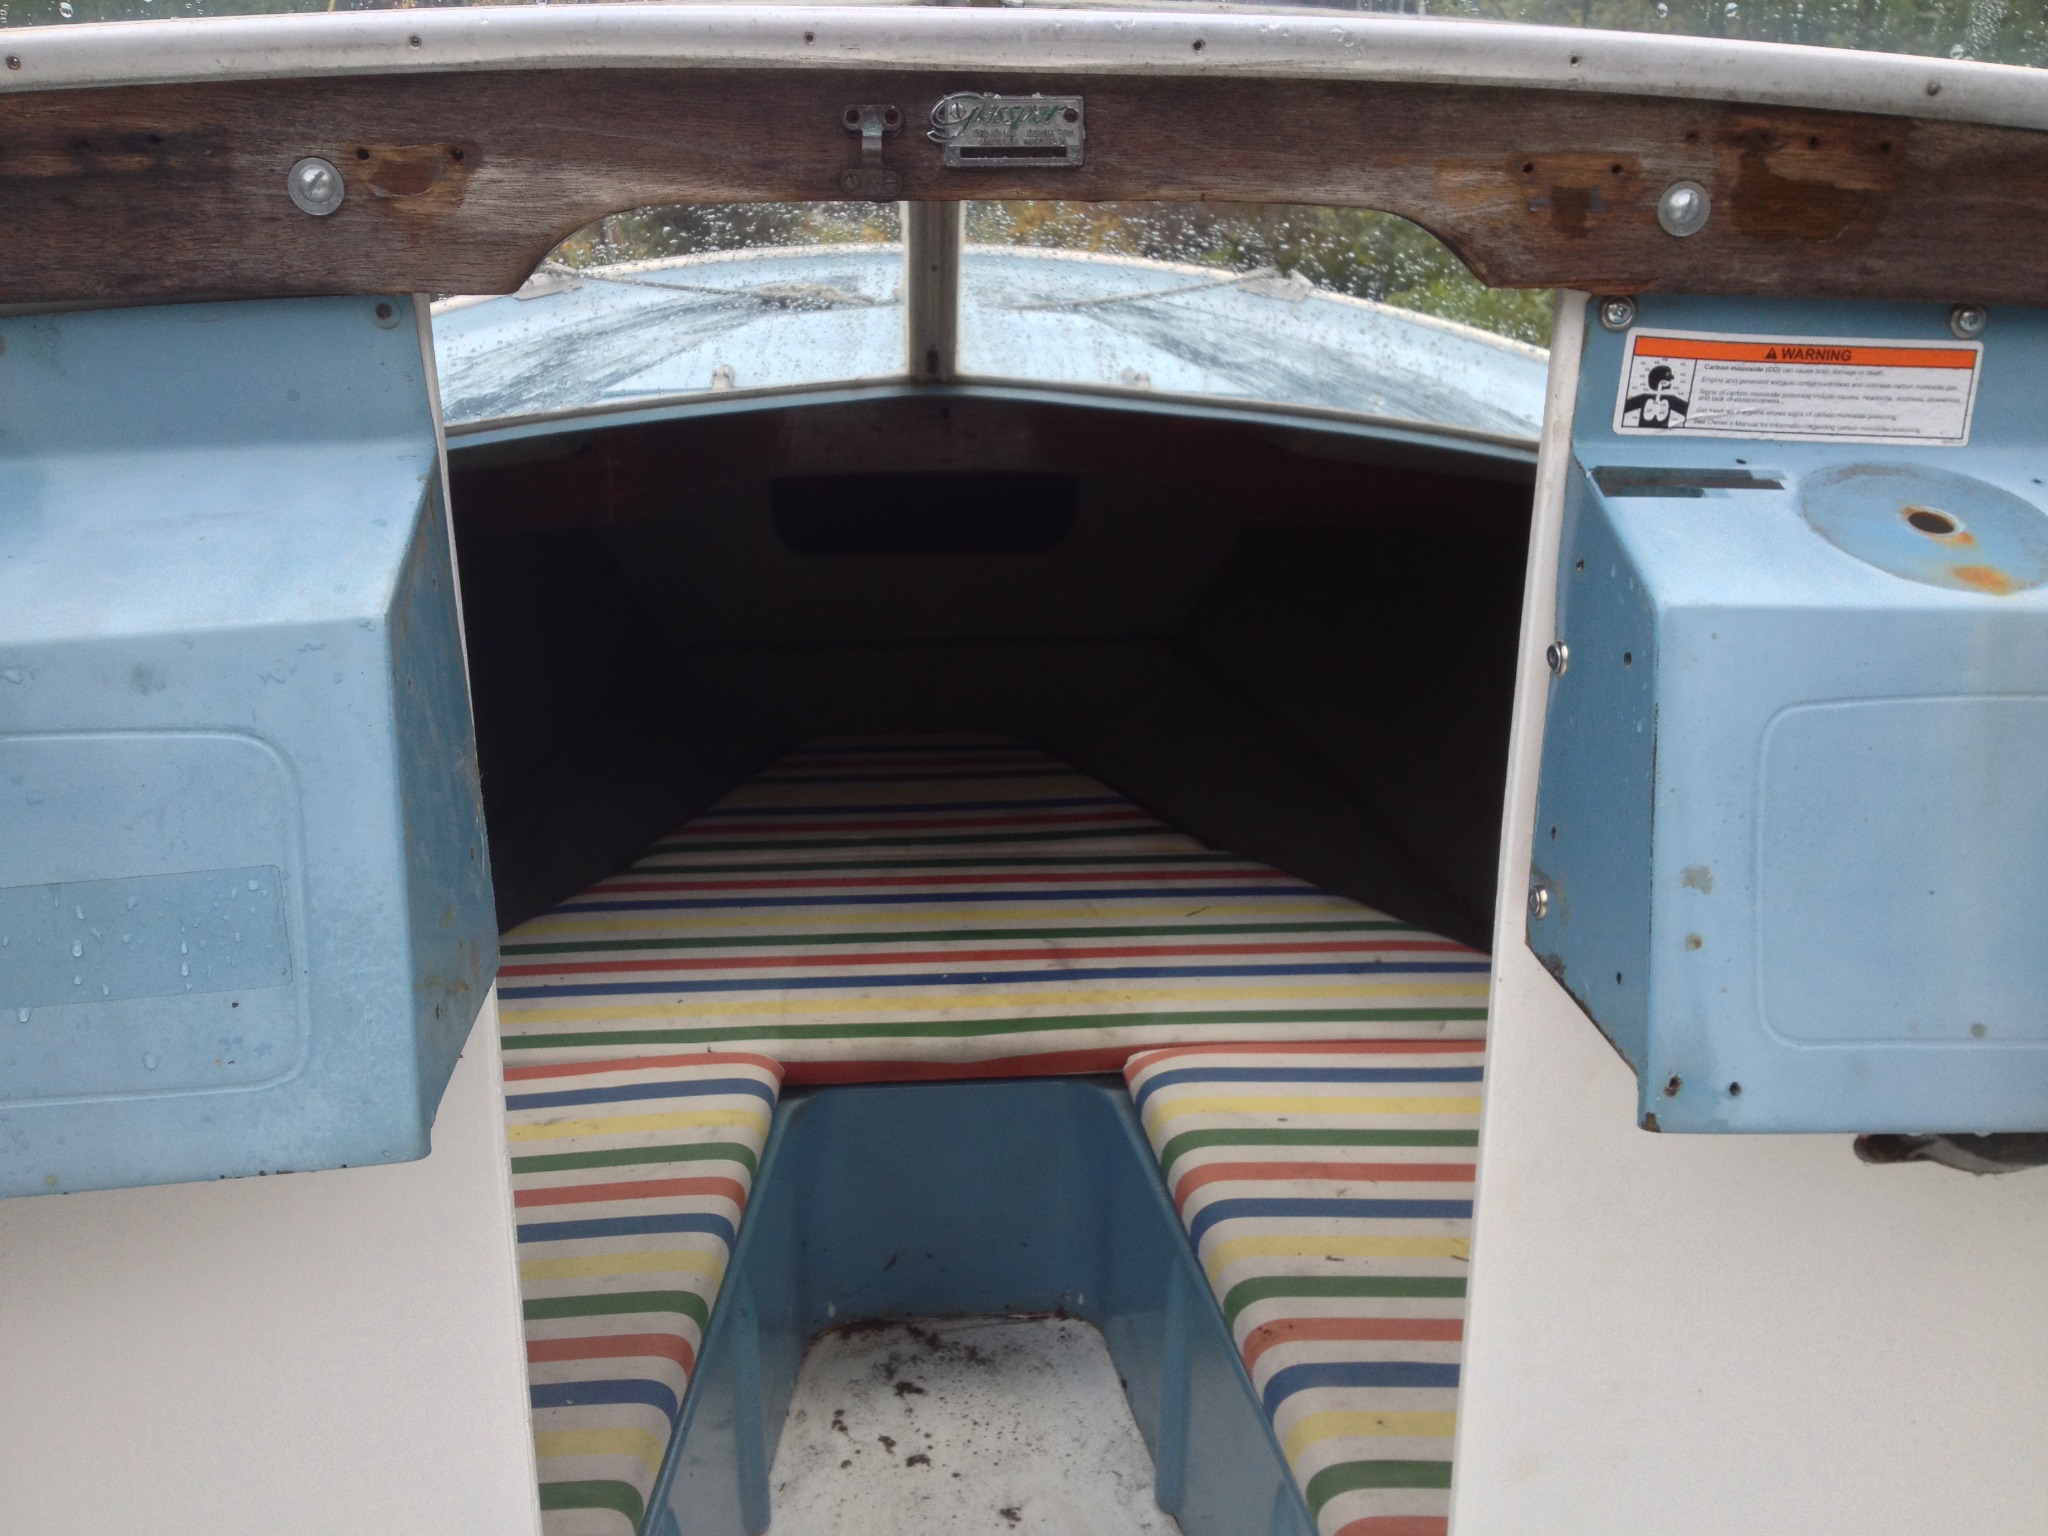
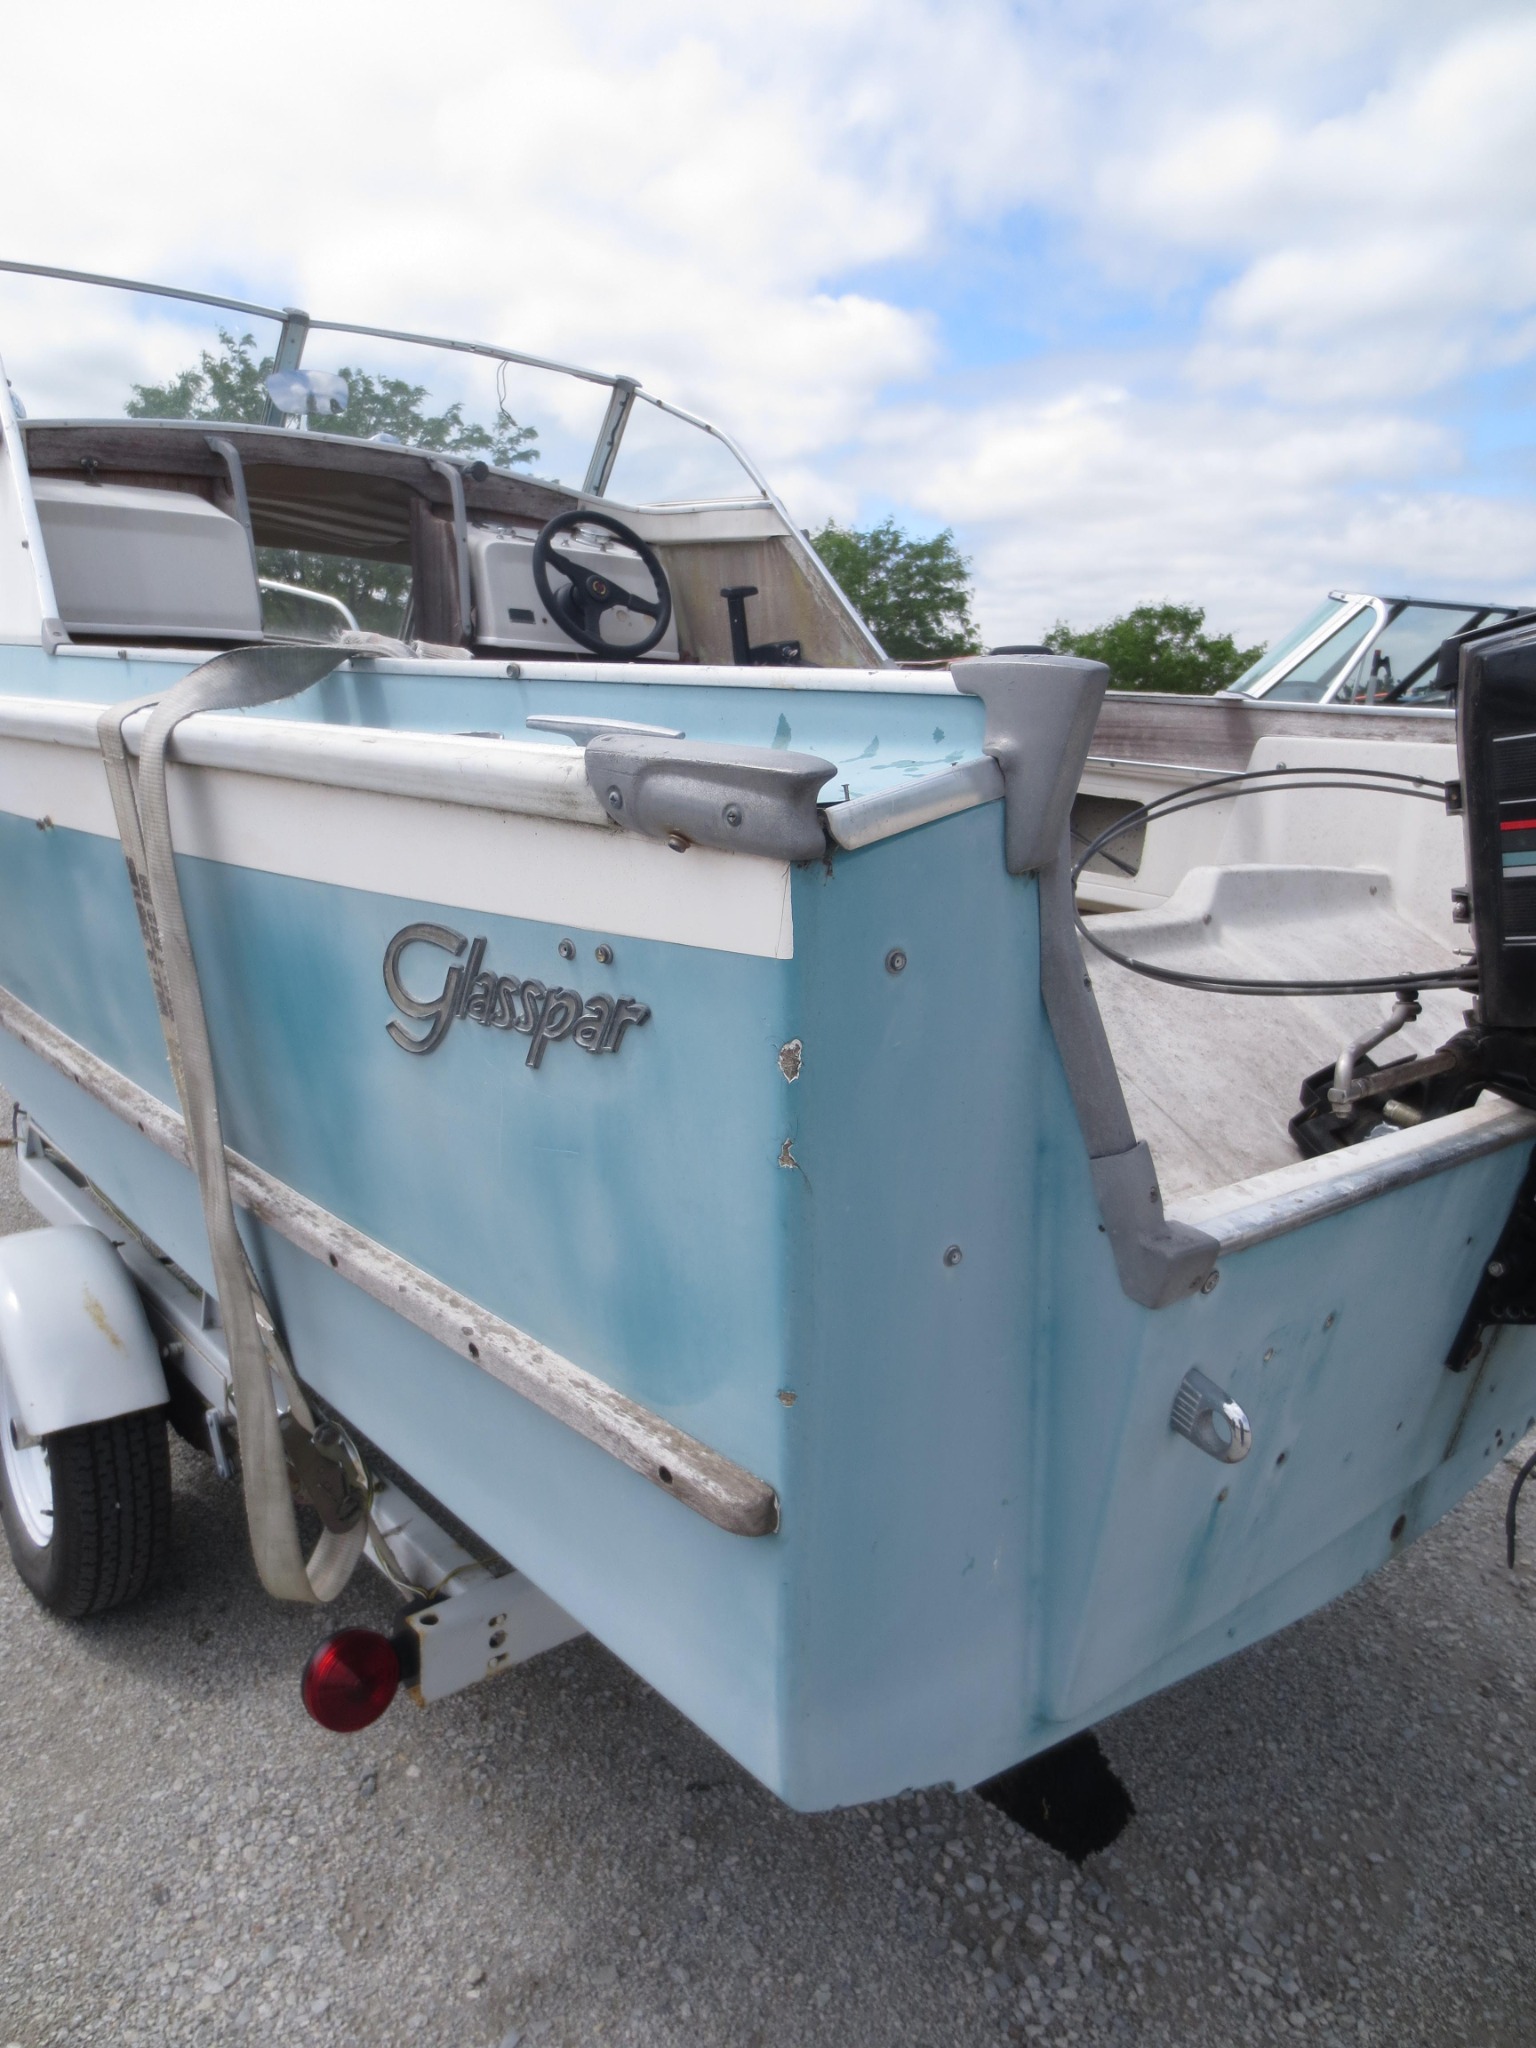
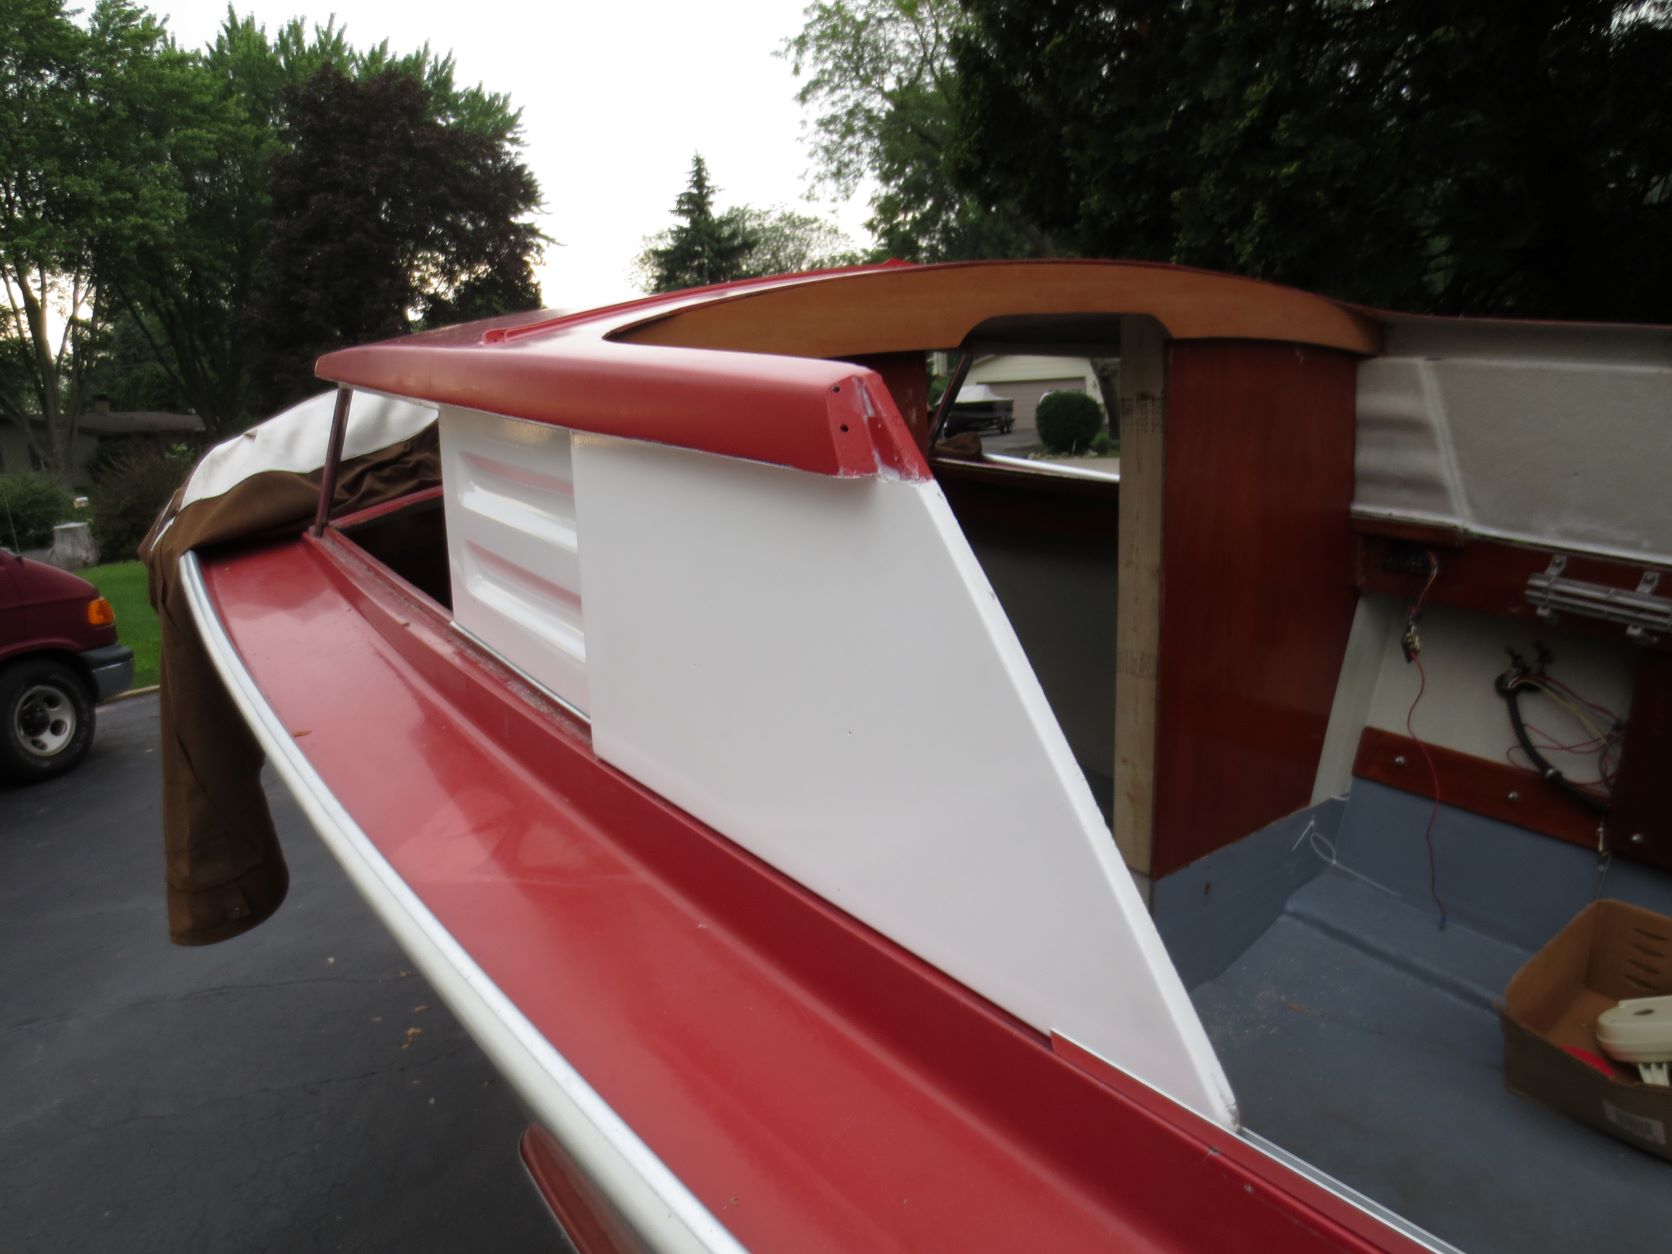
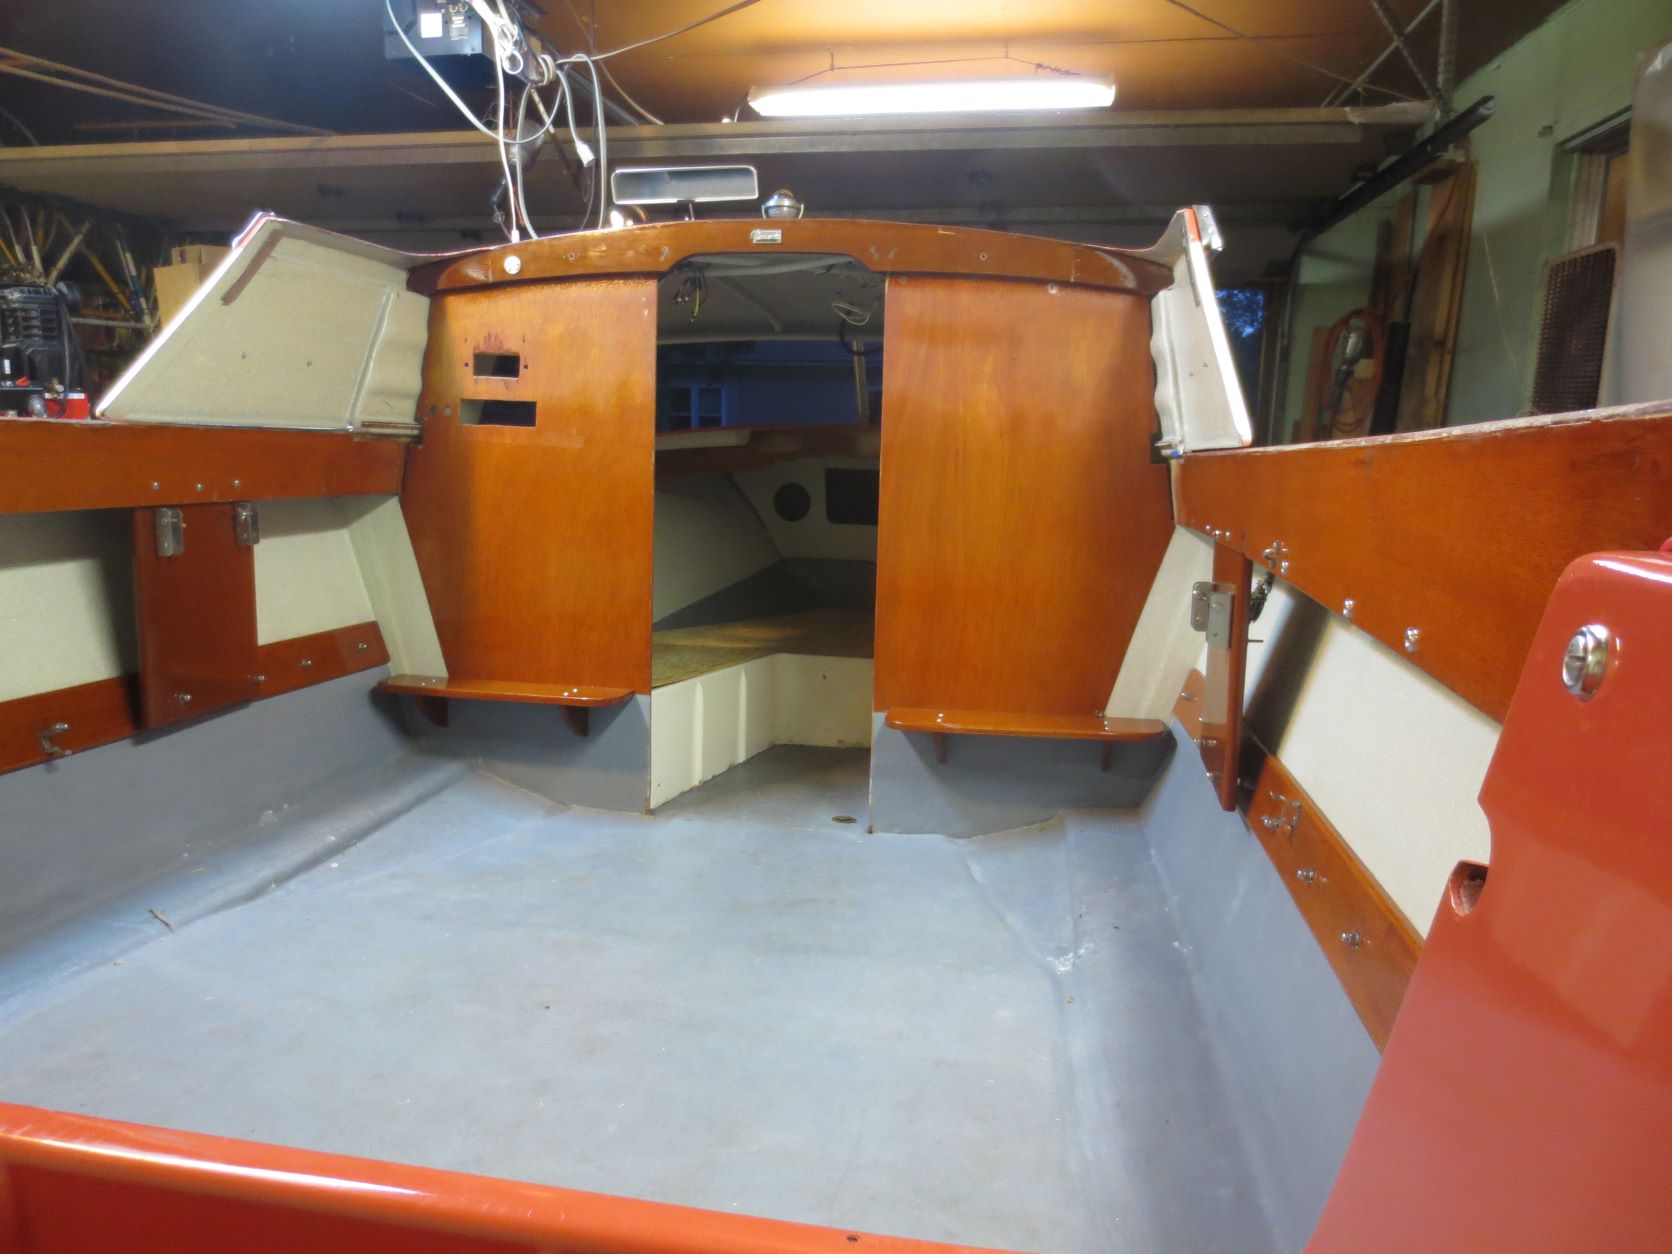
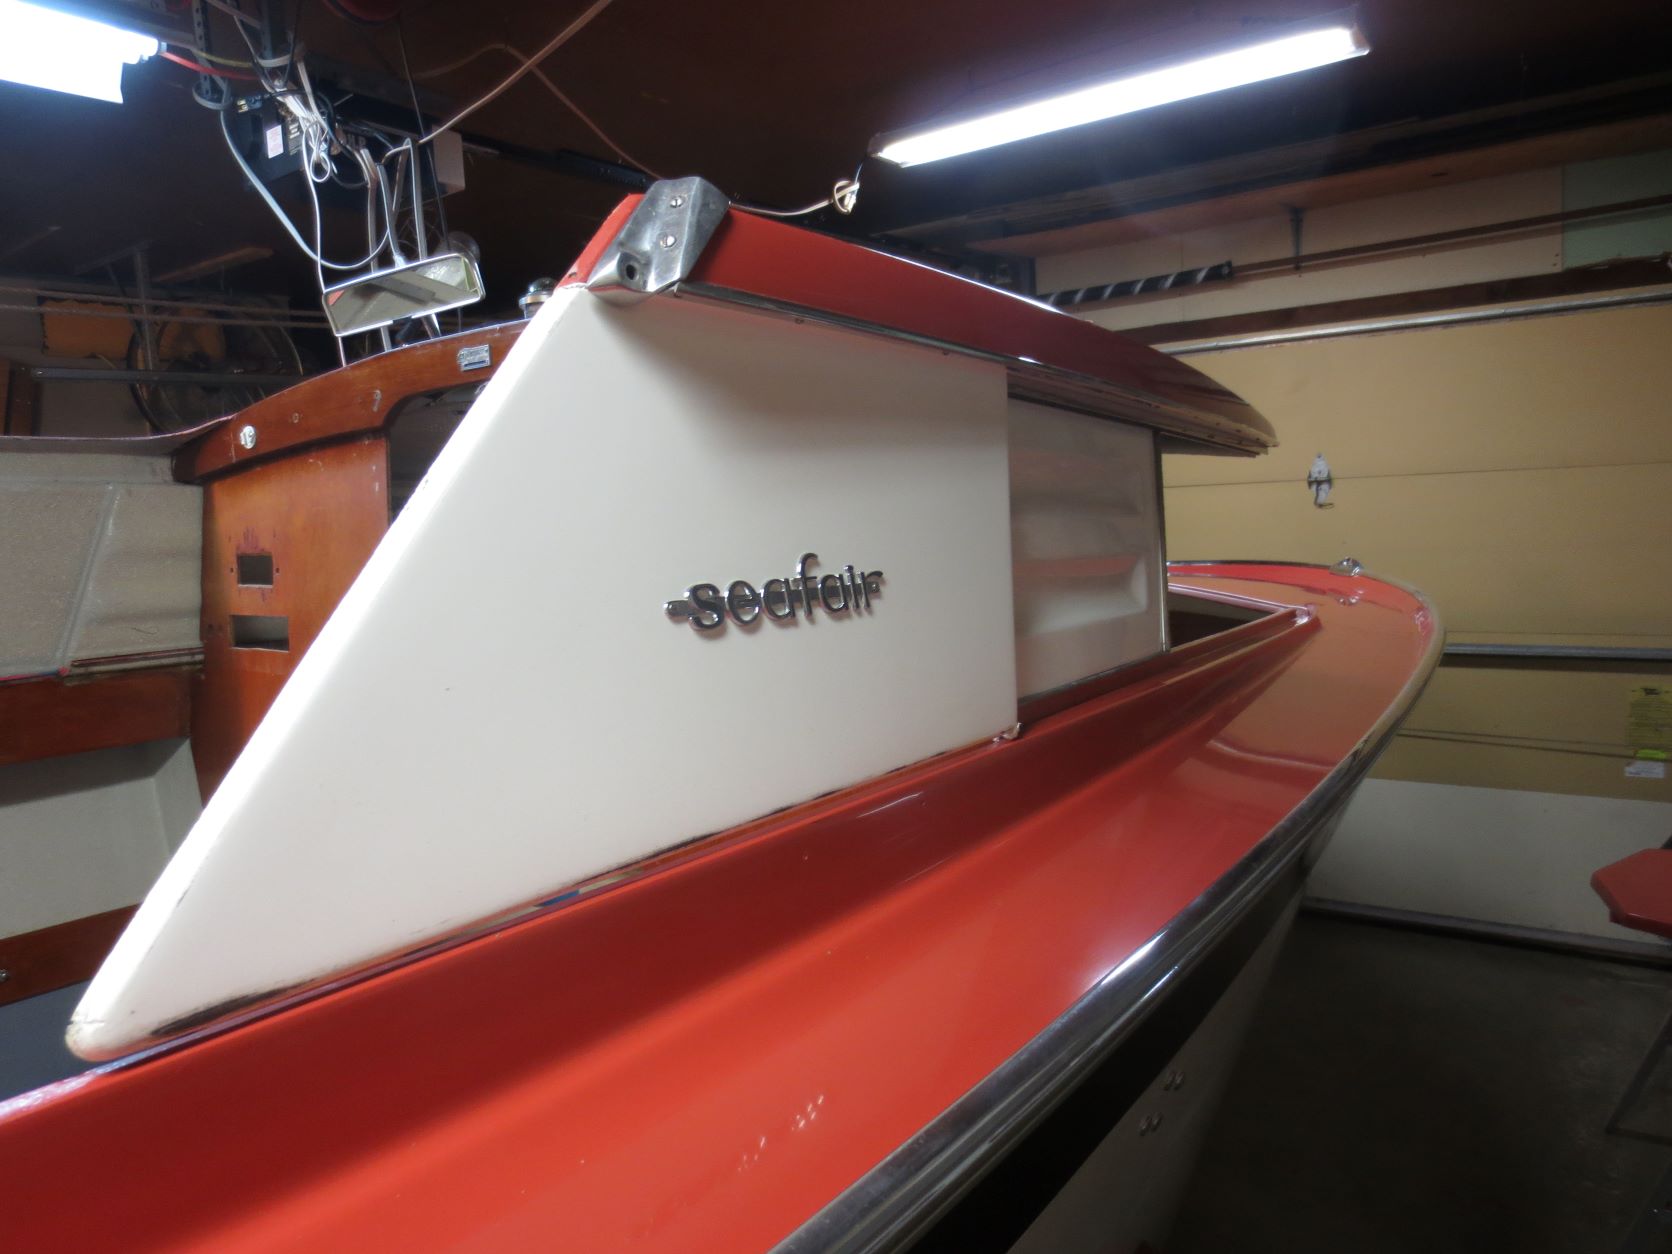
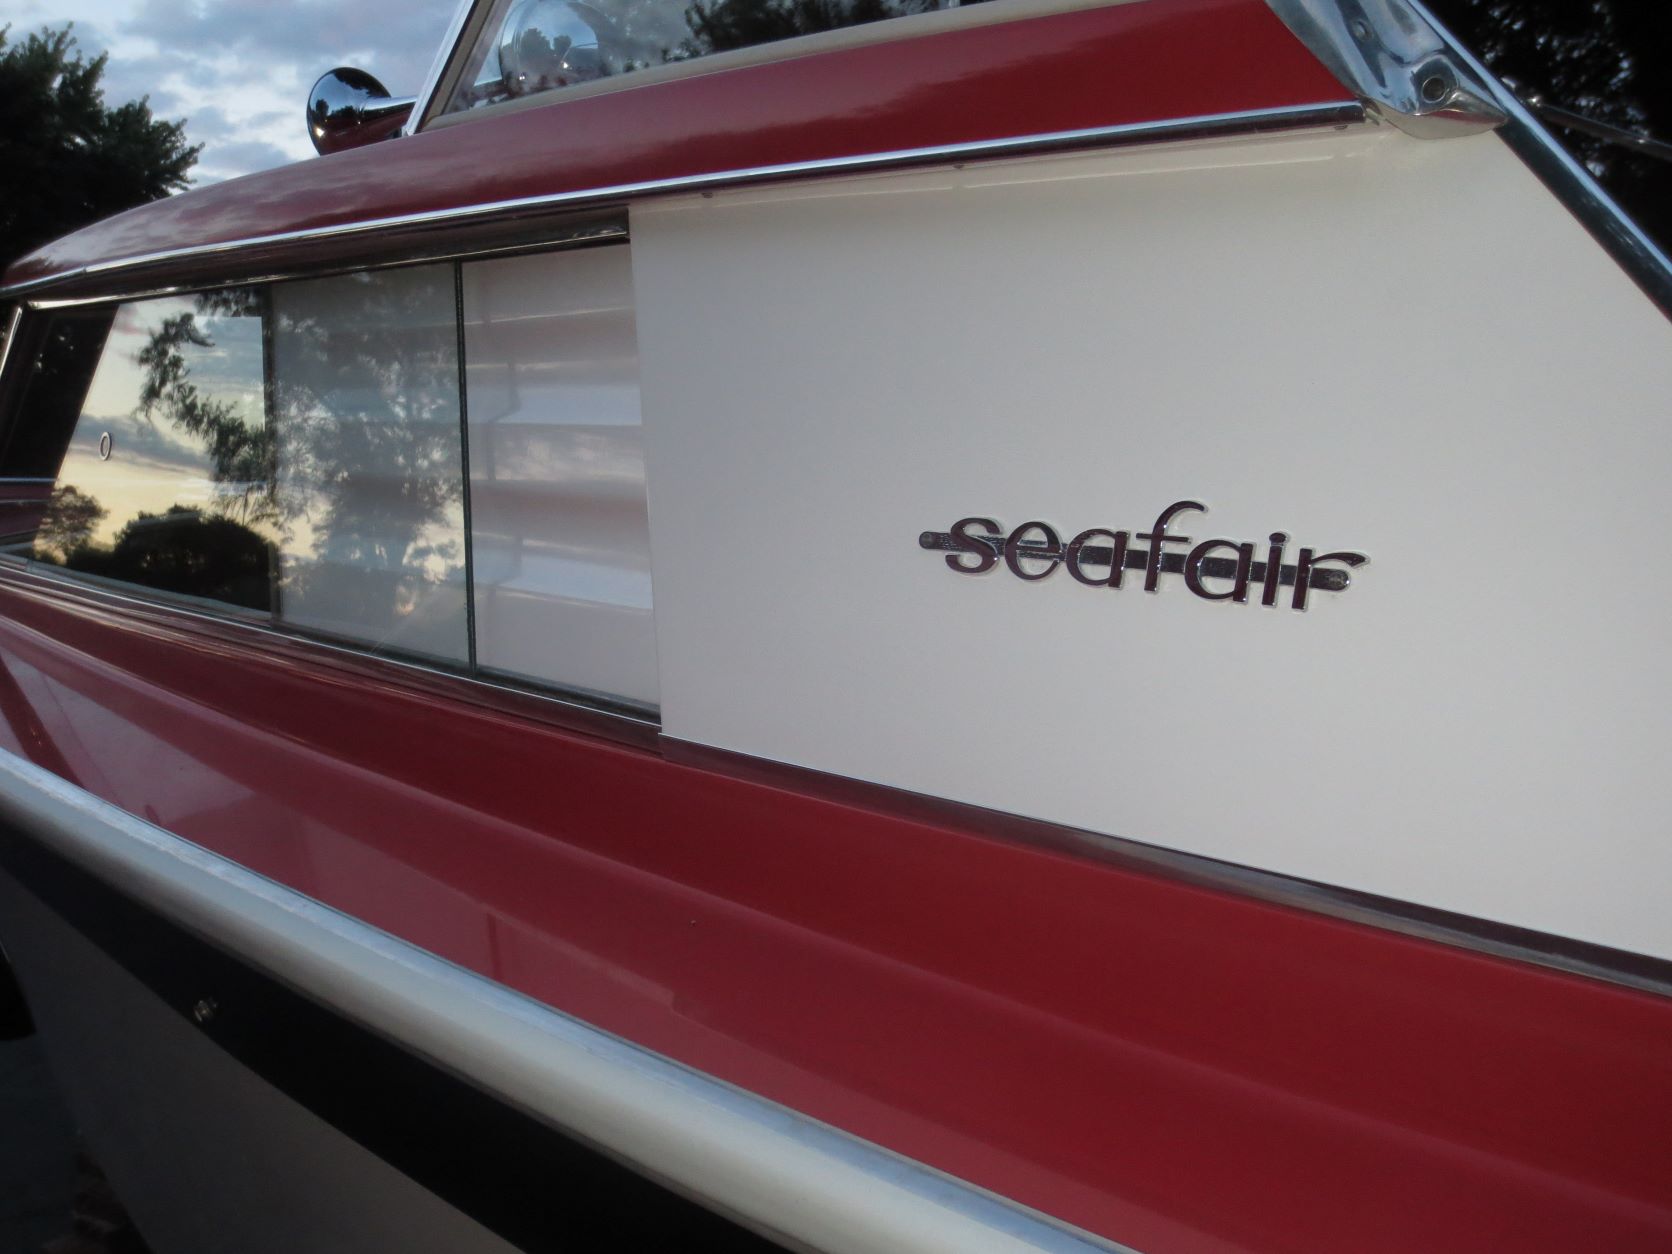
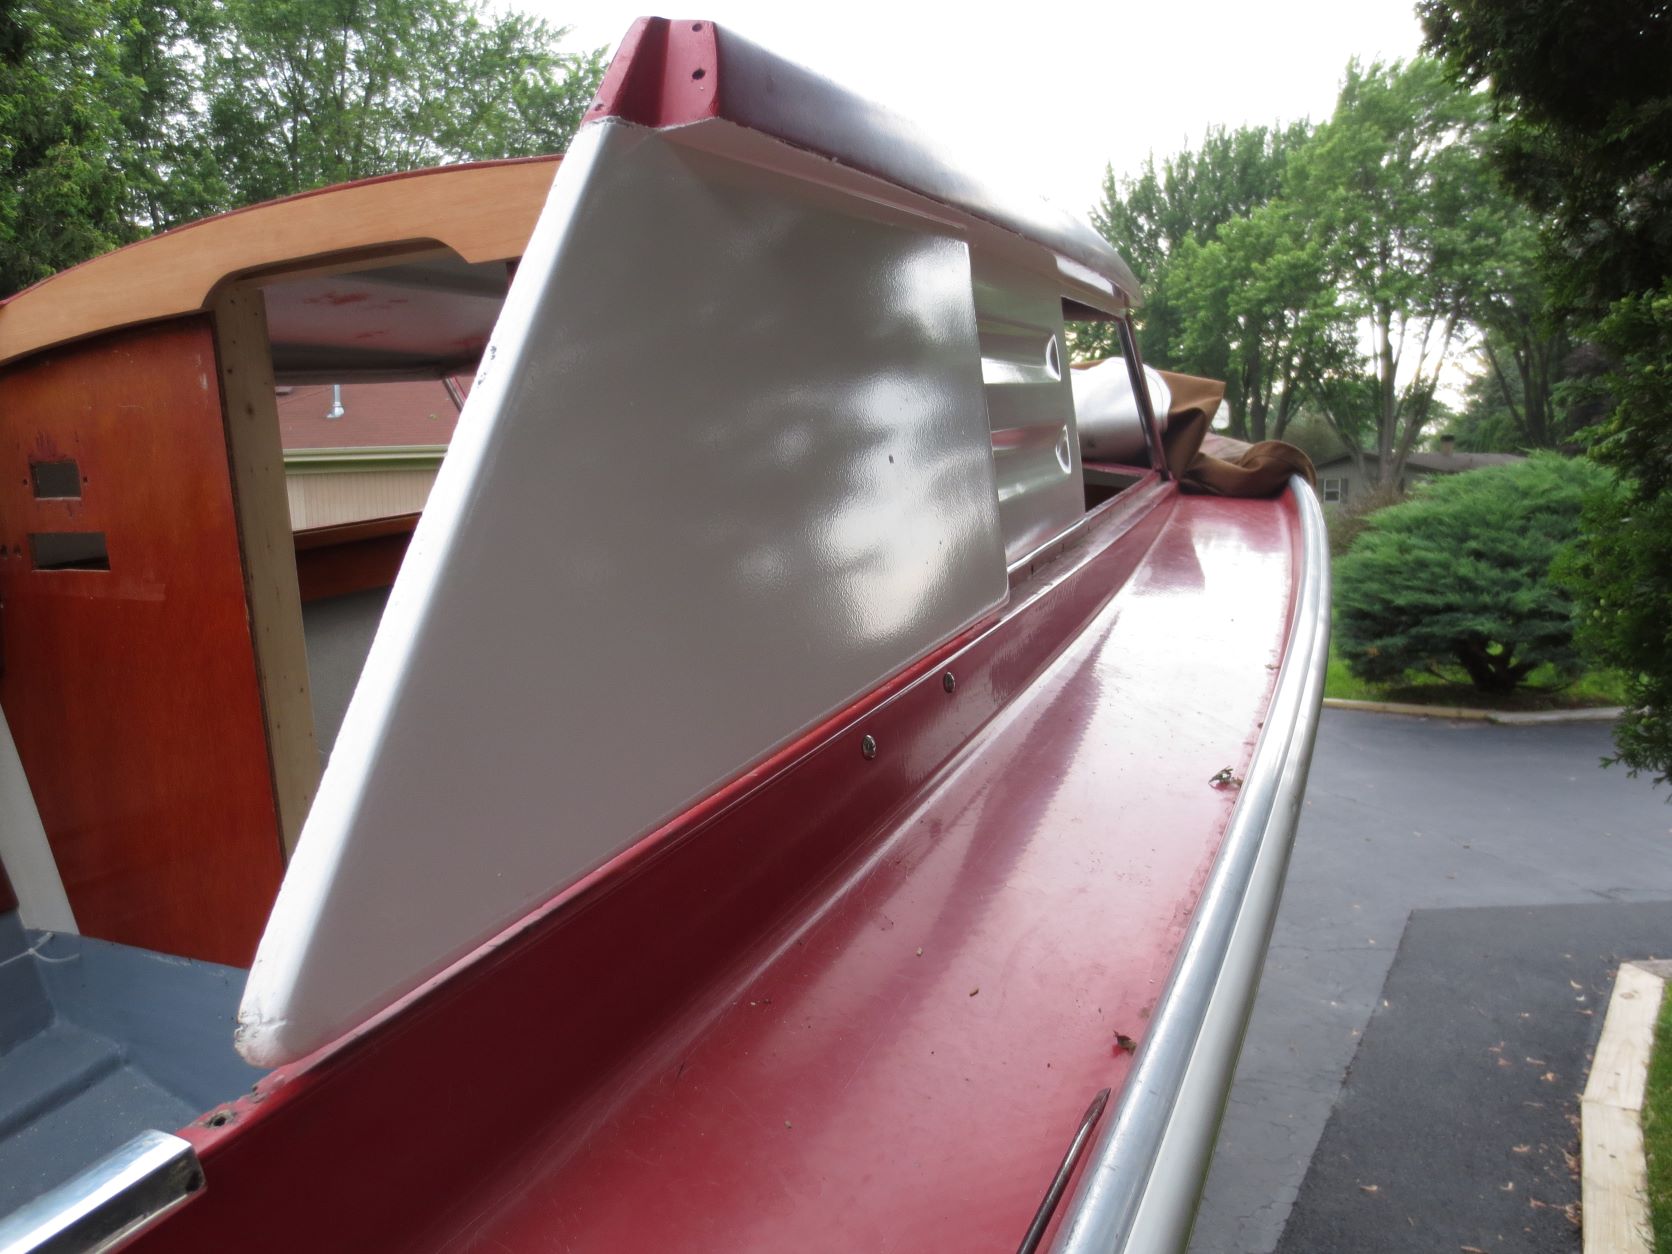
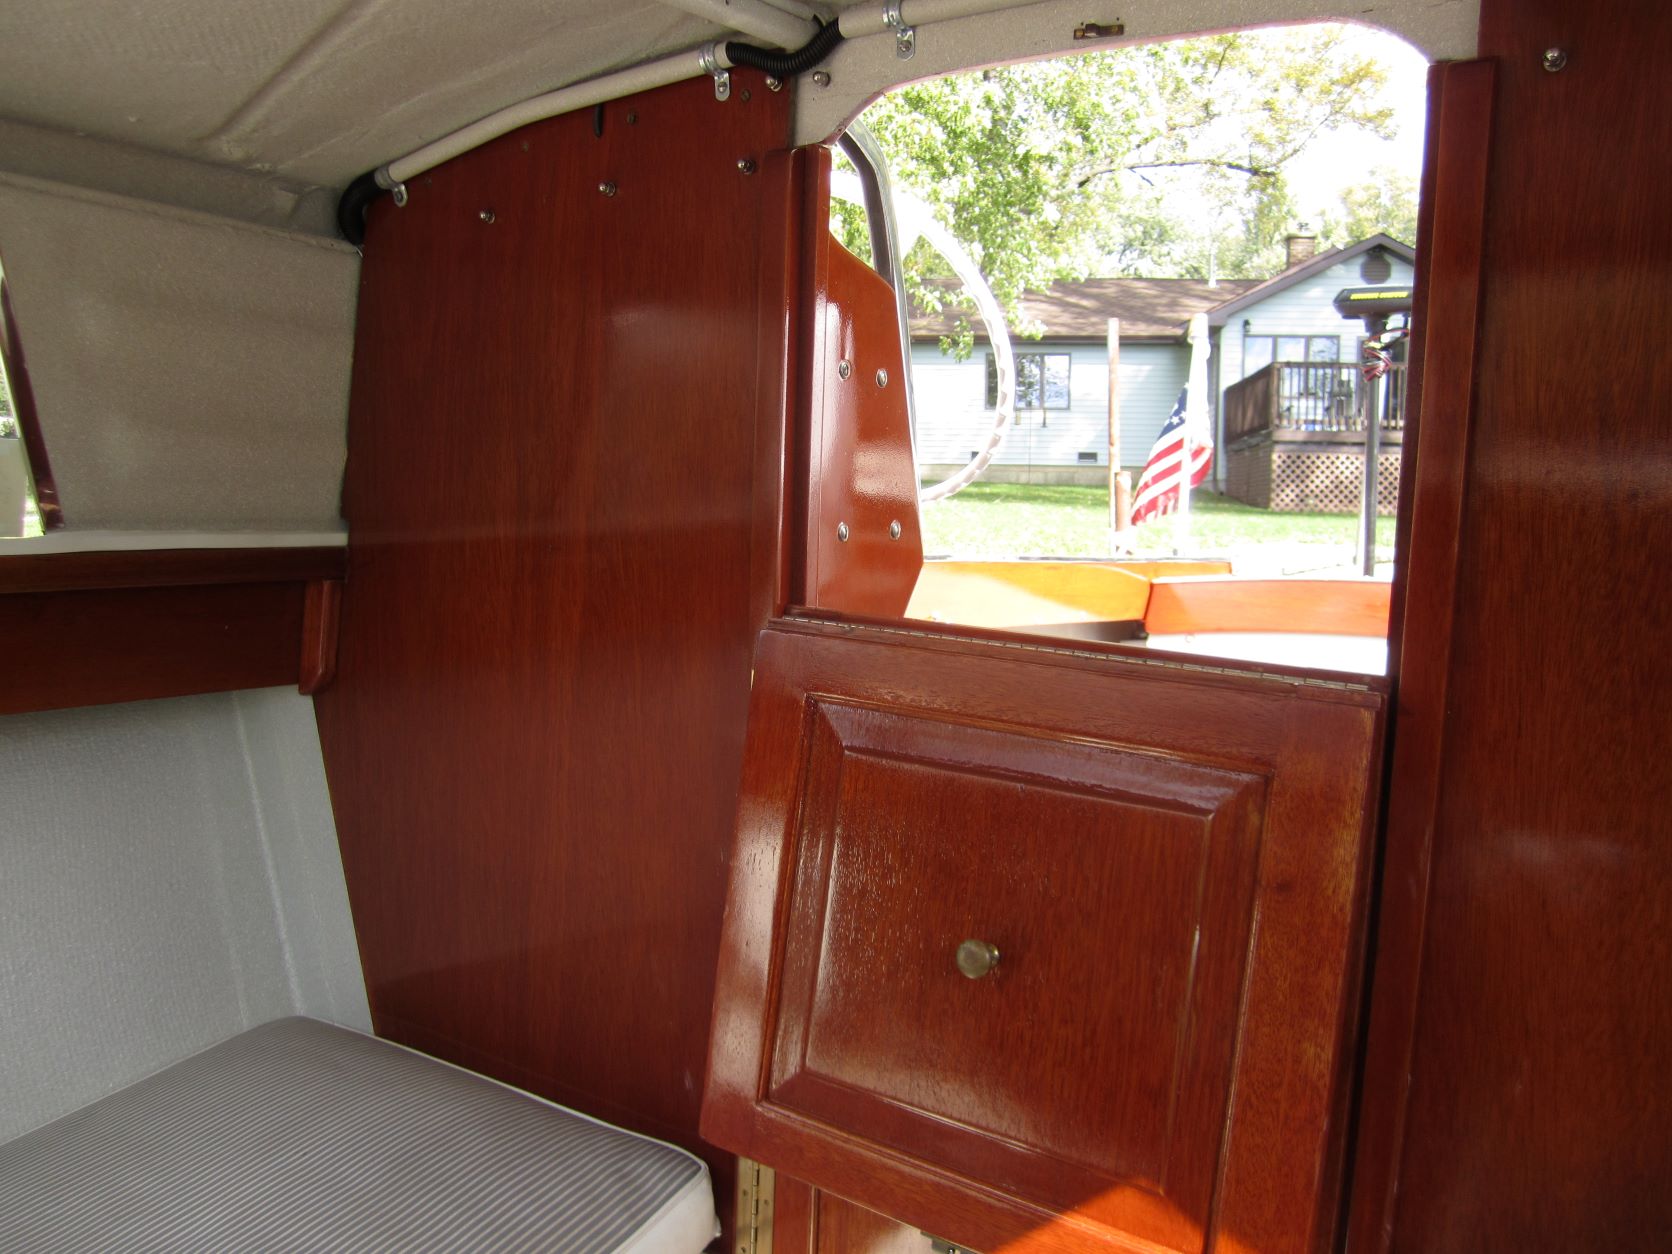
Here are some older pics of the boat. I will post more as I put her together again
Attachments:

Please Log in or Create an account to join the conversation.

The art of sanding new gelcoat?! 2 years 10 months ago #145991

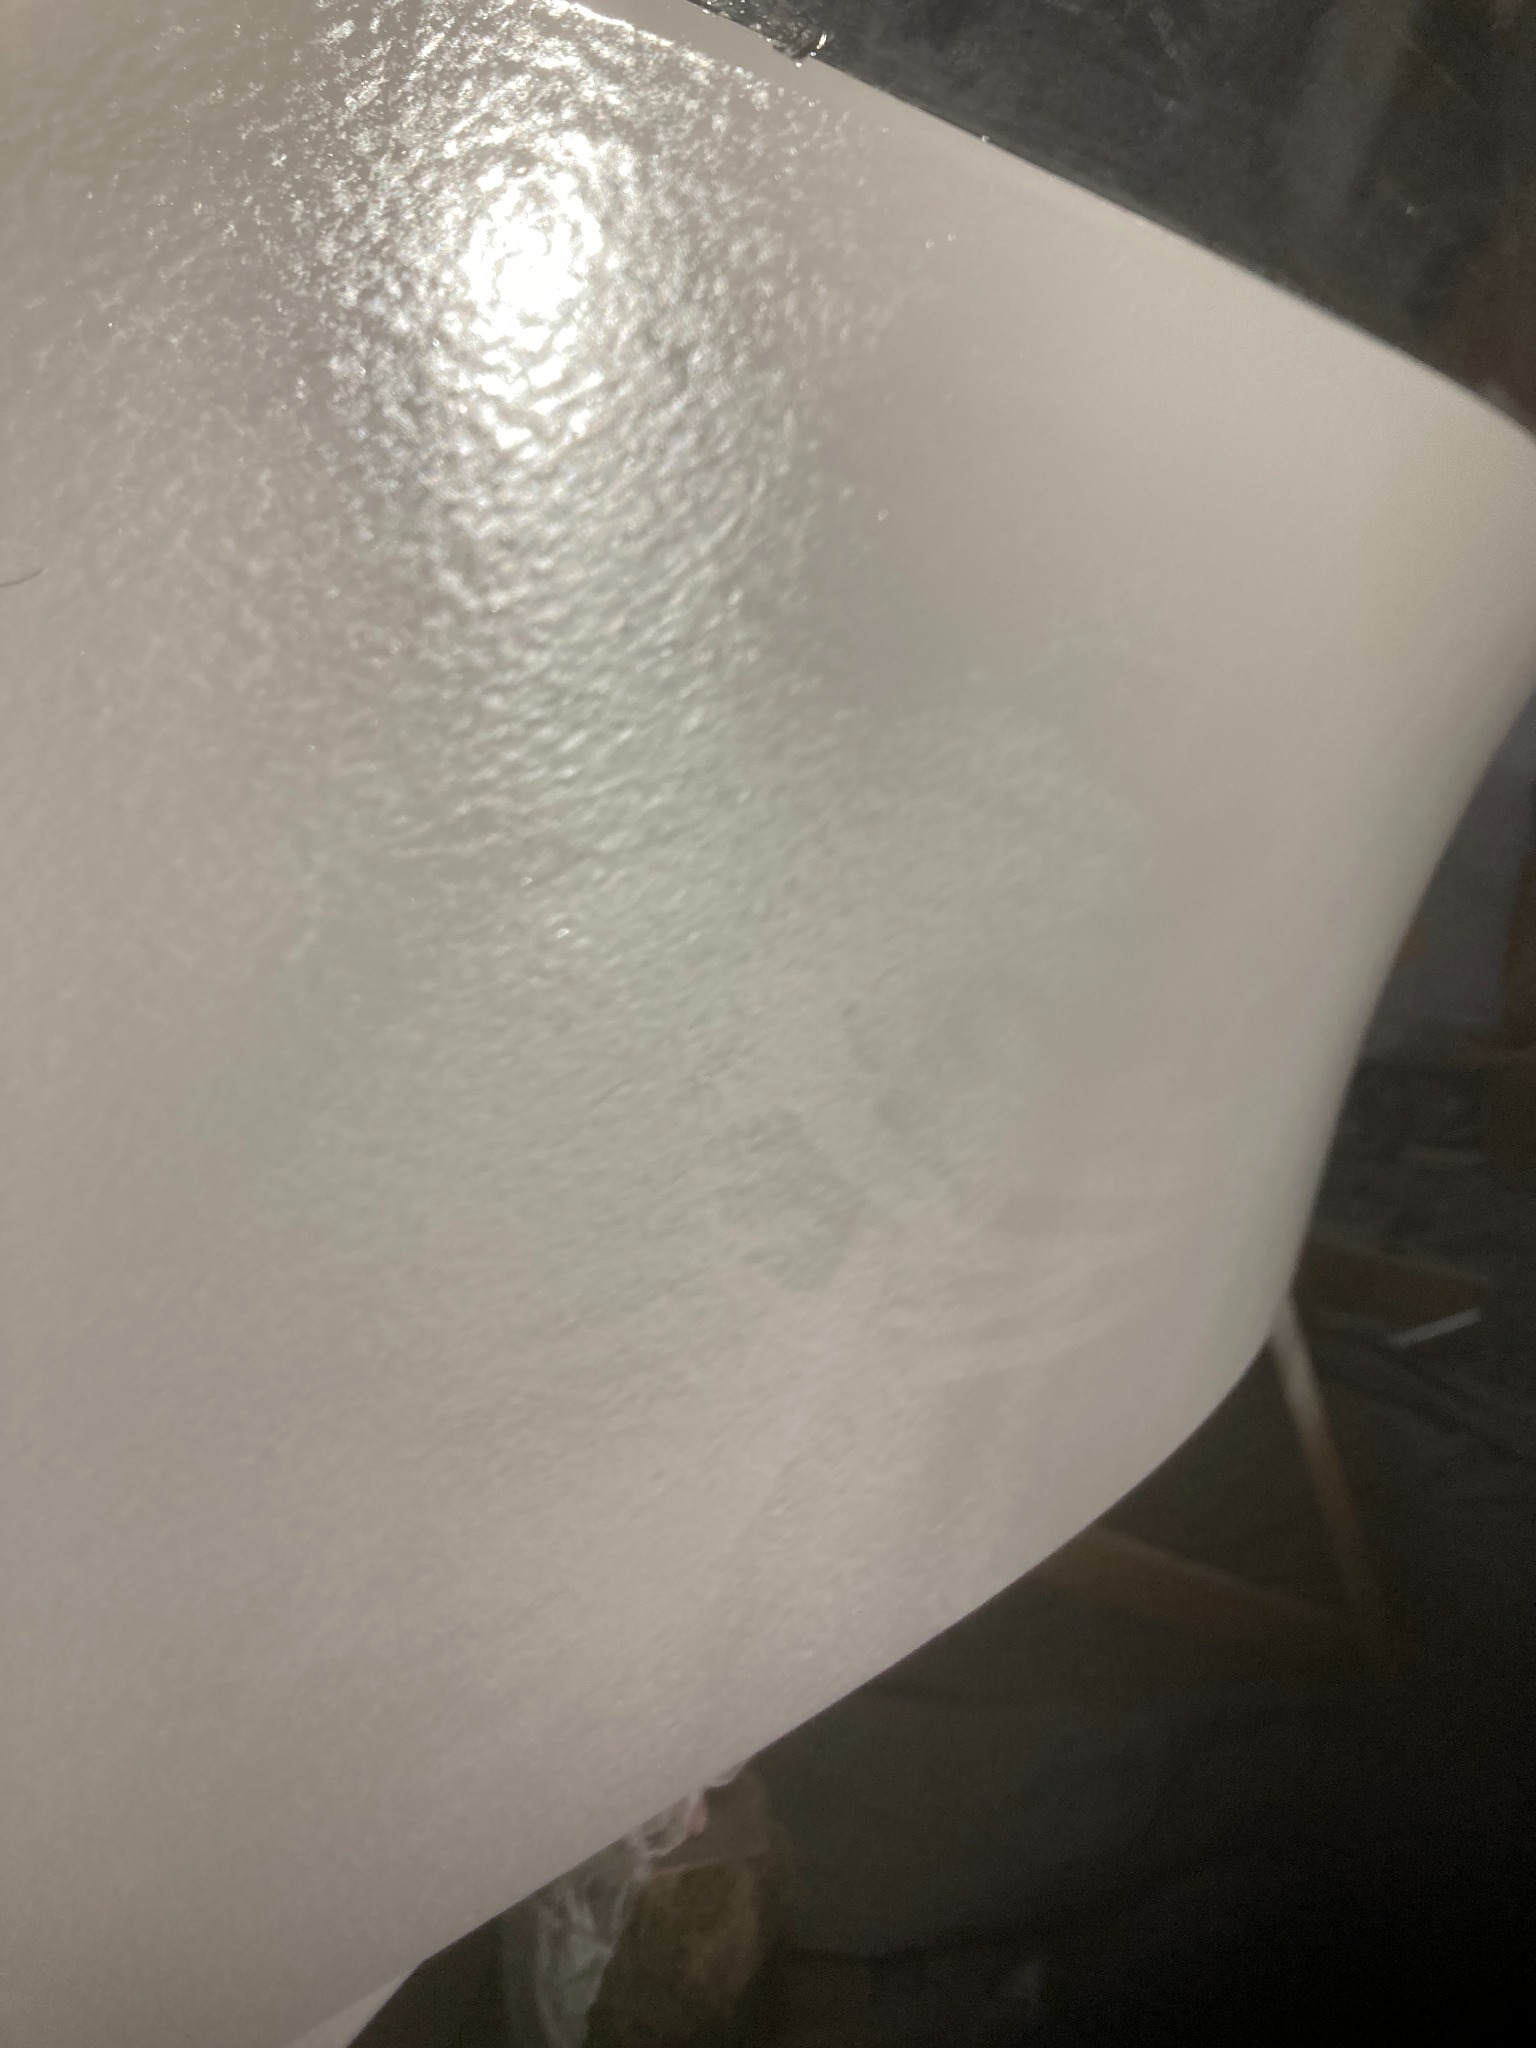
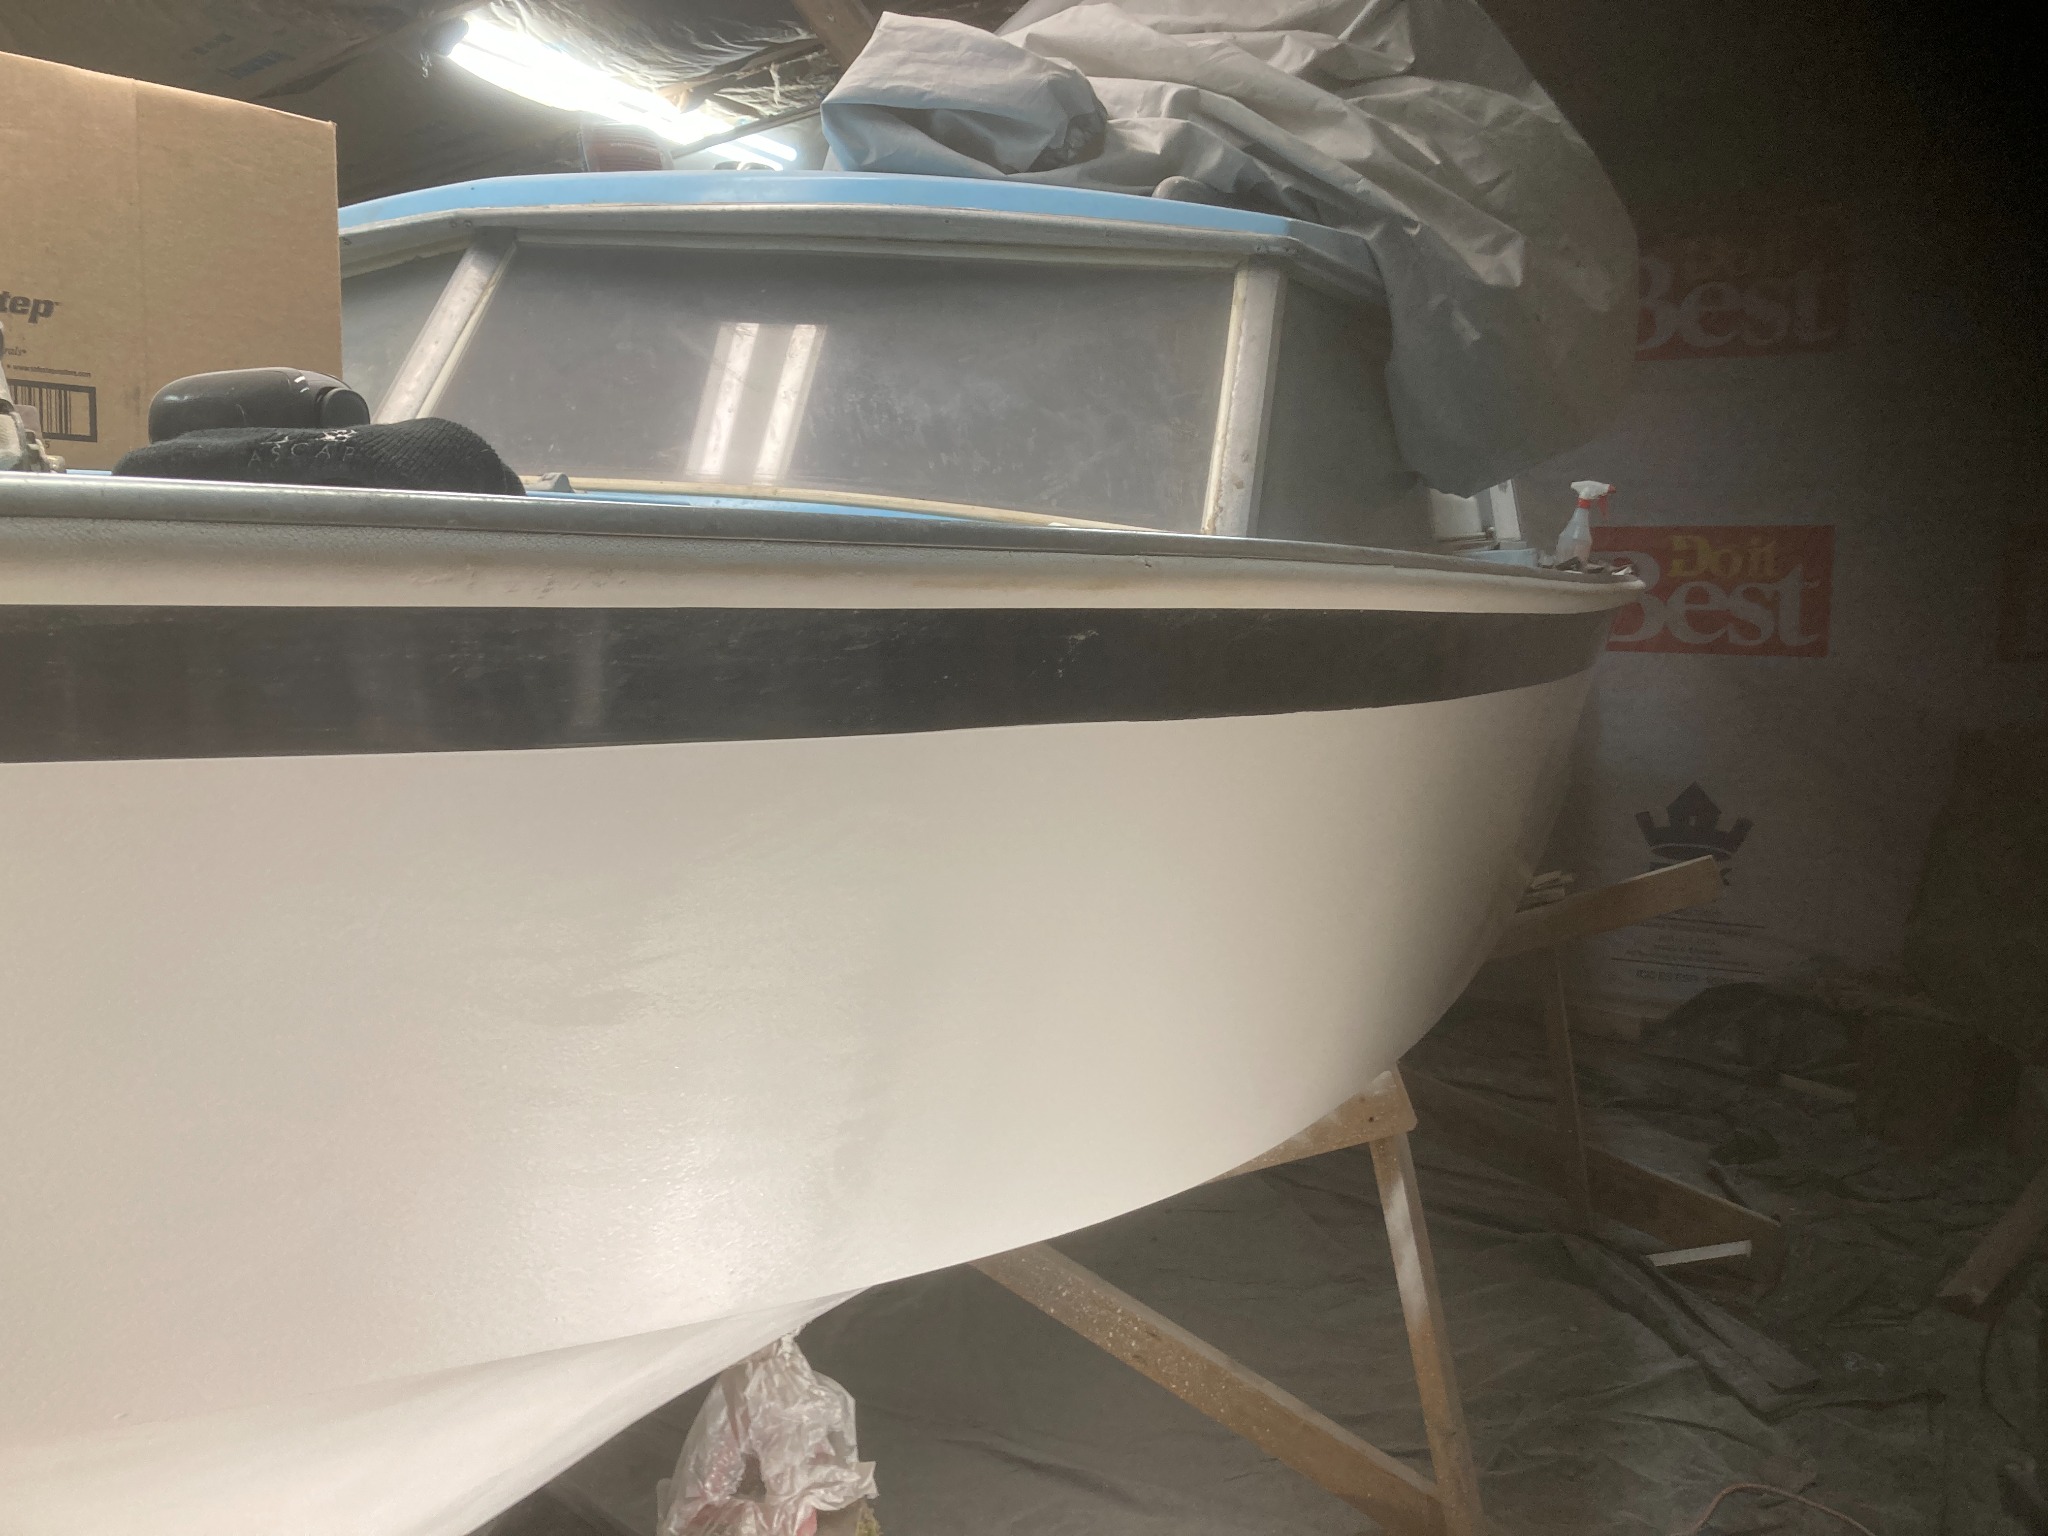
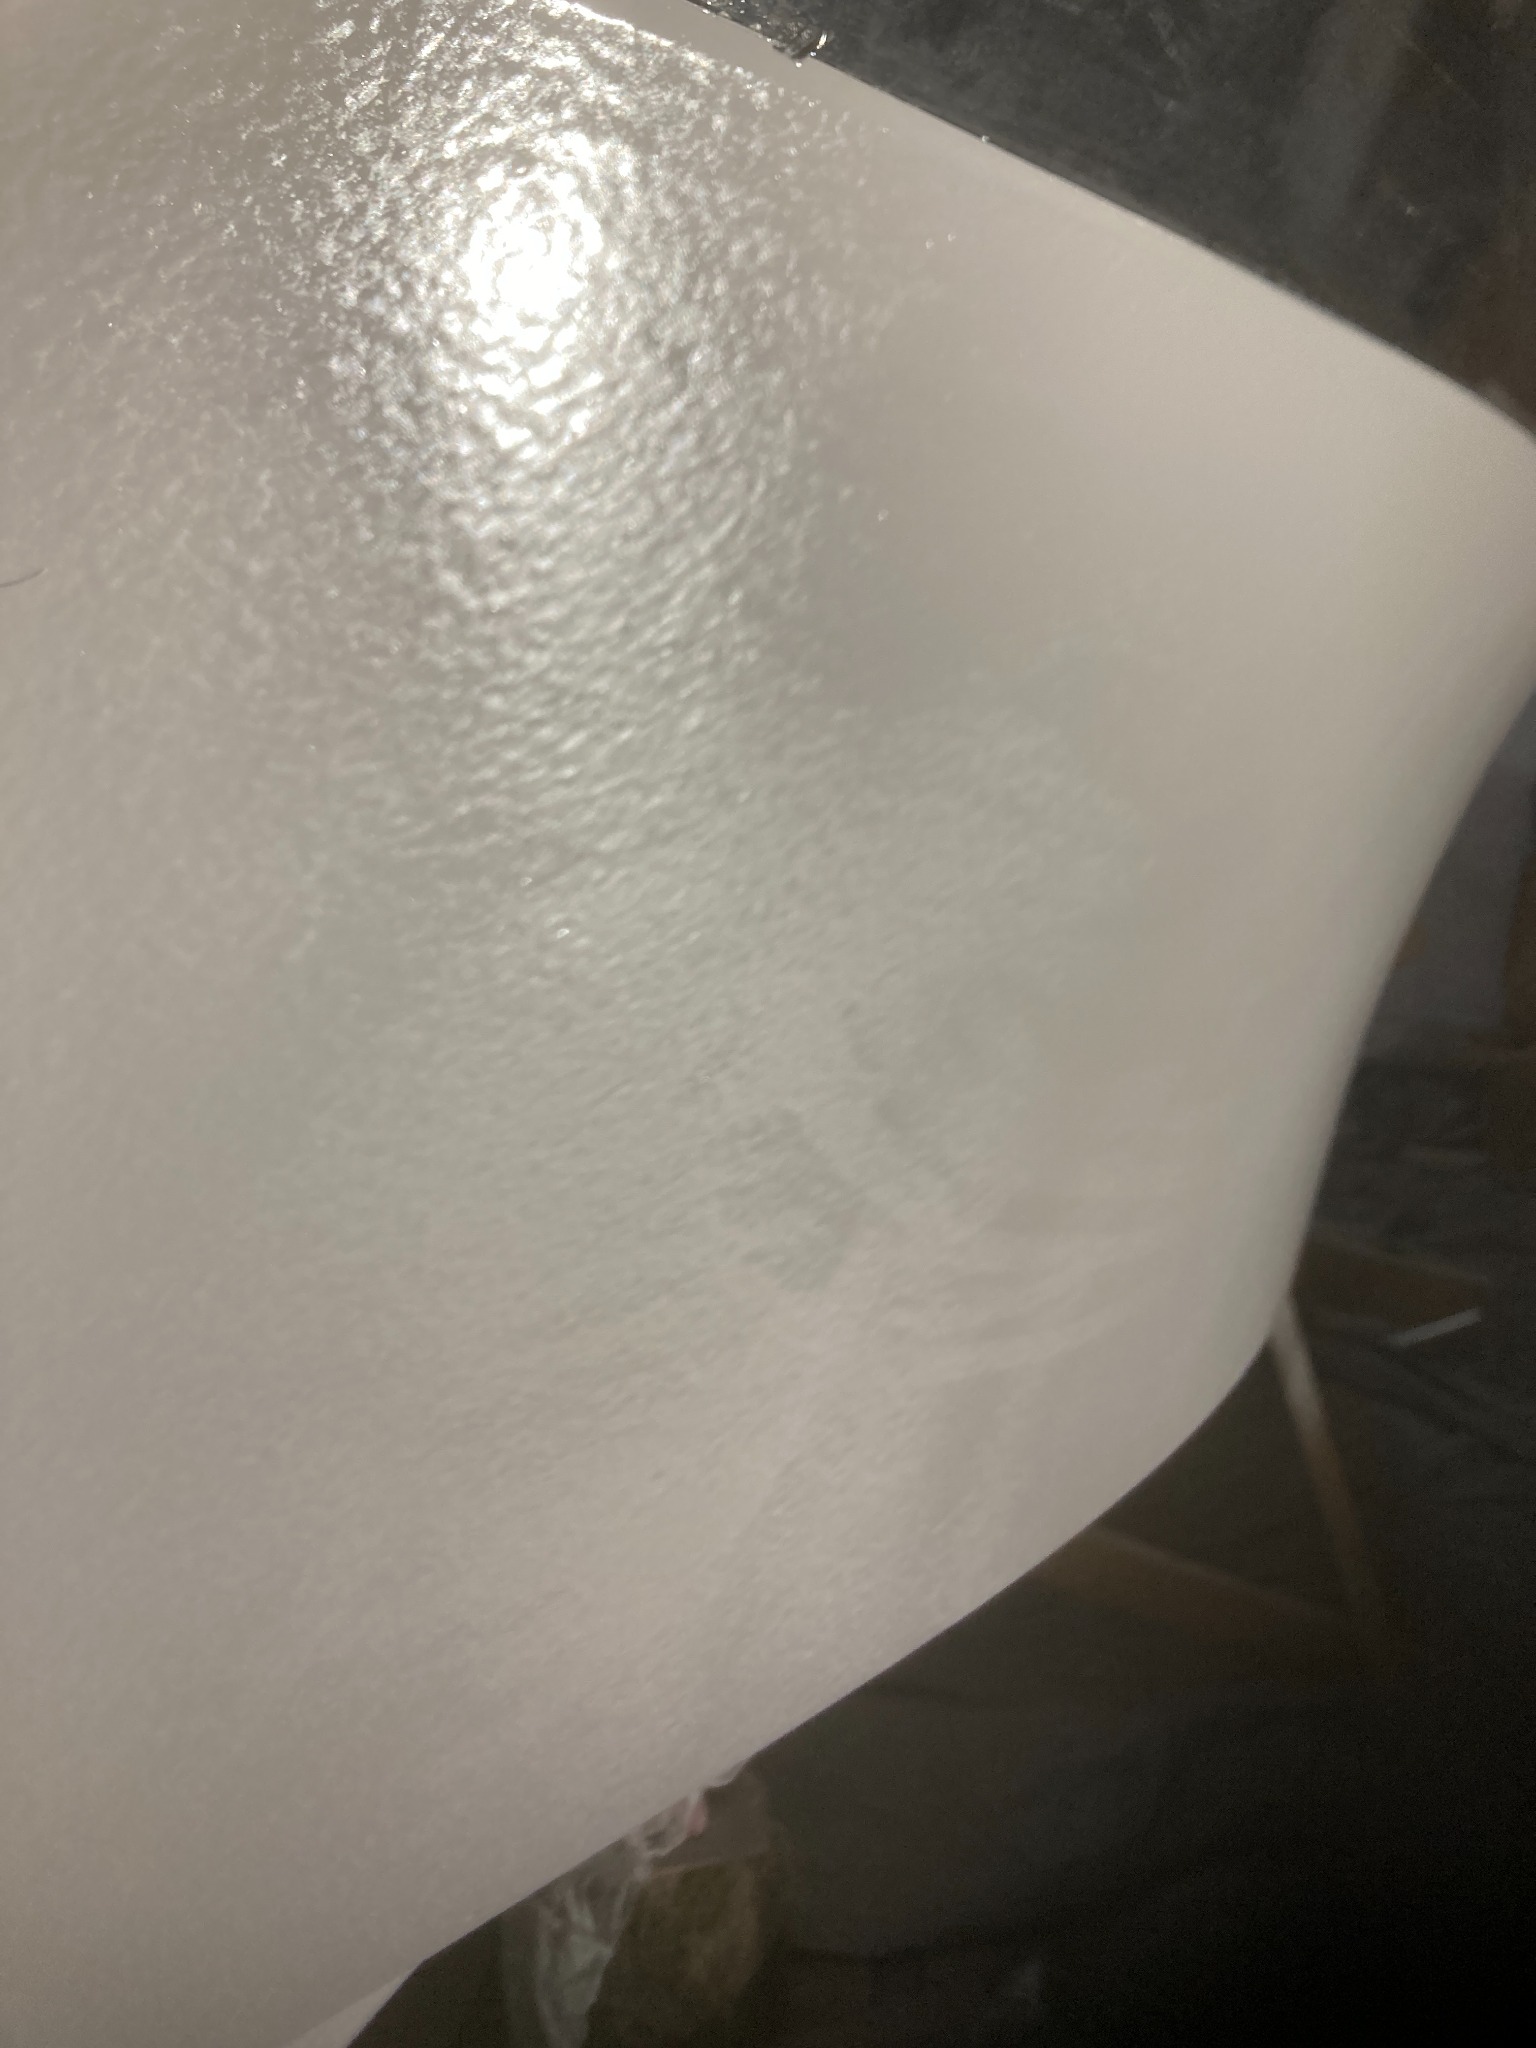
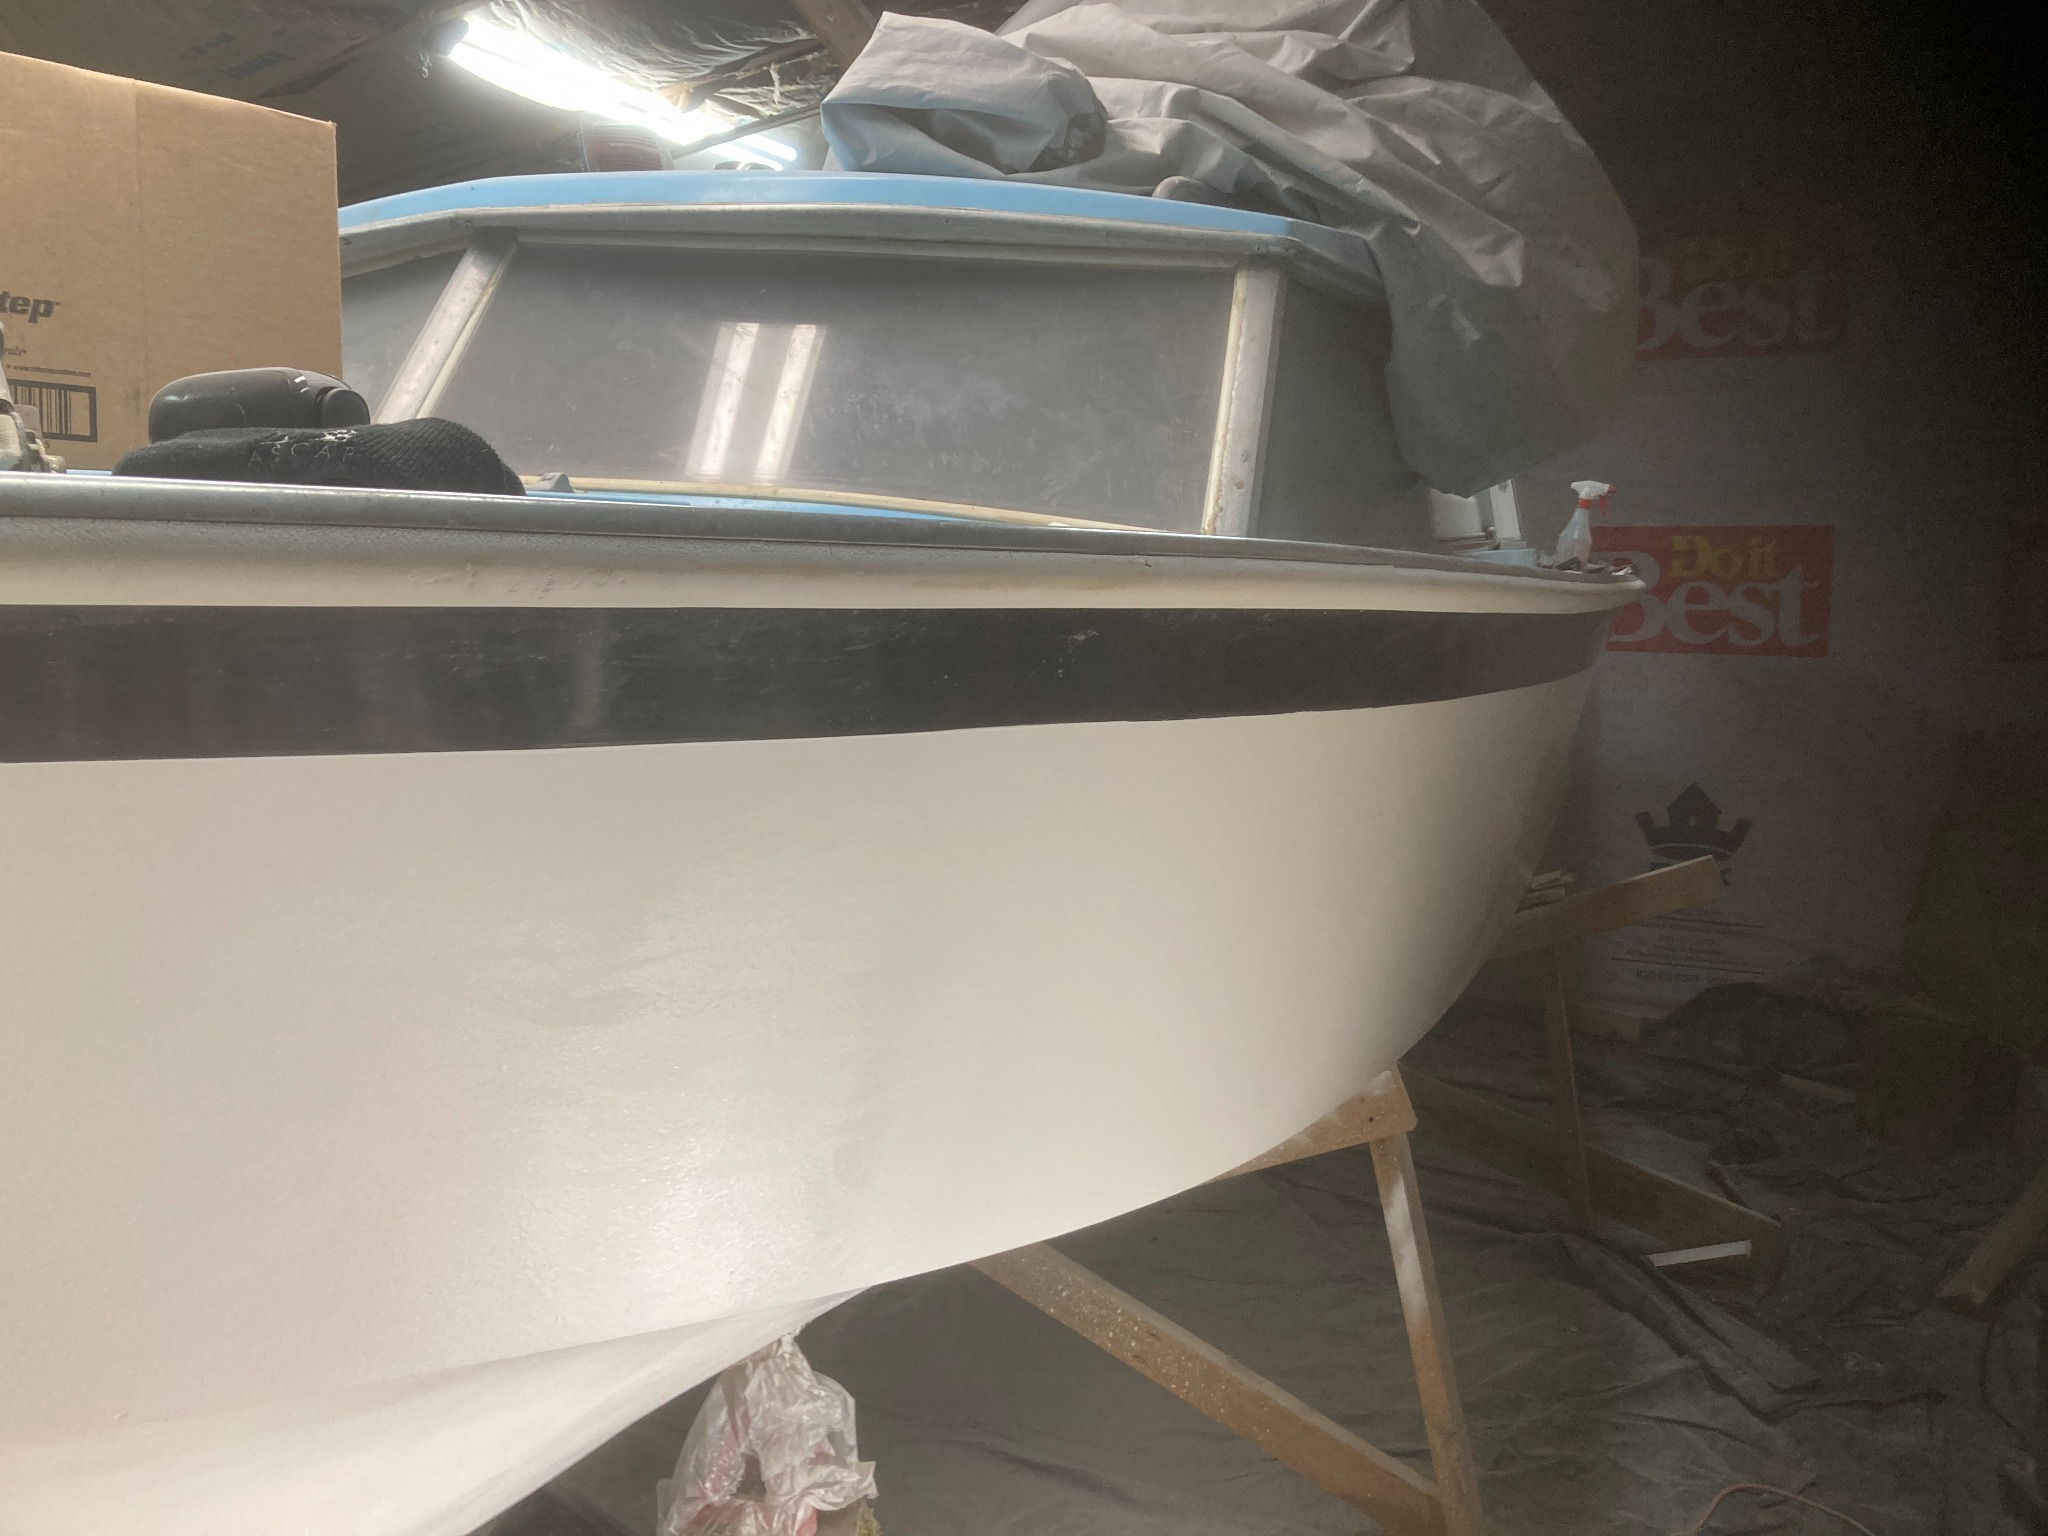
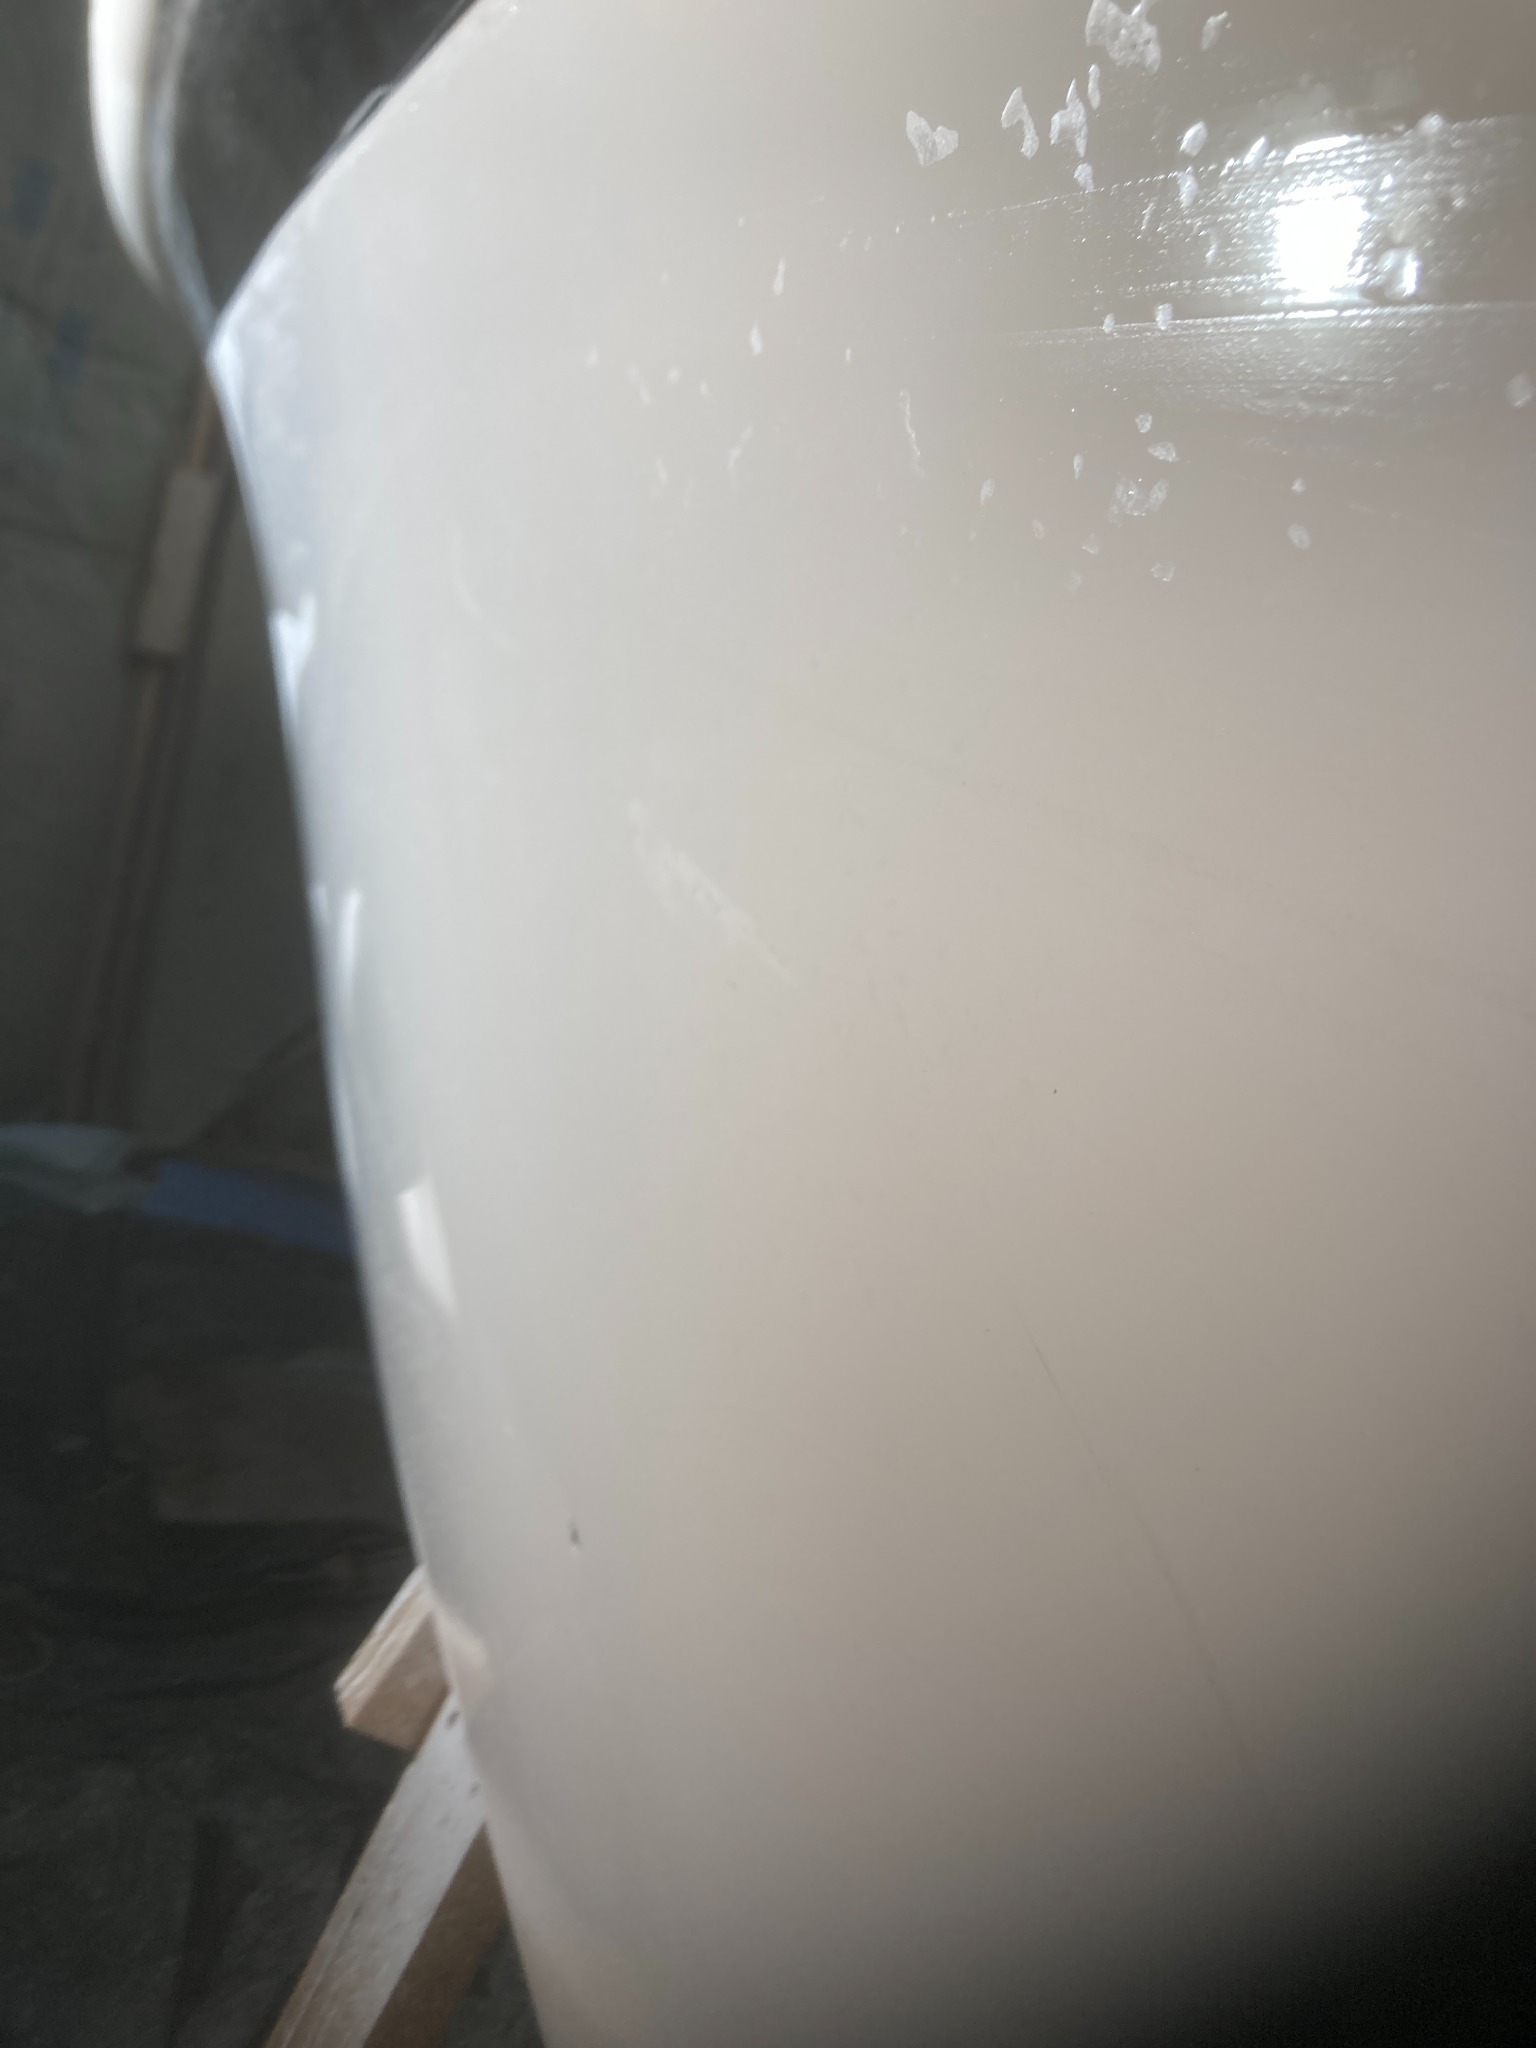
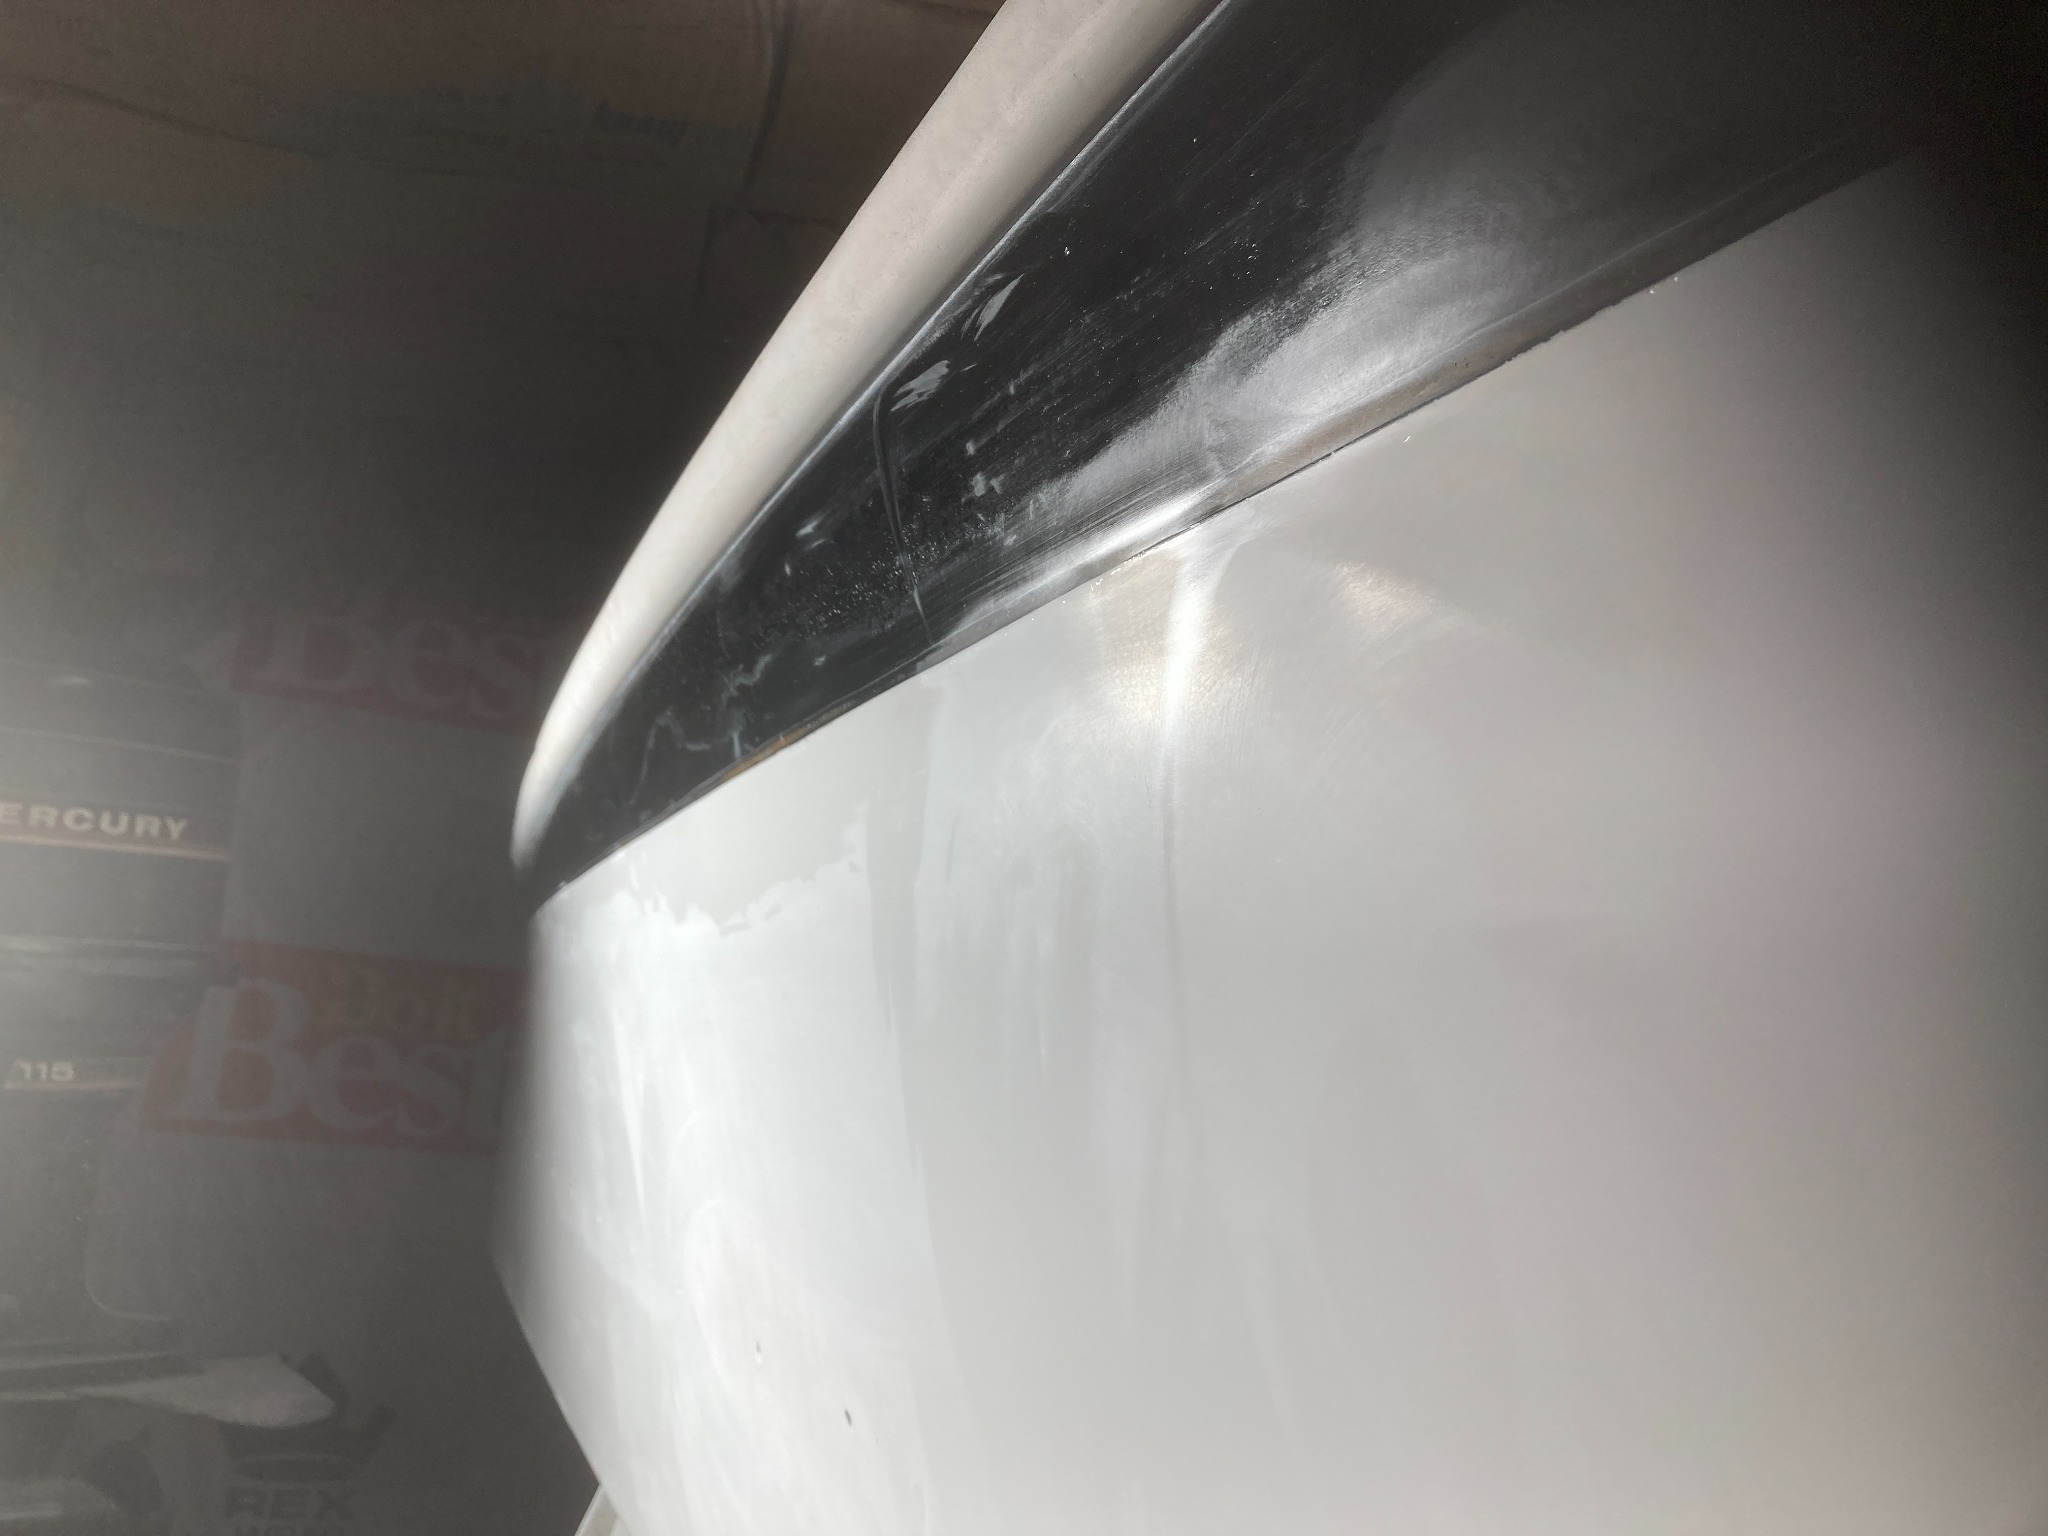
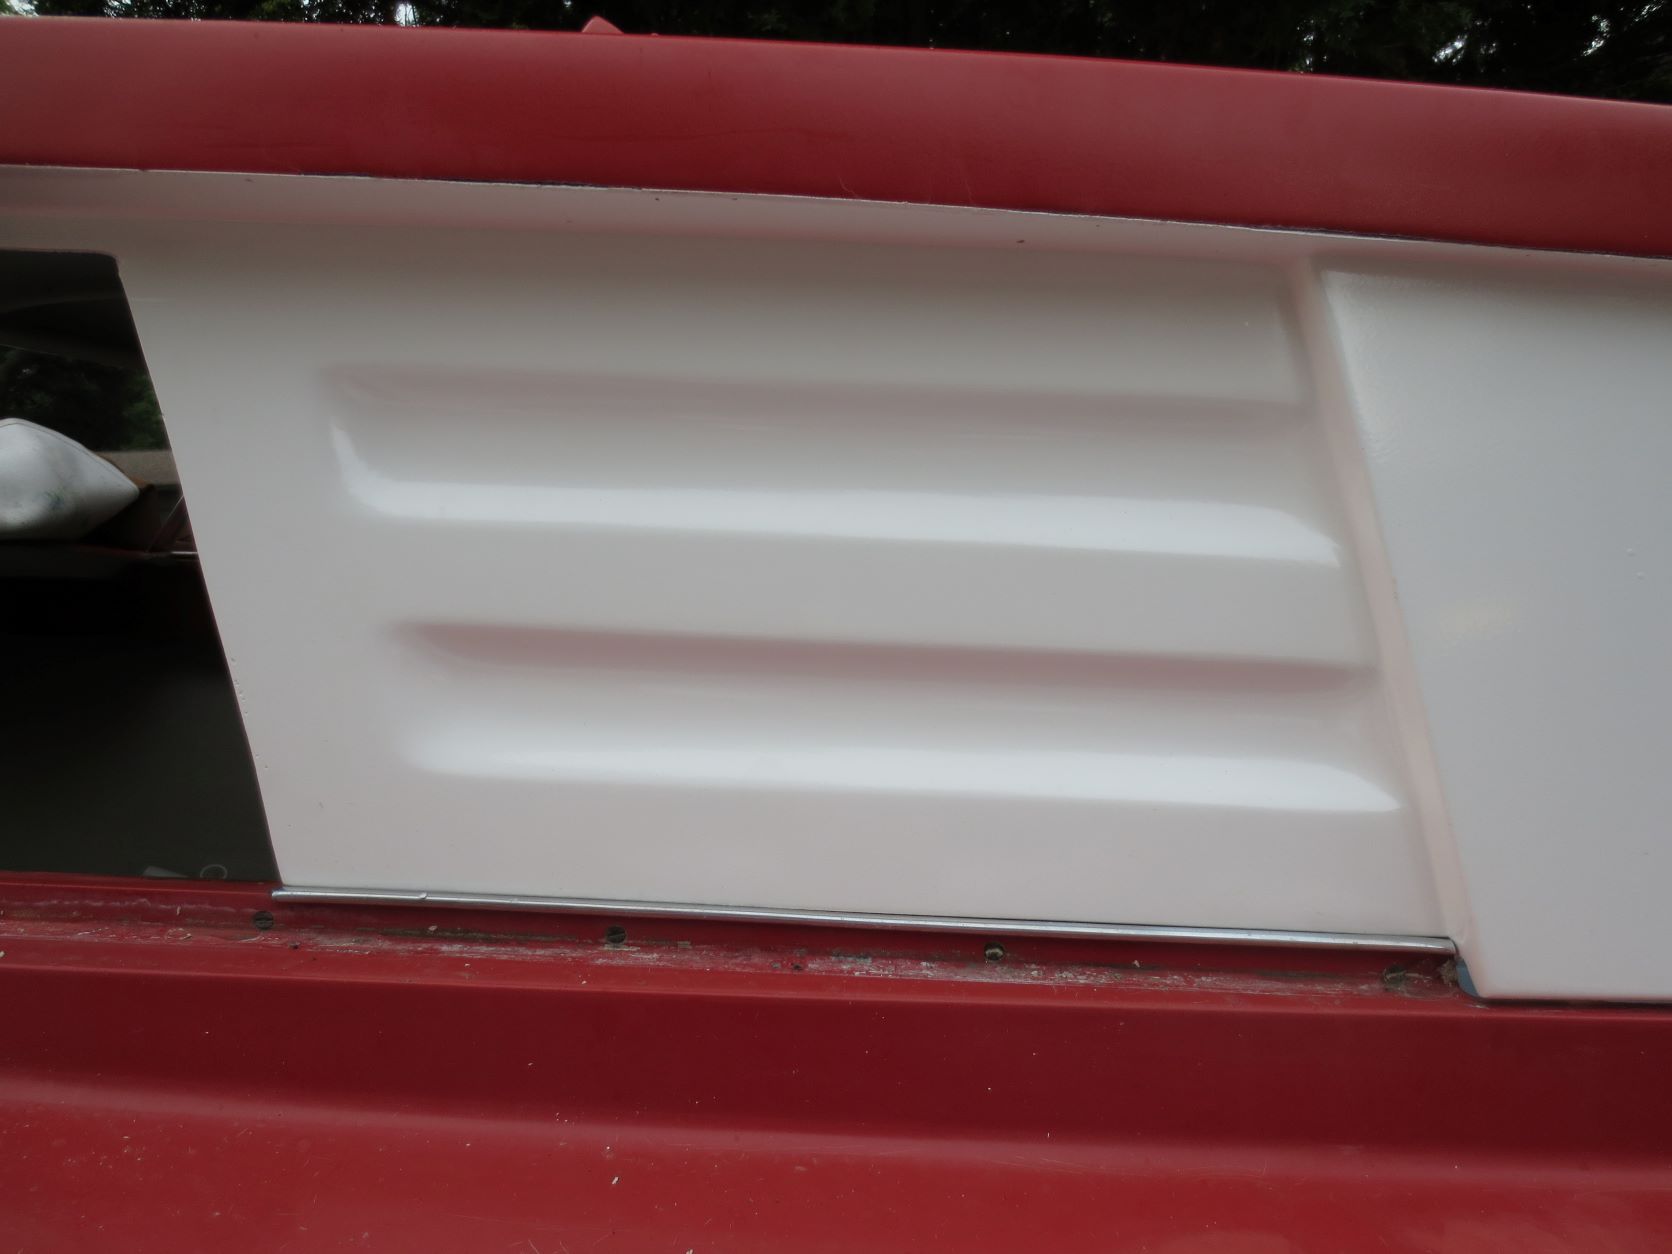
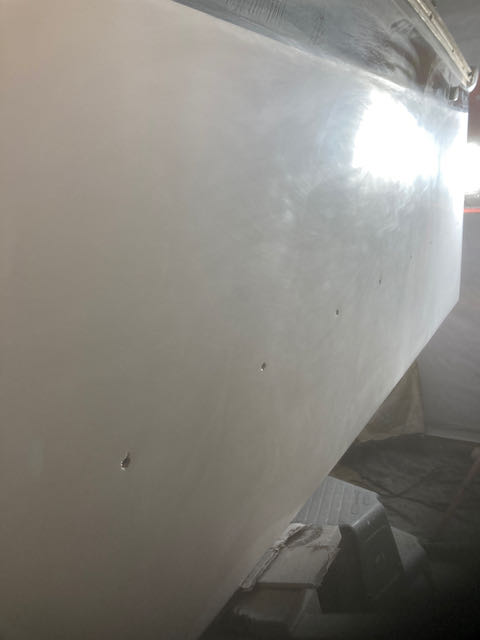
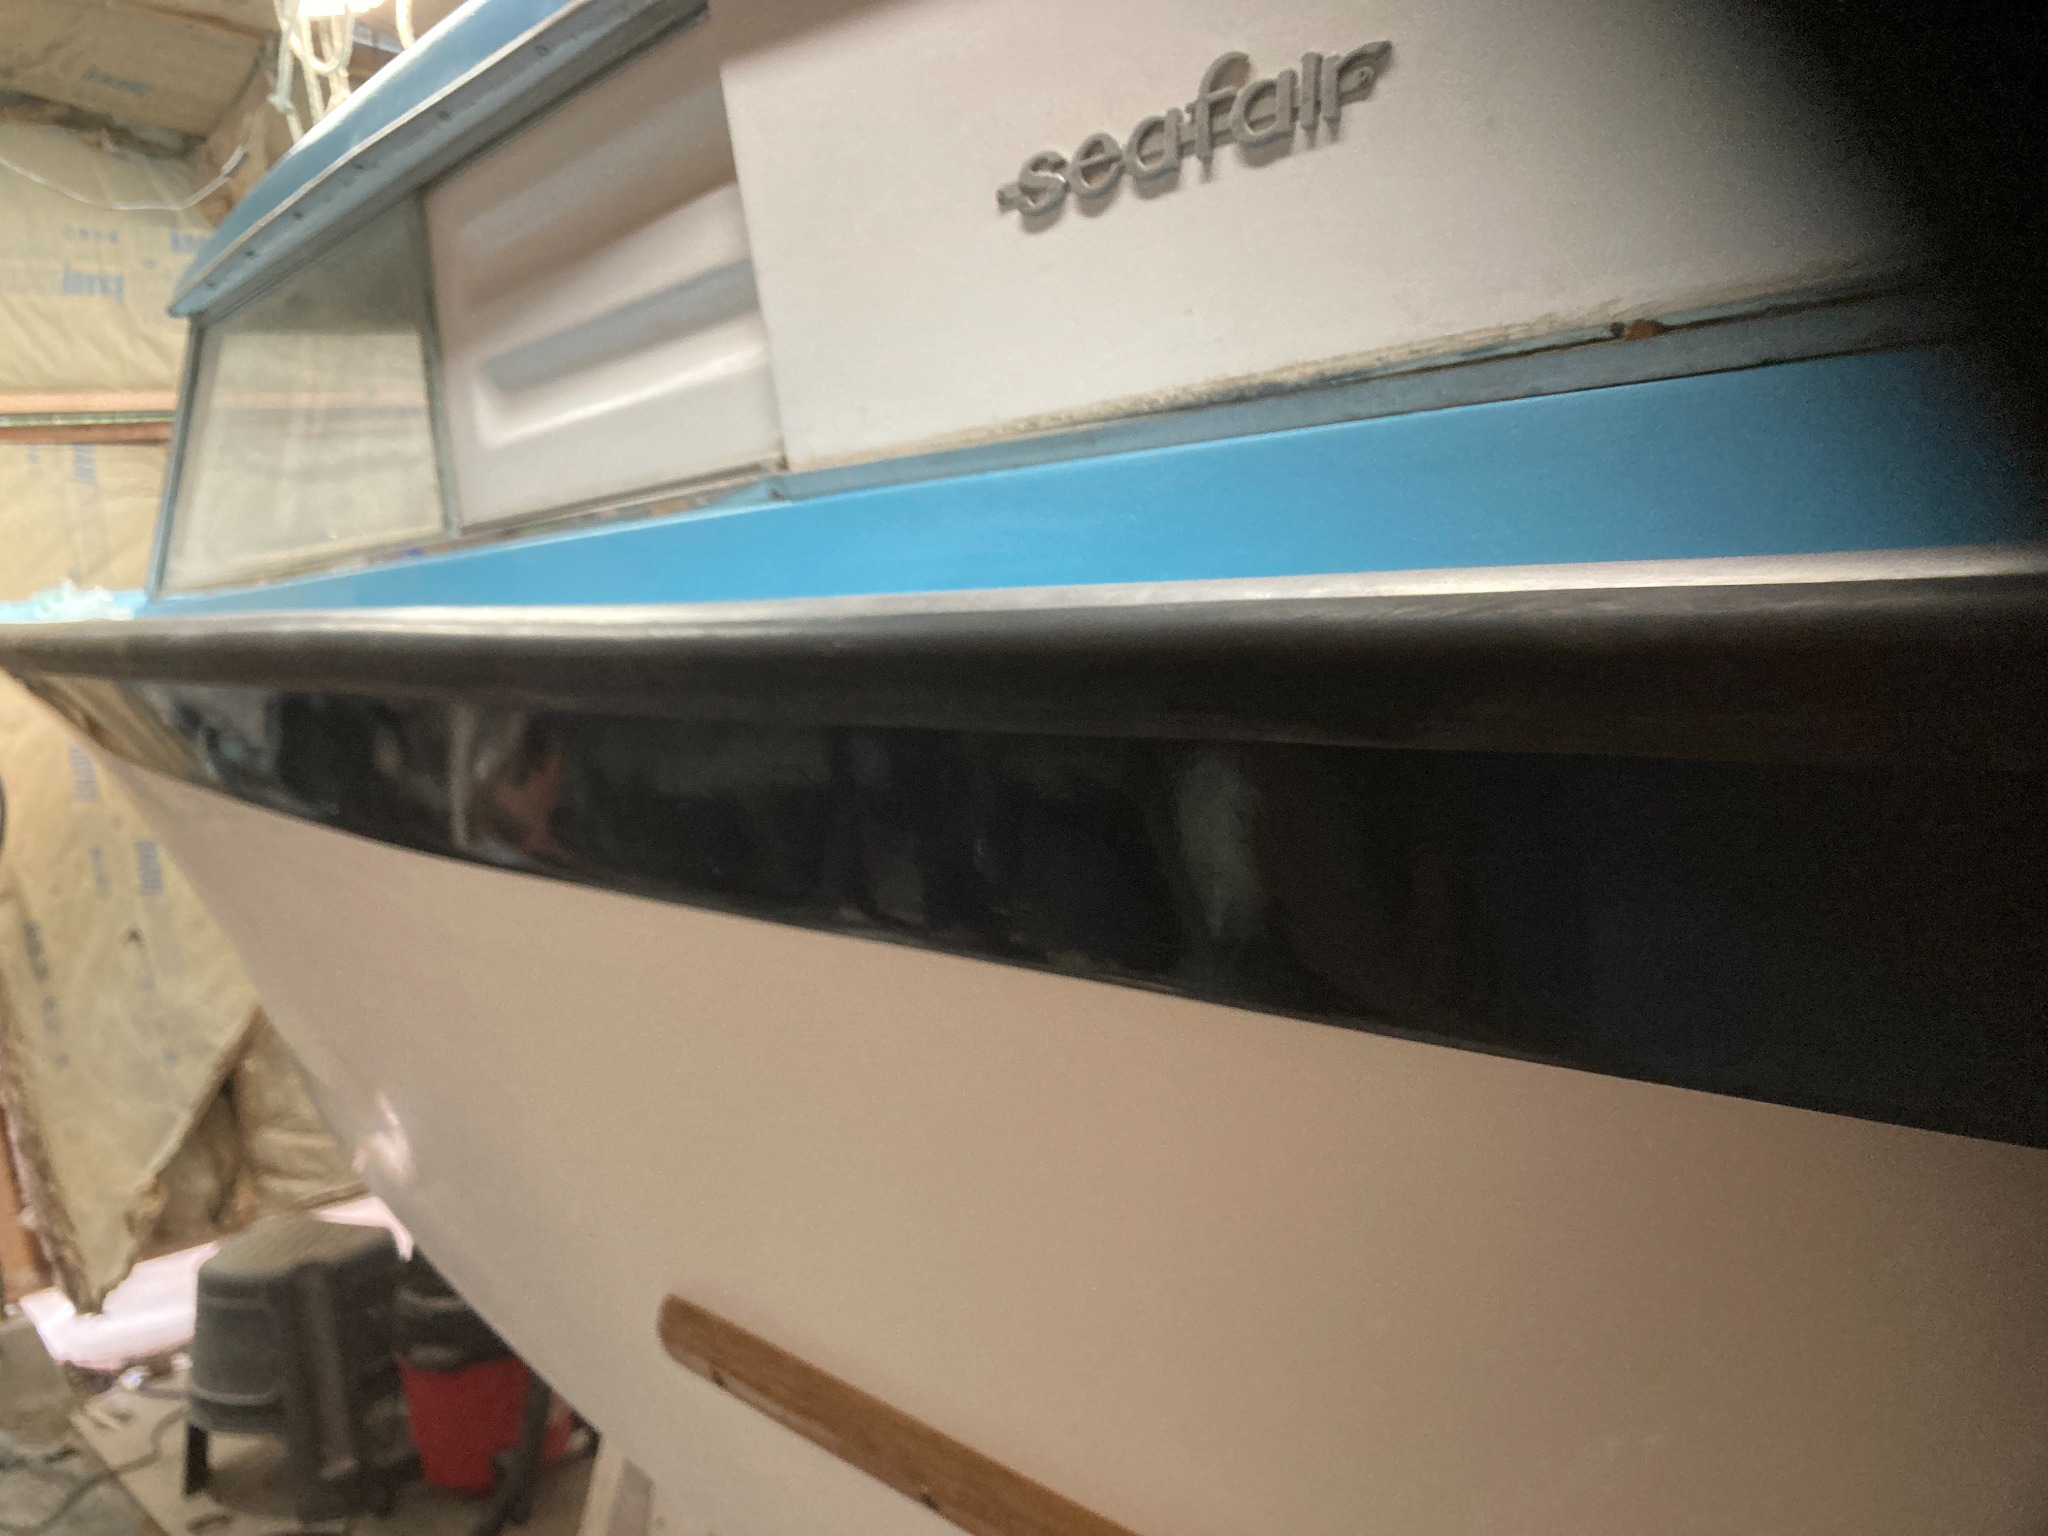
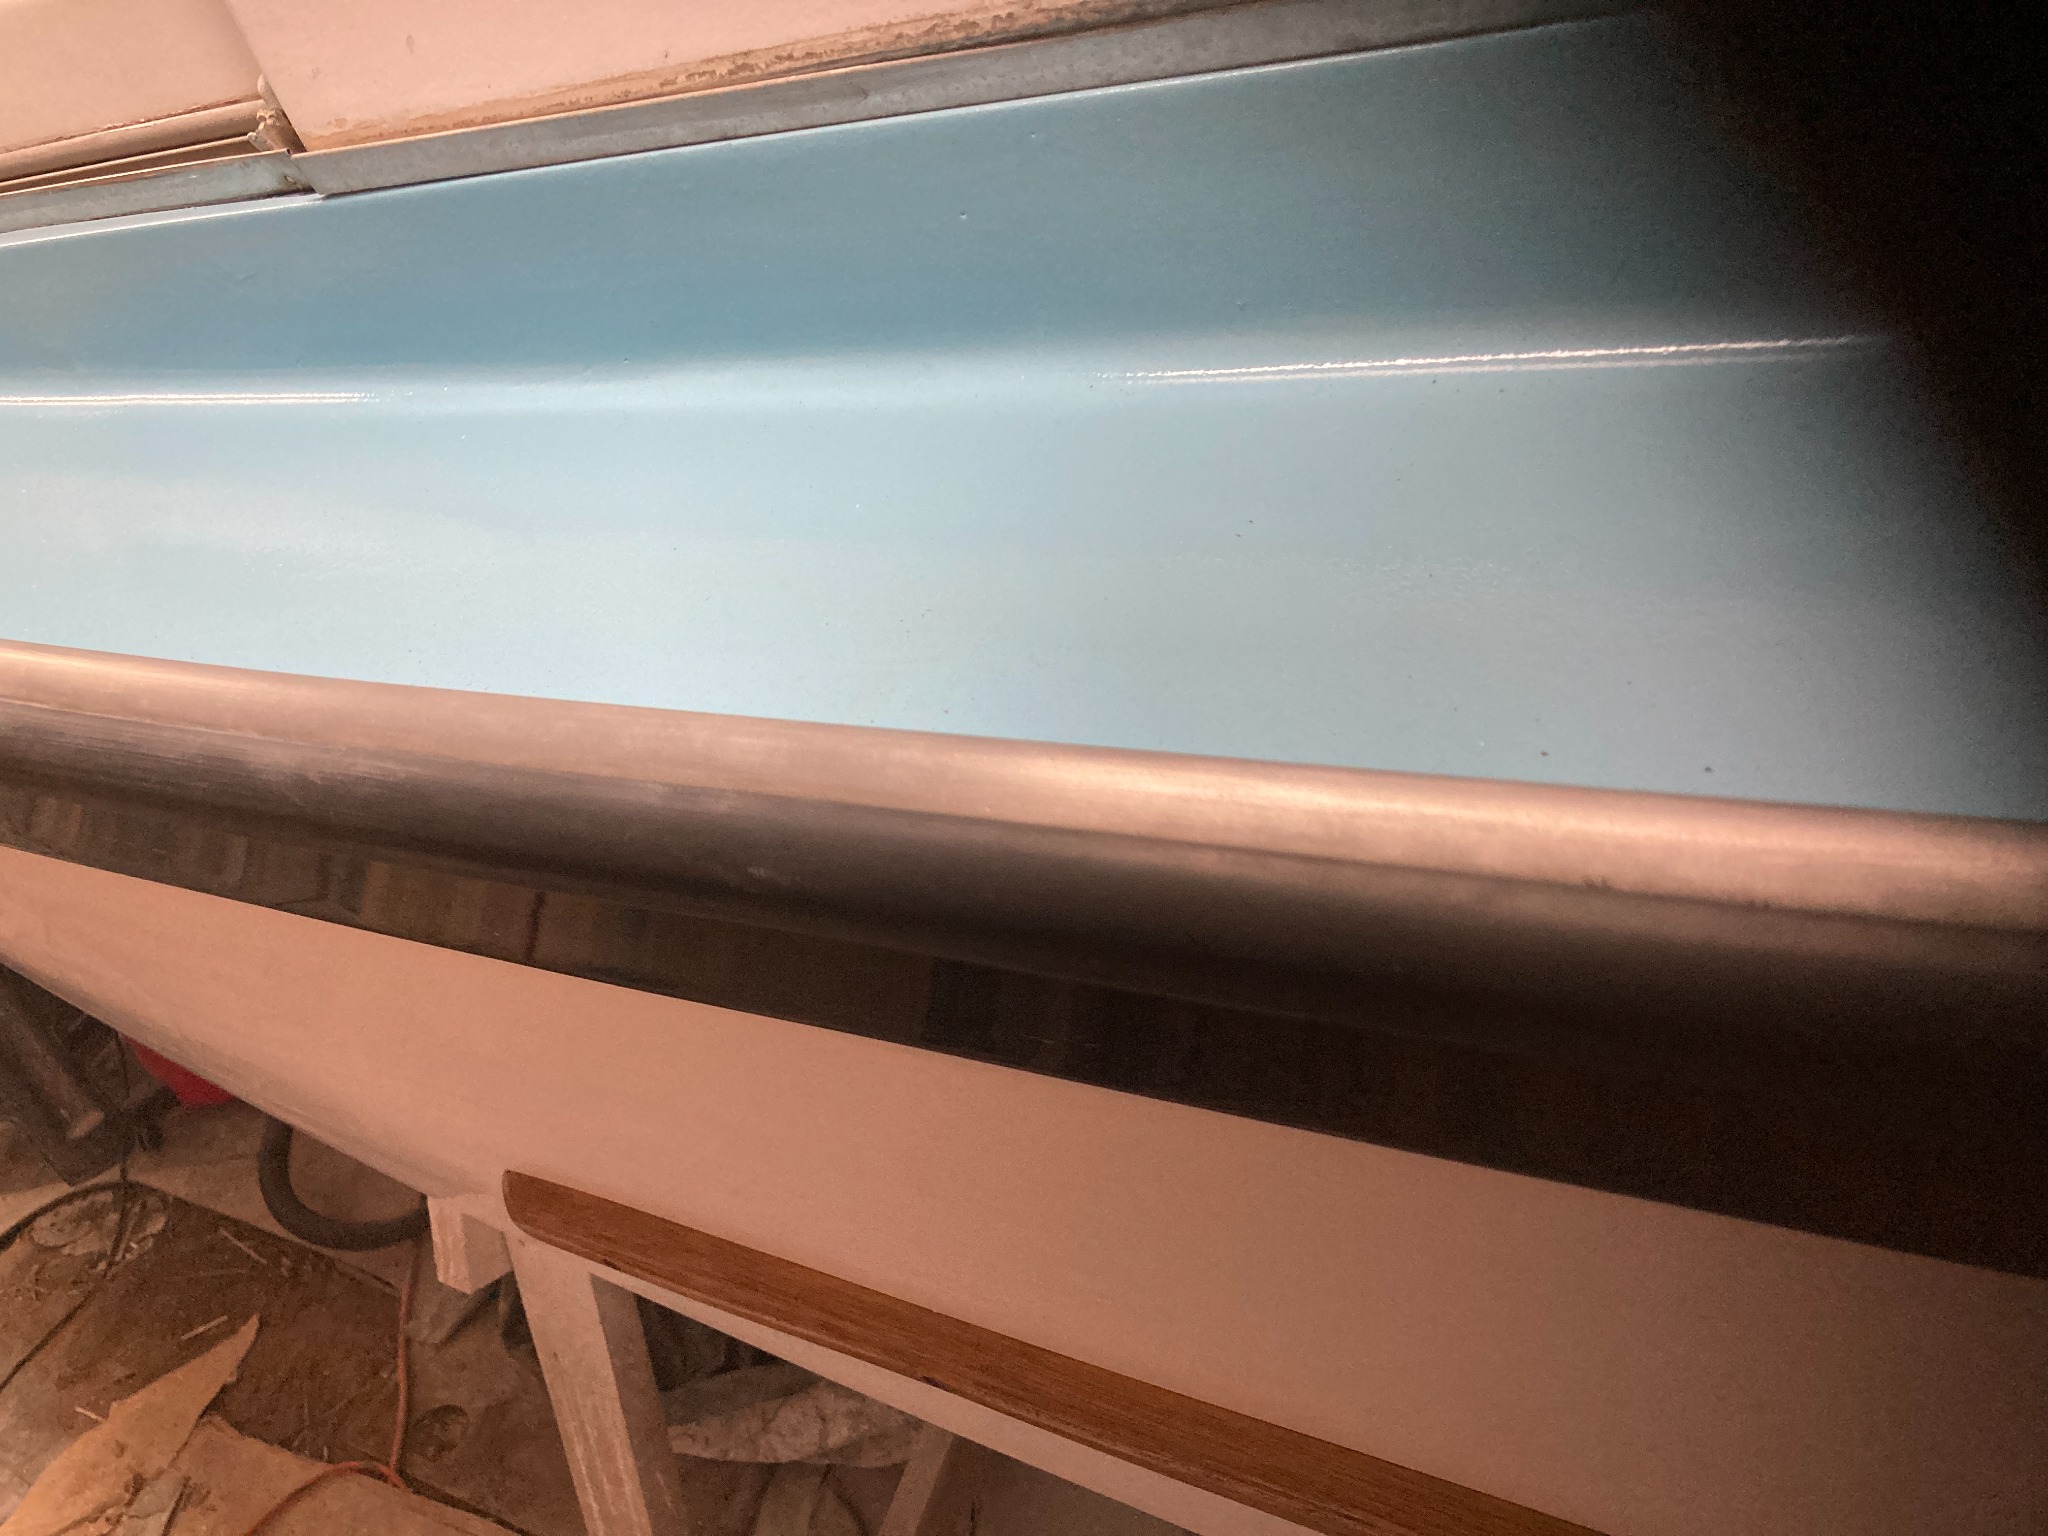
So, here is an example of where I am. These are the details that get confusing. I am using an orbital sander with a speed control. I am able to get the orangepeel down with the 320. I have been going slow, tried jumping down to 400, but seems like 320 is thr right grit for this part. I am paranoid about sanding through(from last time) but think that I have enough gel on there to get this out.

Anyway. This is what I'm seeing after a couple of hours of sanding the one side of the hull. Would you proceed with this grit(320) until those pits come down? My plan was to get to where there are almost no shadows and then do a quick sand with 400, then 600, etc
Attachments:

Please Log in or Create an account to join the conversation.

The art of sanding new gelcoat?! 2 years 10 months ago #145992

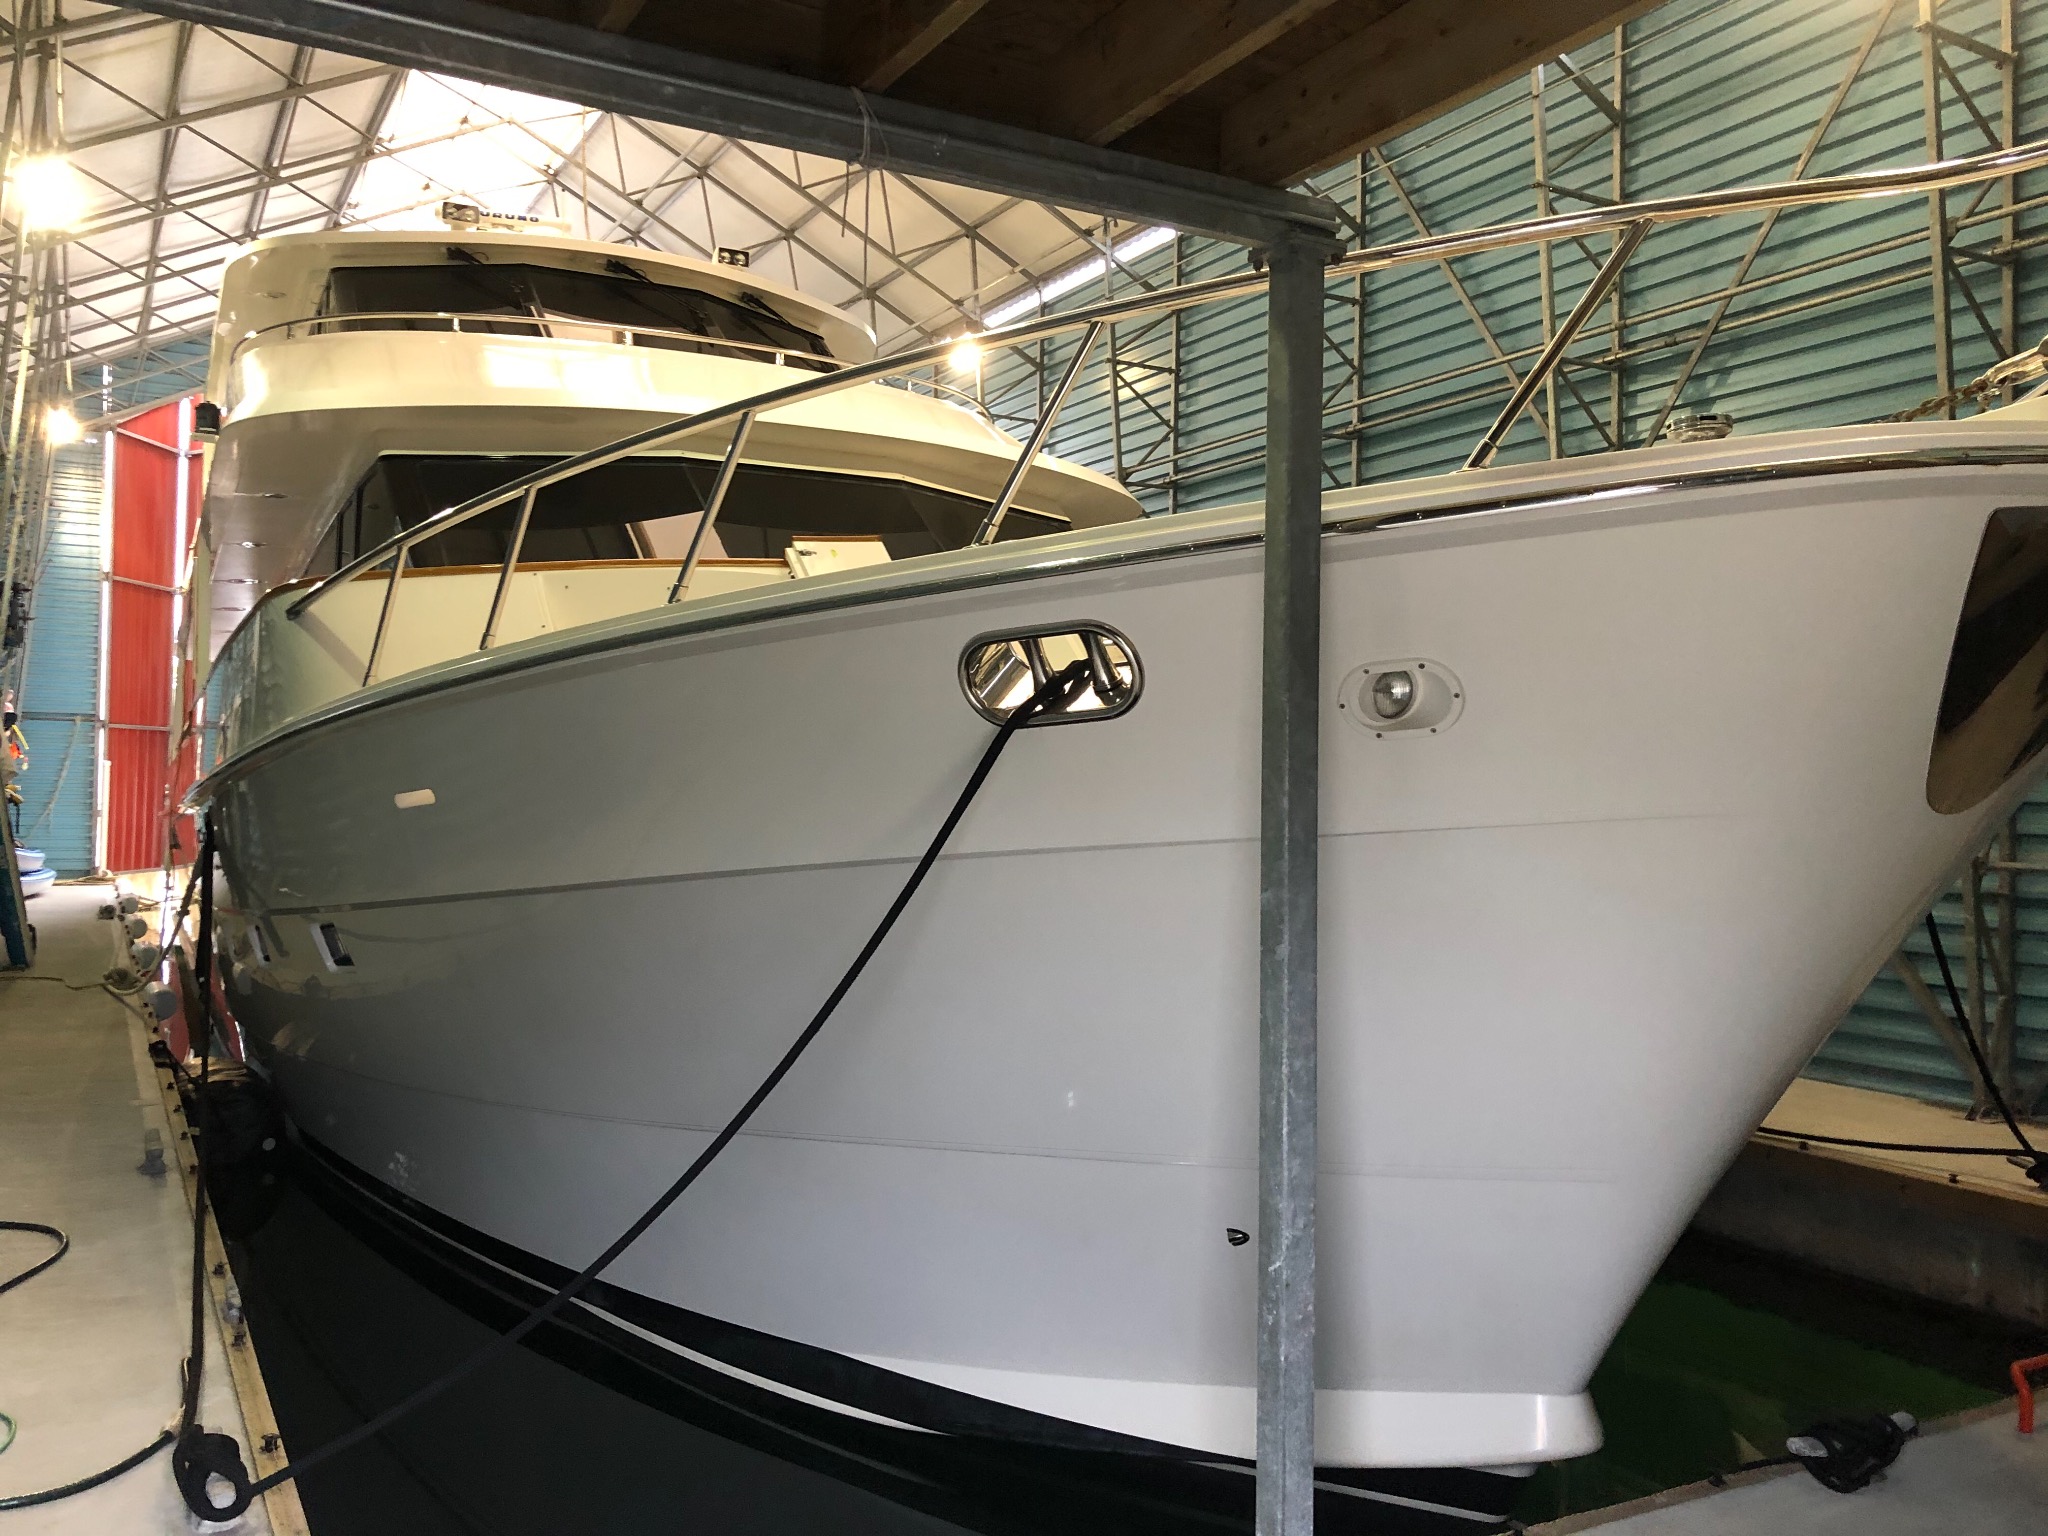
Well i did it to this 90’ yacht, my trick it spray it 50/50 and sand out the orange peel but no polish then spray 25% gelcoat and 75% duratex like a clear coat then it’s done .
Attachments:

Please Log in or Create an account to join the conversation.

The art of sanding new gelcoat?! 2 years 10 months ago #145996

Why sure, I remember that pretty blue Sedan. The blue dash panels are unique.


Good to hear you are still running her.

Looks like it needs more fairing to smooth out those voids. The finer grit abrasives simply removes the sanding marks of the previous courser grade.

Thanks,
Terry
Attachments:
The following user(s) said Thank You: Nwtexan

Please Log in or Create an account to join the conversation.

The art of sanding new gelcoat?! 2 years 9 months ago #146184

It's been a journey to this point. Sprayed 4 coats, using Duratec. I did the first at 75/25%, and then the last 3 at 50/50.
I spent the last few weeks wetsanding, prob about an hour a day more days than not. Had a Covid week where I wasn't doing much.
Got it pretty flat with the 320G. I went through about 75 5" discs to get to that point. Ended up using each disc for about 10 min before changing. It seemed that past that they were too dull. Once I got there, I found a few divets that I hadn't seen to that point. Filled those in with gel paste, and got the hull to where it was pretty good.

I sanded through in a few spots--some at the spline area along the bottom, and some right below the racing stripe. The stripe is painted using a topcoat, so I had to be really careful to not spray gelcoat over it. when I was sanding down along the stripe I wasn't happy with the line. It was a bit funky. I went ahead and sanded as smooth as I could and resprayed the line below the stripe and the line above the spline.

Looks like I will be back to wetsanding to get this smooth again. Hopefully this time without sanding through!

It is an enormous amount of work! I know I am putting the gel on right. I have a good gun, i have it set up right. My air rig is dry and there is no contaminant on the hull or in the gel. There is just always gonna be some sanding to get the hull flat. Even with the Duratec, especially when the first spray is less than 50%, there is just gonna be sanding.

I'm thinking about doing a really light dry sanding with 220 on the orbital to knock down that first part. It takes so long if i start wet sanding at 320!
Attachments:

Please Log in or Create an account to join the conversation.

The art of sanding new gelcoat?! 2 years 9 months ago #146192

@terrydi

I've got some Glasspar specific questions for you!?--I wonder if you would humor me and pass on some of your knowledge?

-Do you have a part # for the rubrail? I seem to think they only have it in black now, which is fine for me
-did you use any caulk when attaching the side rails? I did initially, but it made a mess. I was worried about water coming in from the sides.
-I amended my 59 style splashwell with the later one so I could put a tank underneath. Did you have to do any manipulation of trim pieces to get them to fit? My end pieces come out to much to stern and I'm thinking I'm gonna hammer them in a bit to fit. When I initially put them in I just used caulk and had them sitting offset.
-Did you have any issues getting the top to sit flush on the sides? I am trying to pull the top where it sits flush. Initially I had a 1/4" strip of wood under it, but at that point my gunnel board were too deep(3/4") Now they are the right depth, but I'm still having a hard time getting the end of the top(where the windshield trim screws into the gunnel) to sit flush.

Please Log in or Create an account to join the conversation.

The art of sanding new gelcoat?! 2 years 9 months ago #146196

Terrydi wrote: Why sure, I remember that pretty blue Sedan. The blue dash panels are unique.


Good to hear you are still running her.

Terry. Just tagging you as last post the tag didn’t work
Looks like it needs more fairing to smooth out those voids. The finer grit abrasives simply removes the sanding marks of the previous courser grade.

Thanks,
Terry

Please Log in or Create an account to join the conversation.

The art of sanding new gelcoat?! 2 years 9 months ago #146208

You need the 1 1/4 G profile and black should look fine.


I replaced it a couple times and never picked up a hammer. It basically hooks on and I guarantee your hands will get a good workout. Just shove in the center portion and hook over the top a few inches at time. And be sure to stretch it as you work it on.

The spray rails must be well sealed as water is forced up under the rail when underway.


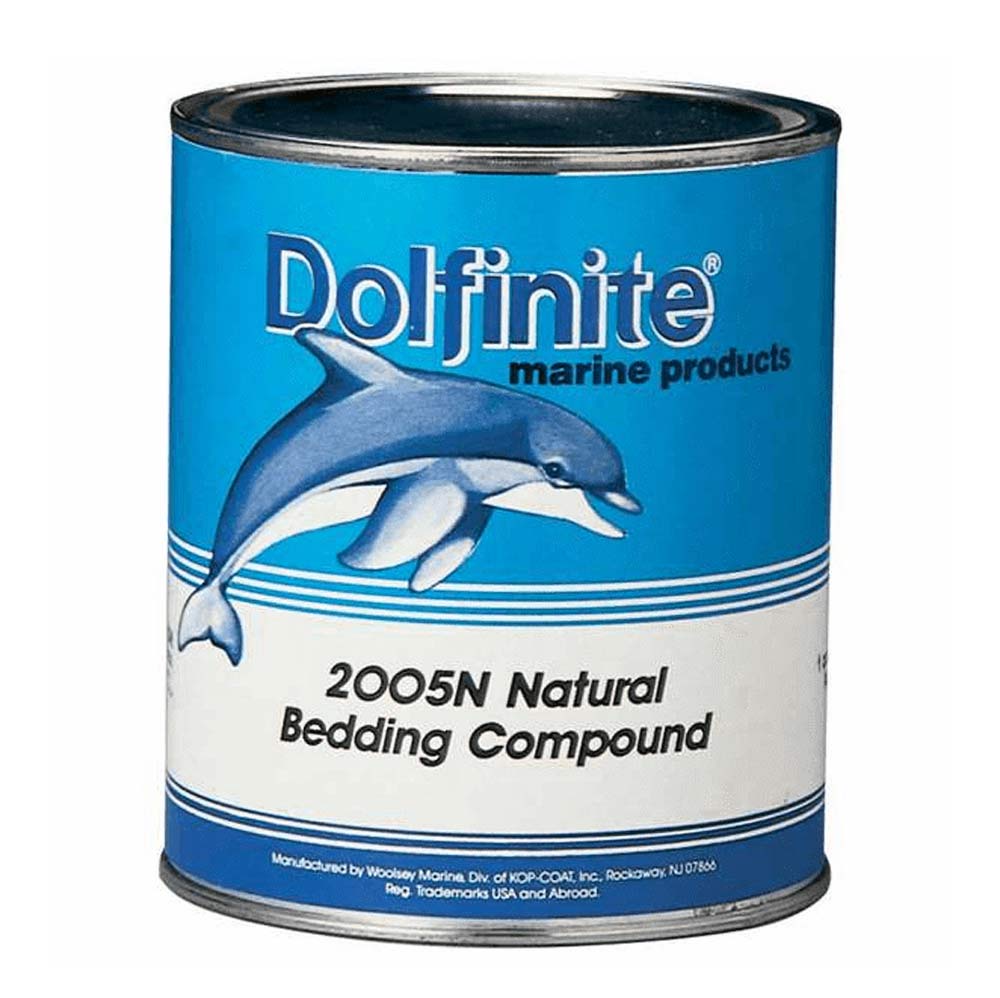
I used bedding compound between the spray rails and the gunnel. As the screws are tightened the excess compound is slowly squeezed out and removed. Also fill the countersunk screw holes with compound before attaching metal strake.

Other folks that have used 3M Marine sealants and choosing the lower adhesion grade is good idea just case you may want to remove again.

I had a scare soon after refinishing and attaching the rails.
We were returning to home port at night under a full moon on near glass smooth water. A light mist rose above water surface adding to the magic. We had celebrated our wedding anniversary that night with dinner at a favorite waterfront dive and were headed back when I felt water spraying on my ankles. I reached down a sure enough water was coming in the boat.
It was dark and I didn’t know where it was coming from and really should have chosen my words better.
The magic of the moment completely vanished with me uttering “OMG there’s water coming in the boat”.
I freaked out, she cried, but we got back to home port no problem and the water was simply getting under the spray rail.

Was able to pull it off and reseal again. I initially did the starboard side first and apparently took a lesson because the port side never leaked.
And we still go out for the moon light cruises.


There are a lot of moving parts back there that need to line up for the trim pieces to fit properly.


I think they learned that and replaced the inside fin with a two-piece casting.

“Did you have any issues getting the top to sit flush on the sides? I am trying to pull the top where it sits flush. Initially I had a 1/4" strip of wood under it, but at that point my gunnel board were too deep(3/4") Now they are the right depth, but I'm still having a hard time getting the end of the top(where the windshield trim screws into the gunnel) to sit flush.”
Not sure what you are referring to here?

Thanks,
Terry
Attachments:
The following user(s) said Thank You: Nwtexan

Please Log in or Create an account to join the conversation.

The art of sanding new gelcoat?! 2 years 9 months ago #146209

  • 63 Sabre
  • 63 Sabre's Avatar
  • Offline
  • Contributing Member
  • Contributing Member
  • Posts: 4676
  • Karma: 147
  • Thank you received: 167
hey Terry. Sounds romantic.
Night navigation is "exciting" to say the least. A few years back we were doing night driving coming back from 4th of July fireworks on the open water Green Bay. Slow cruise using GPS and following channel buoys to get back to port when we hit a dead head with the lower unit. Kicked the motor up and scared the crap out of me. Luckily going slow and no damage other than more laundry to do.

Please Log in or Create an account to join the conversation.

The art of sanding new gelcoat?! 2 years 9 months ago #146211

Thanks Terry! I ordered 38' of the 1 1/4". They recommend gluing it on. Did you do that, or do you think the mechanical bond with the trim piece on either end holding them tight is enough?

I did bed the splash rails initially. I used 4200 i think. I'll try the bedding compound as the 4200 pulled some wood off of the rails. I don't have the strake cover. I need to do some wood replacement on the rails, want to get it so all the screws are the same depth and I can use cap nuts on the inside(like yours). Ive got some mahogany to make plugs to fill.

Ill show a pic of the trim. It's gonna be a trick to get it close as the transom had to be cut down to fit the early 60's splashwell. I might need to look for the early 60's rear trim with the two piece.

Terrydi wrote: You need the 1 1/4 G profile and black should look fine.


I replaced it a couple times and never picked up a hammer. It basically hooks on and I guarantee your hands will get a good workout. Just shove in the center portion and hook over the top a few inches at time. And be sure to stretch it as you work it on.

The spray rails must be well sealed as water is forced up under the rail when underway.


I used bedding compound between the spray rails and the gunnel. As the screws are tightened the excess compound is slowly squeezed out and removed. Also fill the countersunk screw holes with compound before attaching metal strake.

Other folks that have used 3M Marine sealants and choosing the lower adhesion grade is good idea just case you may want to remove again.

I had a scare soon after refinishing and attaching the rails.
We were returning to home port at night under a full moon on near glass smooth water. A light mist rose above water surface adding to the magic. We had celebrated our wedding anniversary that night with dinner at a favorite waterfront dive and were headed back when I felt water spraying on my ankles. I reached down a sure enough water was coming in the boat.
It was dark and I didn’t know where it was coming from and really should have chosen my words better.
The magic of the moment completely vanished with me uttering “OMG there’s water coming in the boat”.
I freaked out, she cried, but we got back to home port no problem and the water was simply getting under the spray rail.

Was able to pull it off and reseal again. I initially did the starboard side first and apparently took a lesson because the port side never leaked.
And we still go out for the moon light cruises.


There are a lot of moving parts back there that need to line up for the trim pieces to fit properly.


I think they learned that and replaced the inside fin with a two-piece casting.

“Did you have any issues getting the top to sit flush on the sides? I am trying to pull the top where it sits flush. Initially I had a 1/4" strip of wood under it, but at that point my gunnel board were too deep(3/4") Now they are the right depth, but I'm still having a hard time getting the end of the top(where the windshield trim screws into the gunnel) to sit flush.”
Not sure what you are referring to here?

Thanks,
Terry

Please Log in or Create an account to join the conversation.

The art of sanding new gelcoat?! 2 years 9 months ago #146214

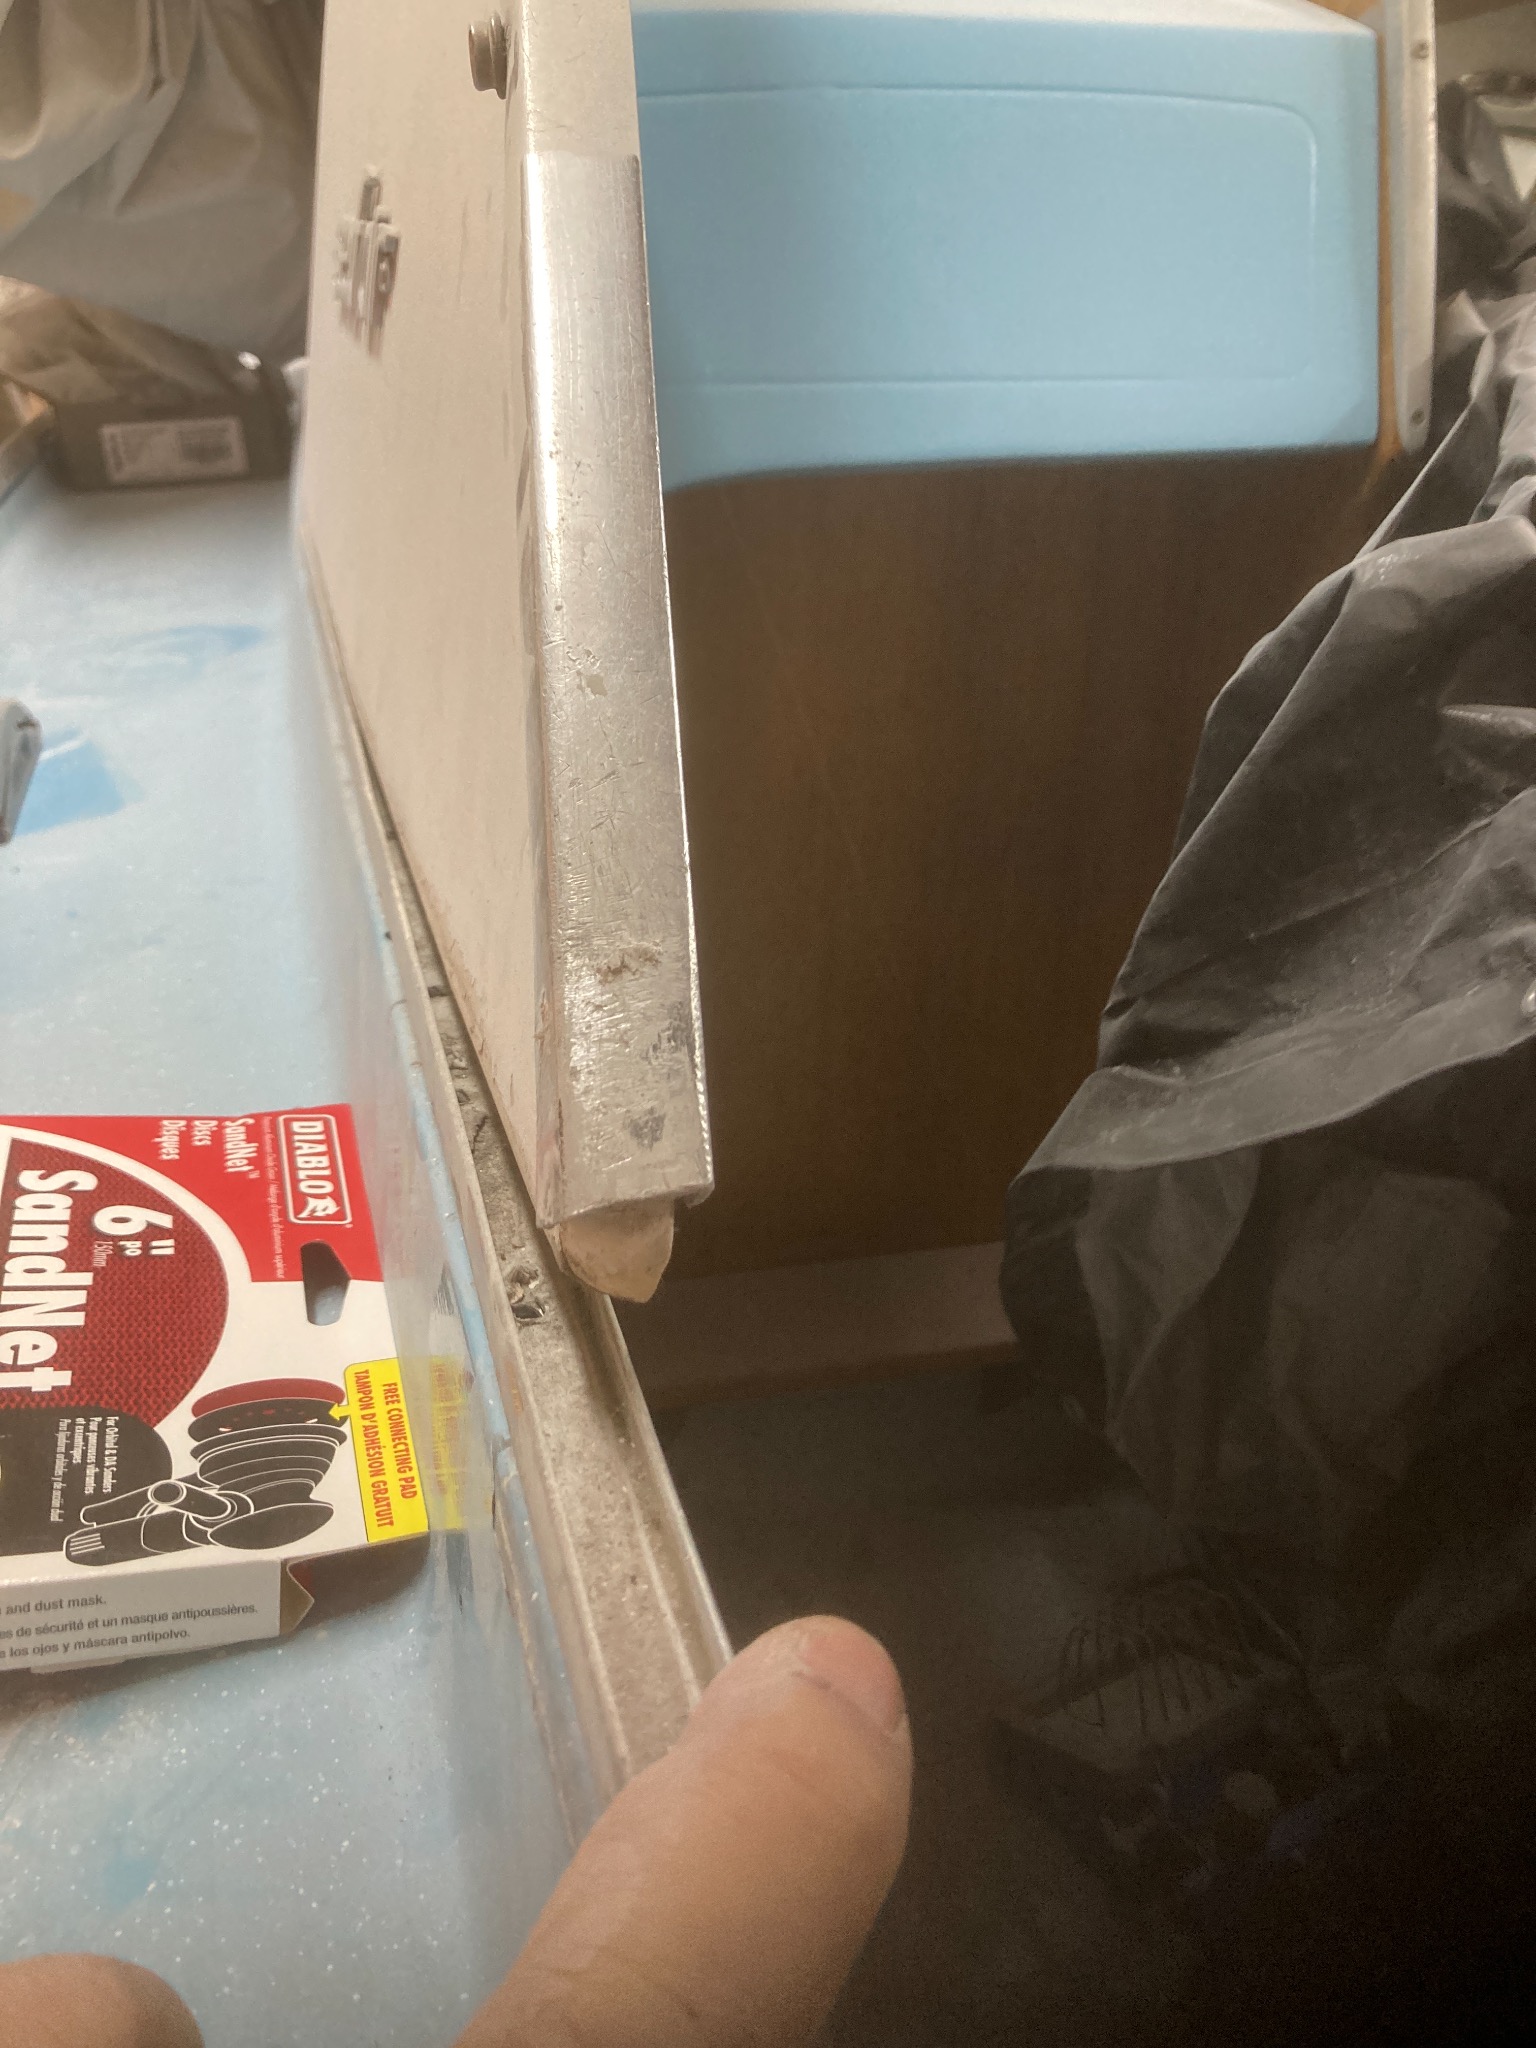
Here are pics of what I’m taking about with the cap
Attachments:

Please Log in or Create an account to join the conversation.

The art of sanding new gelcoat?! 2 years 9 months ago #146219

Hey Texan,

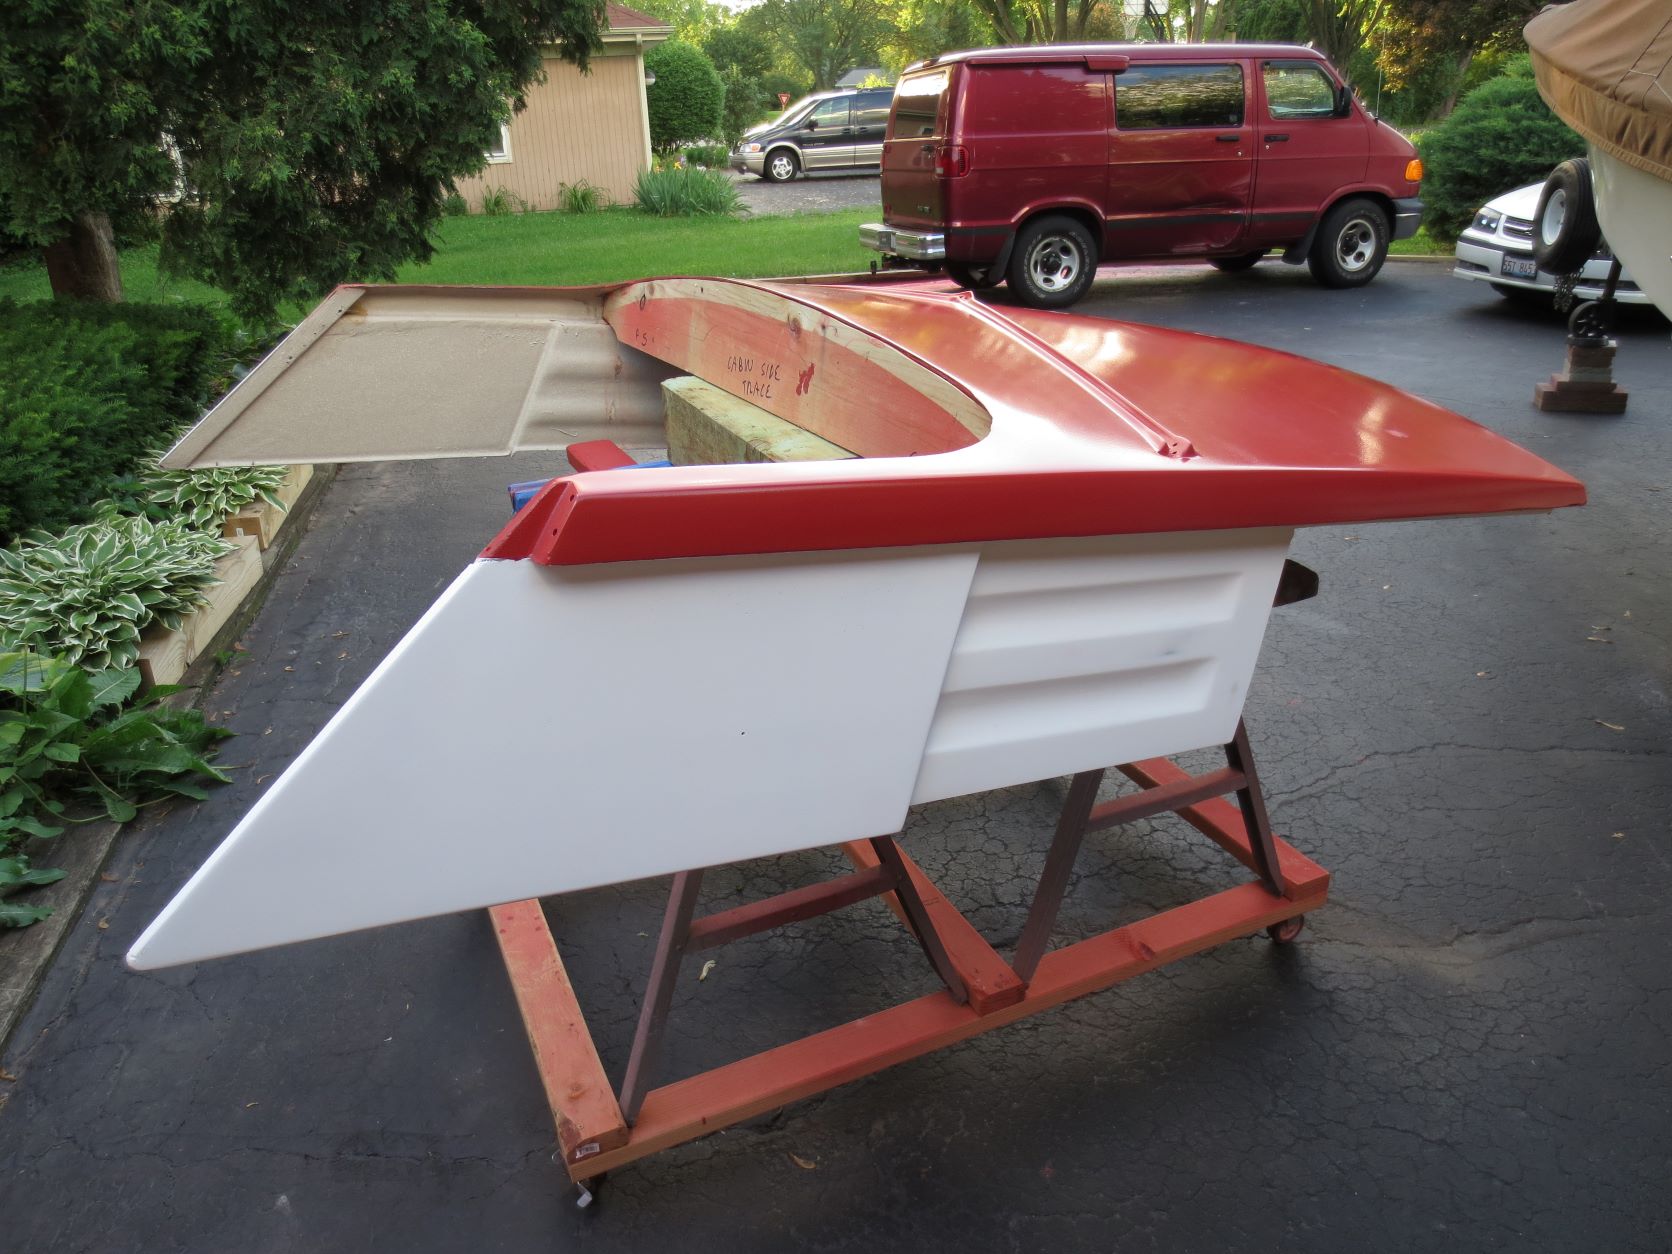
In these shots you can see a gap between side curtains and the deck.


The trim pieces slide in and buttons it all up.


Yours does appear to be sitting higher.


The cabin top rests on top deck here.


Top sides are screwed down to the deck on the inside here under the rubber trim which would set that gap.

Did you remove the cabin top? Is it on both sides? I’ve pulled it off twice and don’t think that ever was an issue.
Again lots of moving parts to line up. It has been said these boats were expensive to build given the design complexity.

I used no adhesive on the rubrail. Warm rubber helps and if you want lube soapy water is best. If a section does pop out it simply needs to stretched more.

Thanks,
Terry

Please Log in or Create an account to join the conversation.

The art of sanding new gelcoat?! 2 years 9 months ago #146247

Terry,

Thanks for the reply!

I didn't pull the cap off. I actually didn't know how to the first time, and didn't want to the second time.
I will go through and see where it might be pulling up. I think once I get the new gunnel boards in I may be able to pull it tighter.
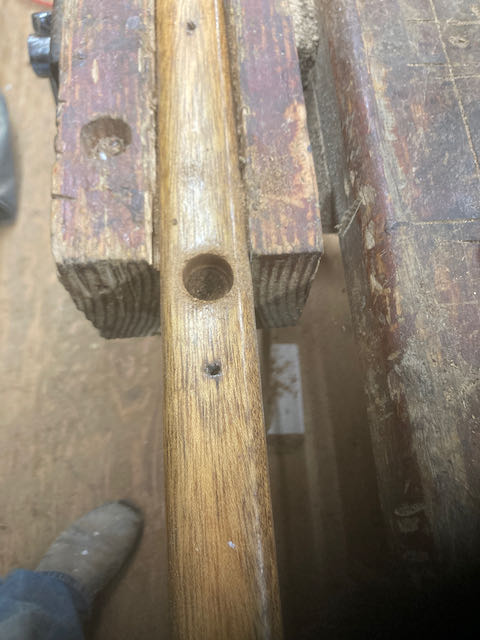
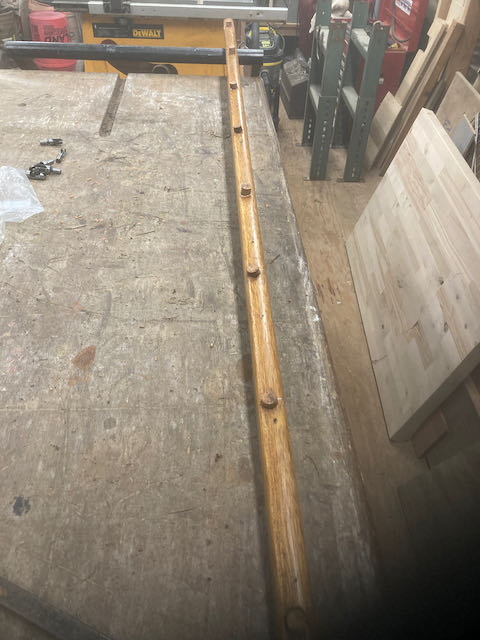
I just my rubrail! Very excited! Also drilled and replugged my splashrails so the screws will be more even. The wood had been wallowed out over the years. I will cut, sand, fill, and then redrill so the 1/4 bolts are even with the top. I'm gonna re-varnish these, along with the inside boards and gunnel boards.

I actually have some of the read 60's trim. I'm missing the lower piece for the starboard side. Attached is the port piece.

After spending what seemed like a month wet sanding with 320 to try to get the bumps down, I had a breakthrough, grabbed some 220 and carefully took them down in about 2 hours! I followed this up with wetsanding from 320-400-600-800. etc. I stopped because I am now painting the stripe and realized I could have some errant paint.

Also started sanding the pitted aluminum. This boat needs a lot of love in these ways. I am using 80G to get the pits out and then coming back through with higher grits. My goal is to try to get this all as clean as possible. Much more cosmetic work this time. I think I'm even re-painting the motor cowling and re-doing the stickers!
Attachments:

Please Log in or Create an account to join the conversation.

The art of sanding new gelcoat?! 2 years 8 months ago #146316

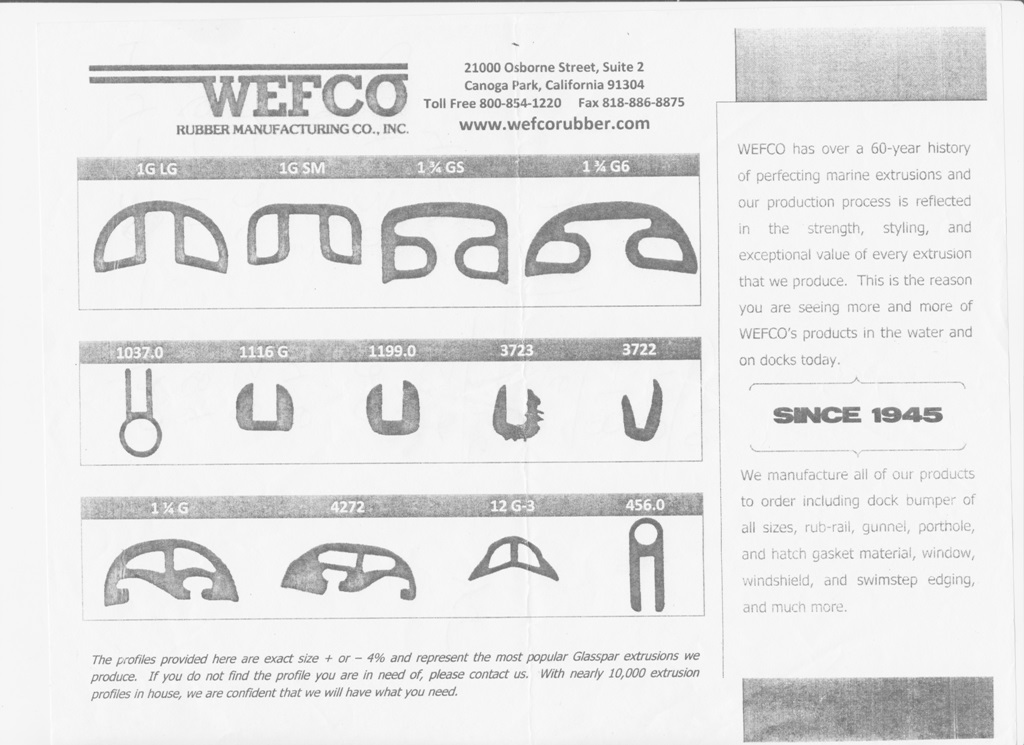
Interesting. There was quite a bit of discussion on the old Glasspar Forums about the correct rubrail for the Seafairs. Based on the ease of installation, I ordered the "4272" for my '59. It went on quite easily and looks good. The profile also matched what came off.

Please Log in or Create an account to join the conversation.

The art of sanding new gelcoat?! 2 years 8 months ago #146317

Hey Stripgear,

Very Interesting indeed. I may have shot from the hip and fouled up on that Wefco #.

NWtexan,
I did not mean to steer you wrong but the correct profile is the Wefco 4272. I think?


4272 and 1-1/4G

They once sent me a roll once and it didn’t fit. There was some confusion in CA over what was in fact correct for the 59 Sedan.


Terry
Attachments:

Please Log in or Create an account to join the conversation.

The art of sanding new gelcoat?! 2 years 8 months ago #146318

  • 63 Sabre
  • 63 Sabre's Avatar
  • Offline
  • Contributing Member
  • Contributing Member
  • Posts: 4676
  • Karma: 147
  • Thank you received: 167
80 grit on the aluminum seems a bit of overkill. You might be spending more time trying to remove the scratches from the 80. IMHO start with 220 and work up. Better yet start with some steel wool different grits. and use lots of running water. A buffer wheel with Mother's aluminum polish to finish.
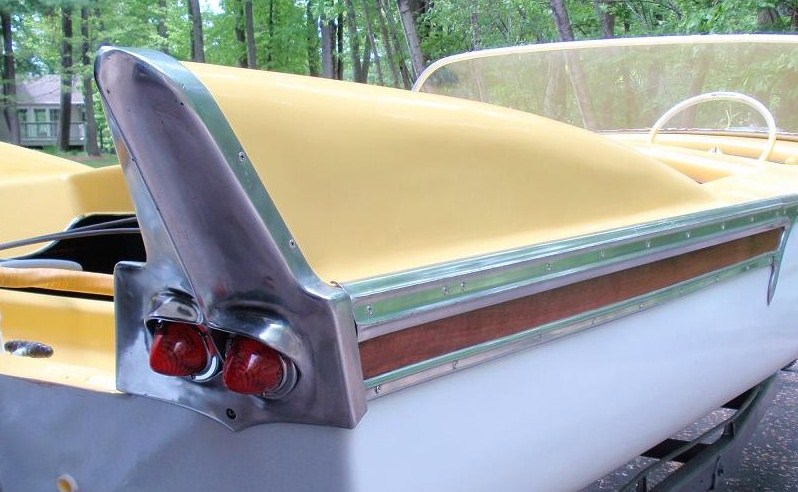
The tail fins on my Herters were worse than your picture and some of the pits were actual casting holes.
Attachments:

Please Log in or Create an account to join the conversation.

The art of sanding new gelcoat?! 2 years 7 months ago #146443

Hello,

Update with a couple of questions--

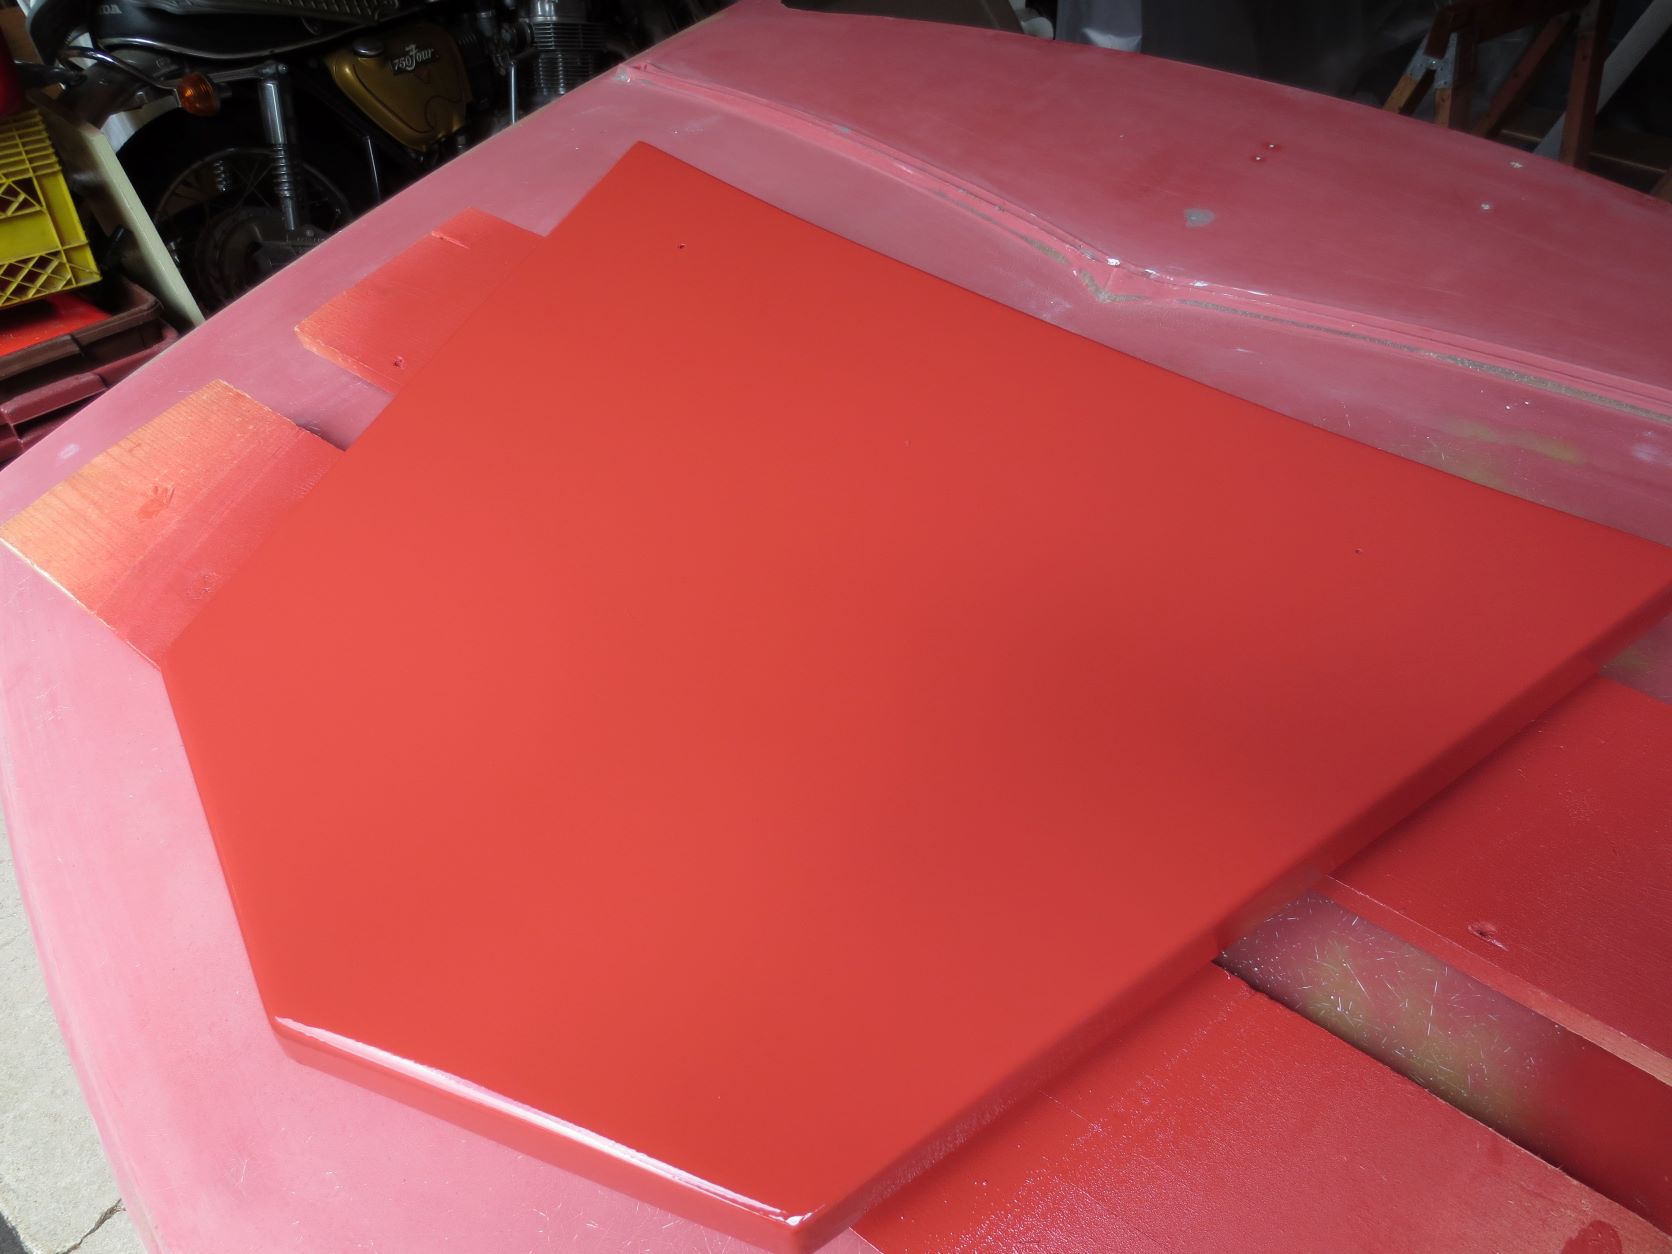
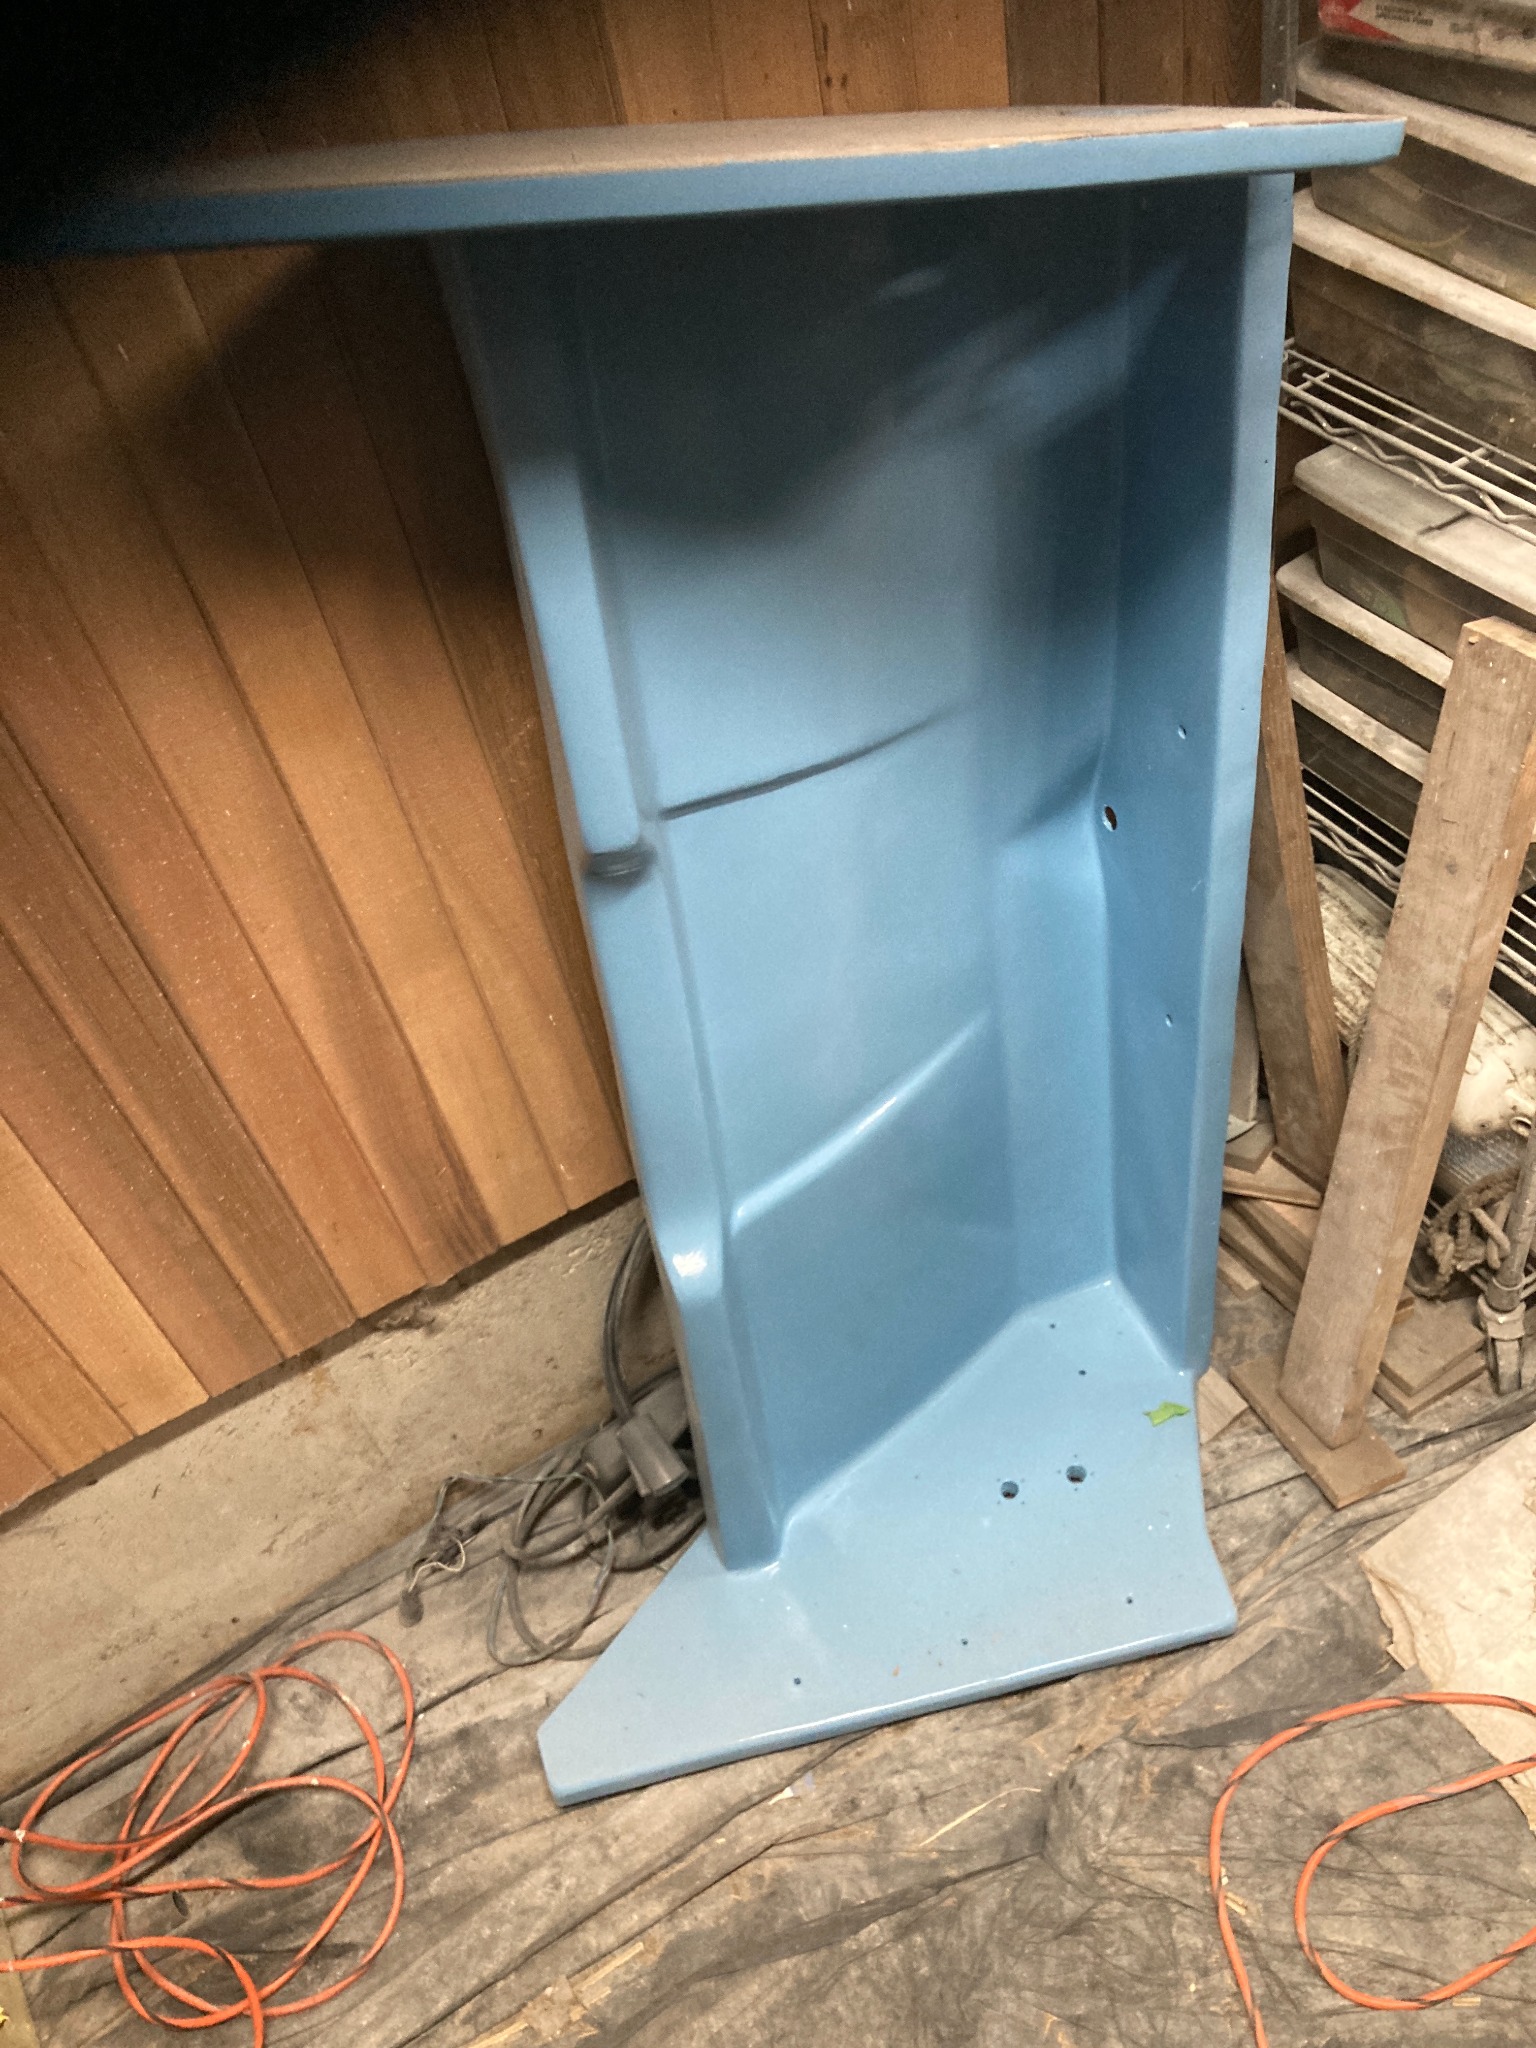
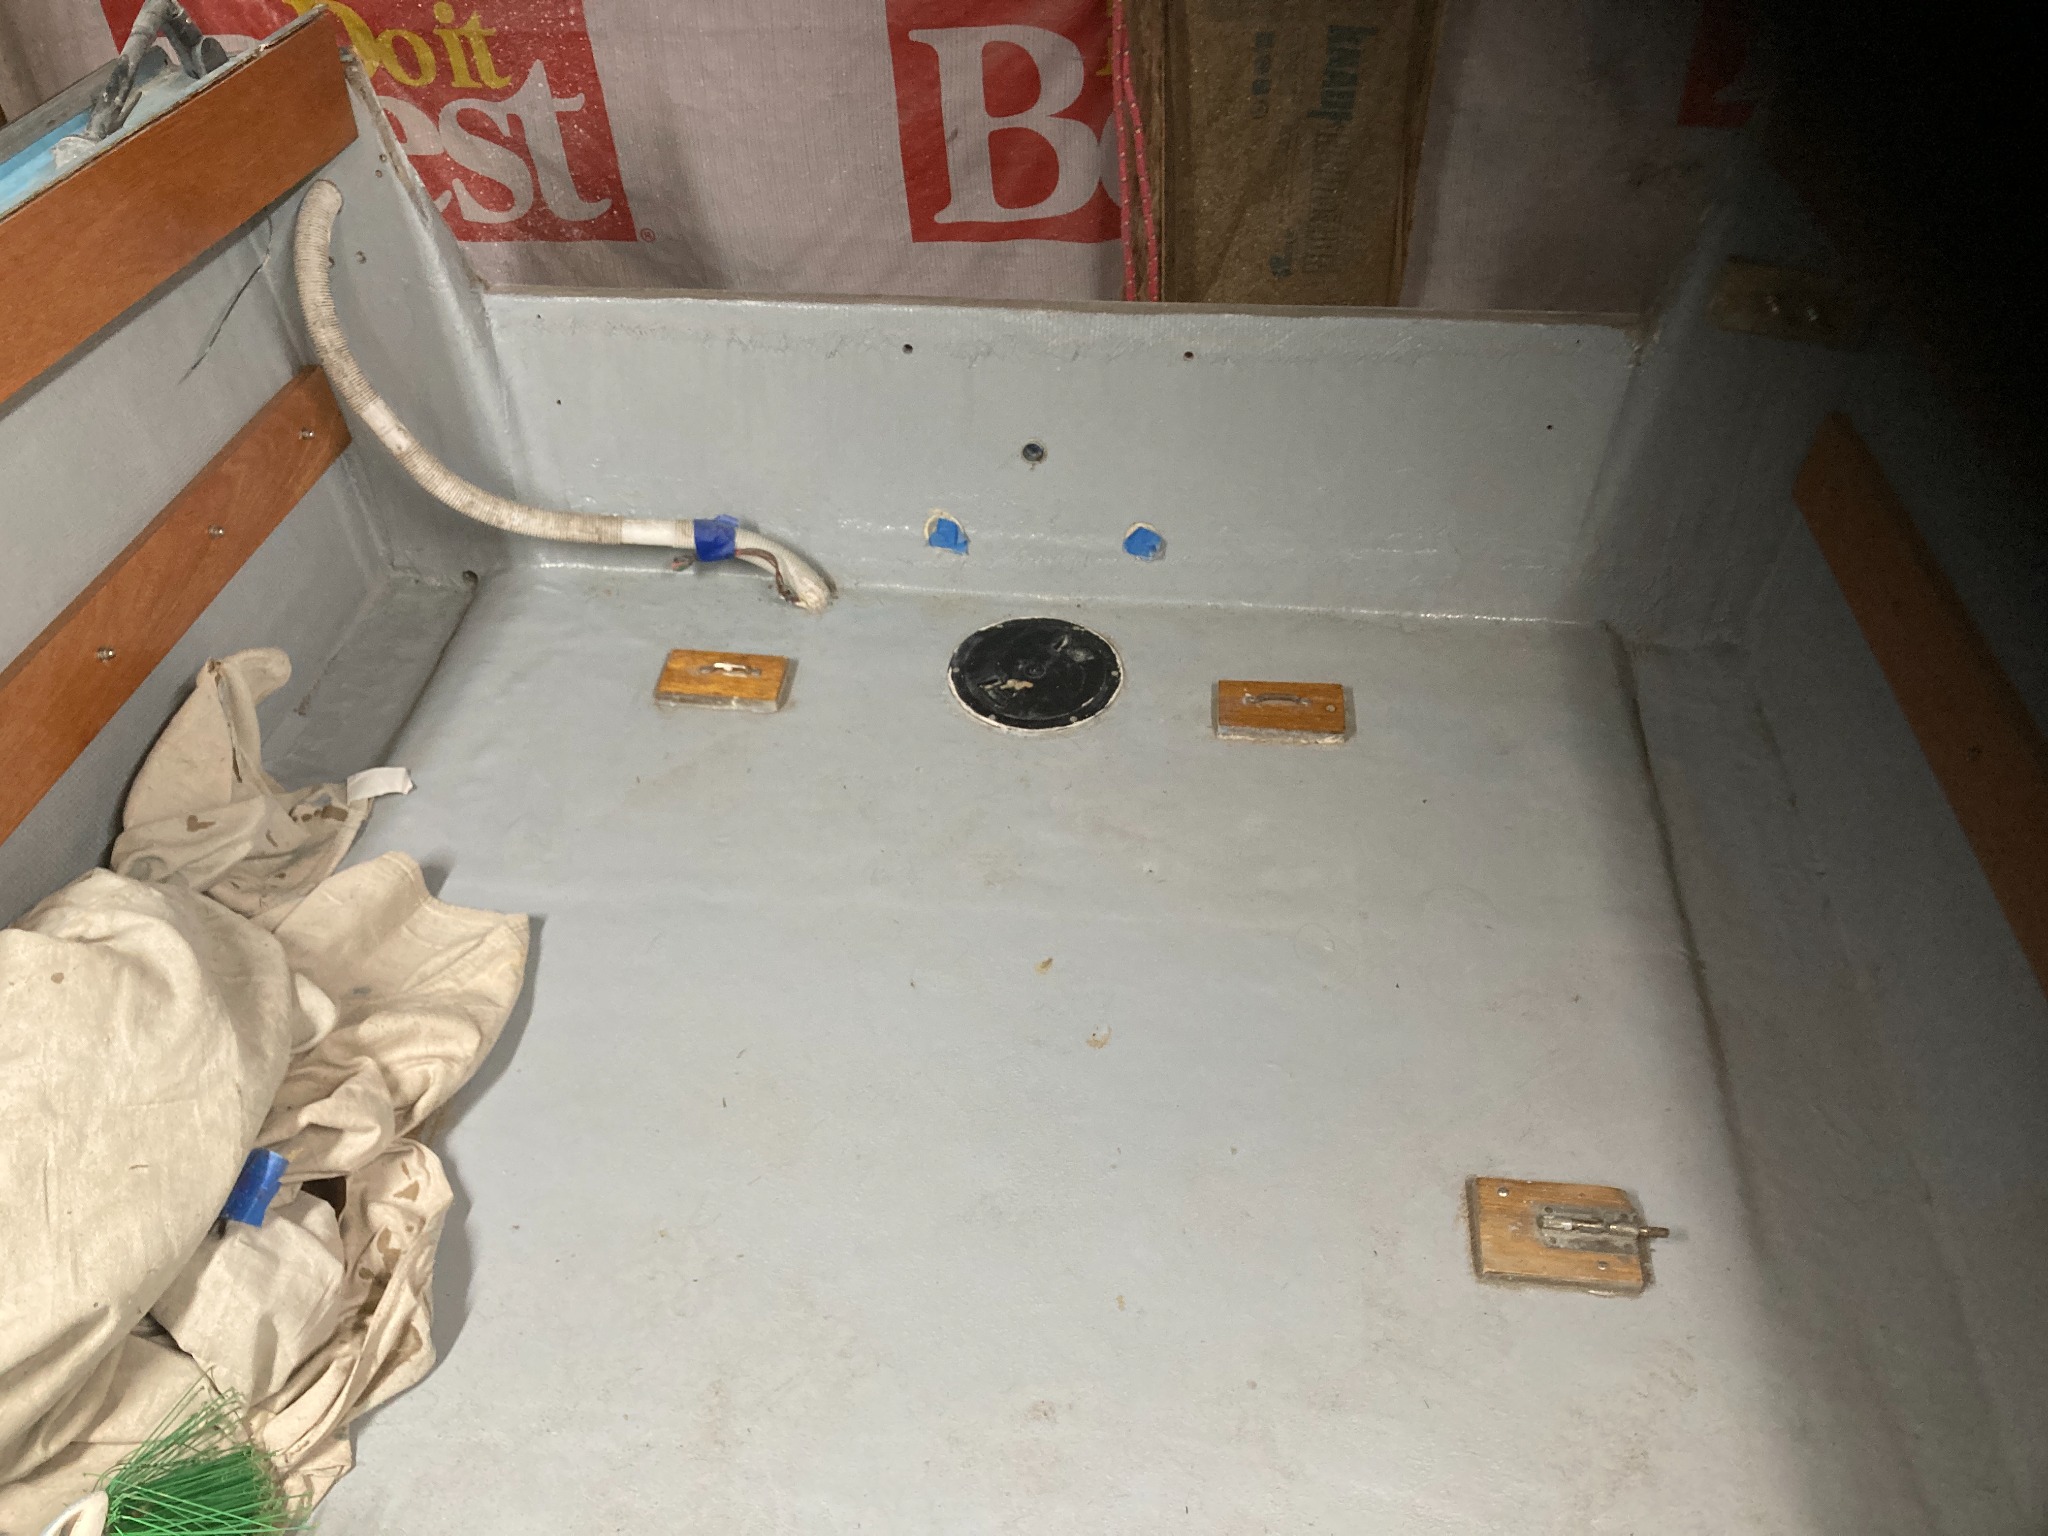
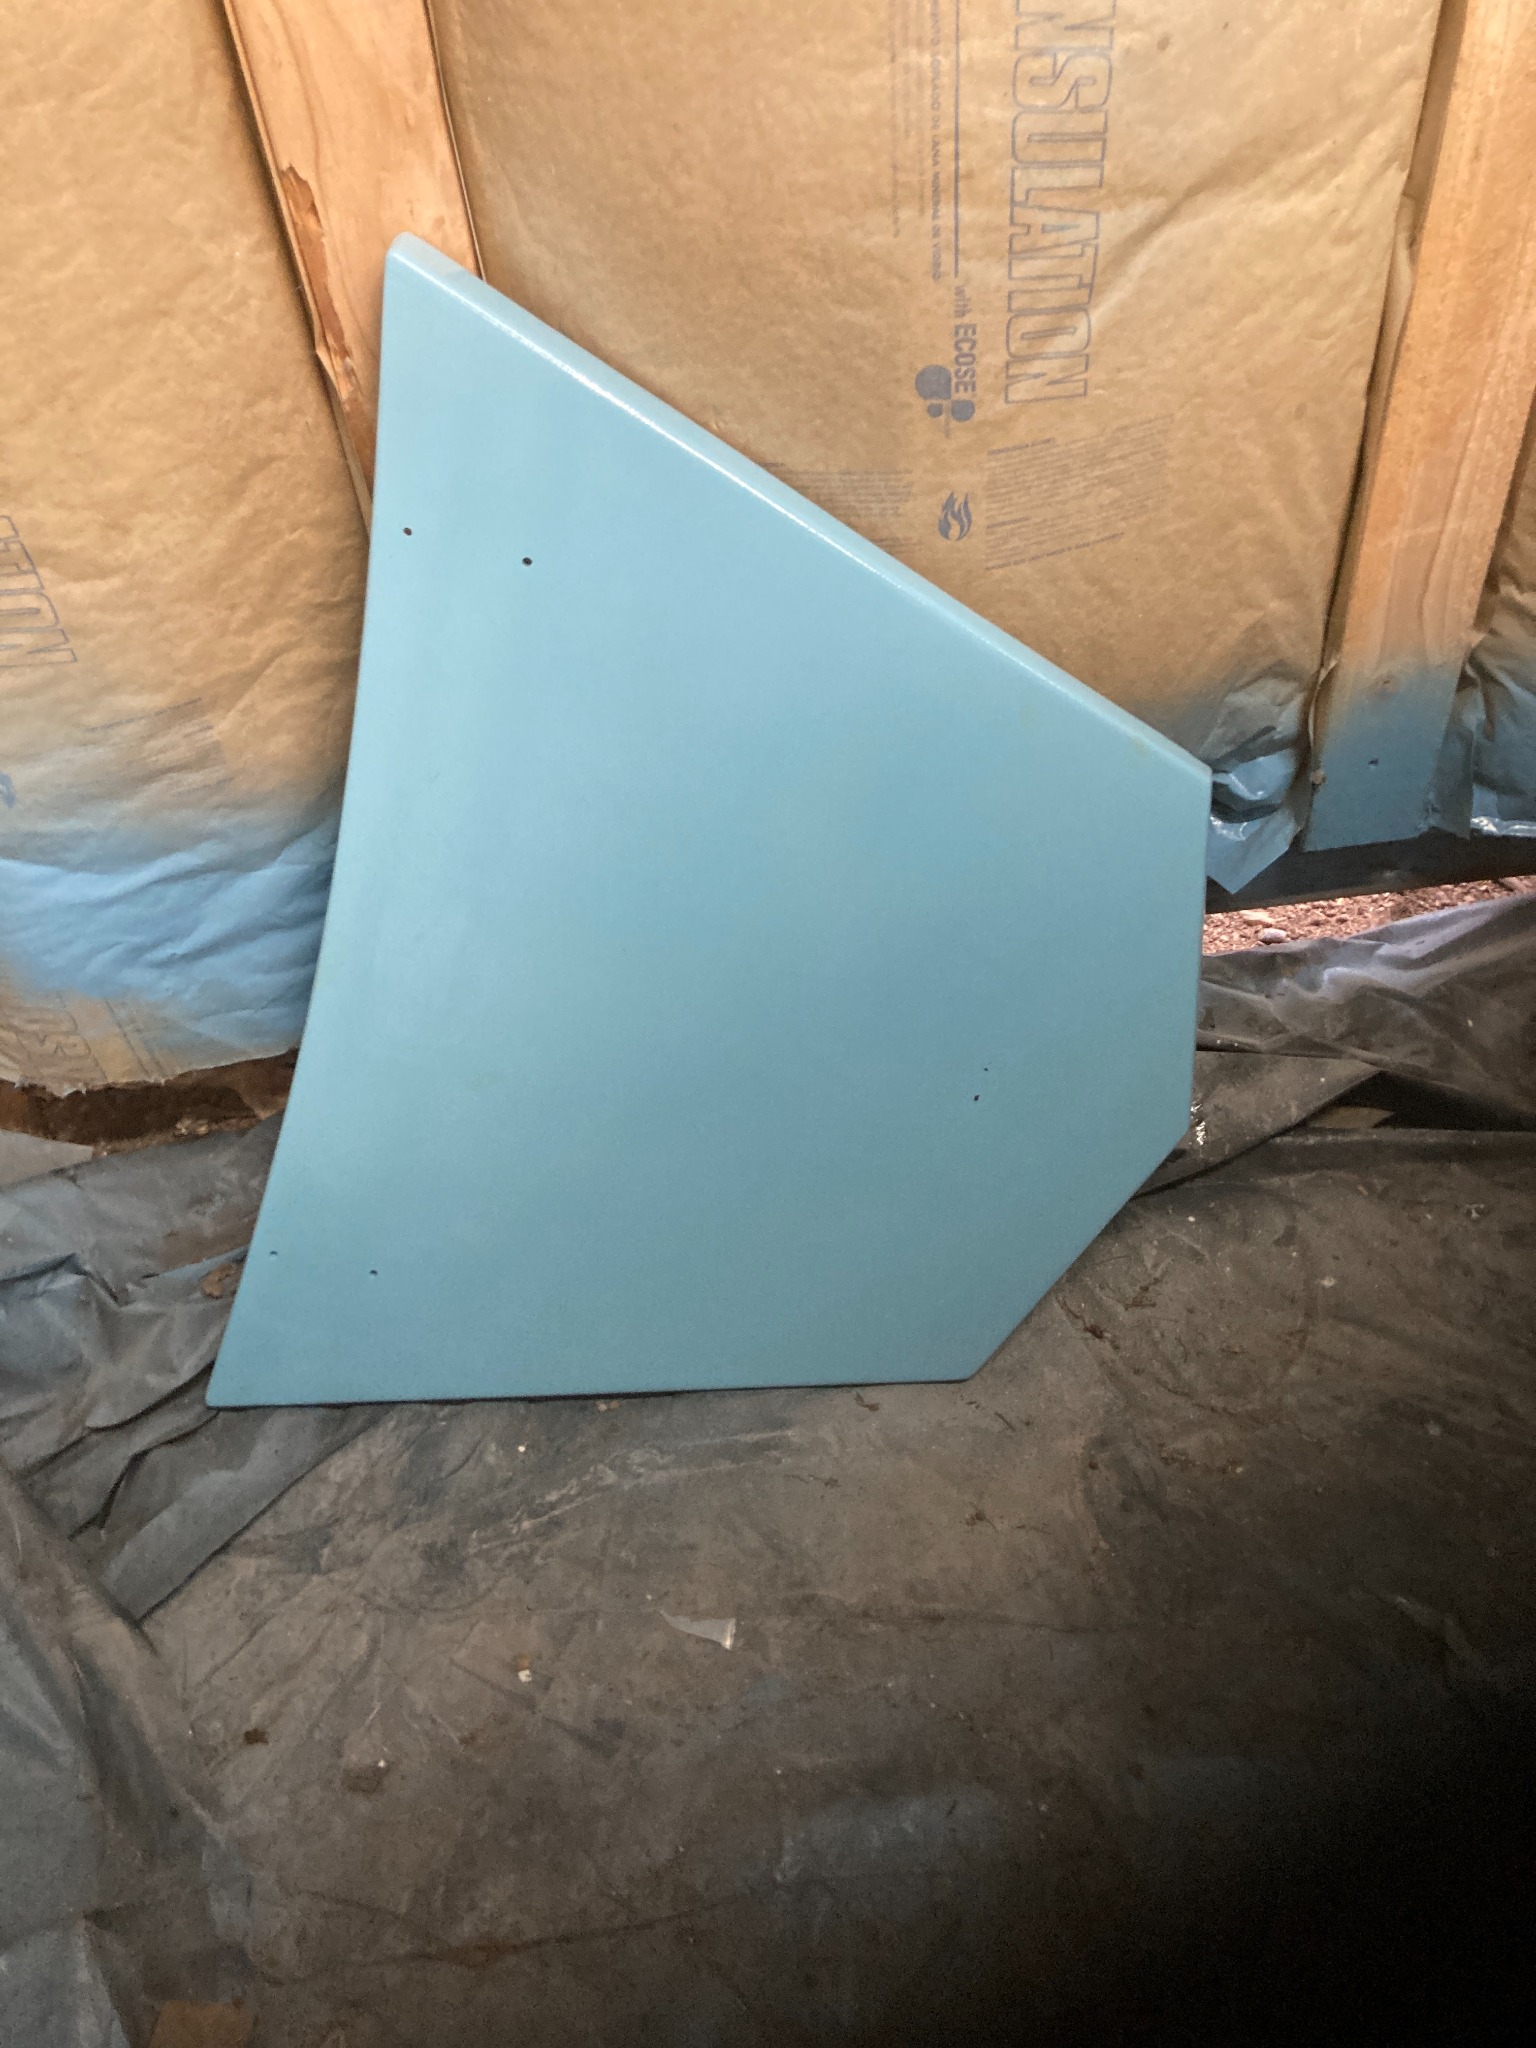
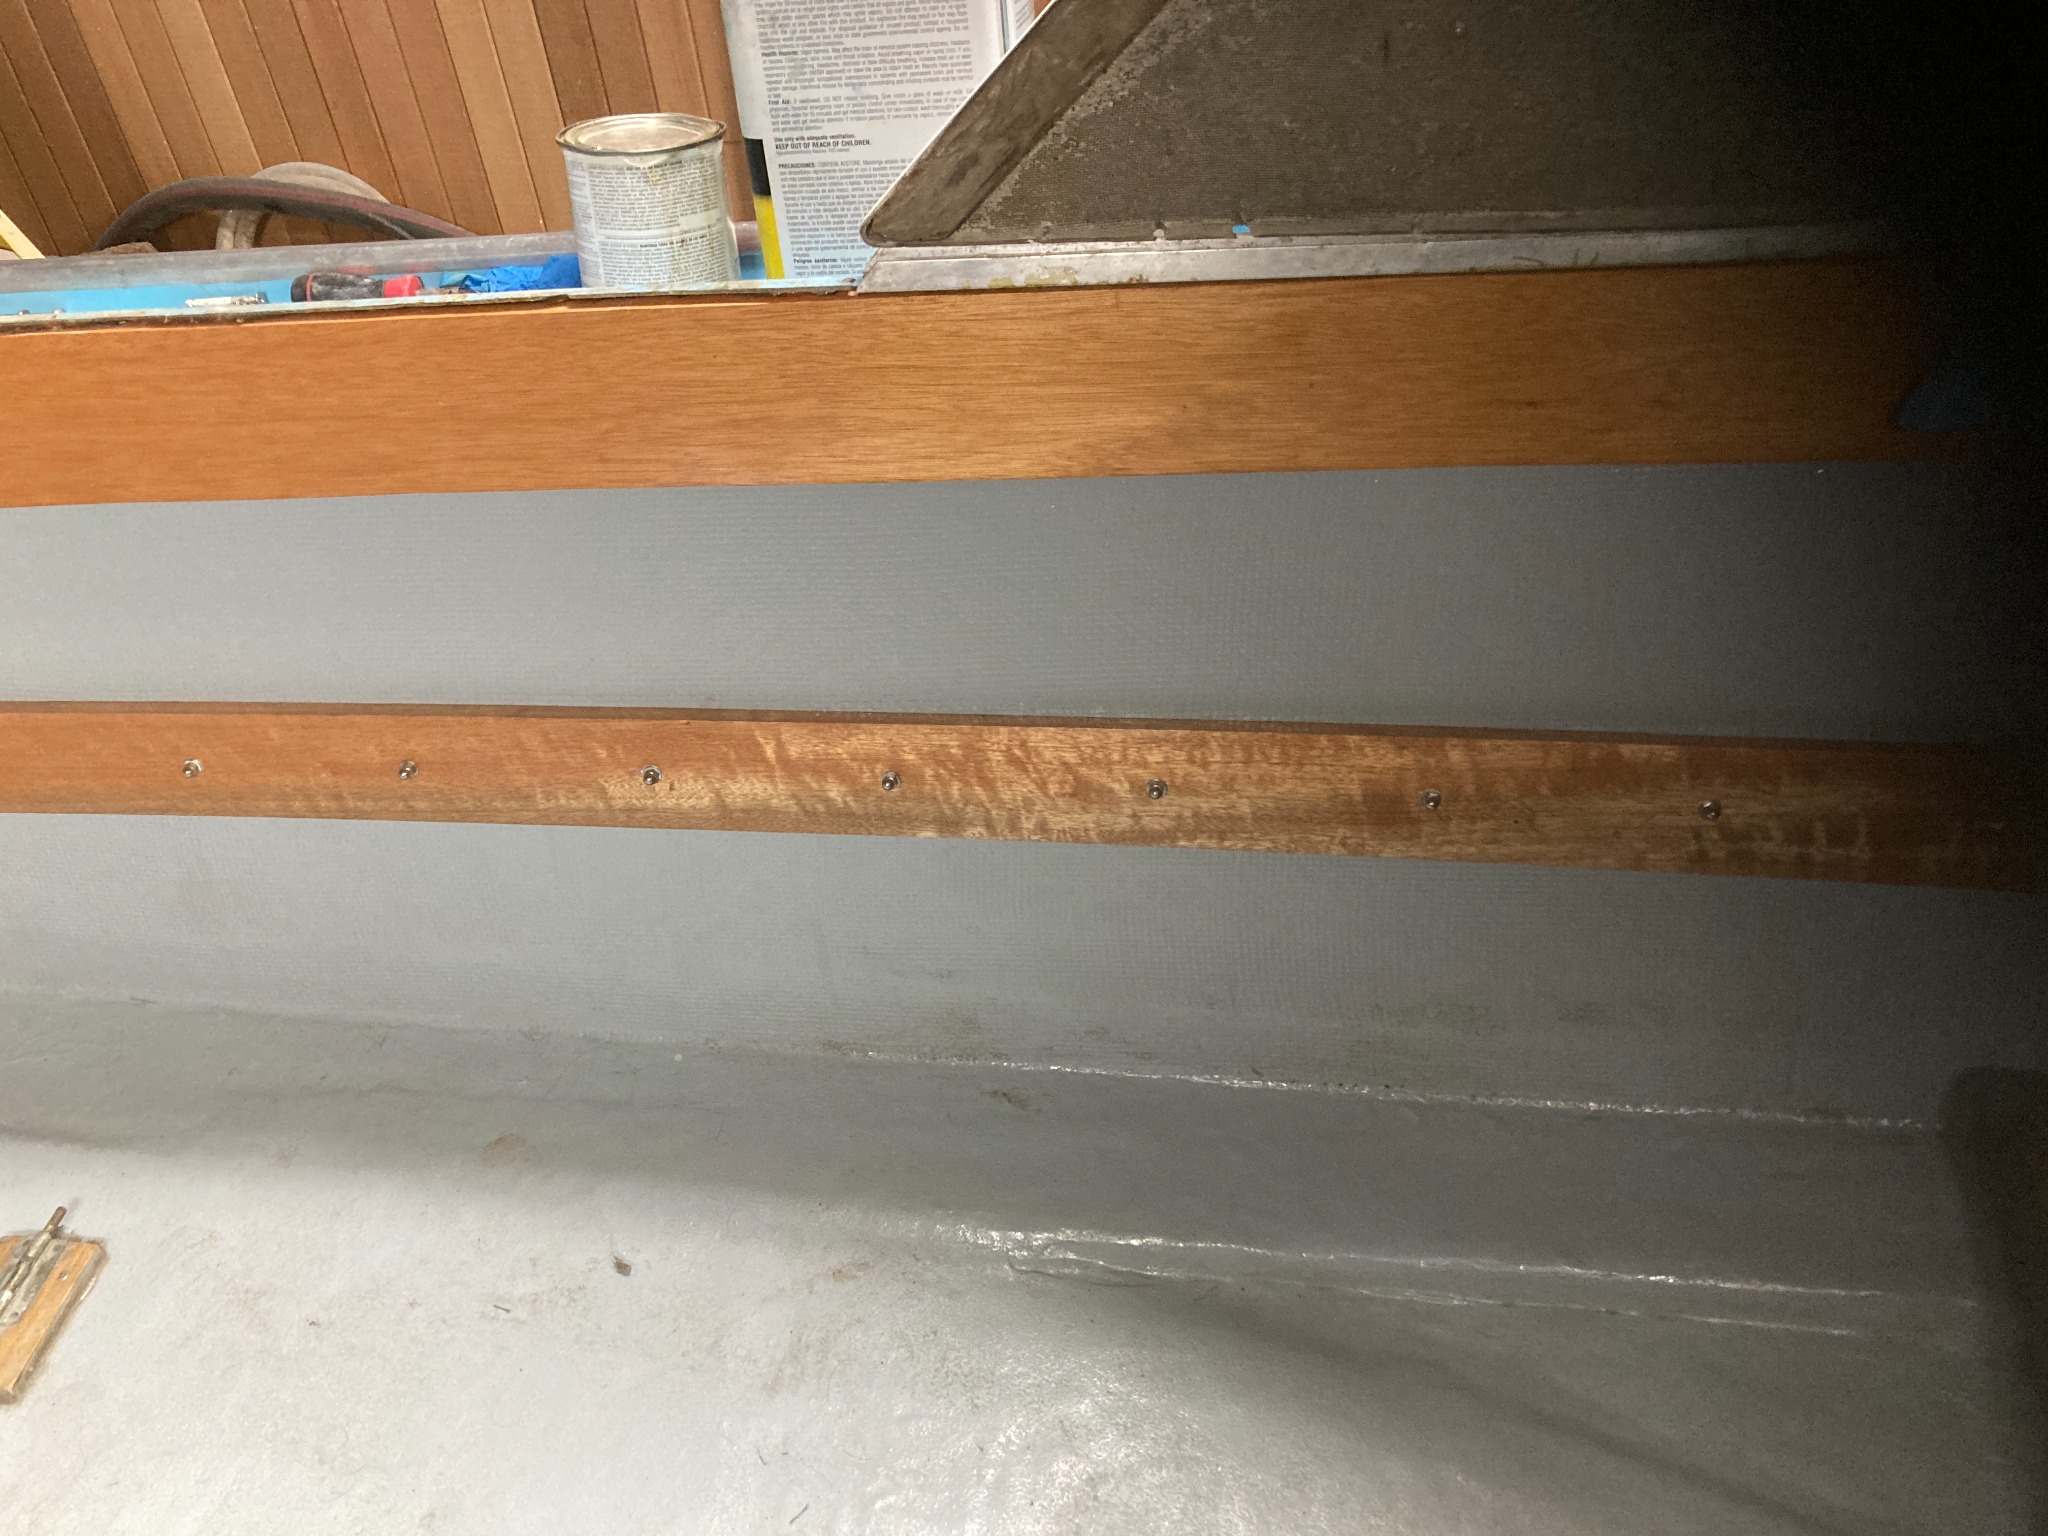
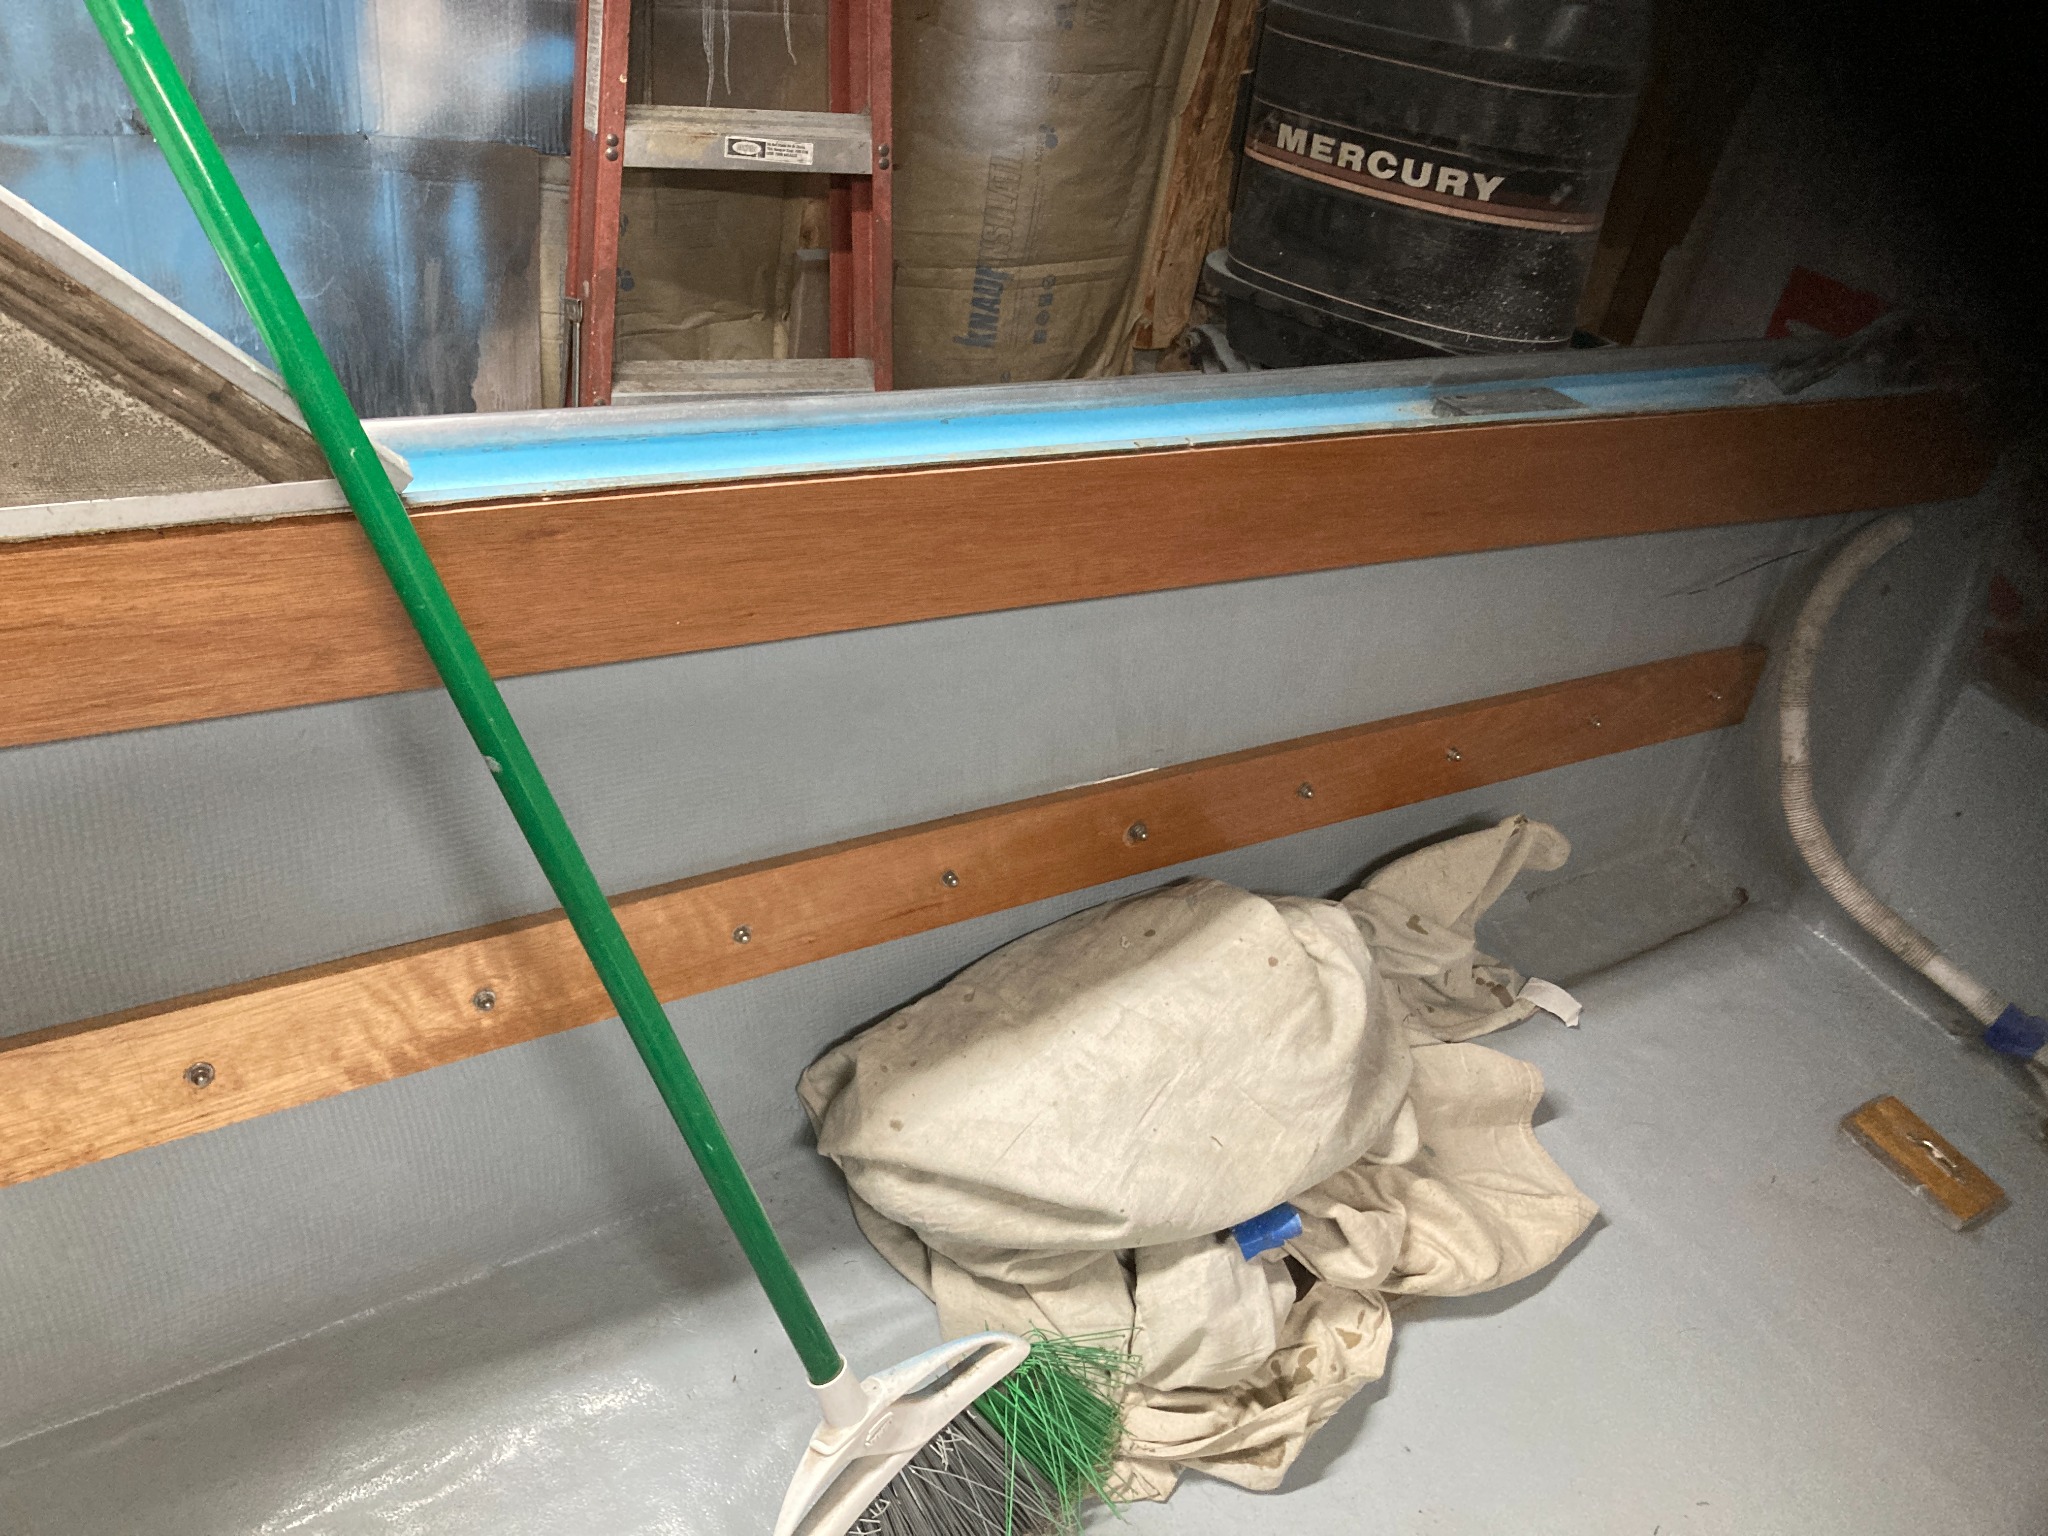
I regelcoated hull, repainted racing stripe, deck and main cabin, replaced rub rail, and restored aluminum. I'm now in the process of re-installing pieces and trim. I've come to a temp stopping point for 3 weeks of work travel, but hope to have the boat back up and running a week or so after I get back. Here are some quick pics of where Im at. Splashwell is gelcoated. Hatch(along with deck) are painted with Marshall's Cove 'light blue' enamel. The main cabin has been repainted, but i used a skid coat, which unfortunately is already dirty!

Couple of things I'm curious about:
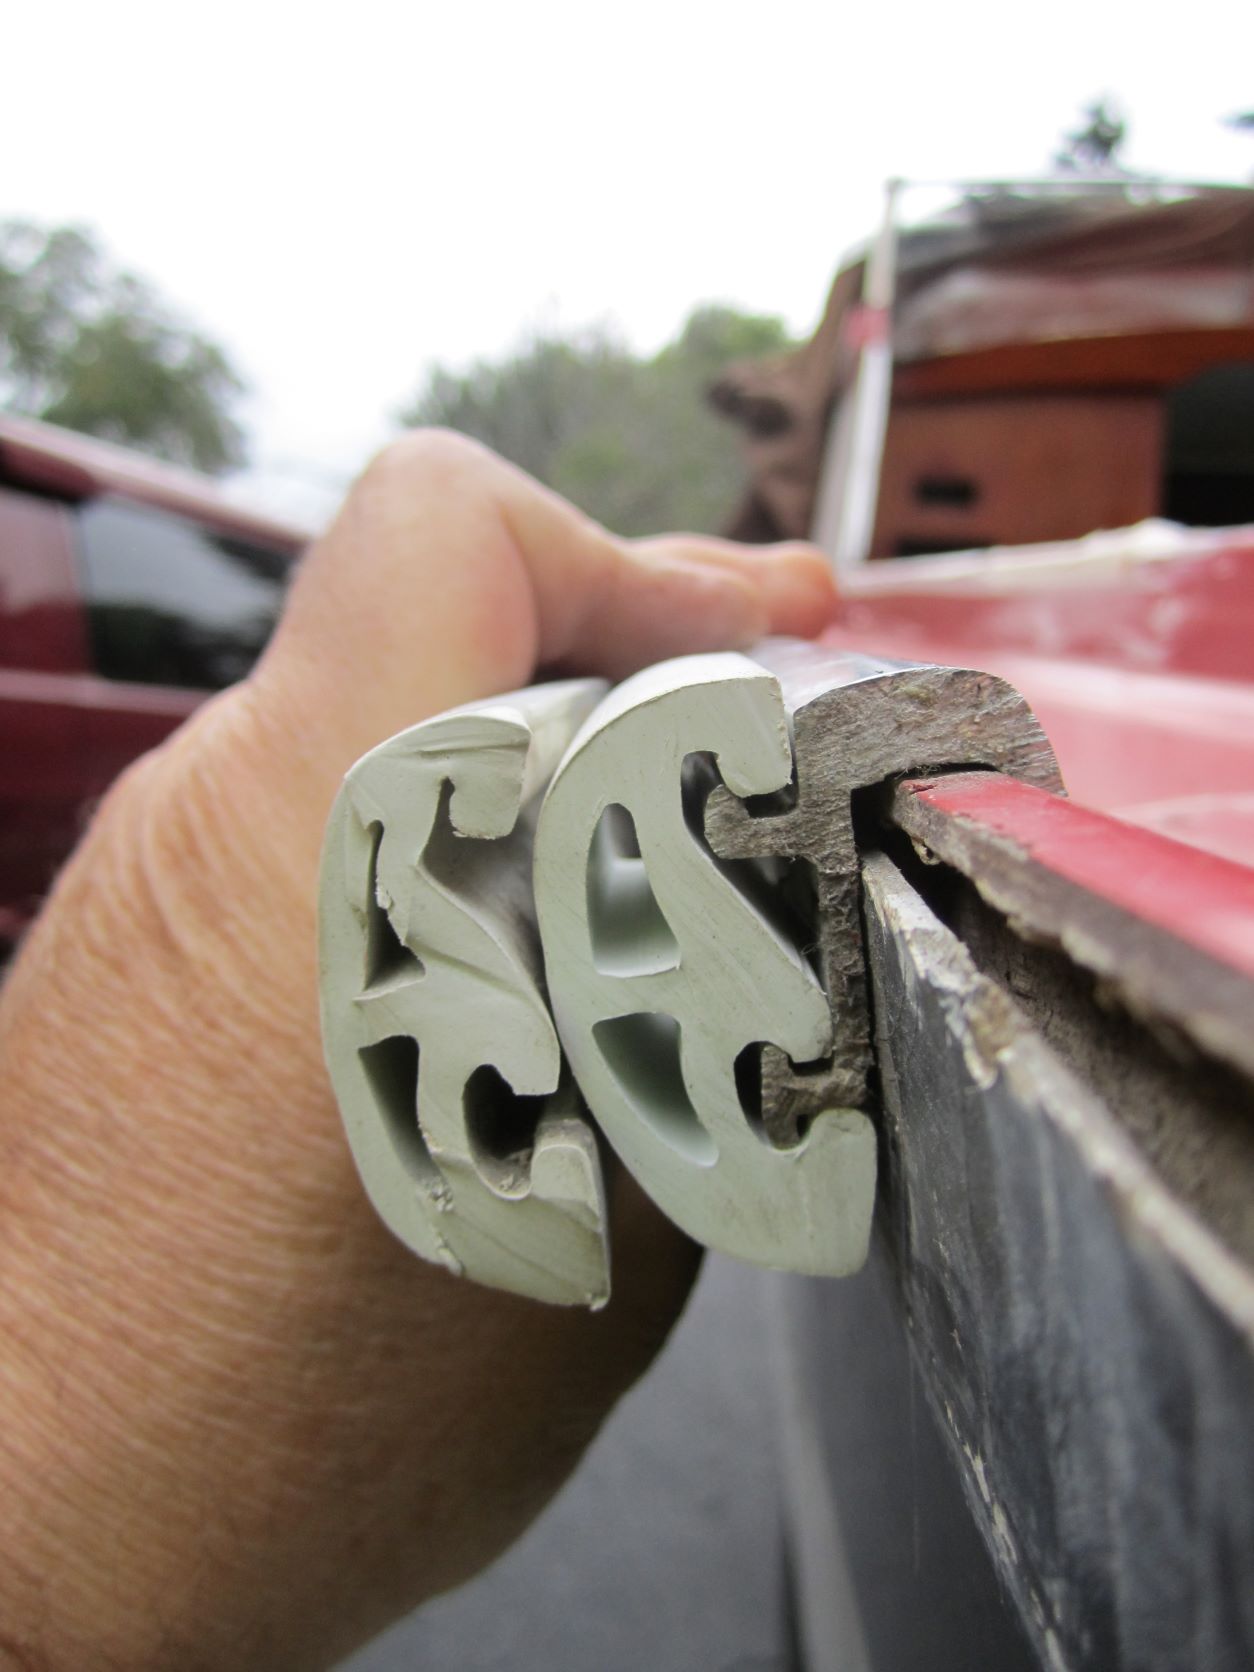
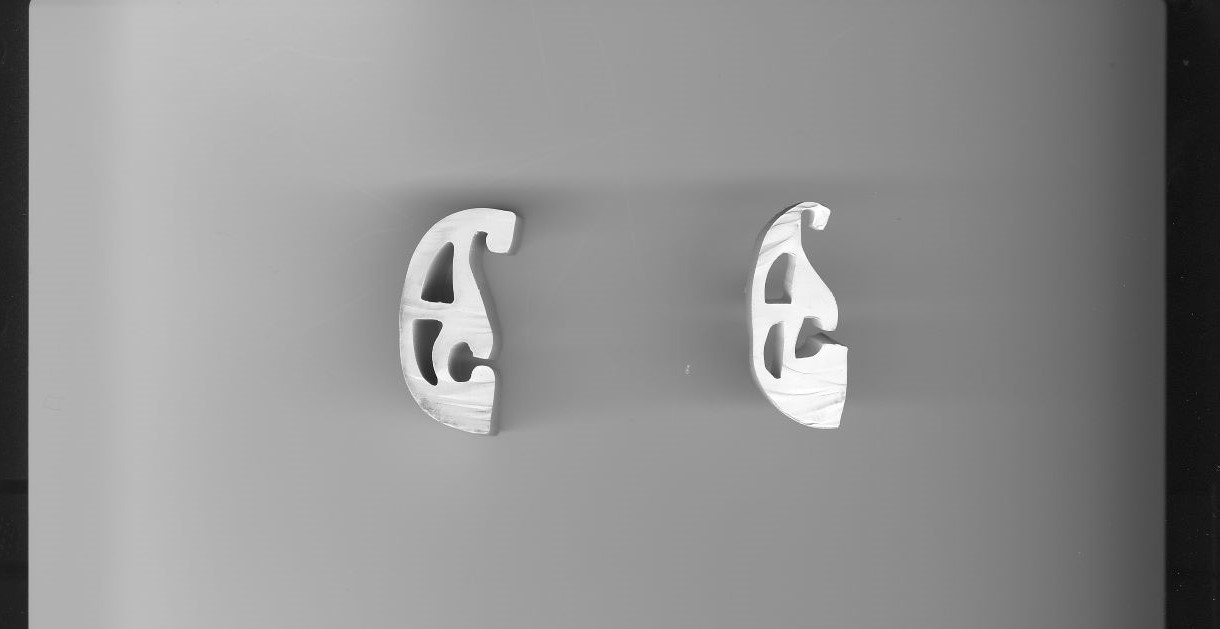
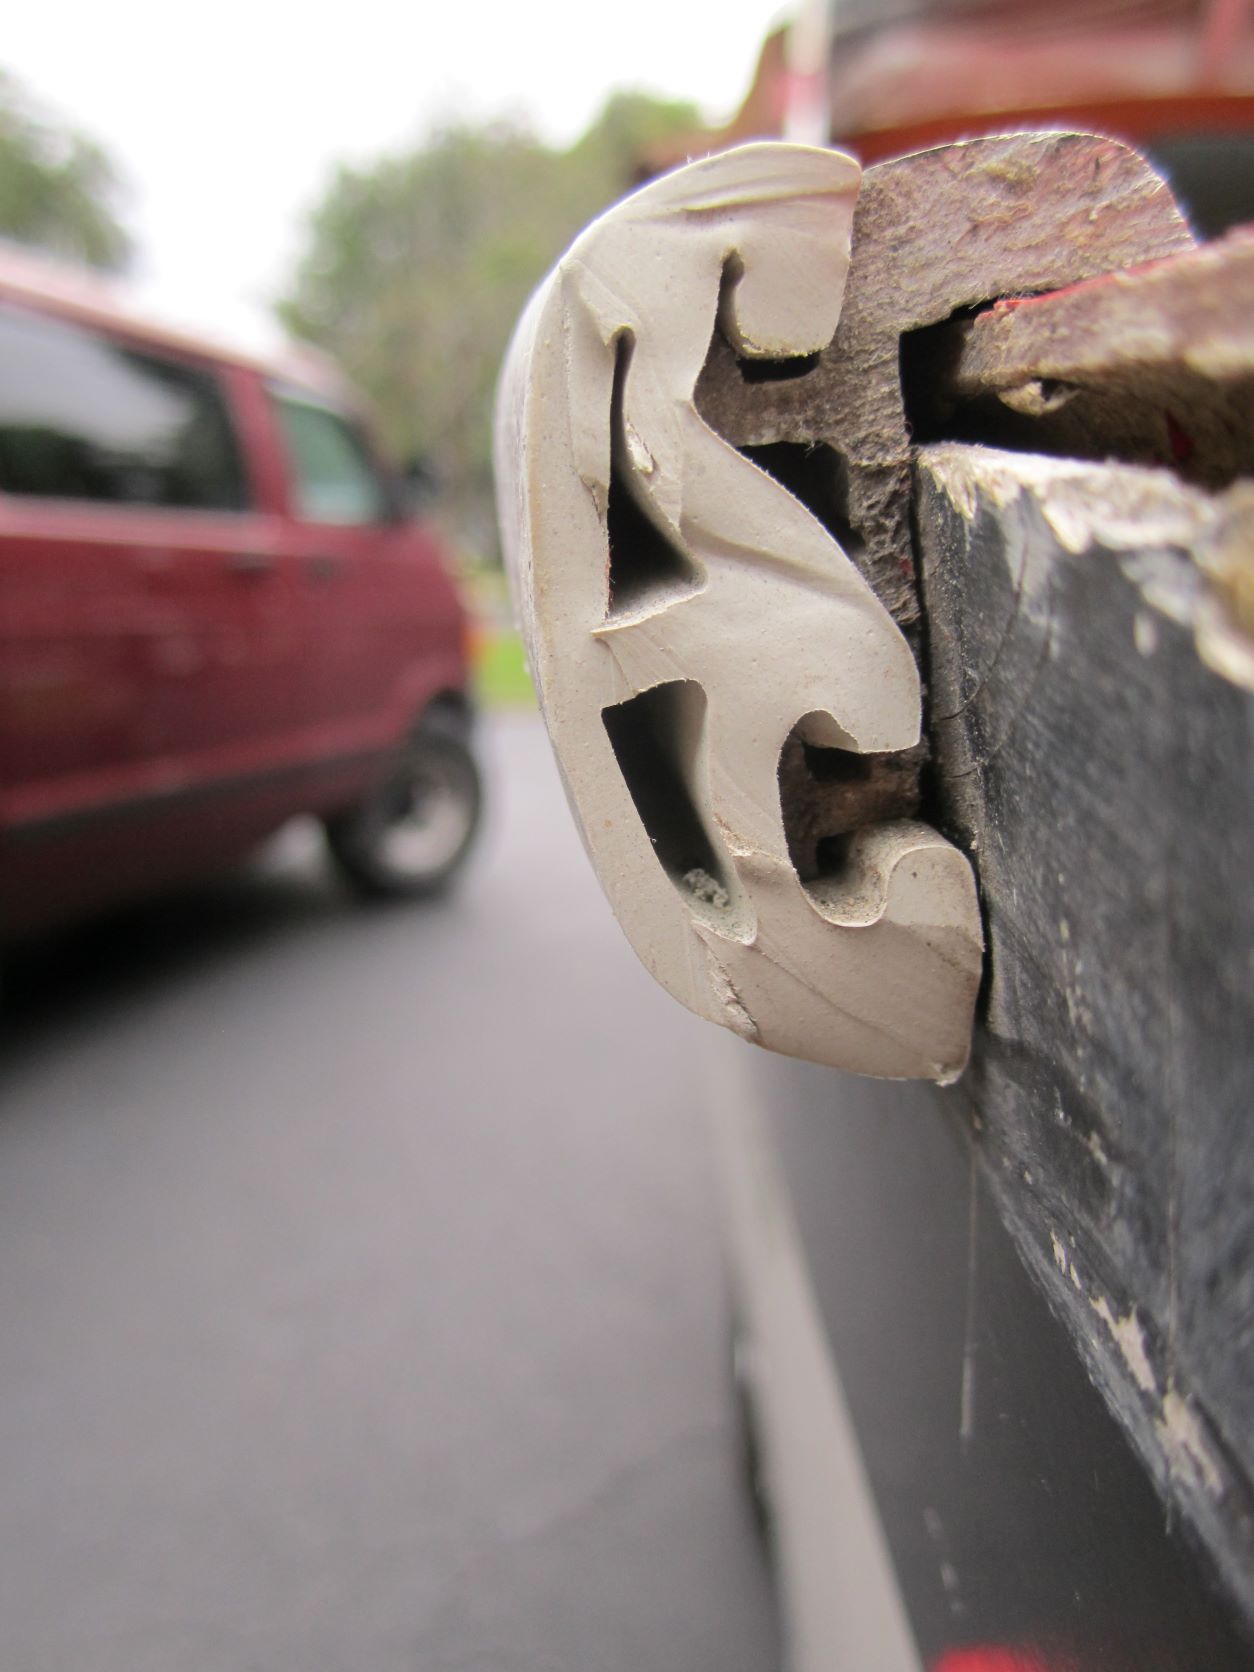
-What are you guys using for hatch trim? I initially got the below from Wefco, but it's way too big. Most of what I am covering is between 1/16 to 1/8?
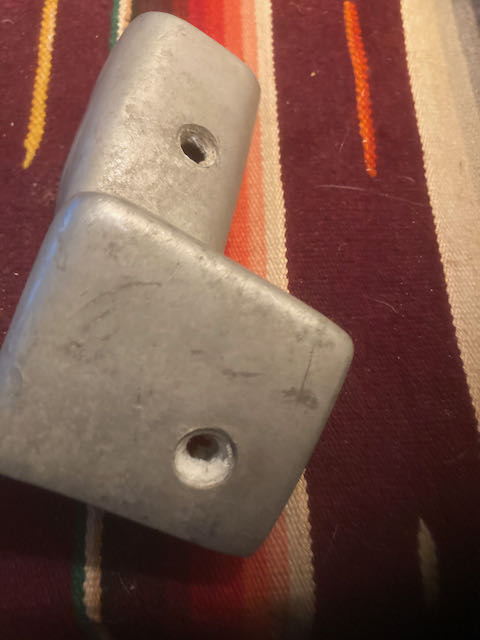
-Does anybody know where to get a stern light that would fit in the old brass base? I think it's 7/8". Im considering just going with a stainless here, but wanted to check

Please Log in or Create an account to join the conversation.

The art of sanding new gelcoat?! 2 years 7 months ago #146448

Hey Texan,

Looking good but some of your pictures are not showing up.

I believe the hatch gasket is Wefco #7CH and is glued on with contact cement.


Terry
Attachments:
The following user(s) said Thank You: Nwtexan

Please Log in or Create an account to join the conversation.

The art of sanding new gelcoat?! 2 years 7 months ago #146463

Terry,

Thanks for your reply! Ive been talking with Robin at Wefco and she thinks it is 1037. Does this look like what you used?

Ian

File Attachment:

File Name: 2016_wefco_print_catalog.pdf
File Size: 185 KB
Attachments:

Please Log in or Create an account to join the conversation.

The art of sanding new gelcoat?! 2 years 7 months ago #146464

The 7ch stuff is on pages 4-5. The actual 07ch seems too big to me as my hatch is typically around 1/16". I think that might have been what i ordered originally

File Attachment:

File Name: 2016_wefco_print_catalog_2022-04-06.pdf
File Size: 332 KB
Attachments:

Please Log in or Create an account to join the conversation.

  • Page:
  • 1
Time to create page: 0.299 seconds

Donate

Please consider supporting our efforts.

Glassified Ads

1967 23 ft powercat flybridge
( / Boats)

noimage
11-17-2024

Mercury outboard
( / Engines)

noimage
11-03-2024

Classic Mercury Outboard Motors
( / Engines)

Classic Mercury Outboard Motors
10-18-2024

FG Login

FiberGoogle

Who's Online

We have 7197 guests and no members online